HOME
Planking ends
- Read time: 4 mins
[ariadne 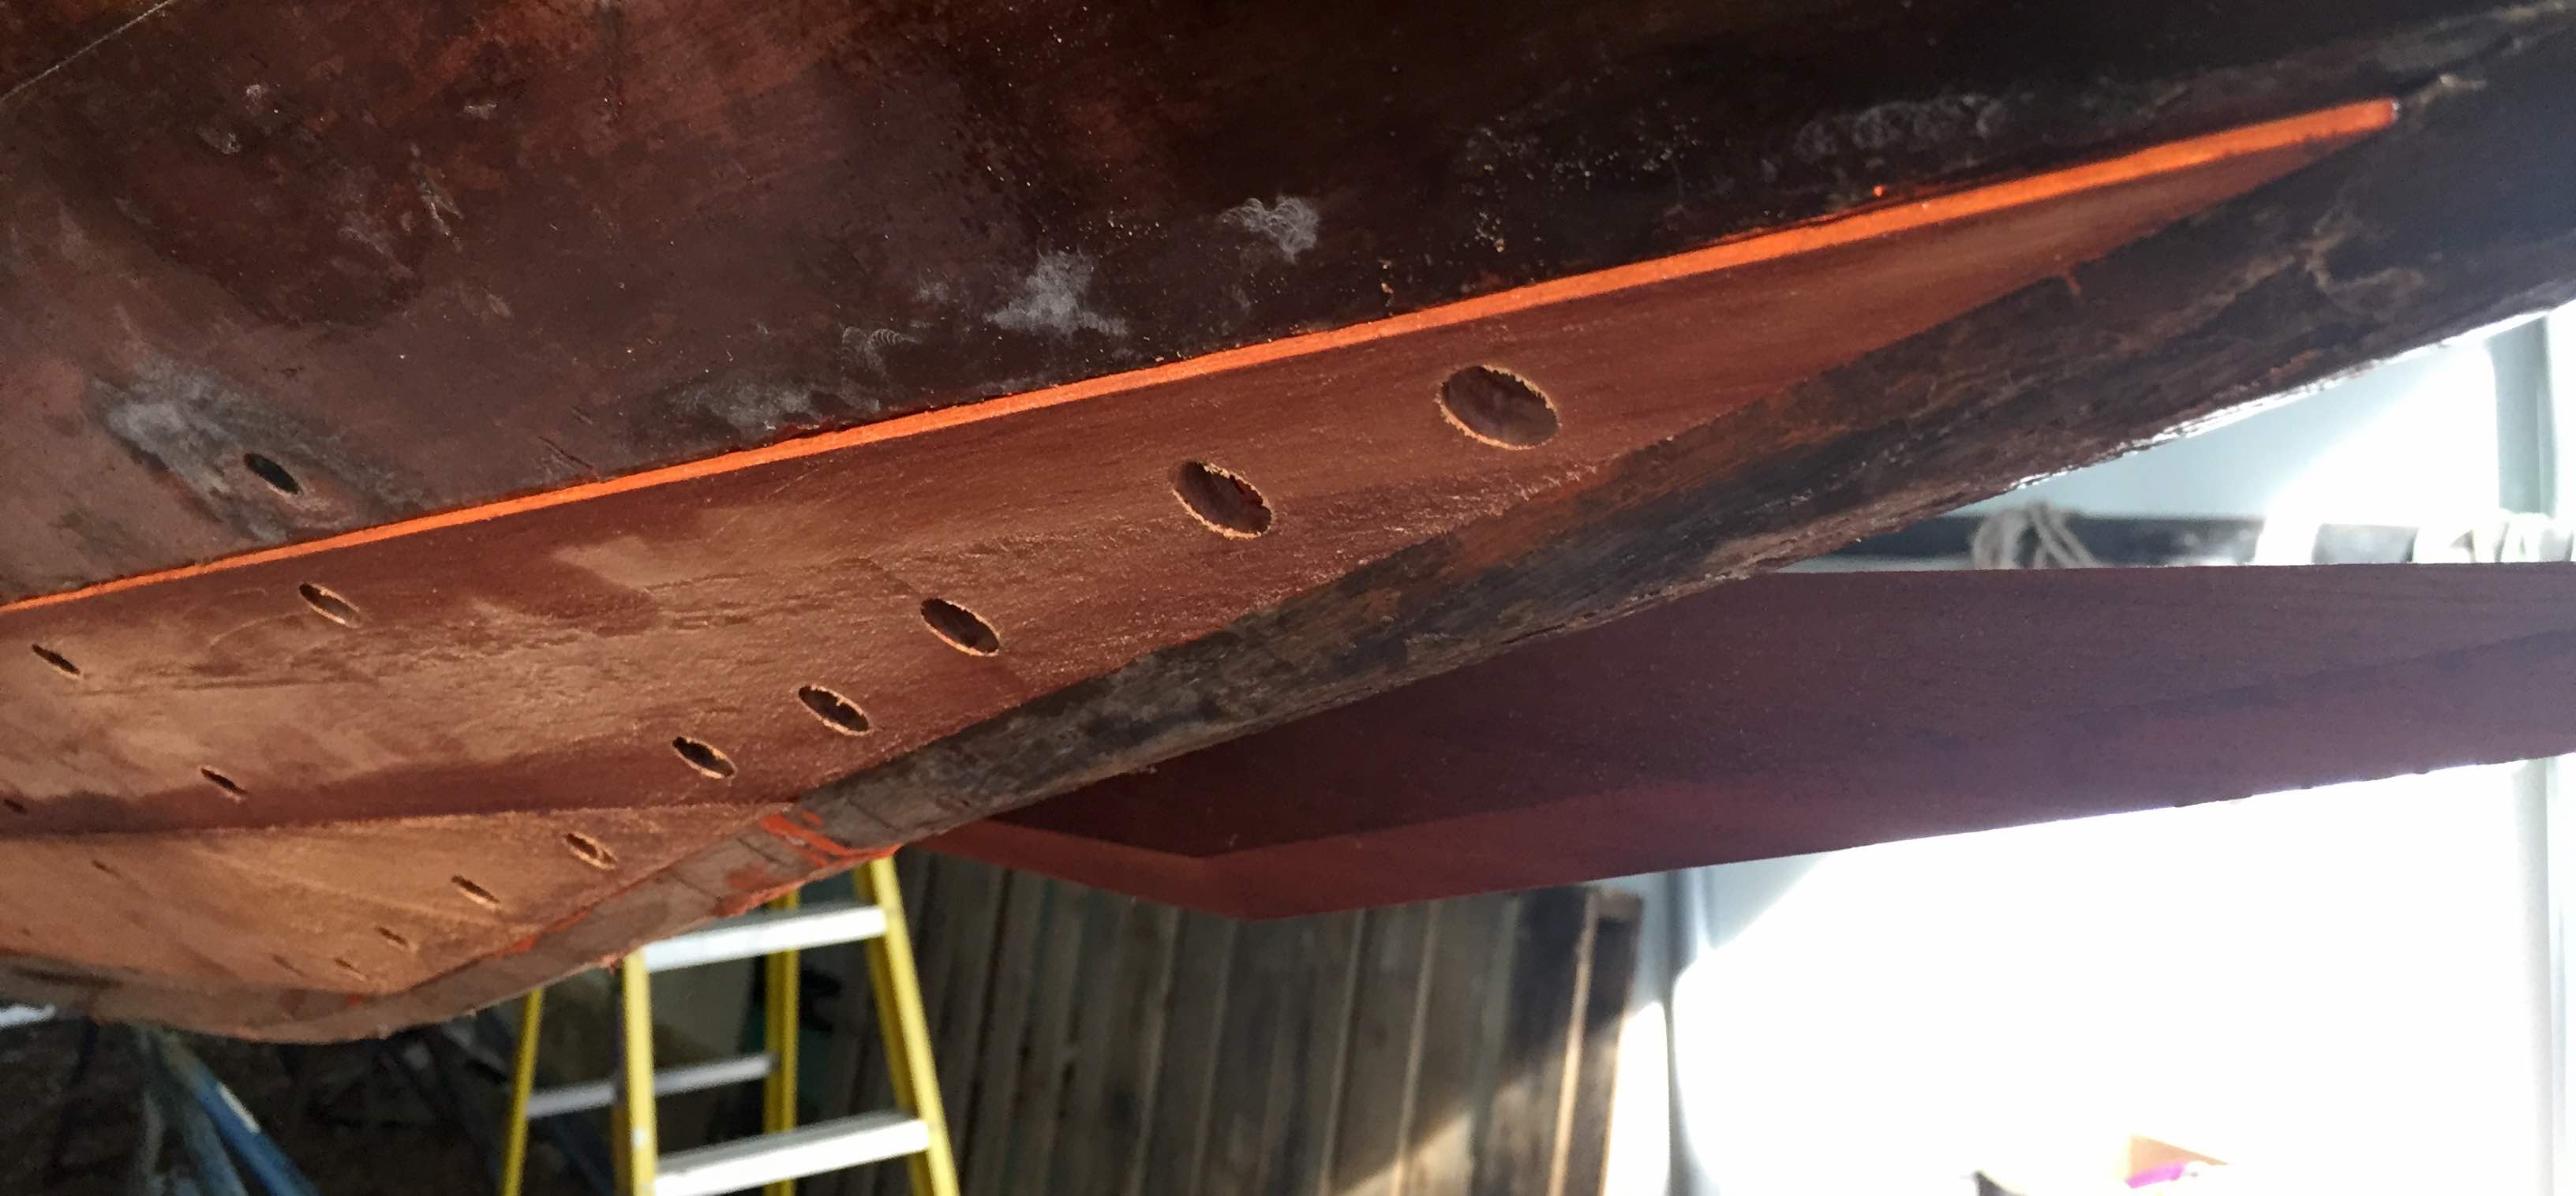
In order to access the forefoot, we had to remove eight courses of planking at their leading edges - where the forwardmost points of the planks attach to the spine of the boat. Here, we splice and install new mahogany to replace these key bits.
Both understandably and irritatingly, the forwardmost ends of these planks were edge-nailed downward into the backbone of the boat - this makes sense, as these pointy plank ends are quite delicate due to the long overhangs of the boat, and are too narrow to get screws very far forward. Functionally for us, it meant that even in cases where the planks were strong enough to be reused, there was no way to get the plank ends removed without destroying them.
The leading (hood) ends of these forward planks showed symptoms of the problems one would expect. Hood ends have exposed end grain which wicks in moisture, and can be susceptible to damage due to freeze/thaw over the winter months. So replacing these parts was going to have to happen regardless of whether we replaced the forefoot.
Scarfing

The fix was to scarf new lengths of mahogany to replace the damaged wood as far back as necessary. The scarf itself is a 12:1 angle, cut with a router jig built to meet this specification. You ease off the plank fasteners far enough back to spring the plank end, fit the router jig over the end, clamp it down with a wooden wedge inside to keep the target plank firmly against the jig, and go to town with your router.


Installation
Once the scarf is cut into the old plank, the new piece must be shaped, scarfed to match, and glued to the old plank. This can be a pretty fiddly process, even when spiling to get the shape as accurate as possible.

This boat is particularly finicky as there is no caulking - Ariadne is of tight-seamed carvel construction. So it’s very important to get the seams as close as possible when replacing planks. There is a risk of cracked frames if things are too tight and then expand when taking up moisture from the ocean, but experts recommend getting it as tight as possible as opposed to trying to leave even spacing between planks (which is effectively impossible).


A good old fashioned bit brace is an essential tool for fastening in the finished plank ends. We use longer screws into the floor timbers and shorter ones into the frames.

Finished
Despite a couple of hiccups along the way, we managed to get four courses of plank ends installed in about a week (along with some other projects). Scott did a lot of the heavy lifting here. We are very happy with how they turned out. It feels very good to cut out bad wood and replace it with top shelf mahogany. We will do the next four courses, as well as building new garboards, and bung all the screw countersinks in one go. We also still need to fair the planking in to a nice smooth consistent shape, and revarnish everything.


Odds and ends
During this trip we also replaced all of the old floor timber bolts. Remember those? The corroded iron bolts are no longer, and have been swapped out for 5/8” silicon bronze. We ended up buying carriage bolts and chopping of the shoulders to make a T shape, which could then be hammered into the narrow cutwater of the forefoot.


We also brought the rebuilt companionway hatch cover back to Maine, and got some nice closure on the newly-bolted floor timbers up forward. So beefy.


Templating
Lastly, we templated two dozen new frames by mounting a templating tool to the outside of the boat. We will inset each of these curves by the planking thickness (5/8”) to make the curve fit inside of the boat. These will be made of laminated white oak using G-Flex epoxy, and will significantly strengthen the forward section of the boat.


See you next time!
