When you are restoring a boat in another state, you do whatever you can to optimize the time that you have at the boat - which means making as many parts as you can remotely, then installing them in situ.
The most recent escapade on this front has involved working towards three primary goals:
- Laminate 20 frame blanks for installation in the forward third of the boat, strengthening the area around the forestay all the way back to the mast step, and tying the planking to the new forefoot and floor timbers previously installed;
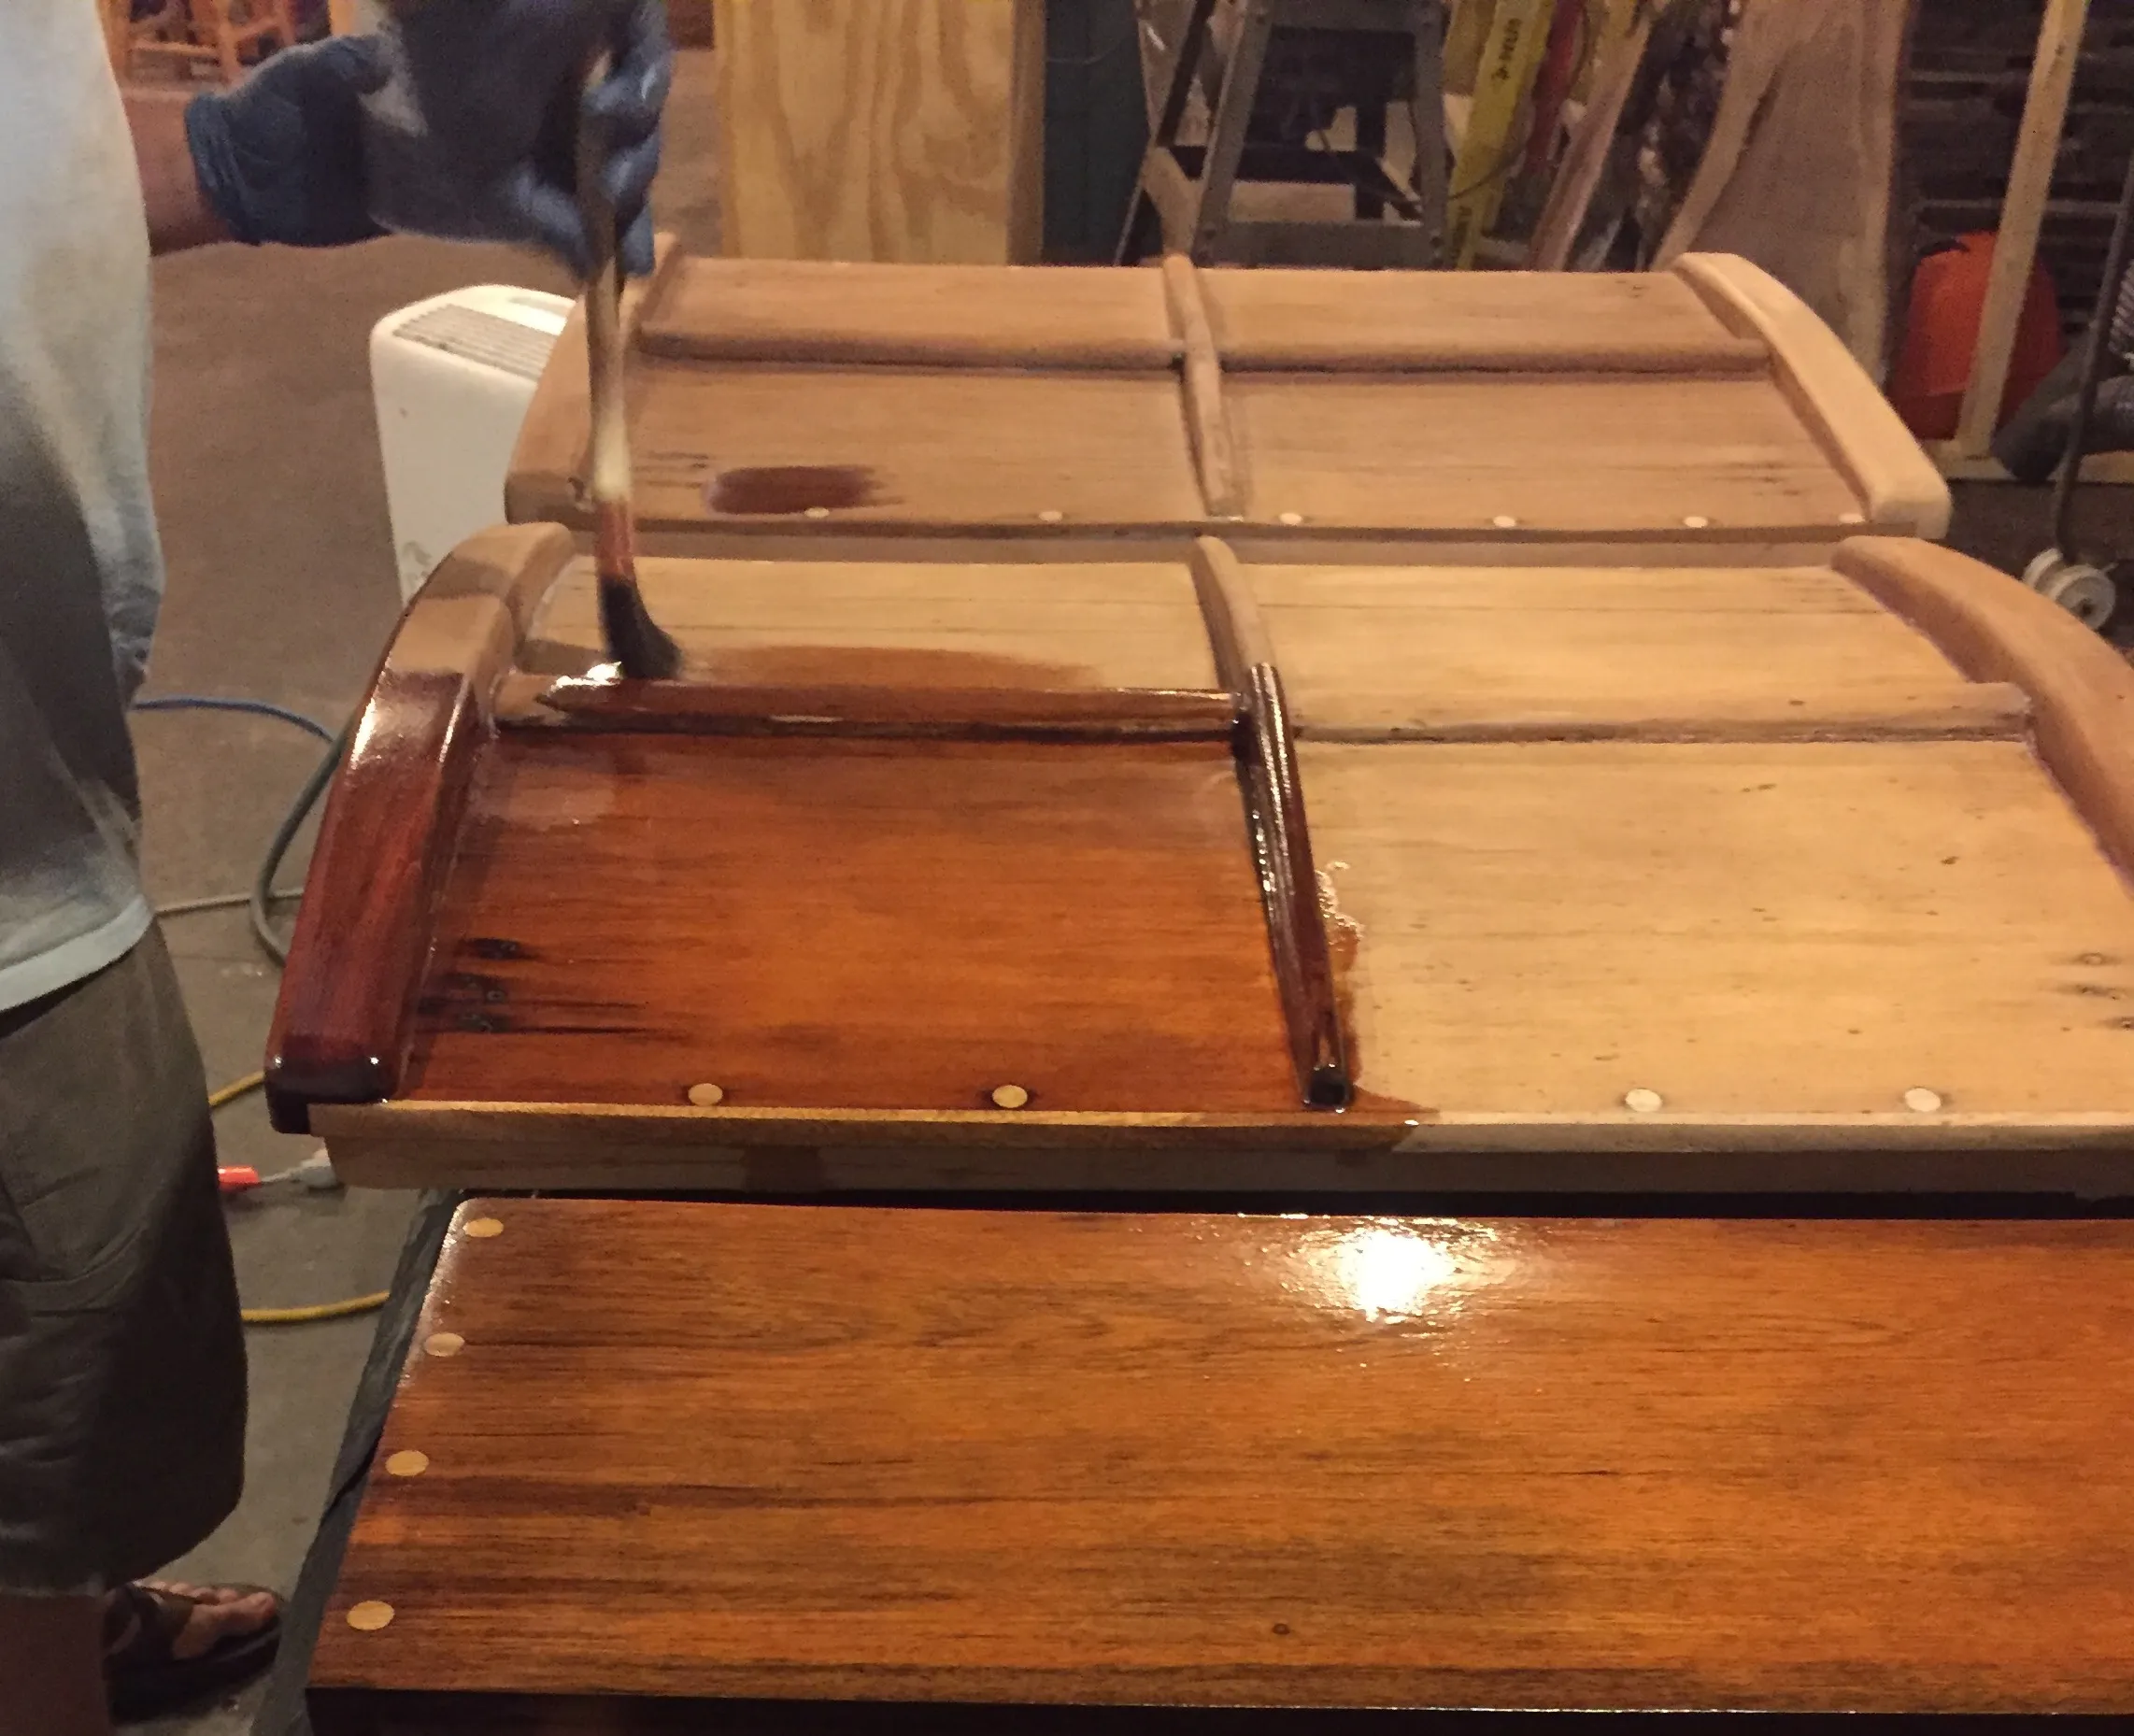
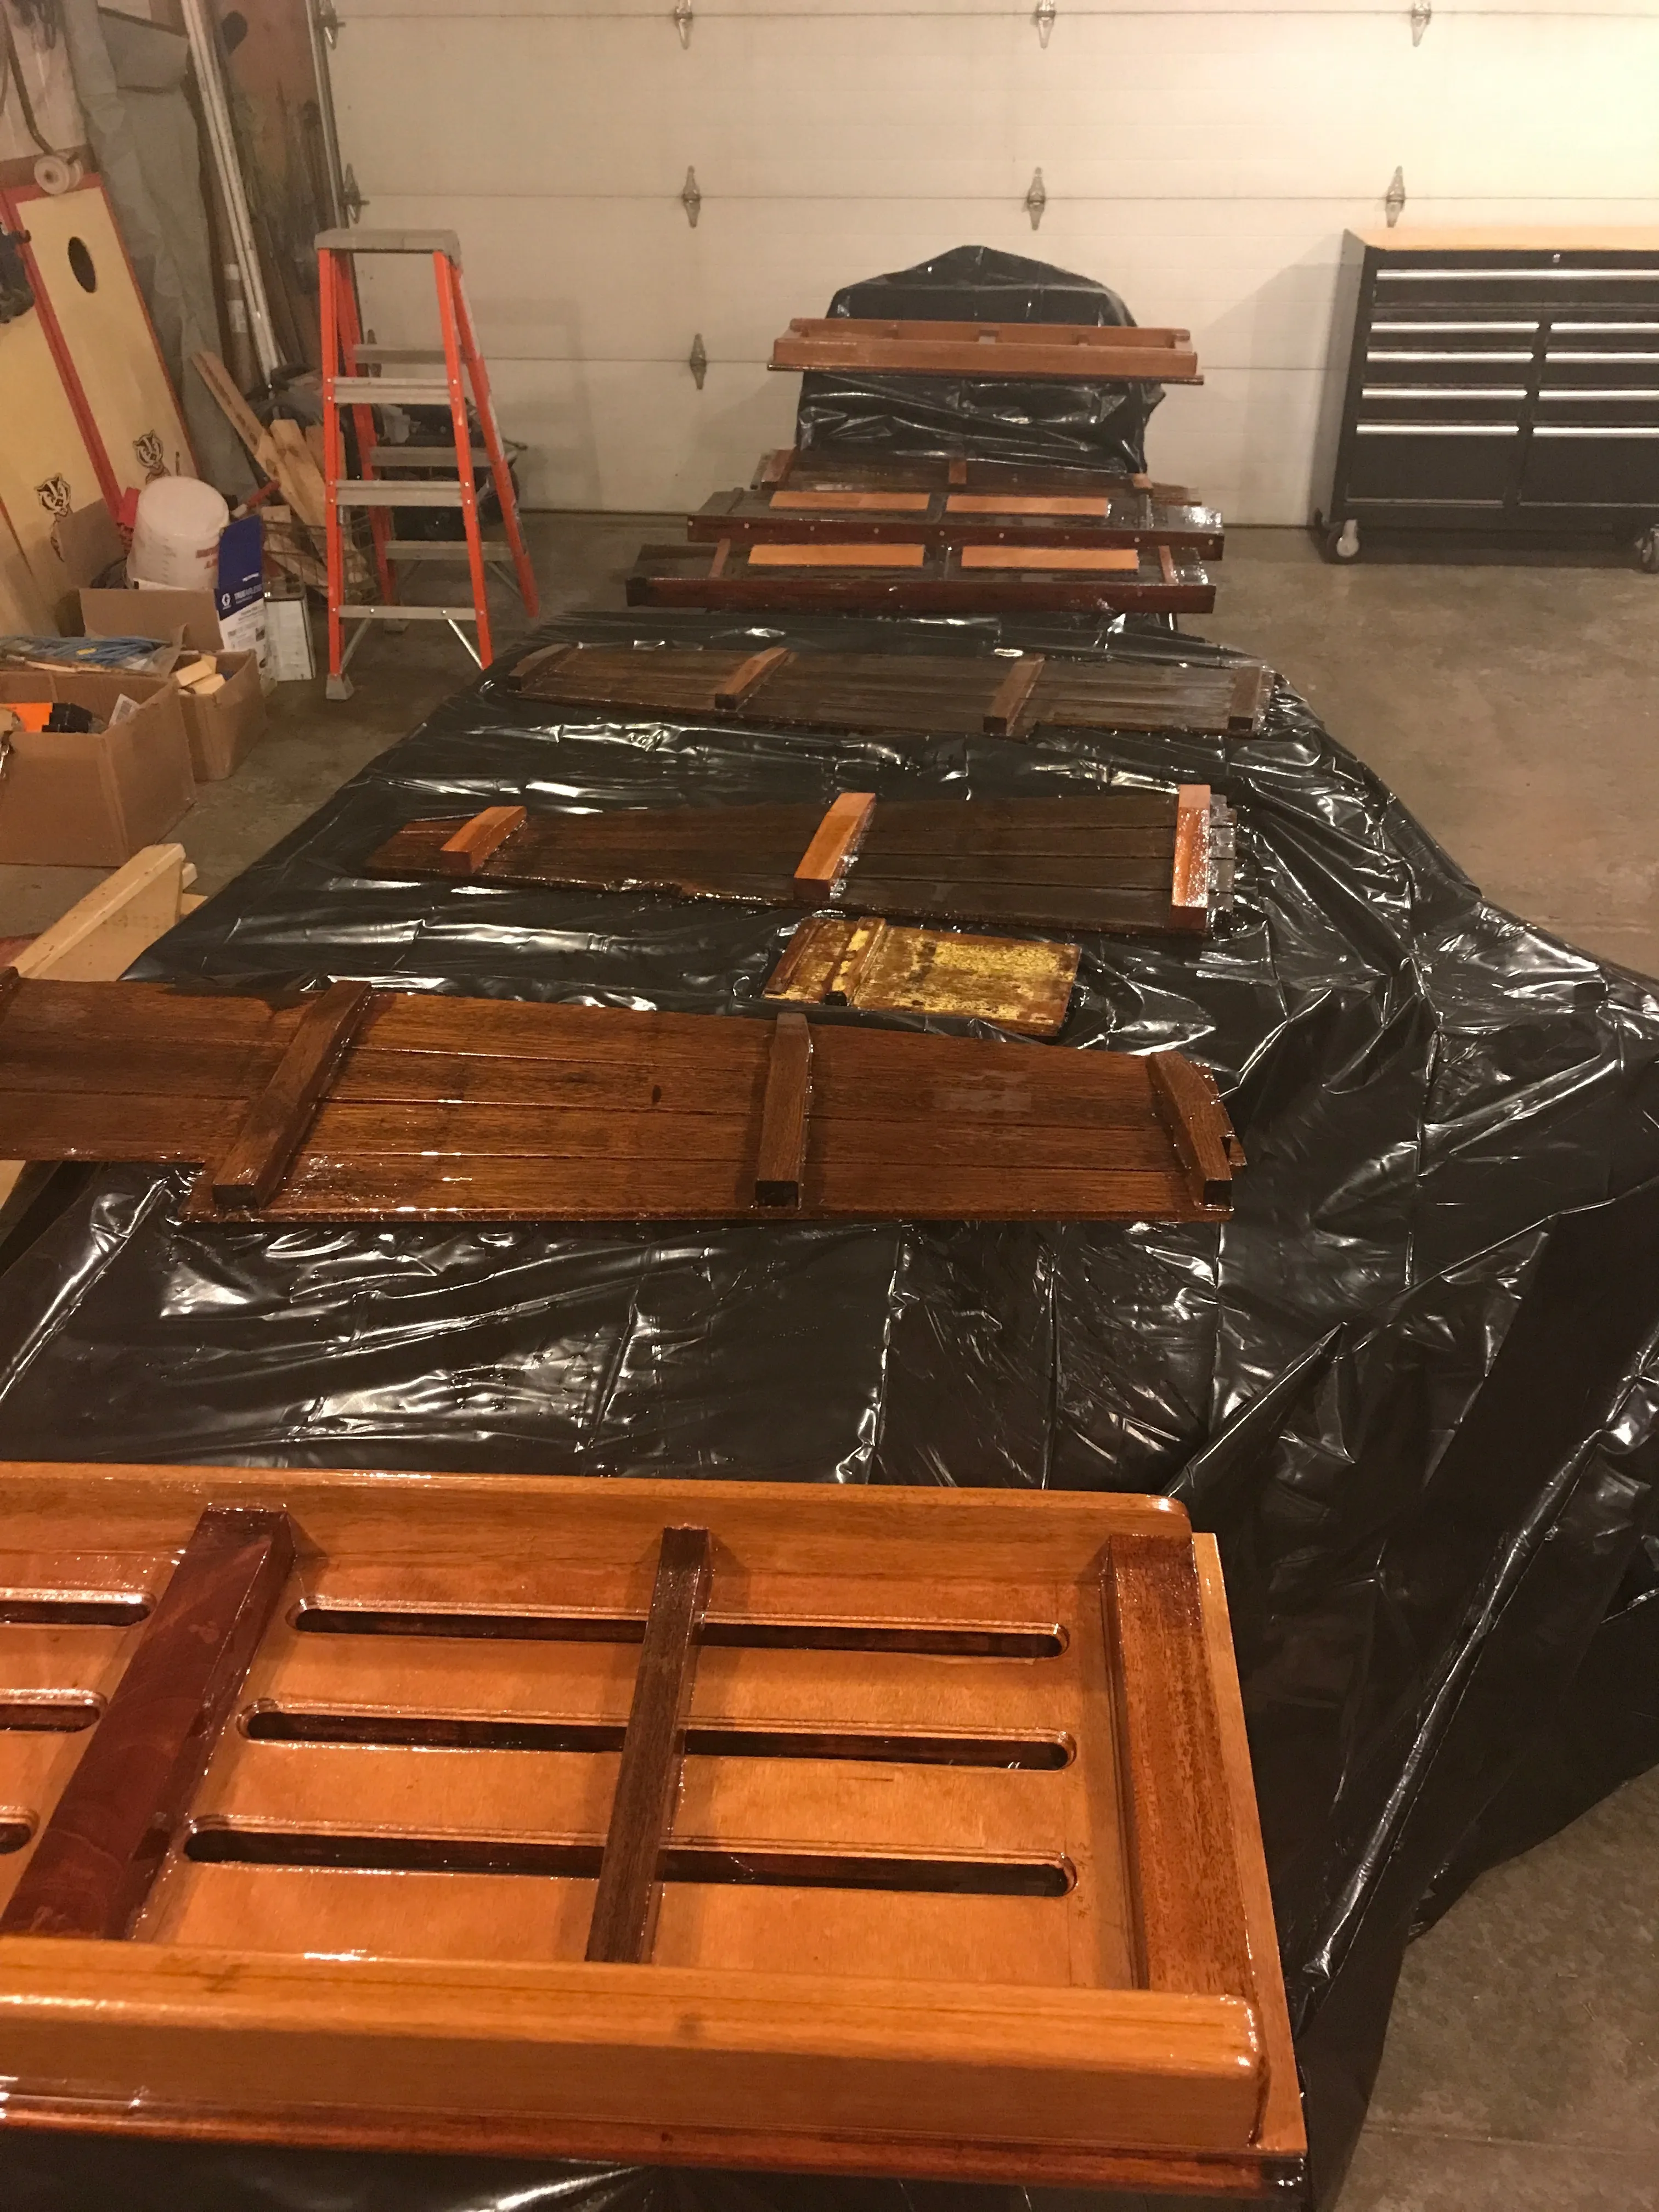
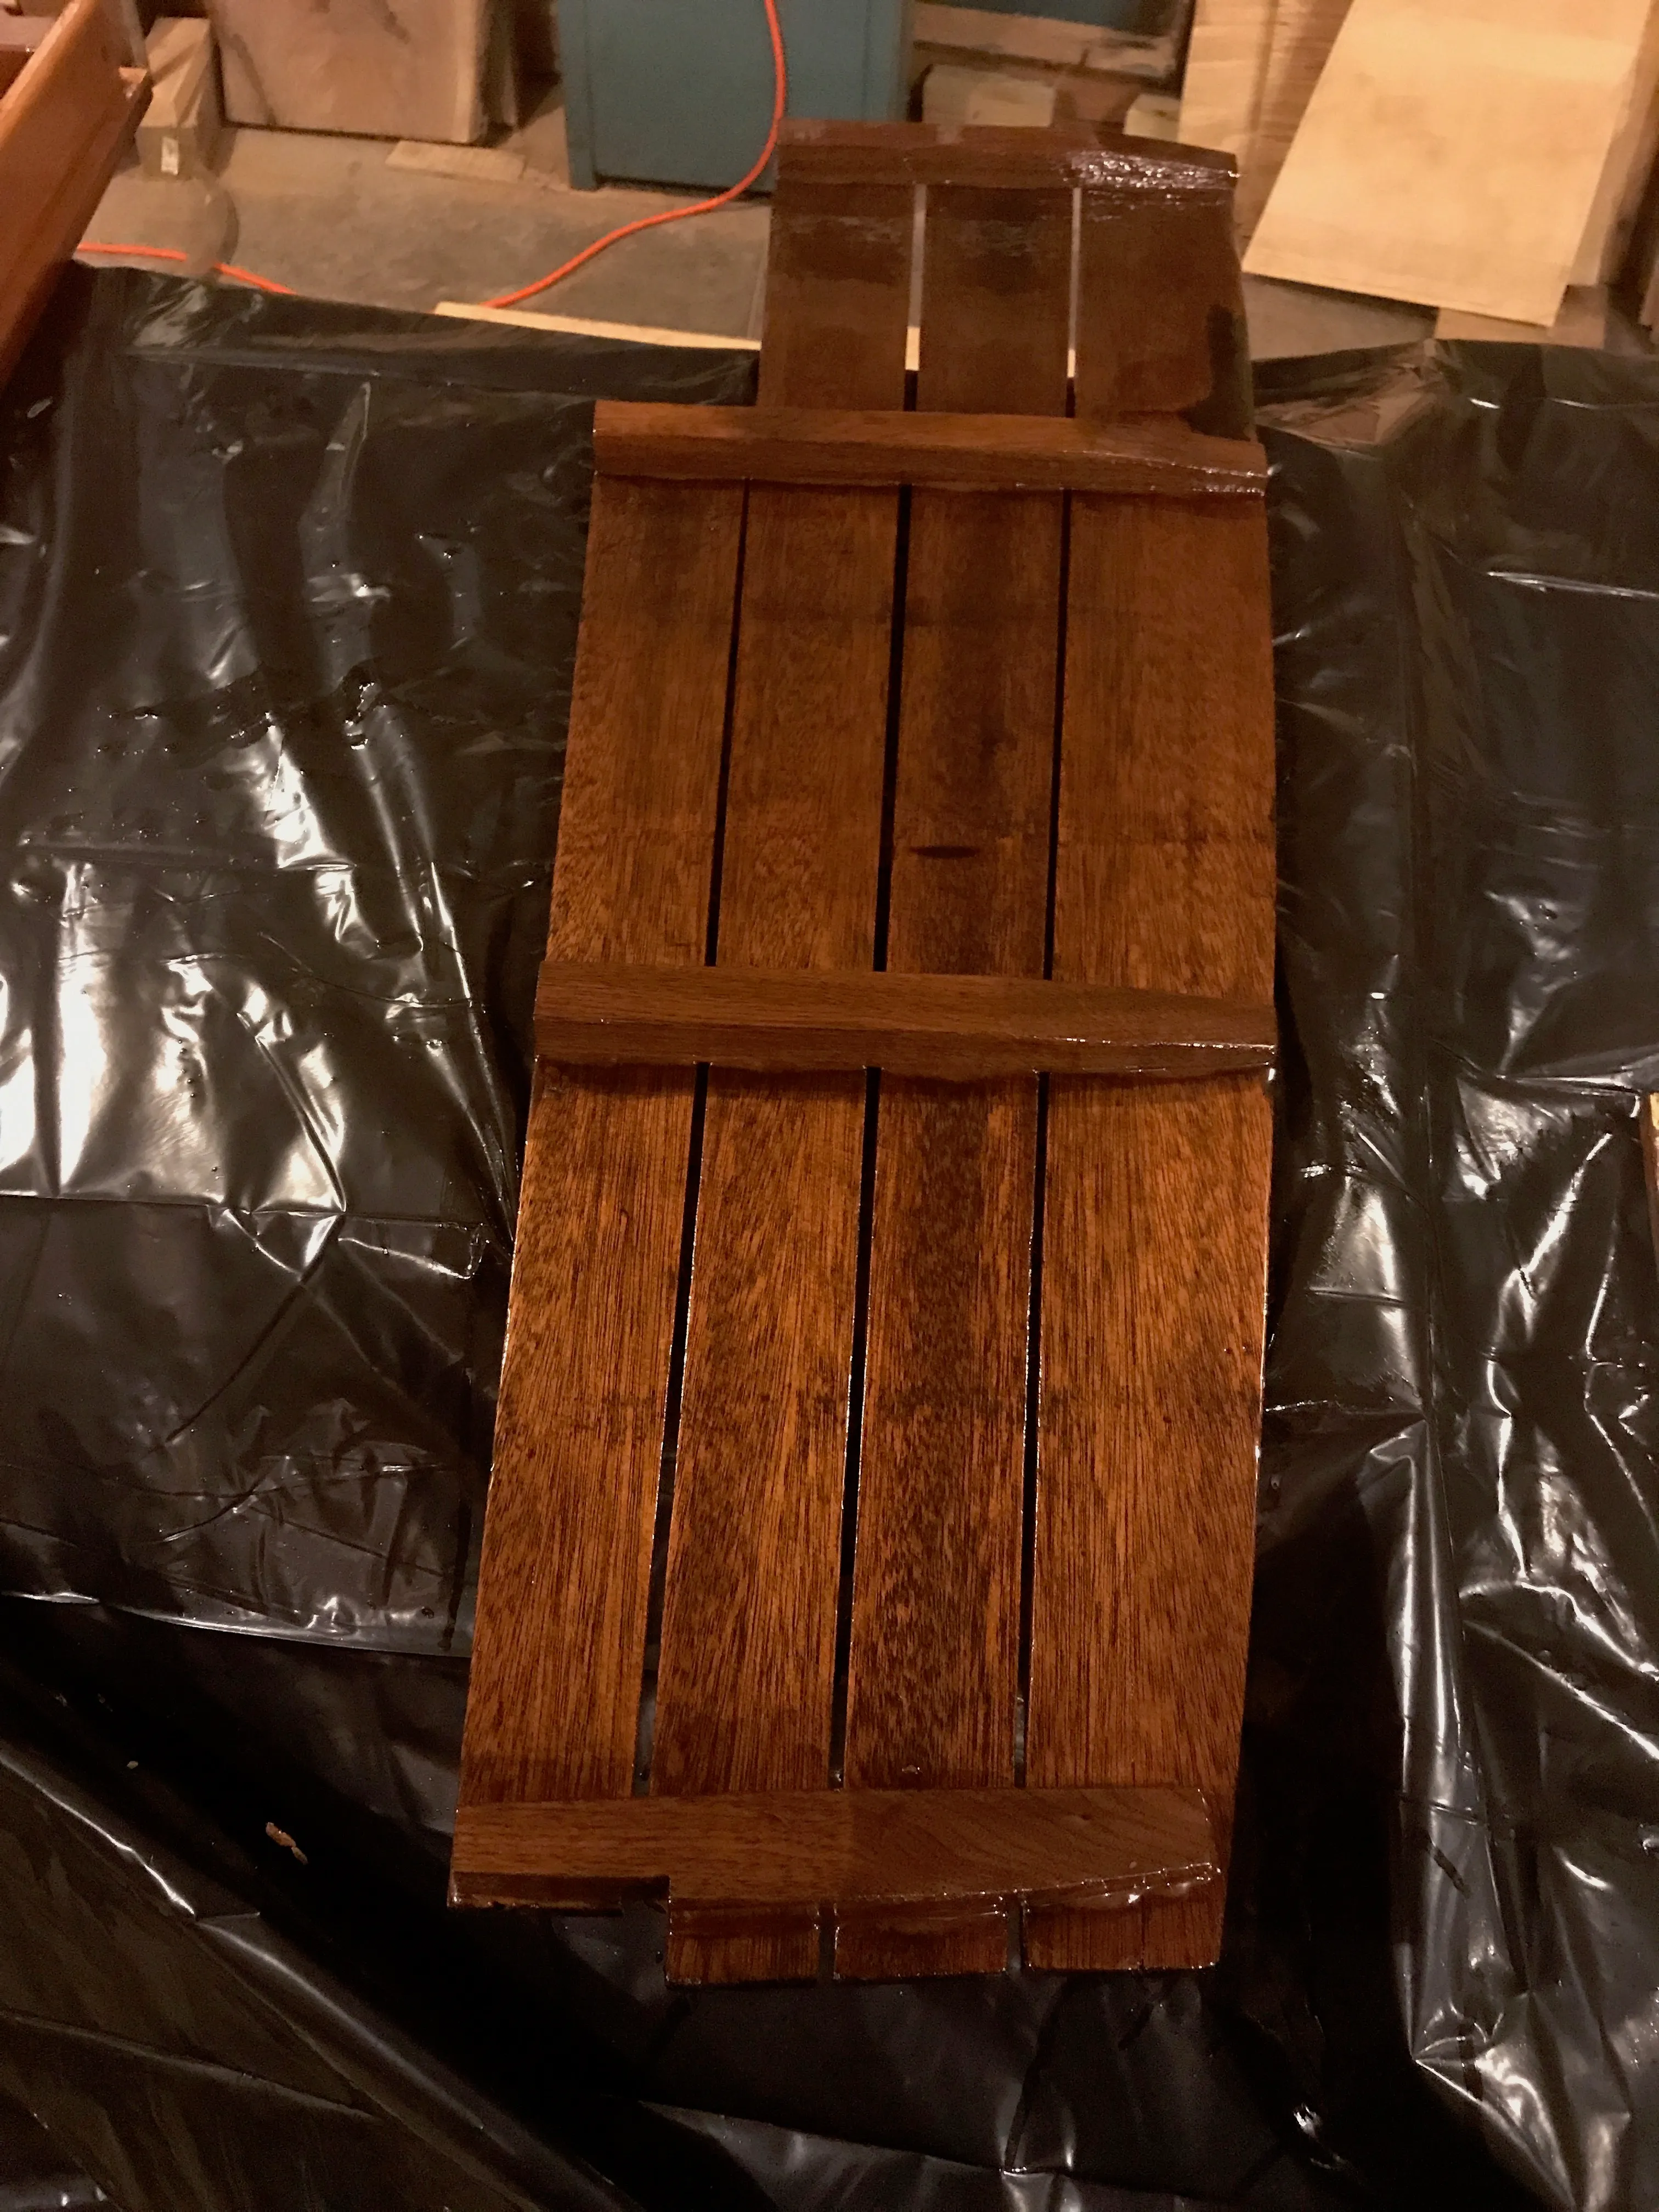
- Strengthen and refinish three cockpit benches, four lazarettes, and various pieces of cabin and cockpit sole;
- Build a new, much larger mast step to adequately transfer the loads from the mast butt across the floor timbers and aft towards the ballast keel.
Today we’ll talk about the frames and the lazarette and bench rebuilds.
New frame blanks
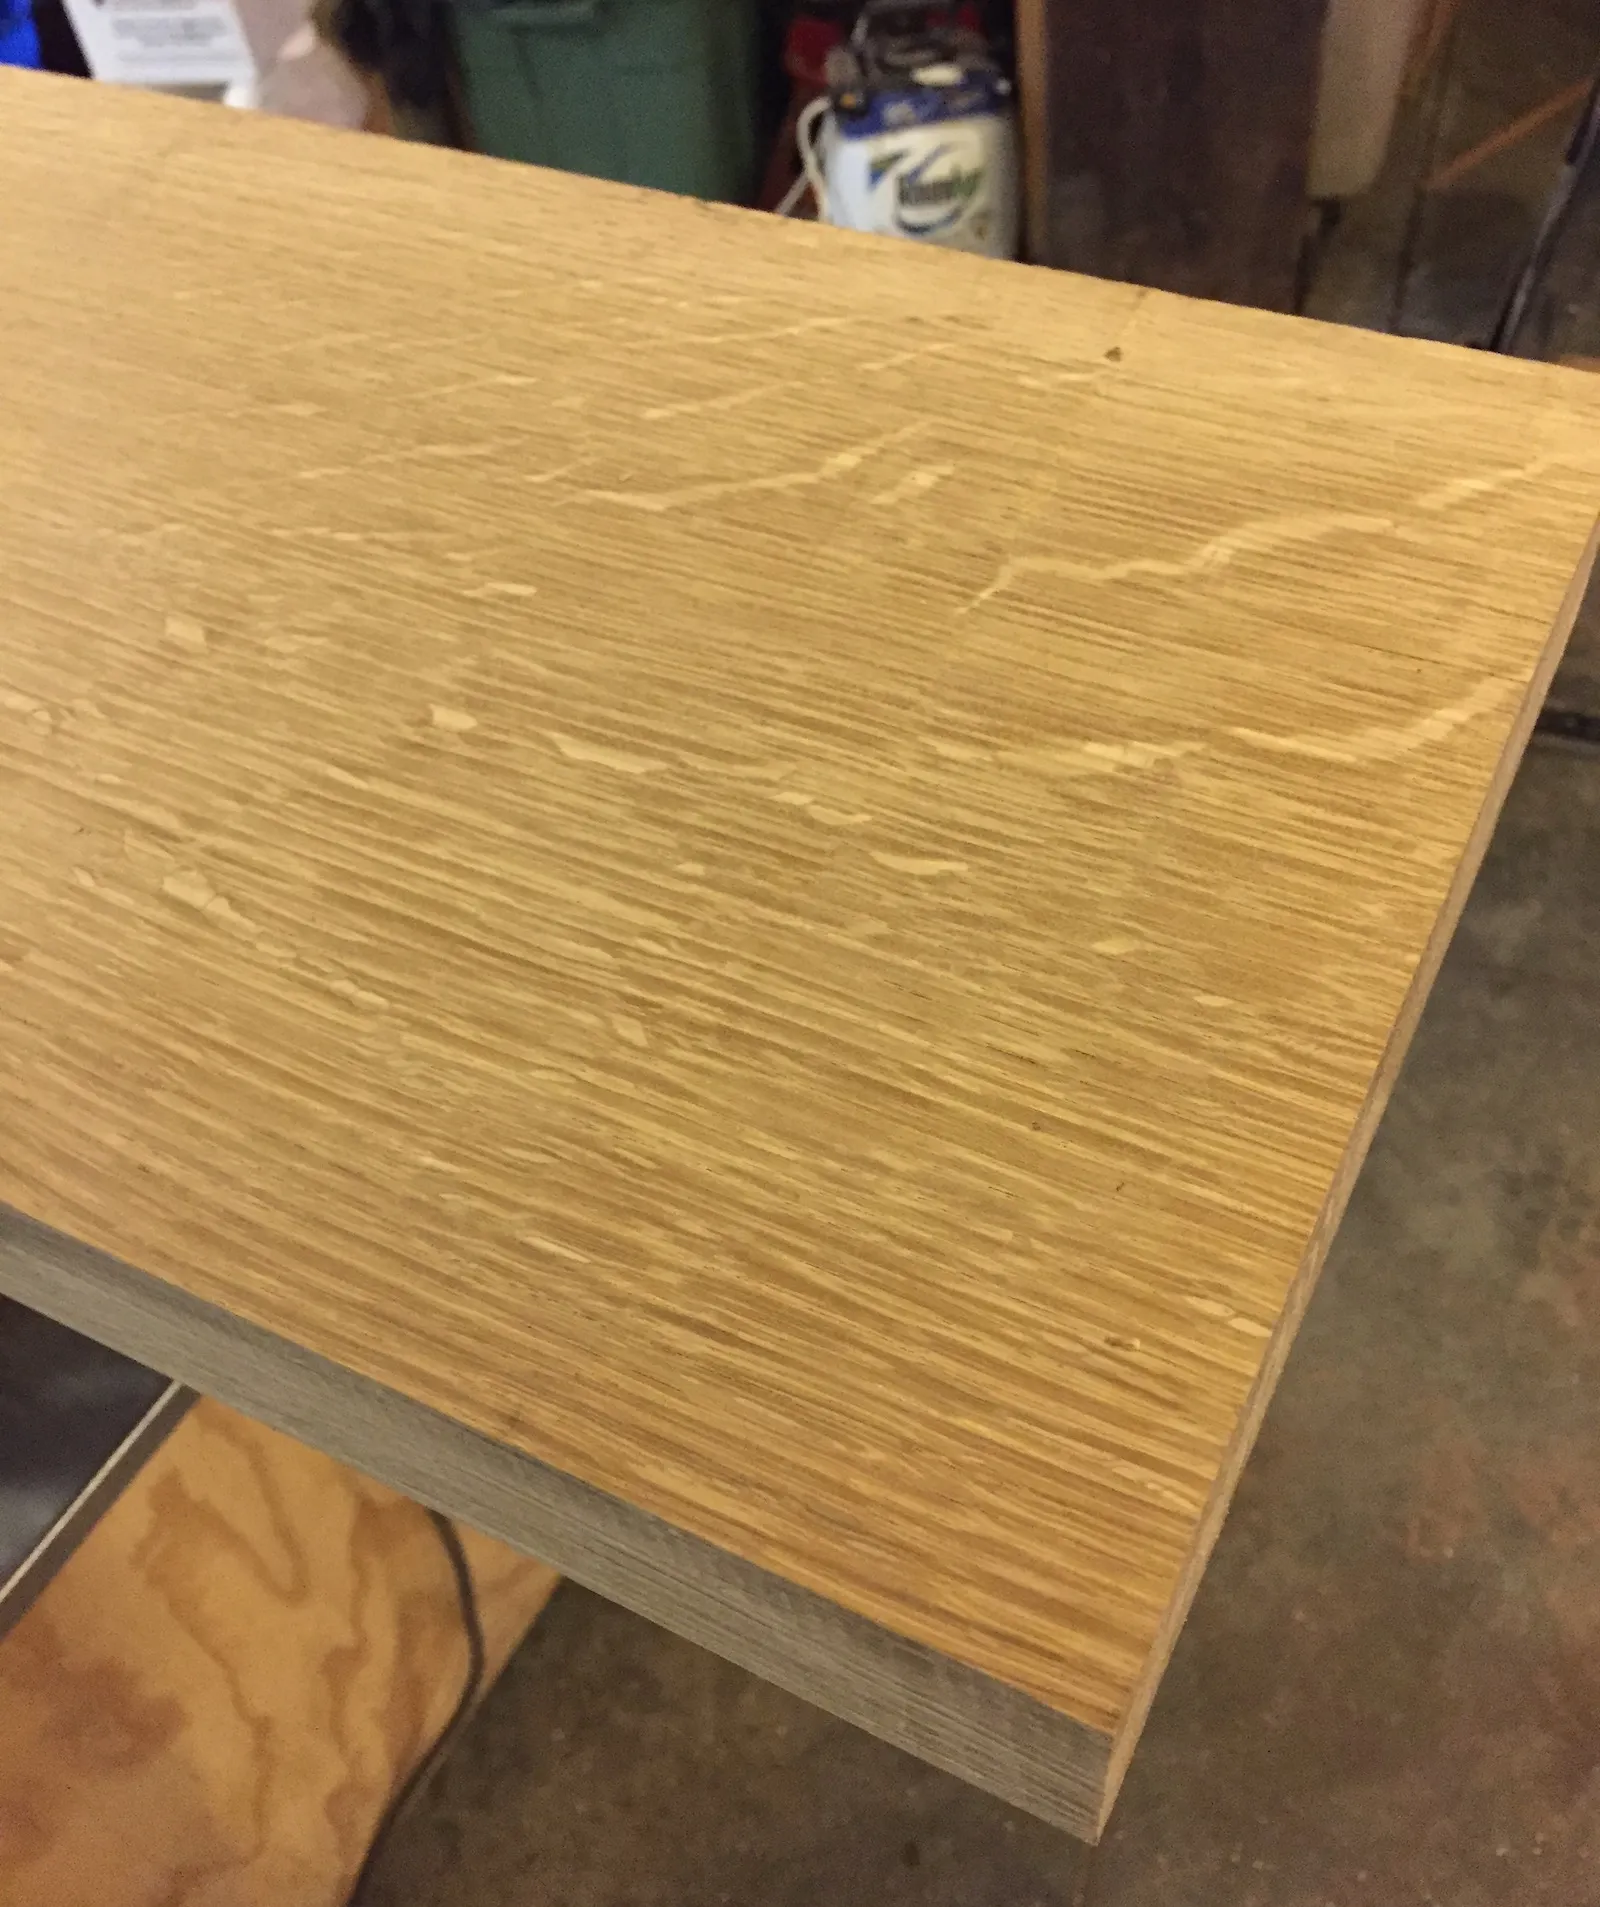
Unfortunately, Ariadne has cracks in nearly two thirds of her frames. A handful of them have been sistered, but many are in such poor condition that they need to be replaced. Rather than steaming in square oak stock as originally done, we’ve elected to template the curves at each station and laminate new frames from upsized quartersawn white oak stock. Steaming in new frames would be quicker, but would be easiest to do after removing the covering boards - a step we’re not quite ready to take.
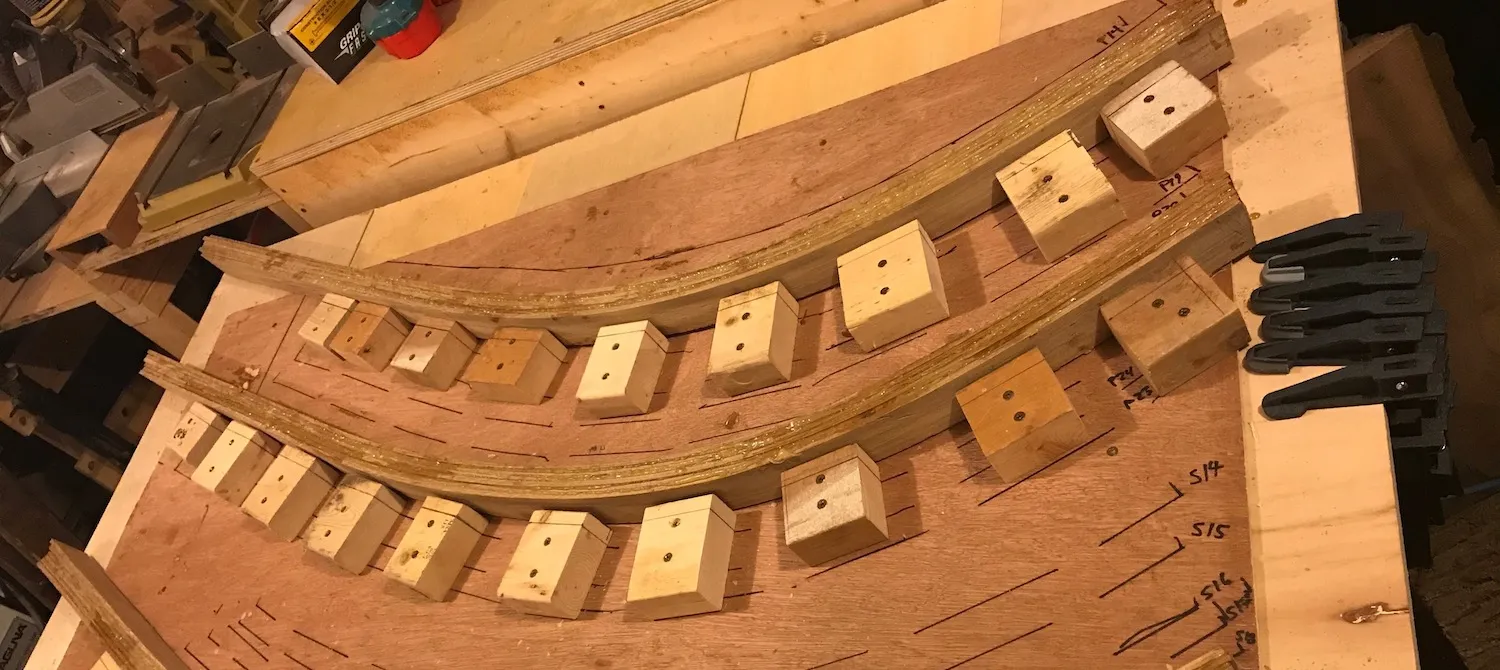
We templated the exterior of the boat at each station, then inset the curve by 5/8” (the thickness of the planking) to create the correct curve for each frame. We marked each curve on a sheet of 3/8” plywood for transport back to Wisconsin, then built a strongback underneath the plywood to ensure stiffness and provide a firm clamping surface. Using this method, we were able to glue up laminated frame blanks in batches of three.
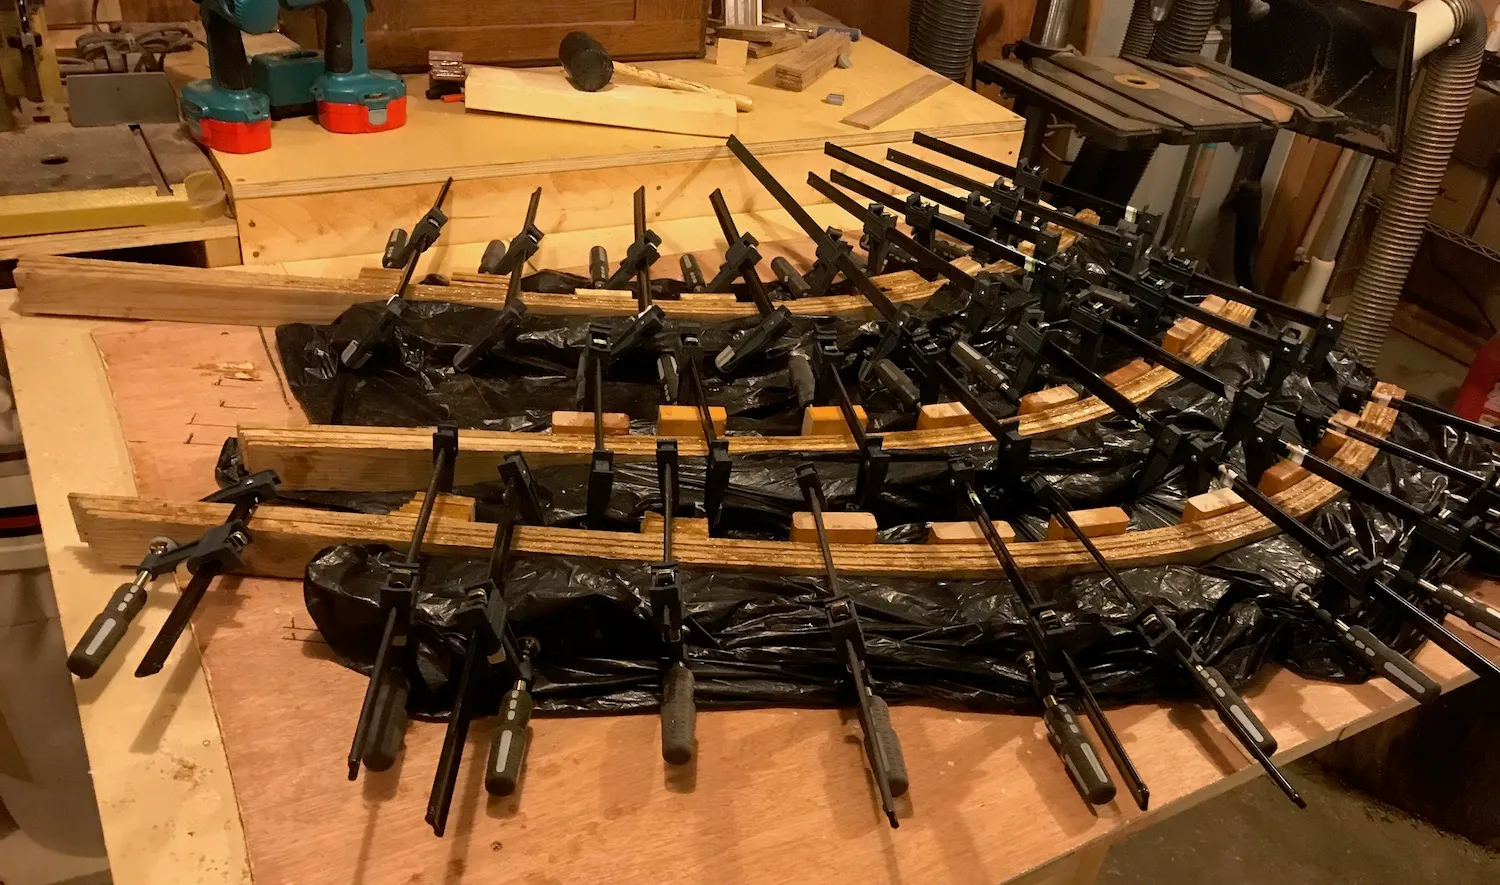
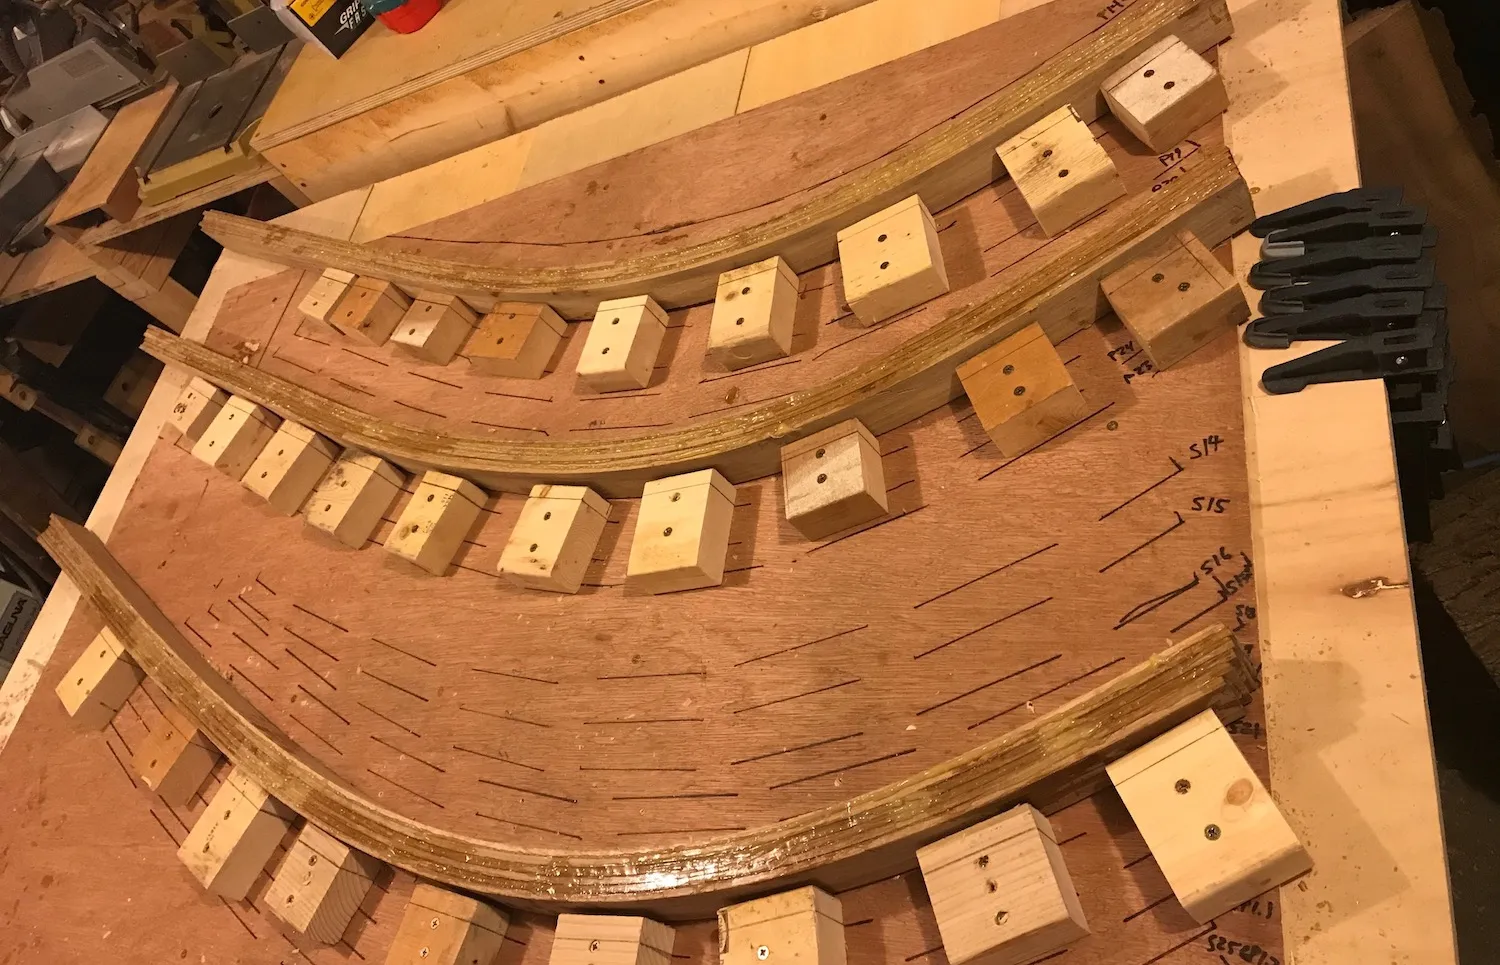
After removing the plastic sheeting from the clamping table, you can see more clearly how simple the process is:
- Screw 2x4 blocks to the table with a 5/8” offset
- Plastic sheeting (trash bags)
- Glue up
- Clean up
For the glue-up, we used six 1/4” laminates and G-Flex epoxy. We faced and squared the blanks for transportation back to the boat. For installation, we will cut rolling bevels to match the mating face with the interior of the planking and cut them to length.
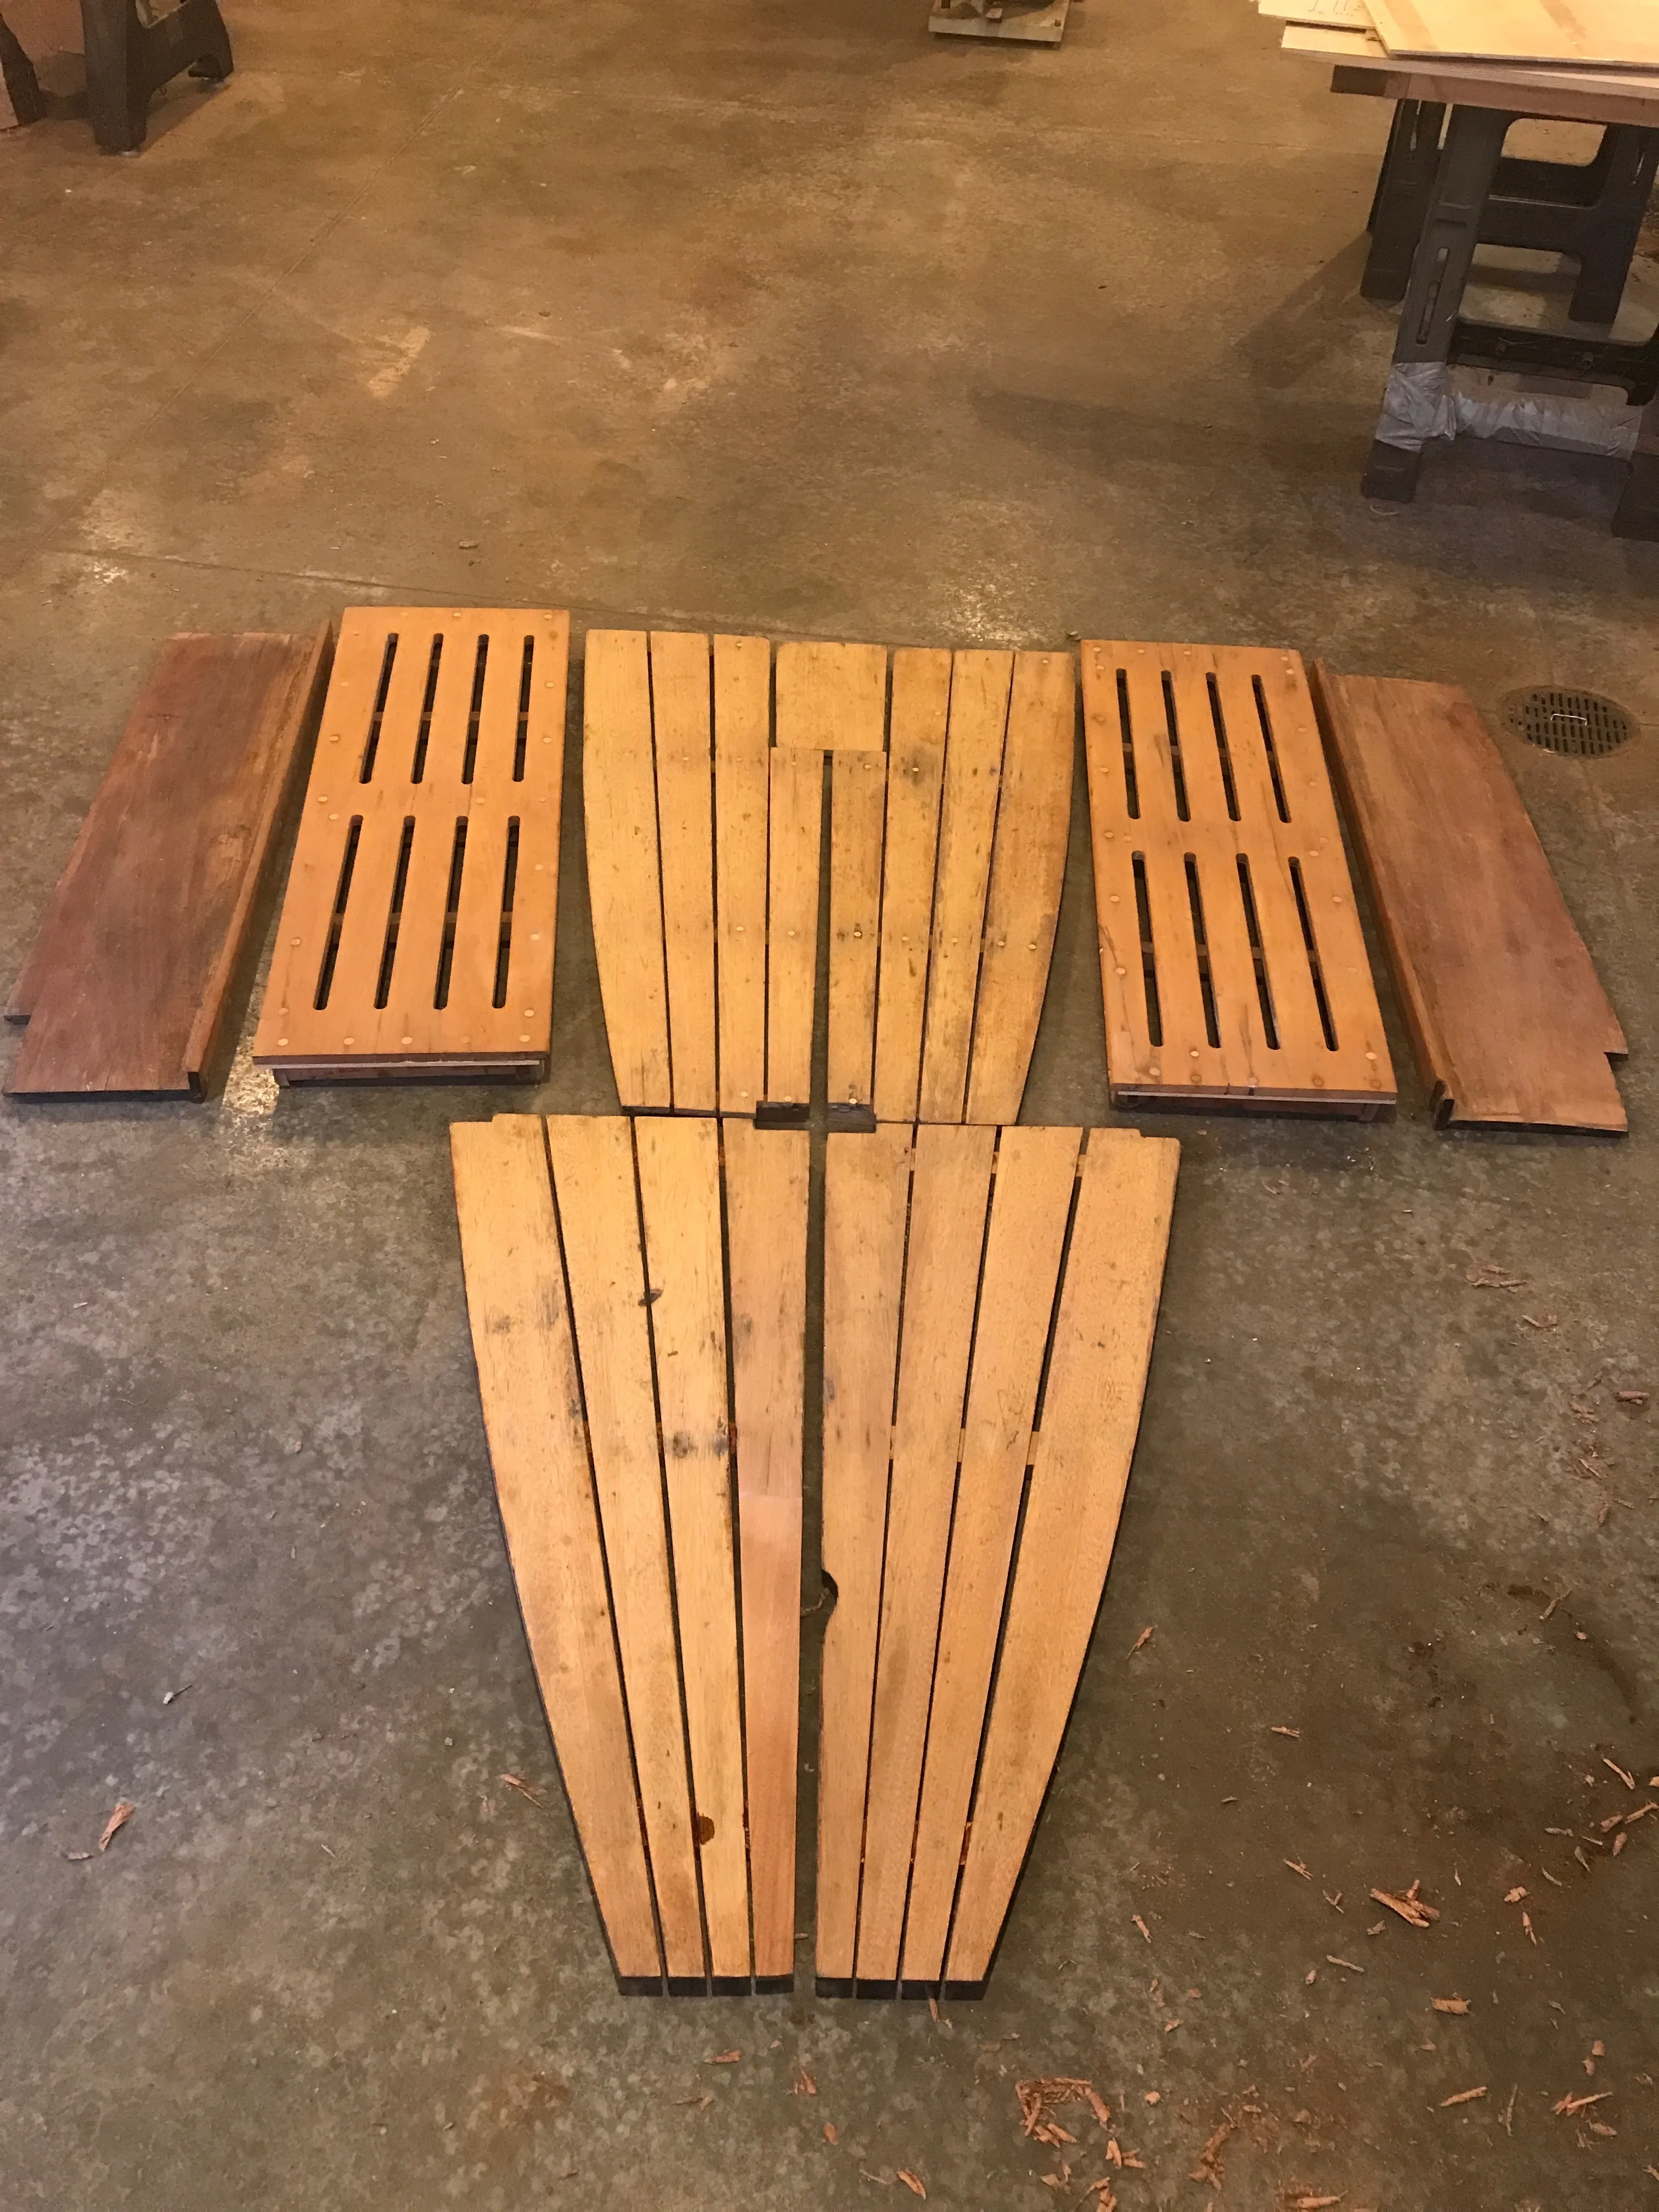
Benches, lazarettes, and soles
Nearly all components of the cockpit joinery require repair of some kind. We begin by removing all the pieces that we could to work on them in Wisconsin. Cockpit (and cabin) sole pieces needed to be stripped and reinforced - nearly all the wood in the boat including the topsides has a dark patina to it due to years of gradual oxidation and the layering of innumerable coats of varnish. The removal of the dirty, uneven varnish left us with a clean substrate for structural repairs, and will give us a very beautiful finish.
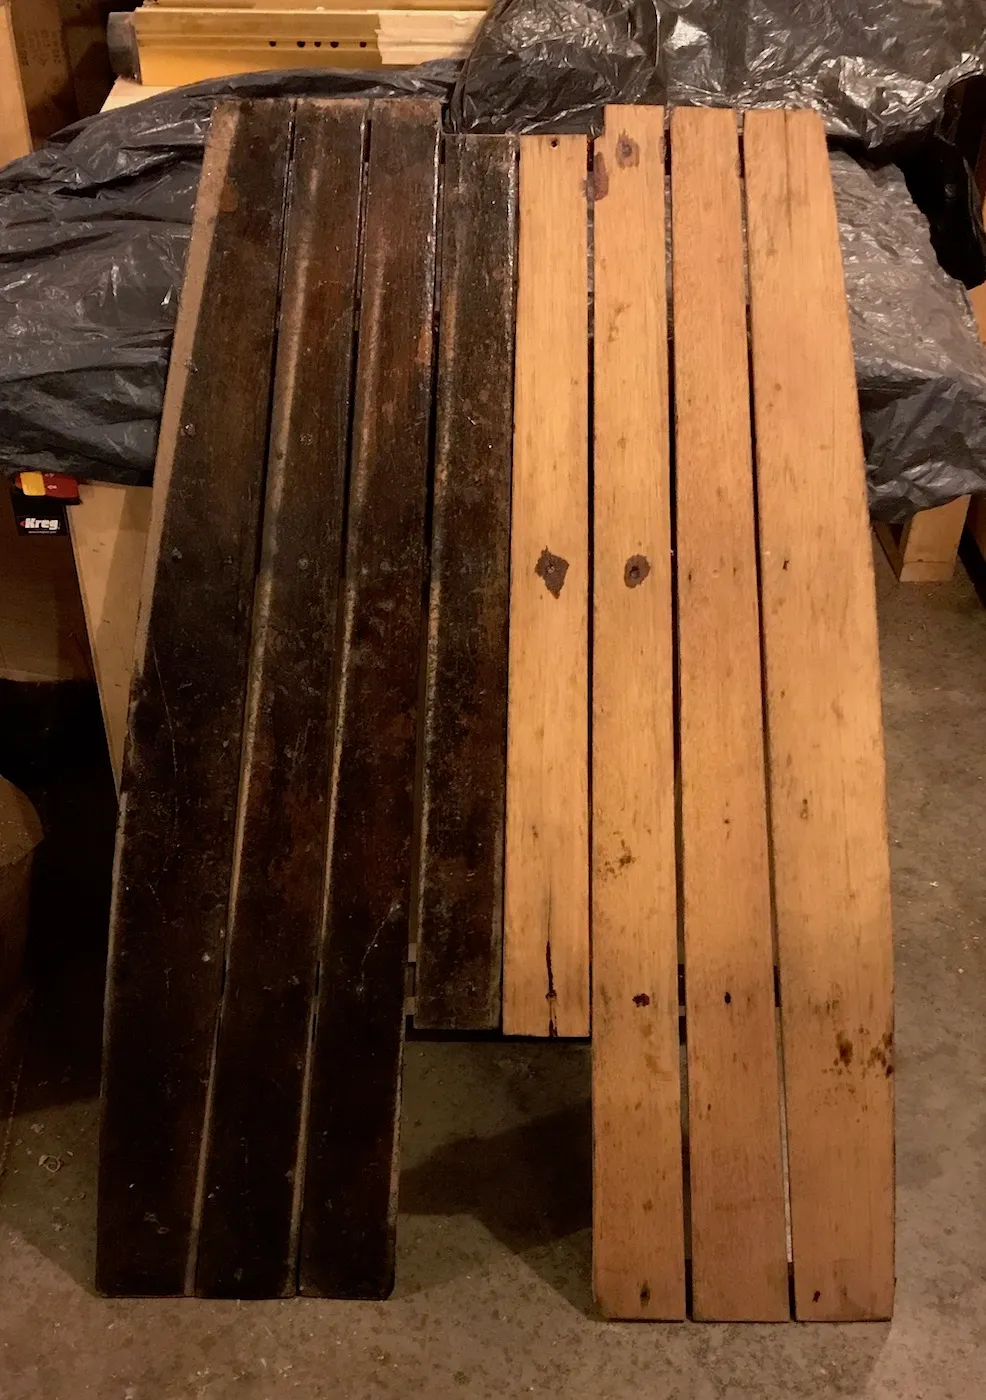
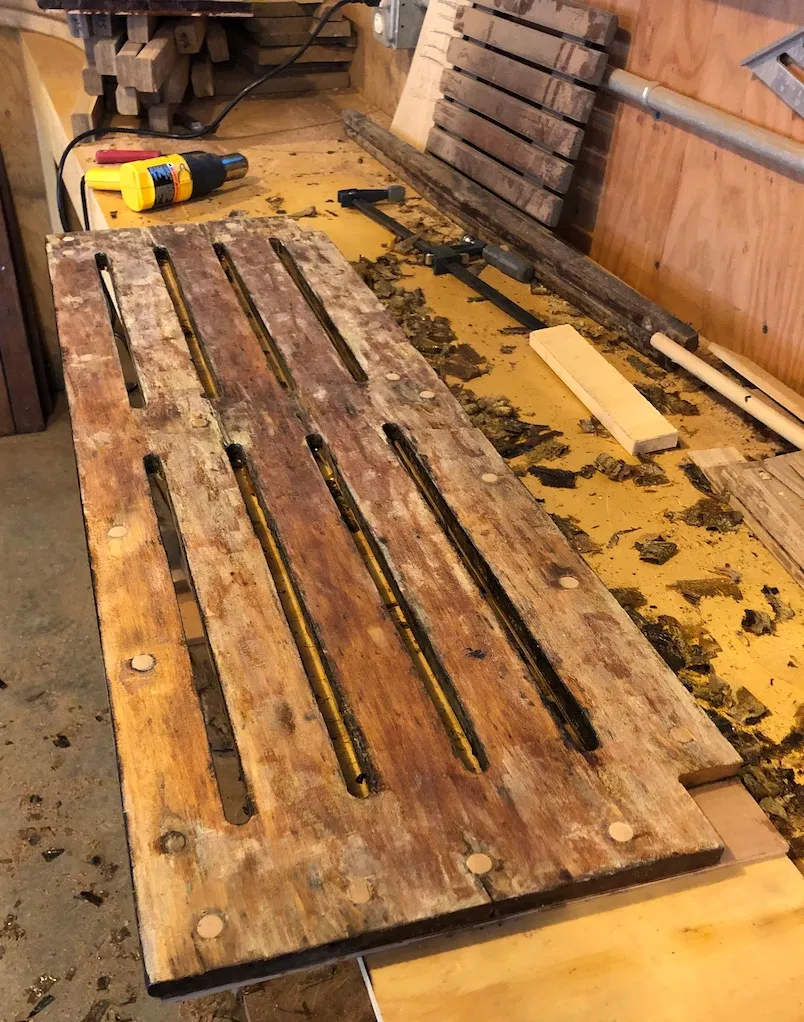
The best method we’ve found for bulk removal of unwanted accumulated varnish (and paint) layers has been through the combination of heat and scraping. Varnish can be warmed to the point where it begins to bubble ever so slightly without damaging the underlying wood, which makes it possible to remove the heated layer with only a gentle mechanical action.
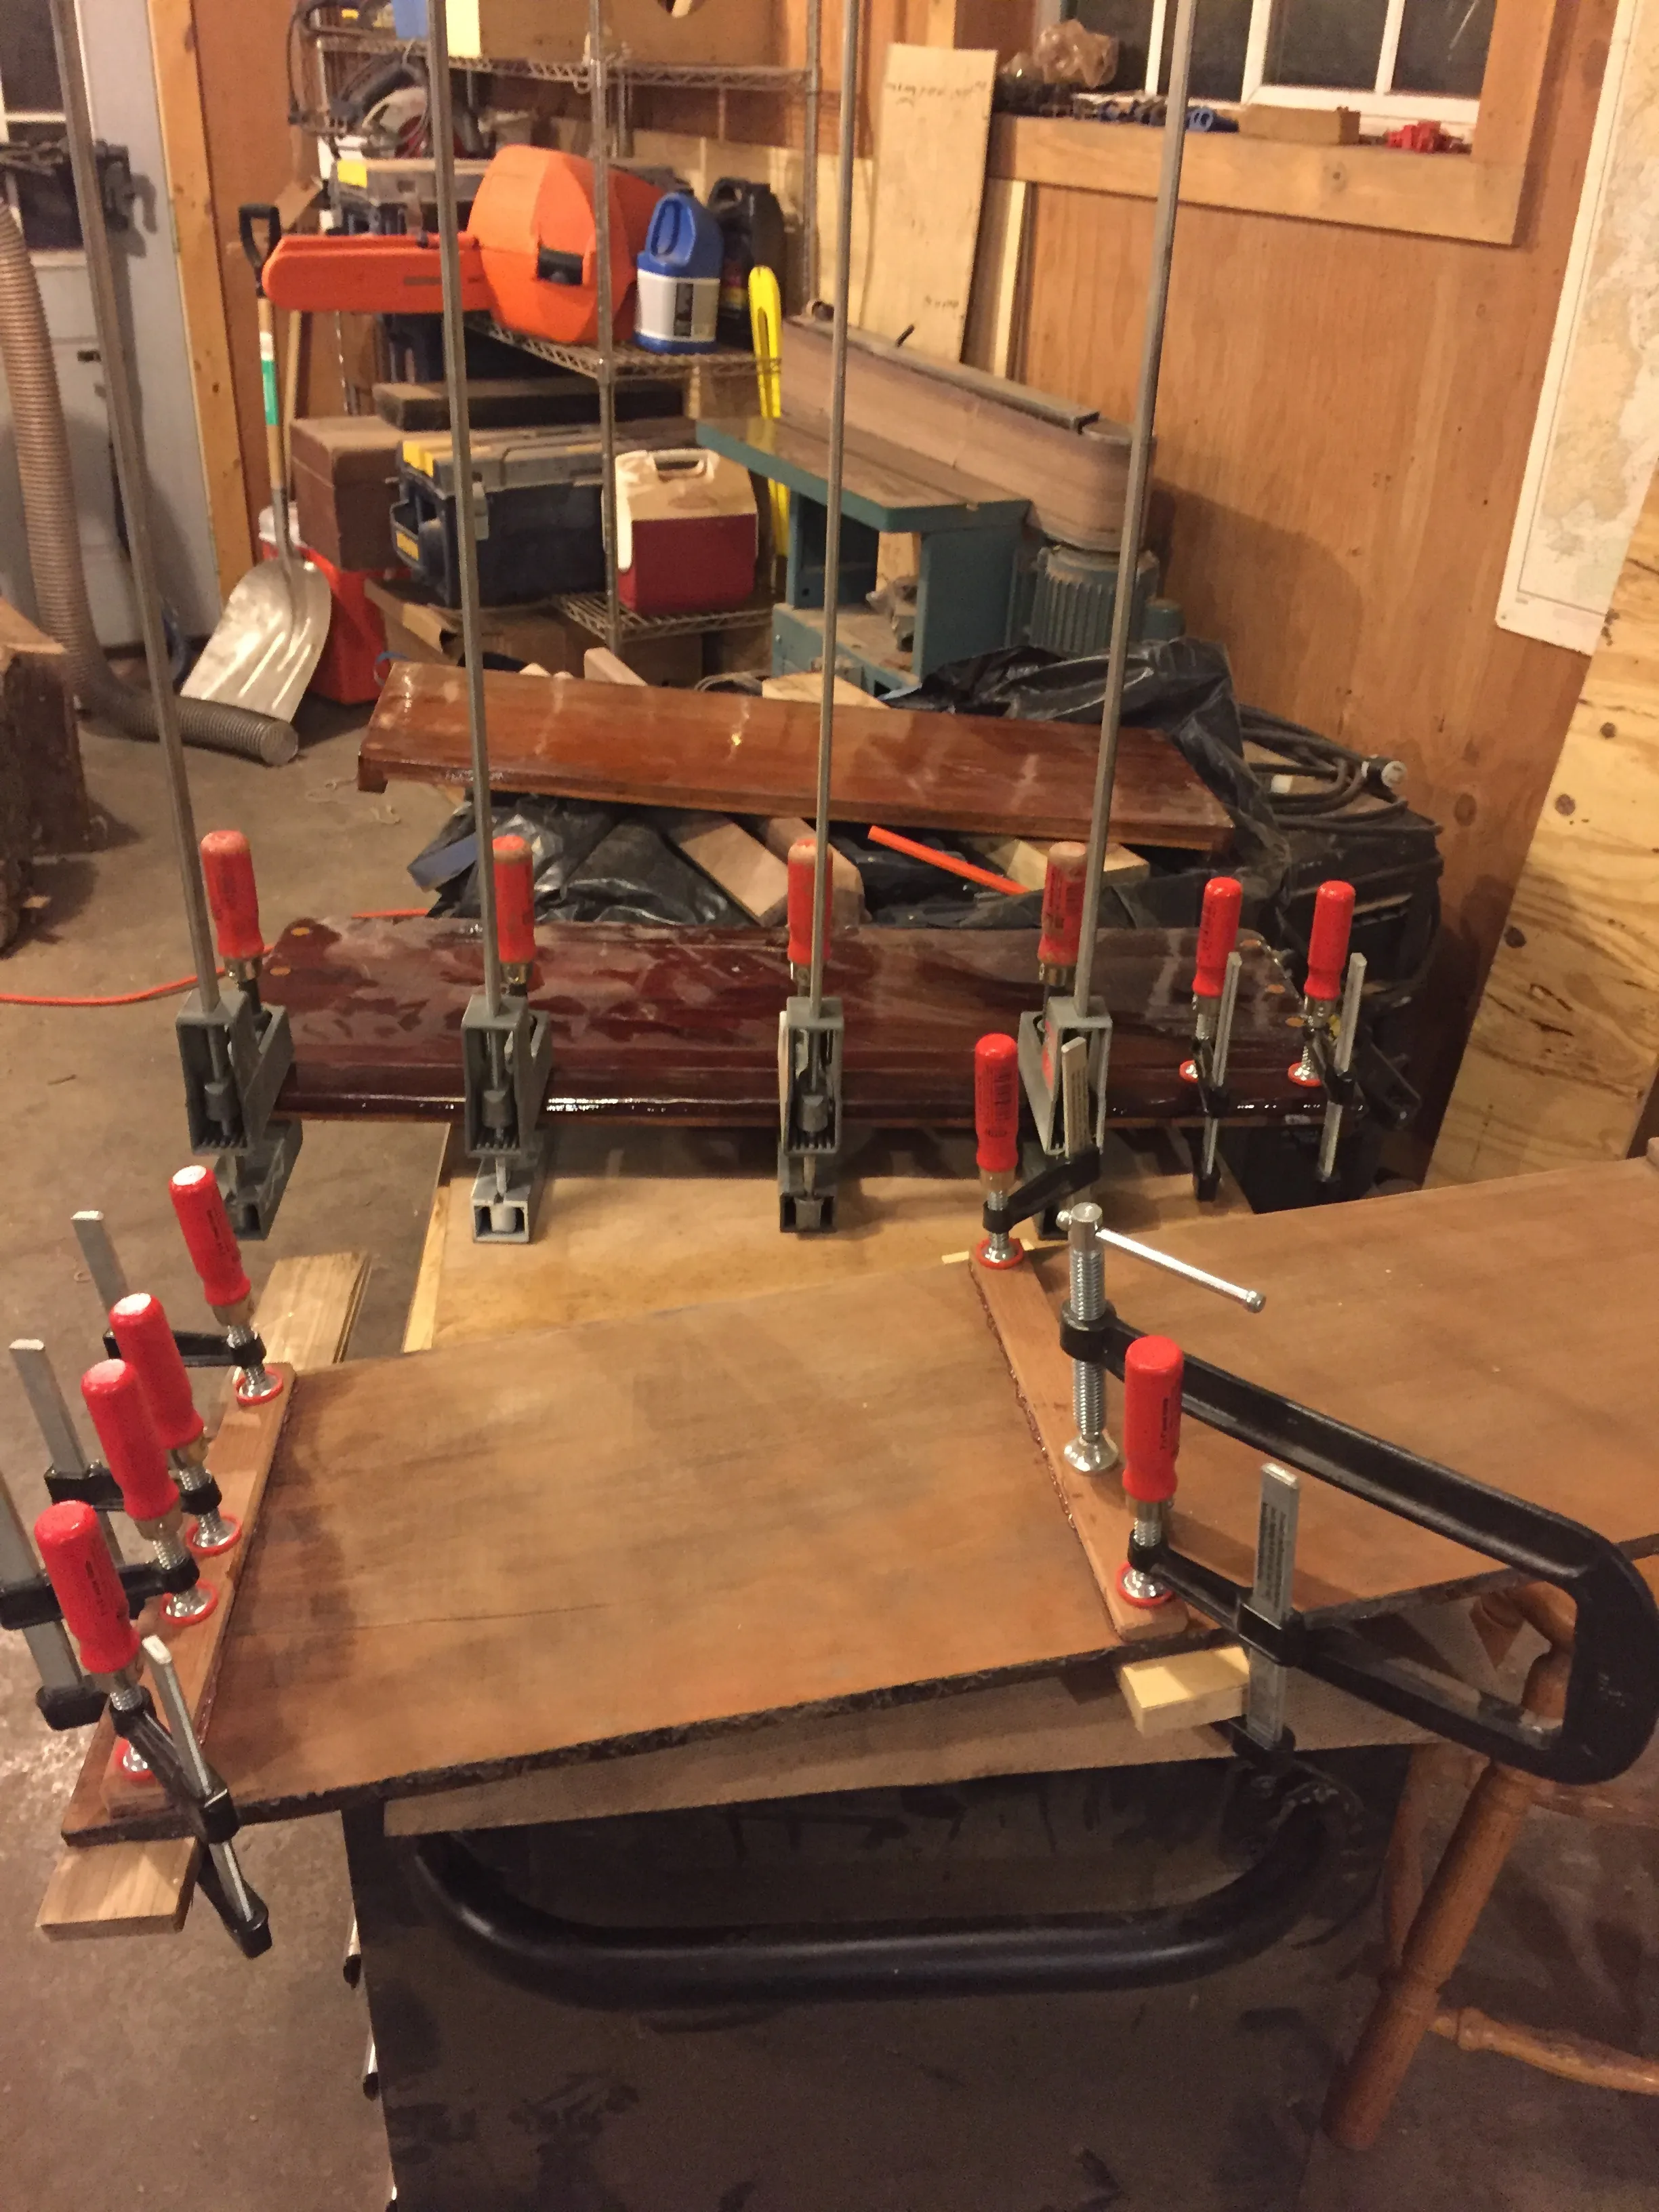
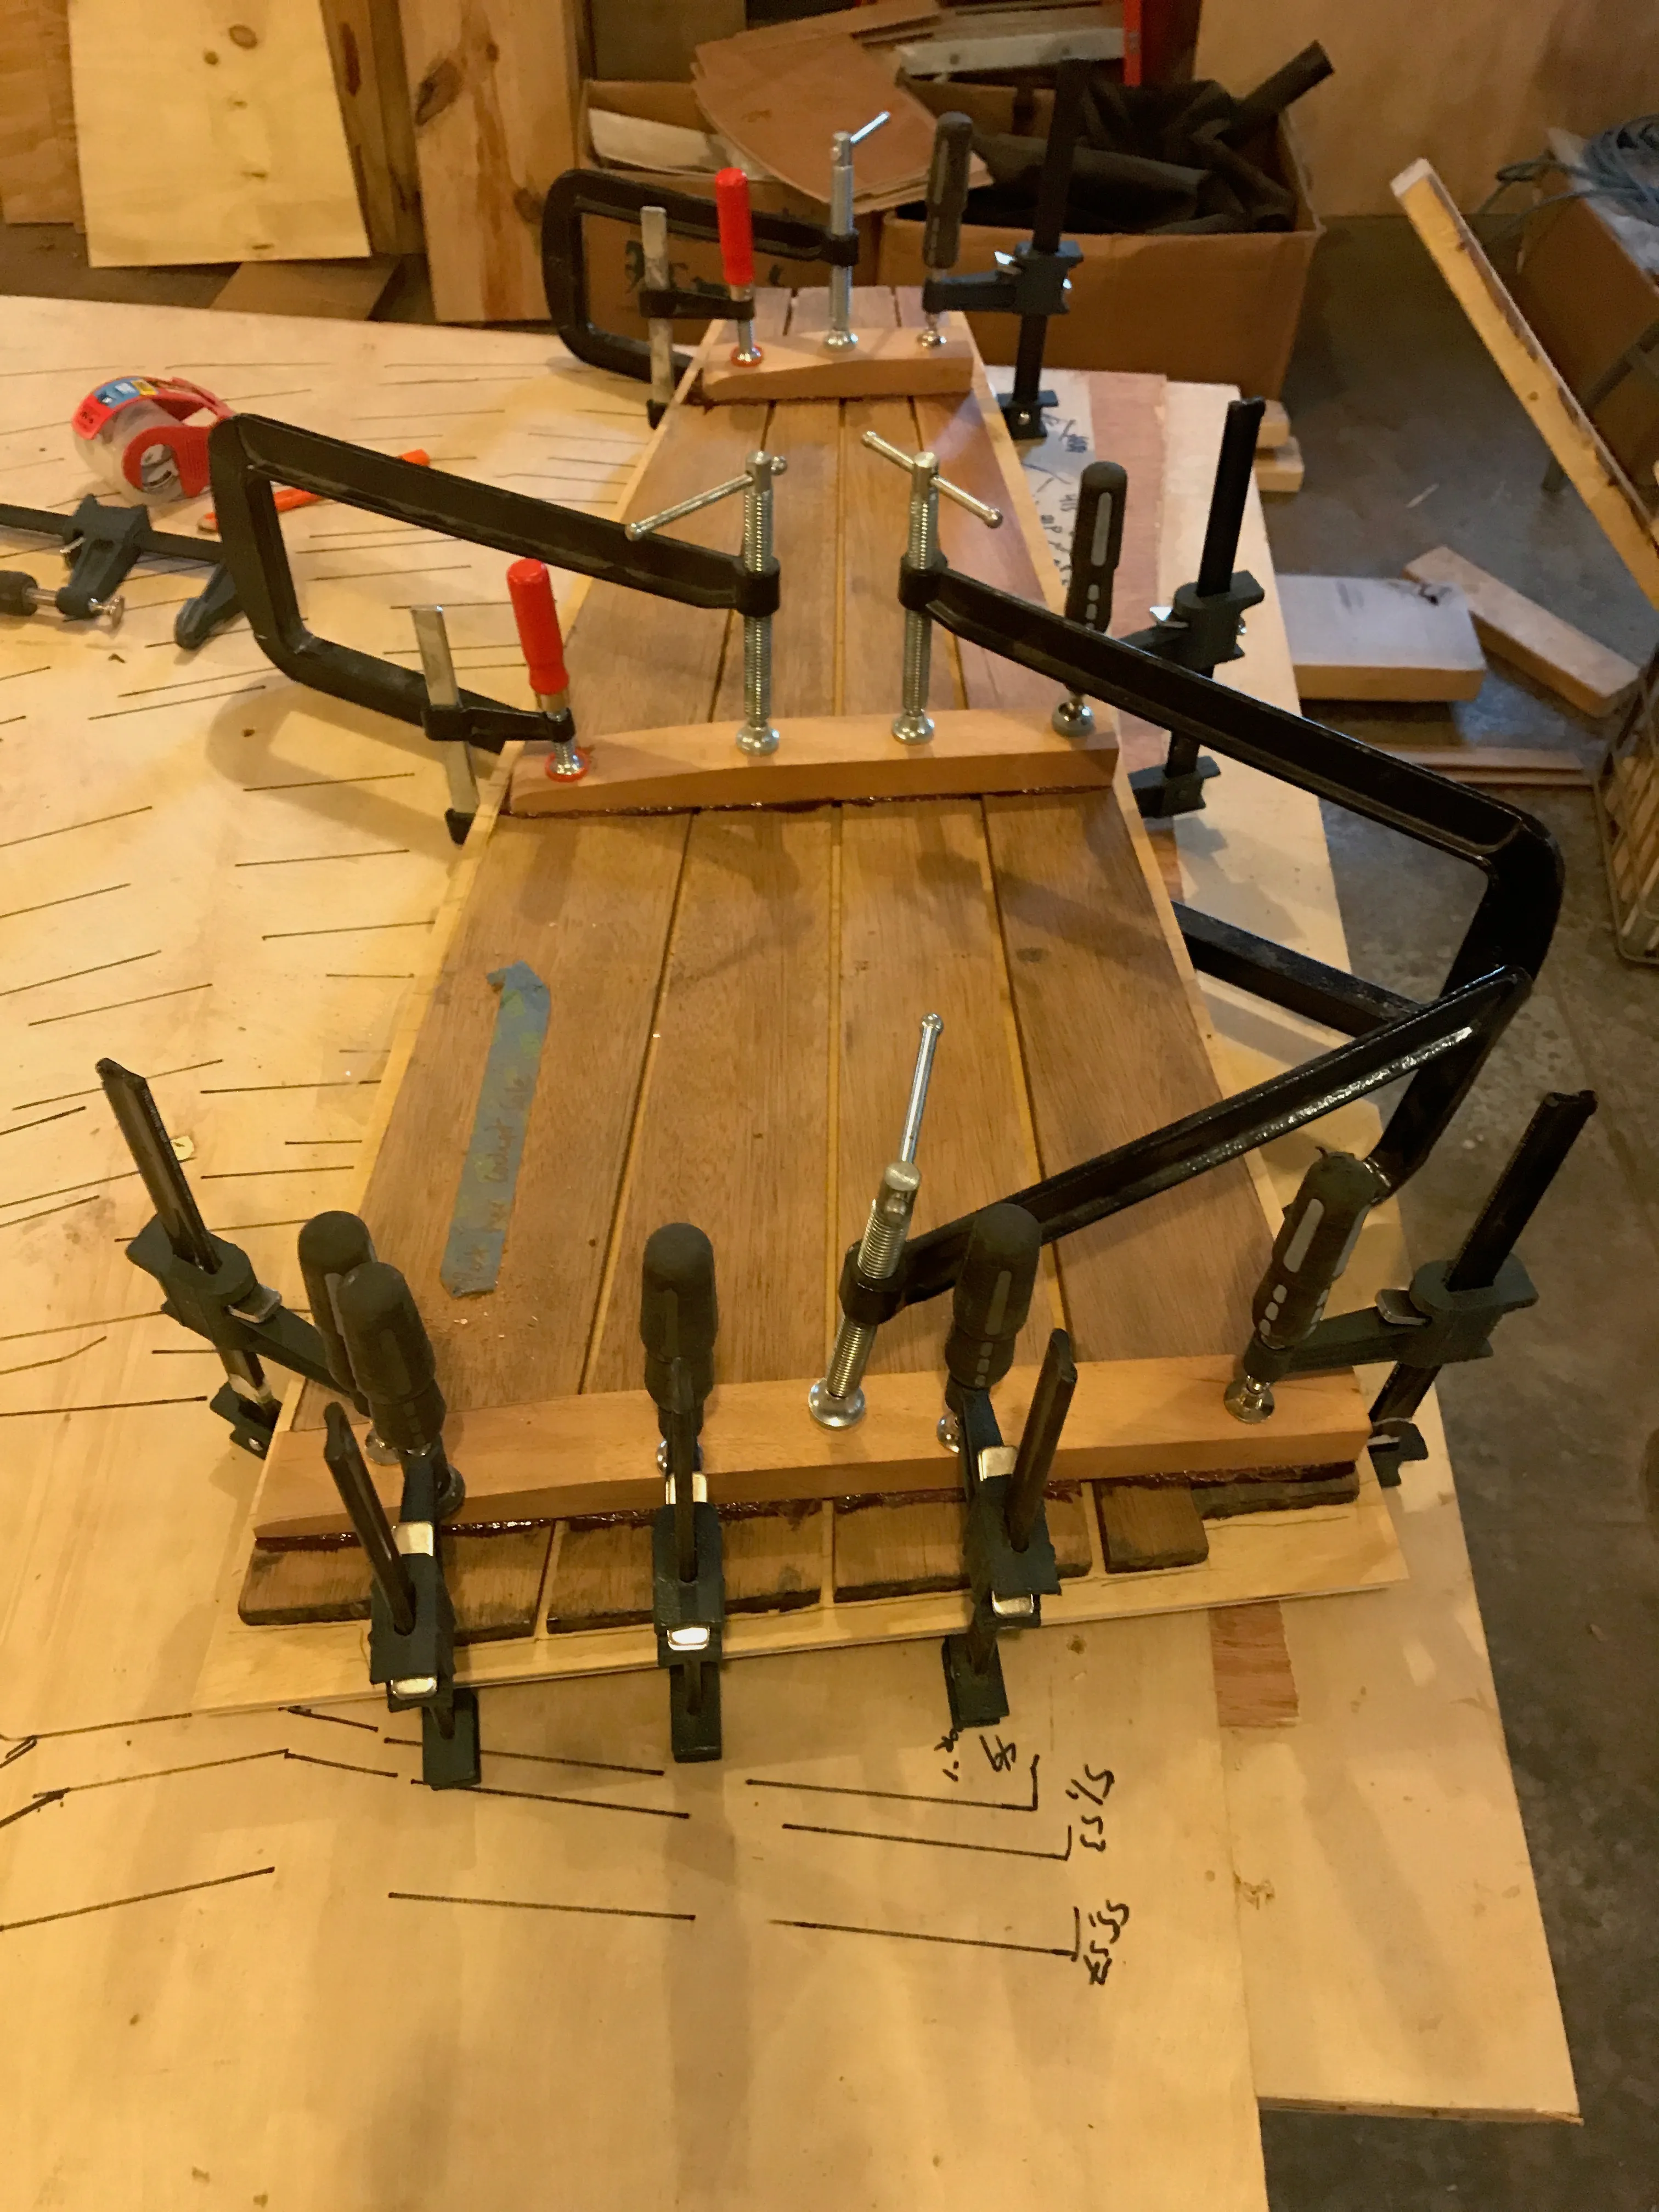
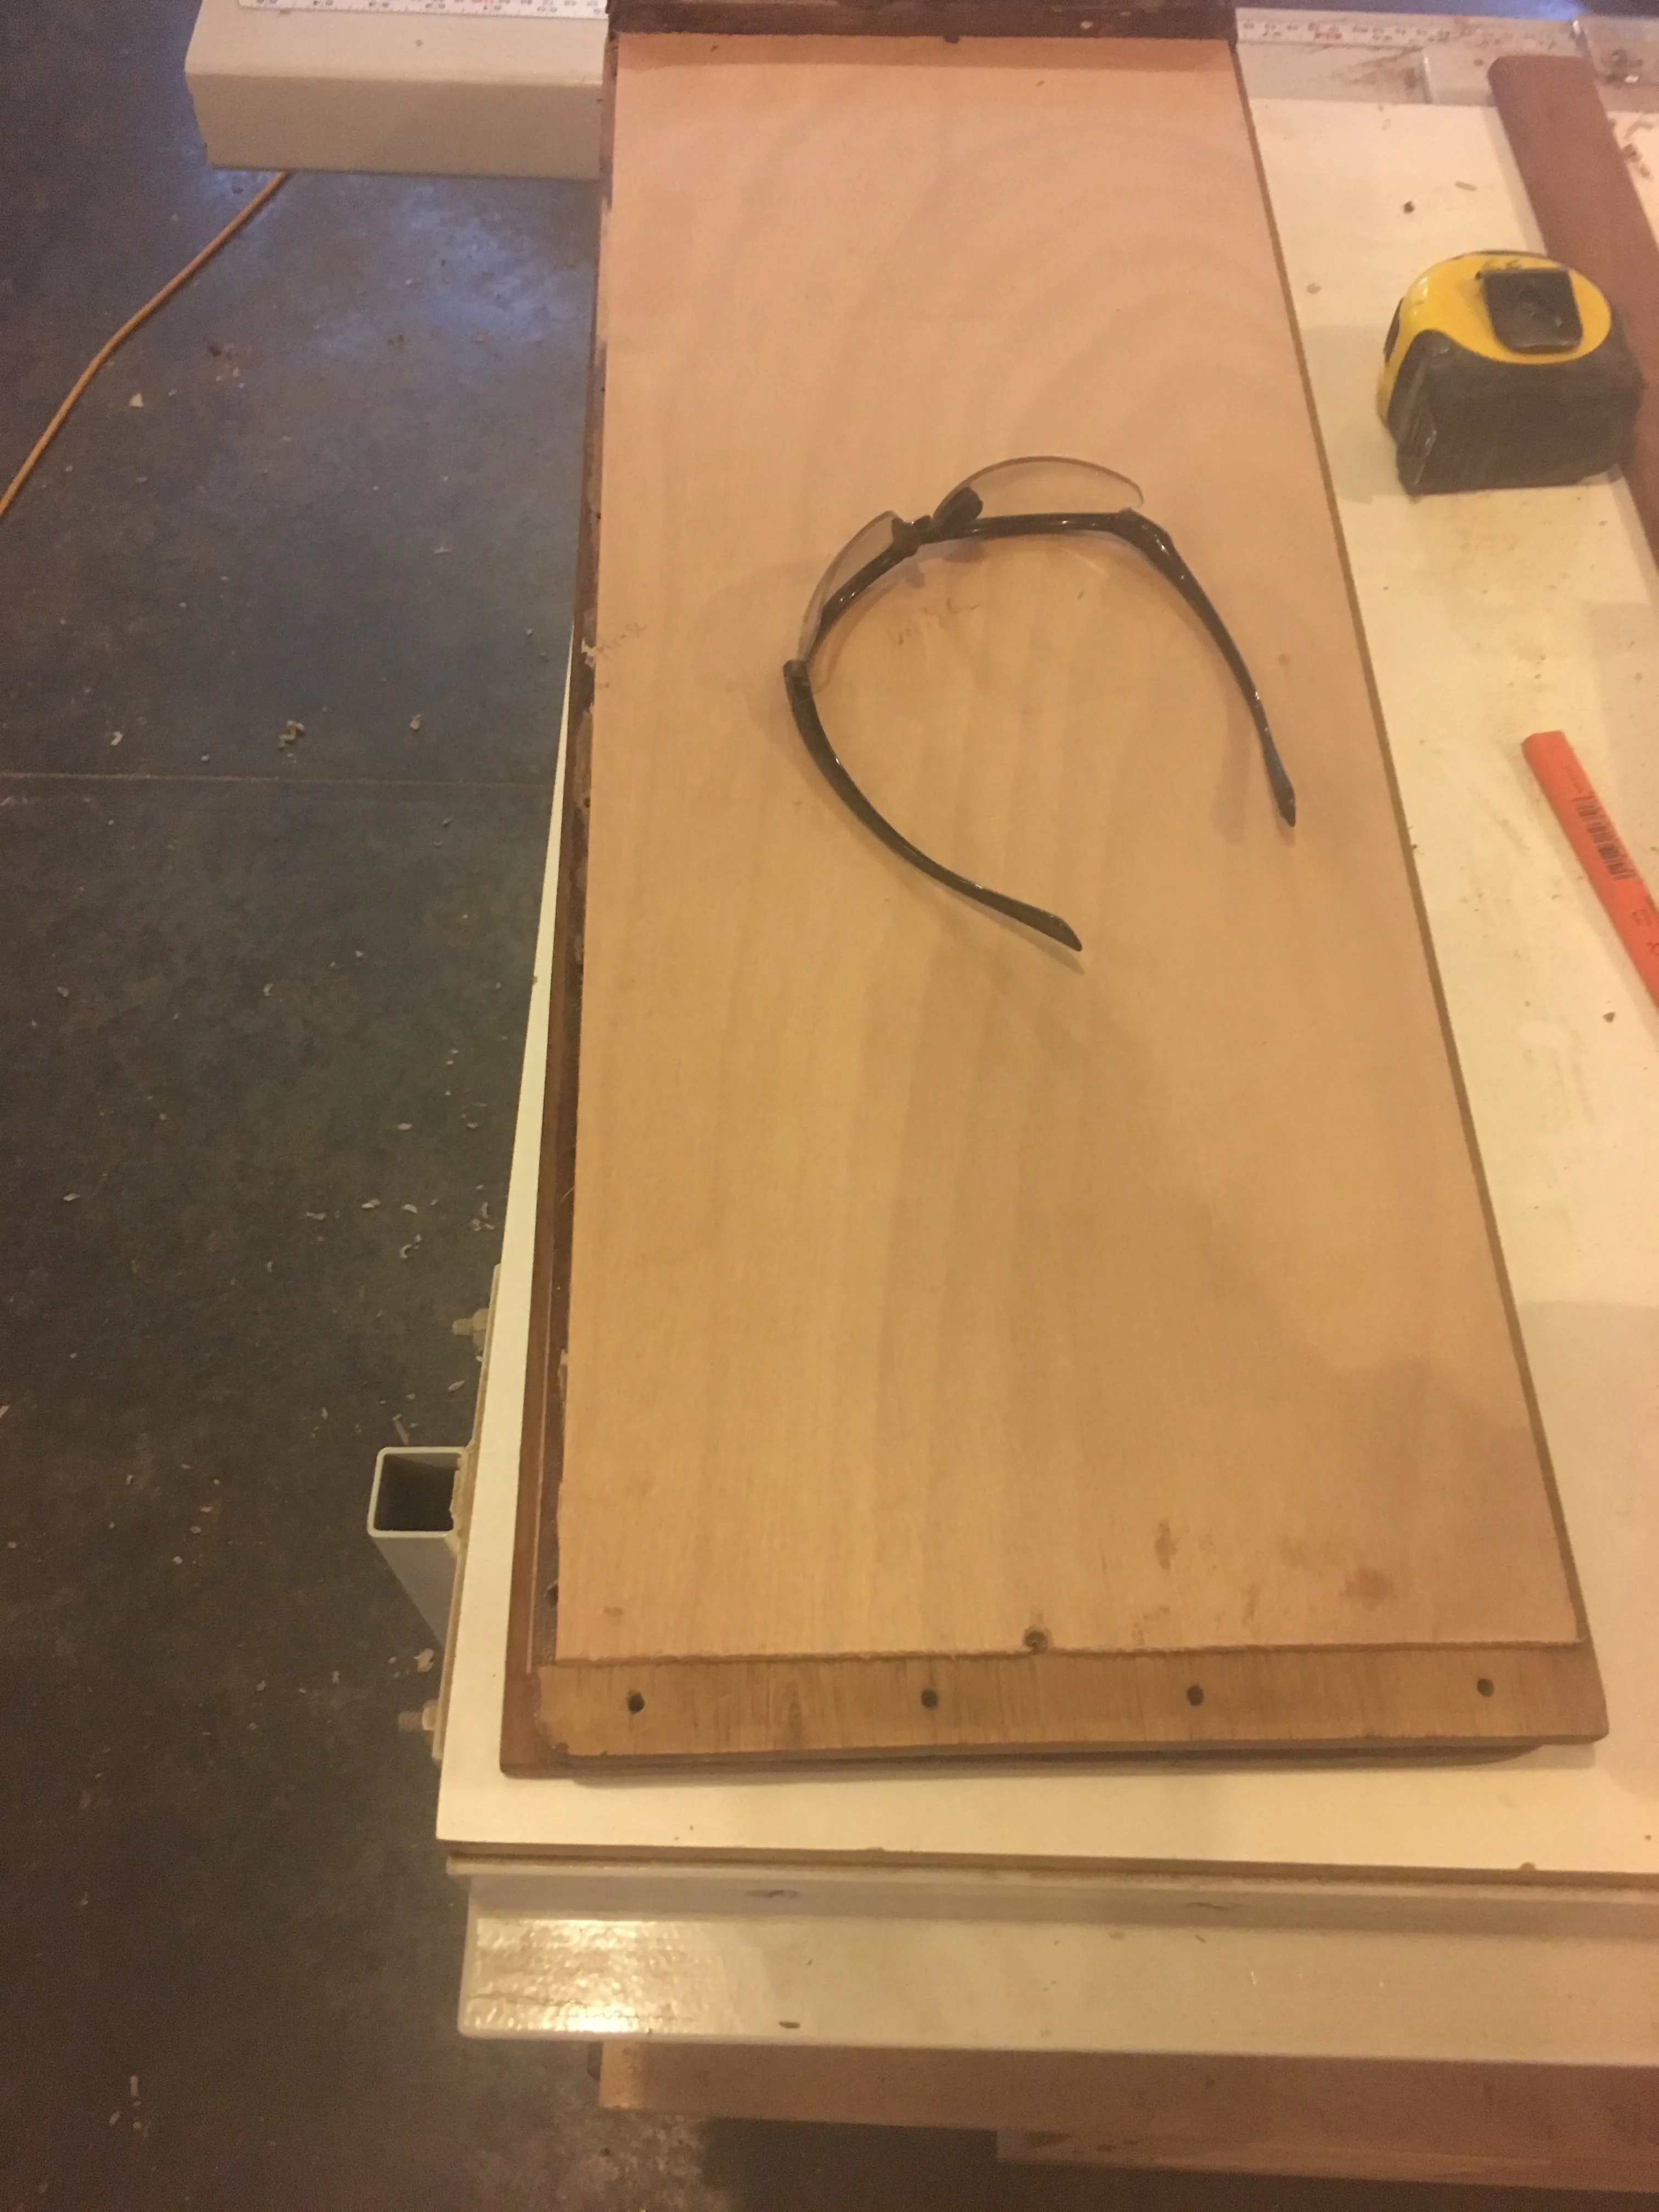
The remaining work was largely reinforcing as much of the existing material as we could salvage, by attaching new backing pieces with epoxy before refinishing.
Hatch covers
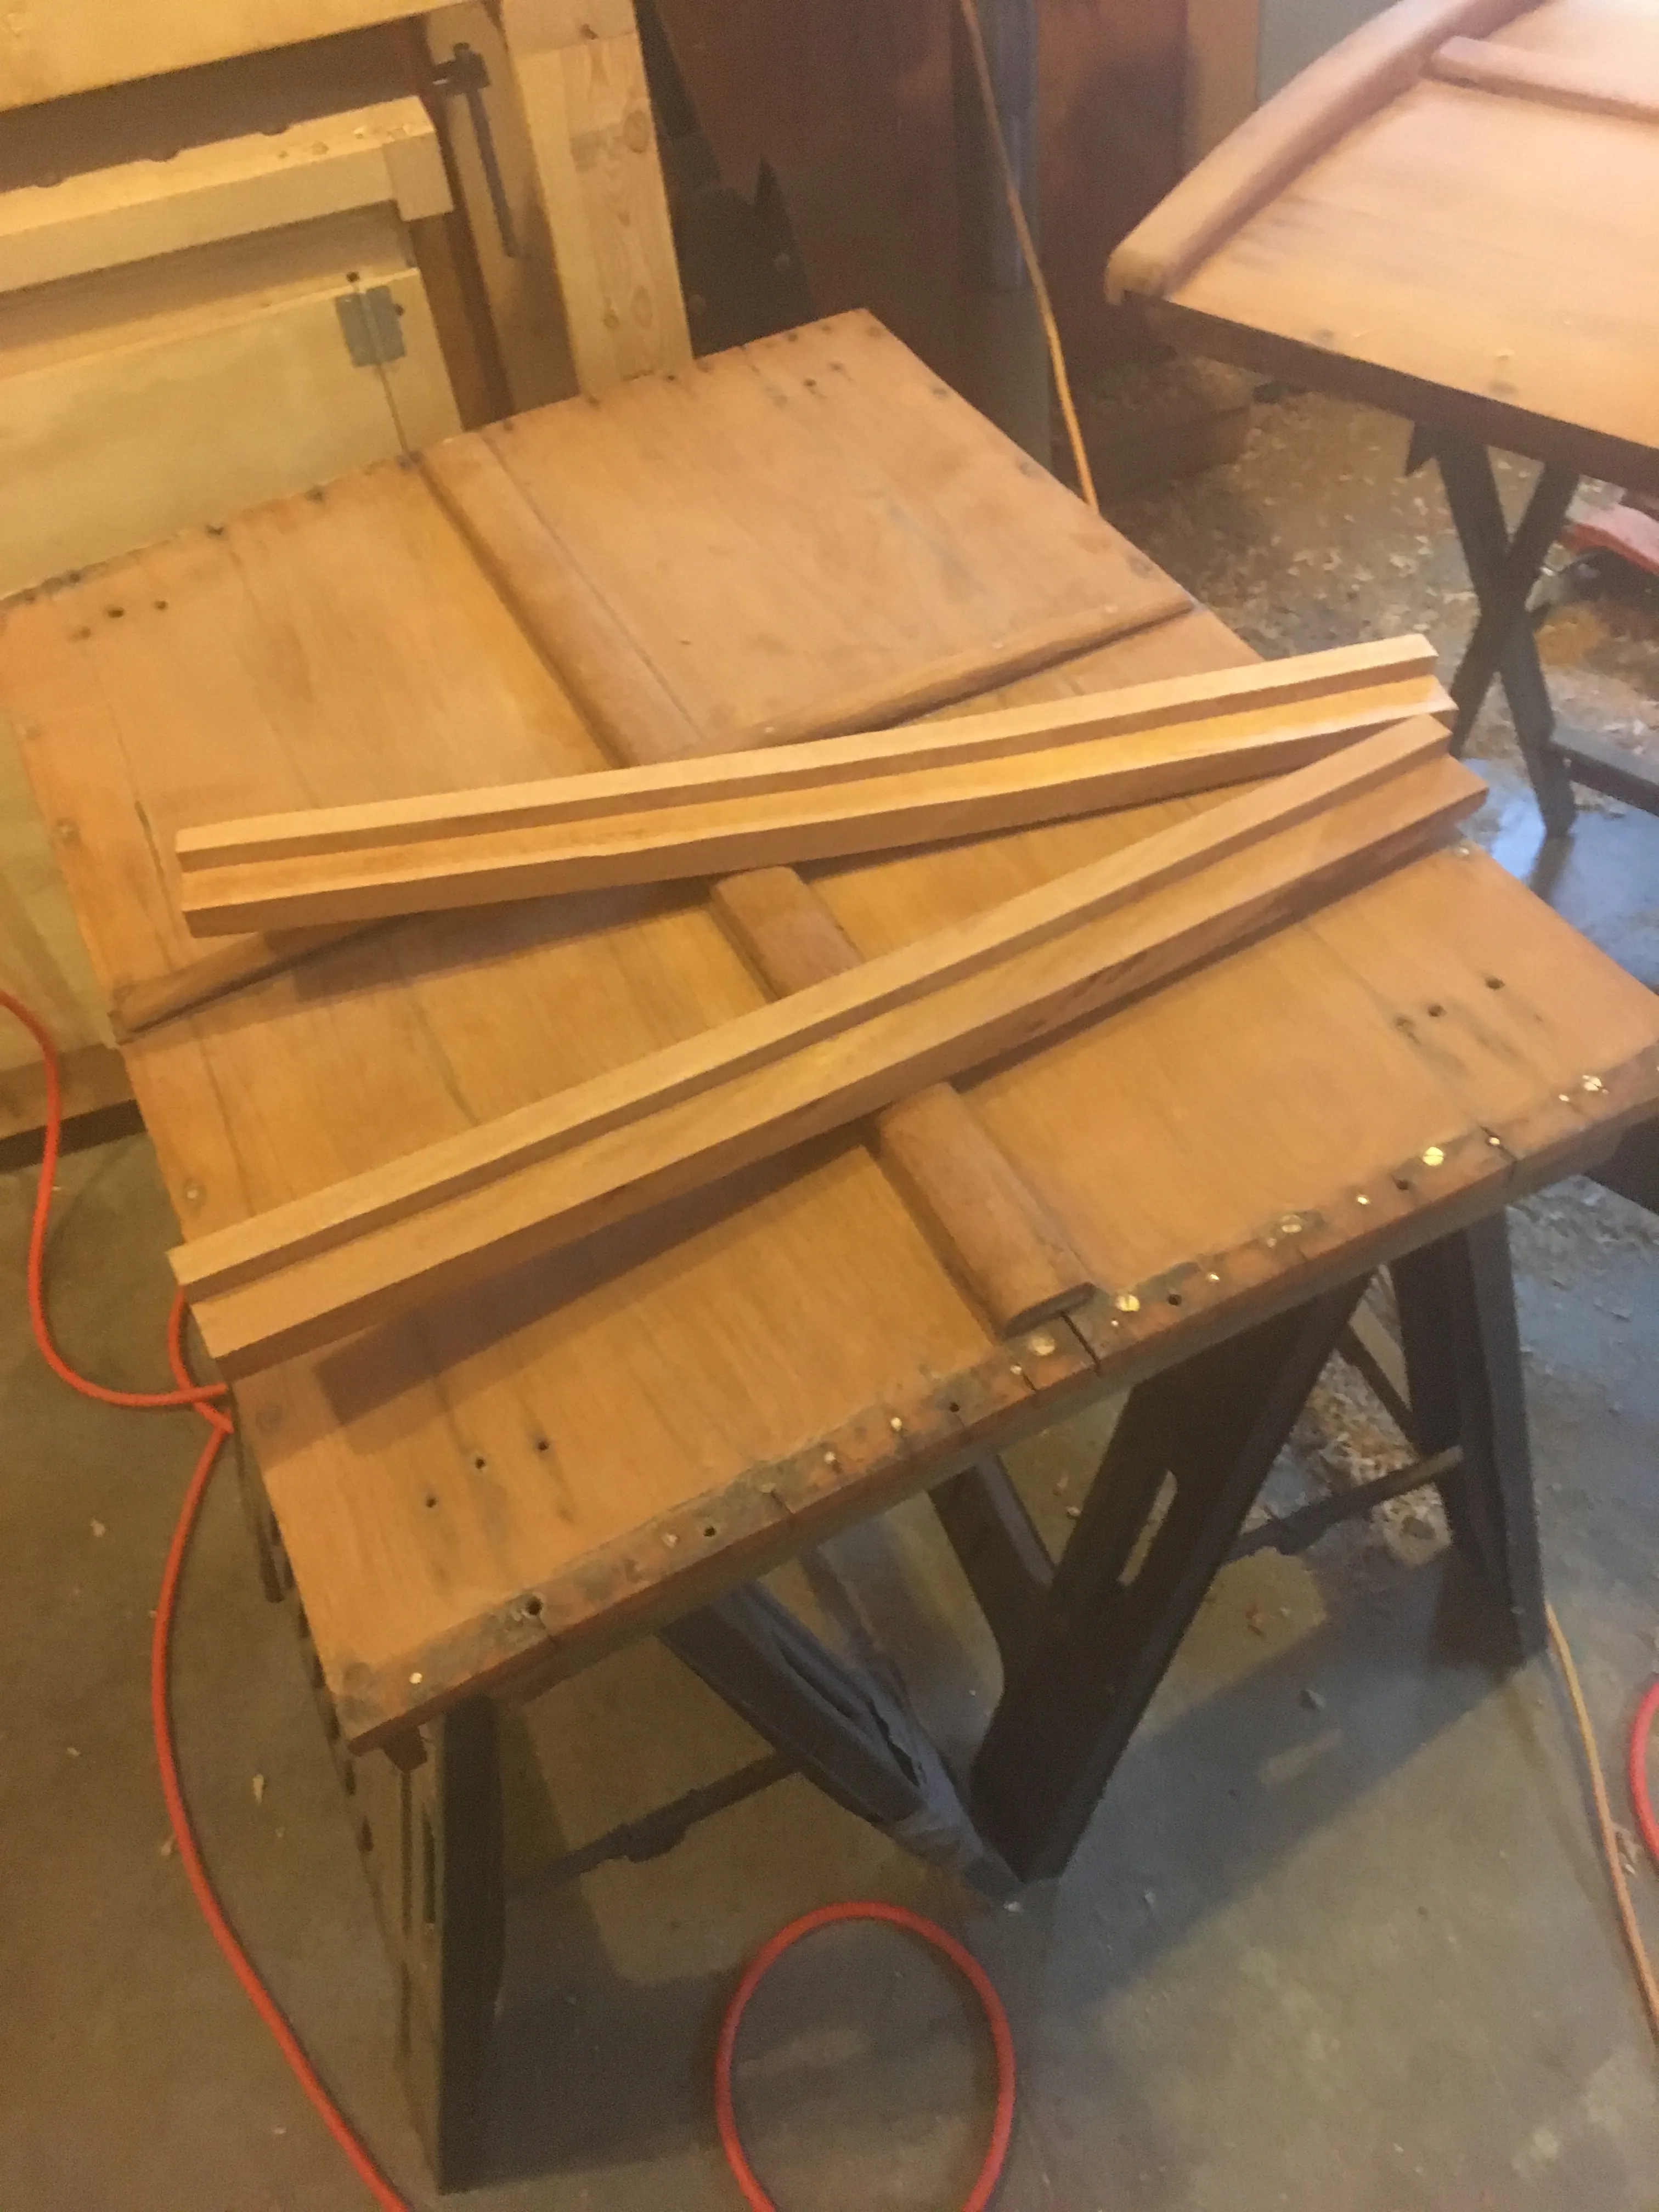
The cockpit, fore, and aft hatch covers were all in pretty rough shape. These are essential (and beautiful) original pieces of the boat, made of honduran mahogany in dimensions that are impossible to find anywhere anymore. We took extra special care to rebuild these pieces by replacing the stiffening longitudinal and athwartship rails that give the hatch covers their strength.
Finishing
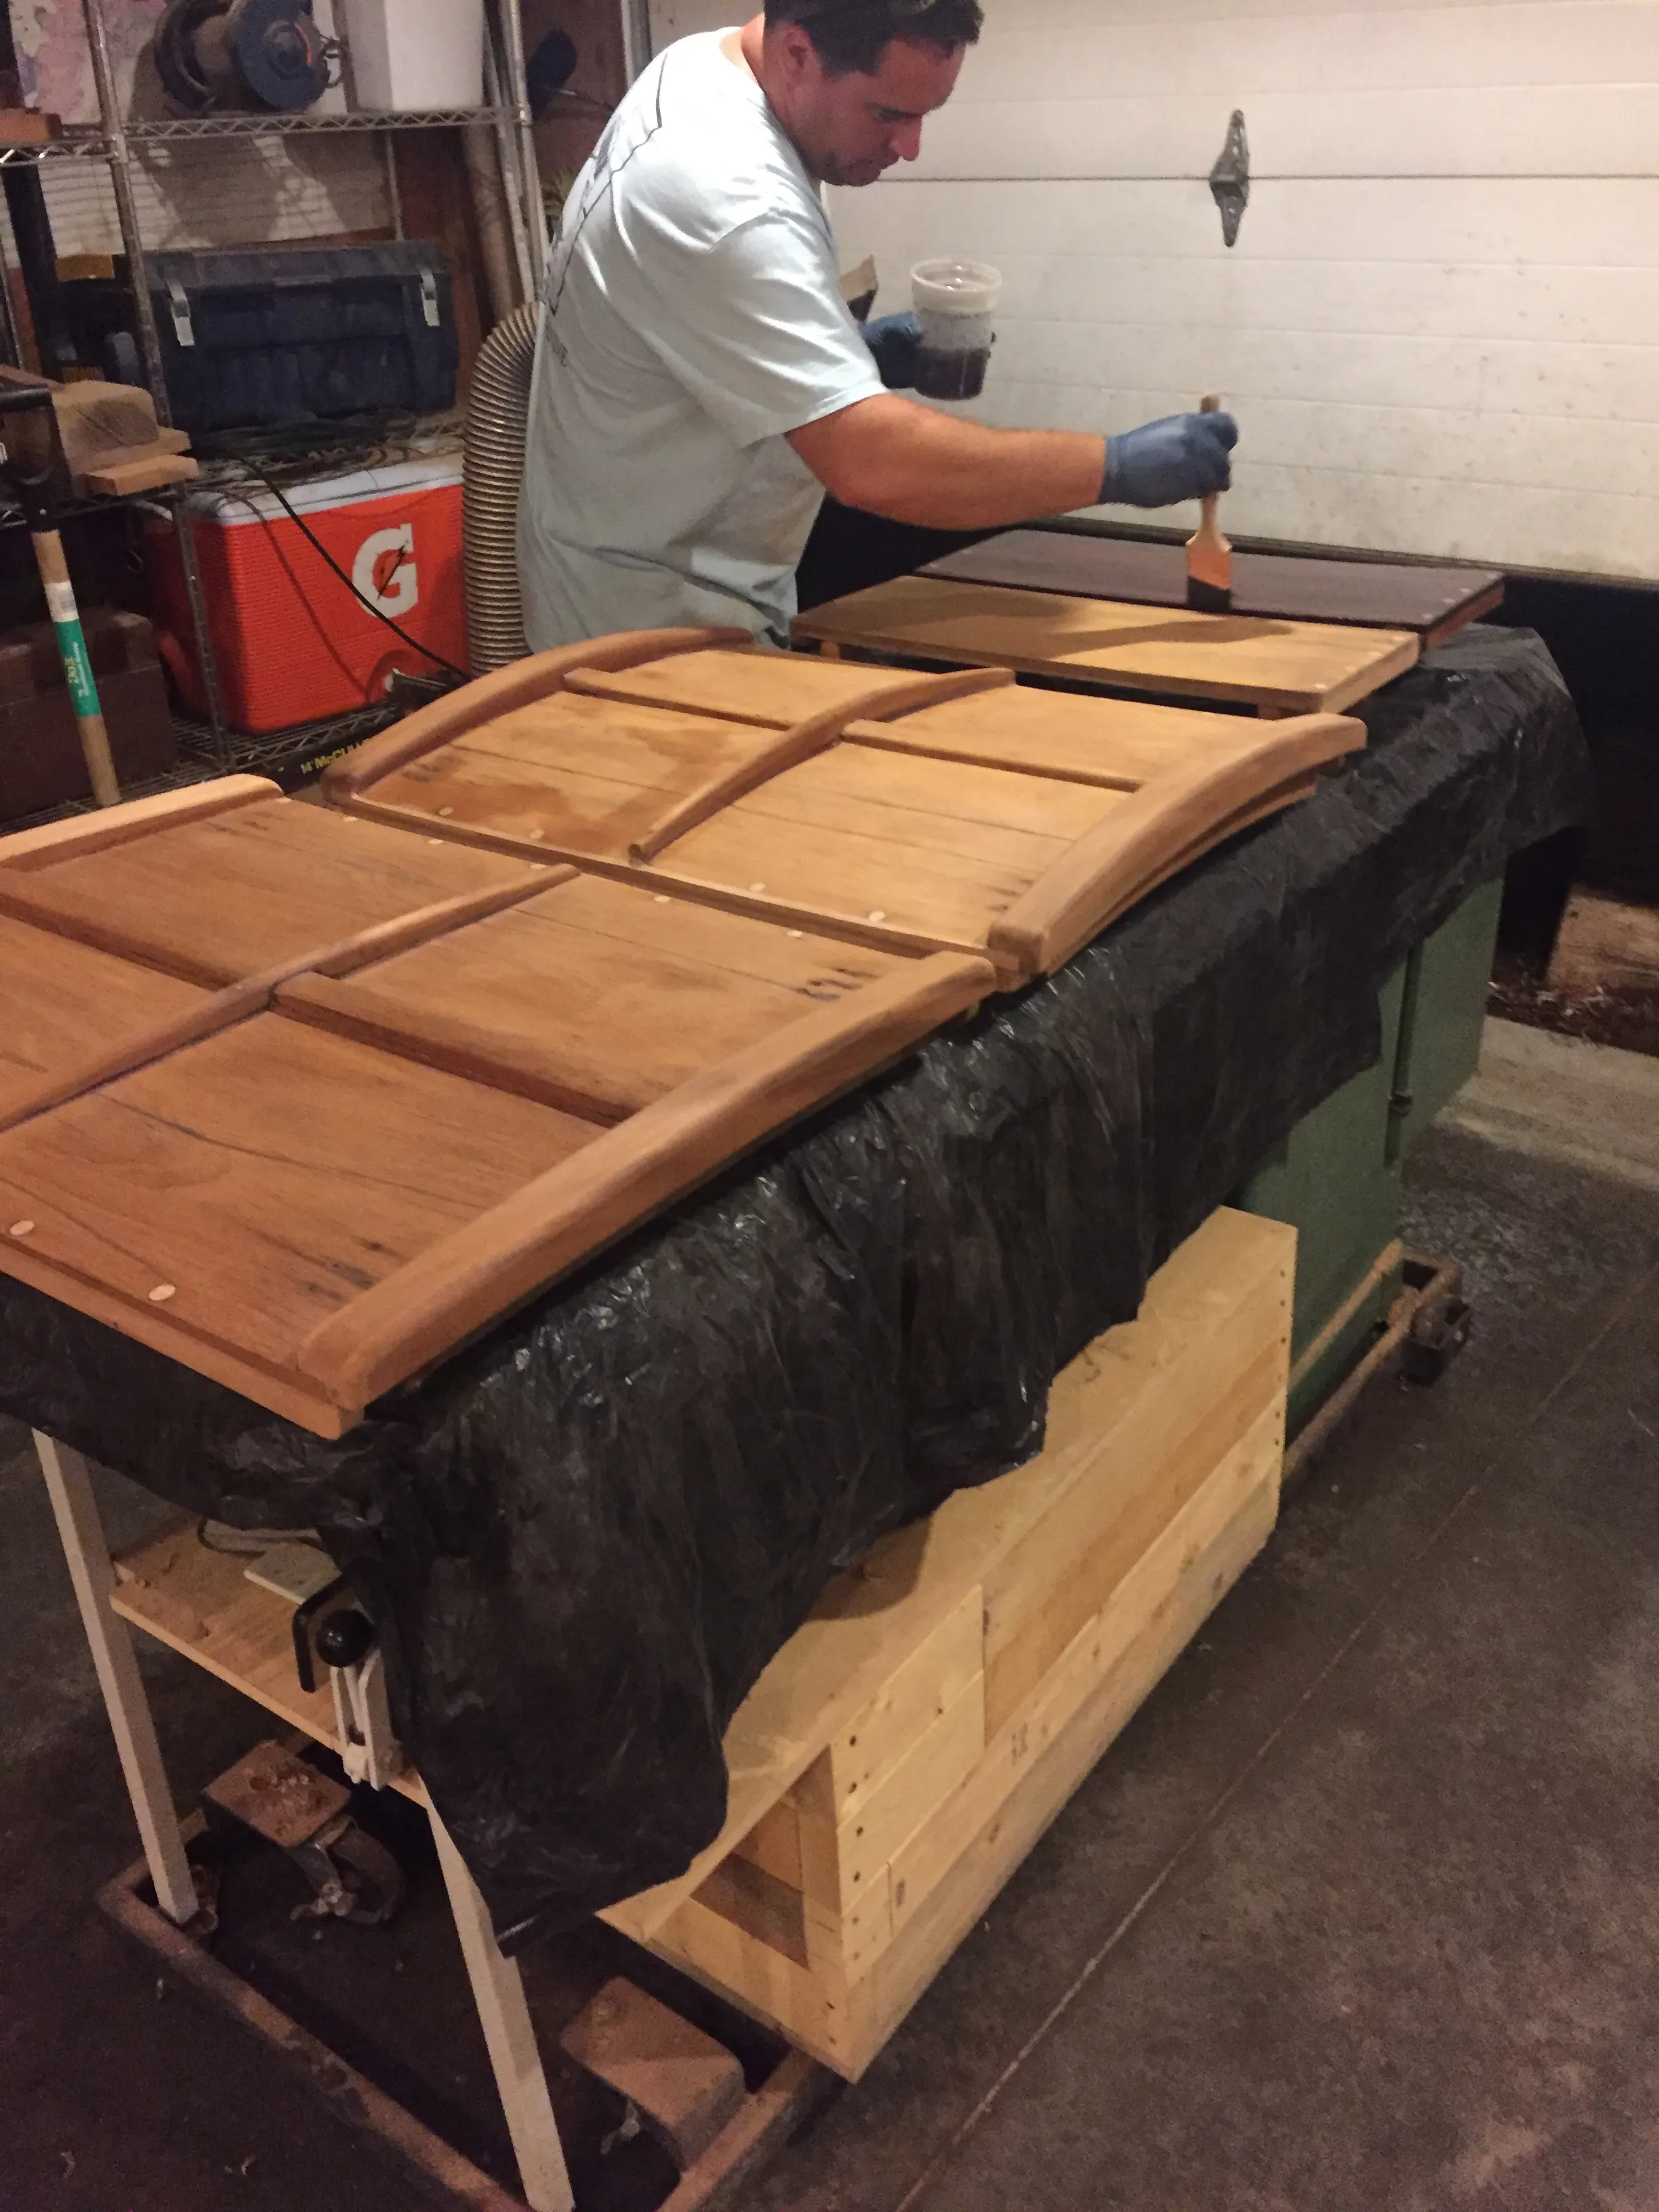
Varnish, varnish, everywhere.
