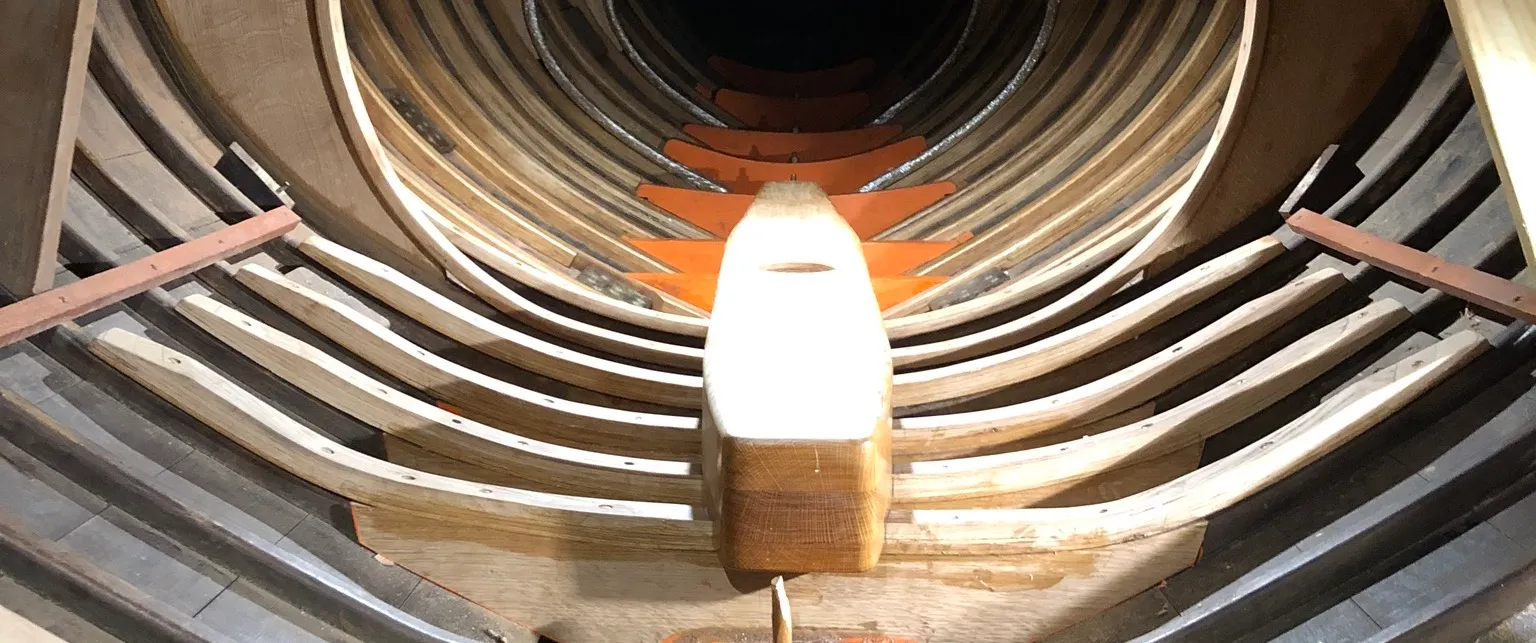
This post covers building a new, much larger mast step to adequately transfer the loads from the mast butt across the floor timbers and aft towards the ballast keel.
One the biggest issues with these square meter boats (other than being a hundred years old) is that there is a significant offset between where the mast is attached to the boat and the lead ballast that keeps the boat upright.
This is an issue for two major reasons. First, unless the naval architect deals with it in the sailplan somehow, there will by default be a misalignment between the center of effort (CE) and the center of lateral resistance (CLR). CE is located at the center of all of the forces that keep the boat from slipping sideways, which is usually somewhere in the middle of the underwater keel surface. CLR is the point where the vectors of all forces on the sails are centered. If CE and CLR are not vertically aligned, the boat will want to round up or bear off - constantly. To sail straight, you’ll need to counteract this tendency by applying the rudder, which is slow and frankly demoralizing.
The second issue is actually the more pertinent and consequential one in our case. If you think of the surface of the ocean as a Cartesian plane, CE and CLR only deal with forces in the X and Y axes. But the offset between the mast butt and the lead ballast also imparts a significant torsional force that can work to literally twist the boat apart. Think of it this way: the wind on the sails causes a heeling moment that rolls the boat downwards, while the lead ballast imparts a righting moment that wants to roll the boat back up to vertical. If these moments are misaligned, the section of the boat in between those two moments will be twisted like a wet rag.
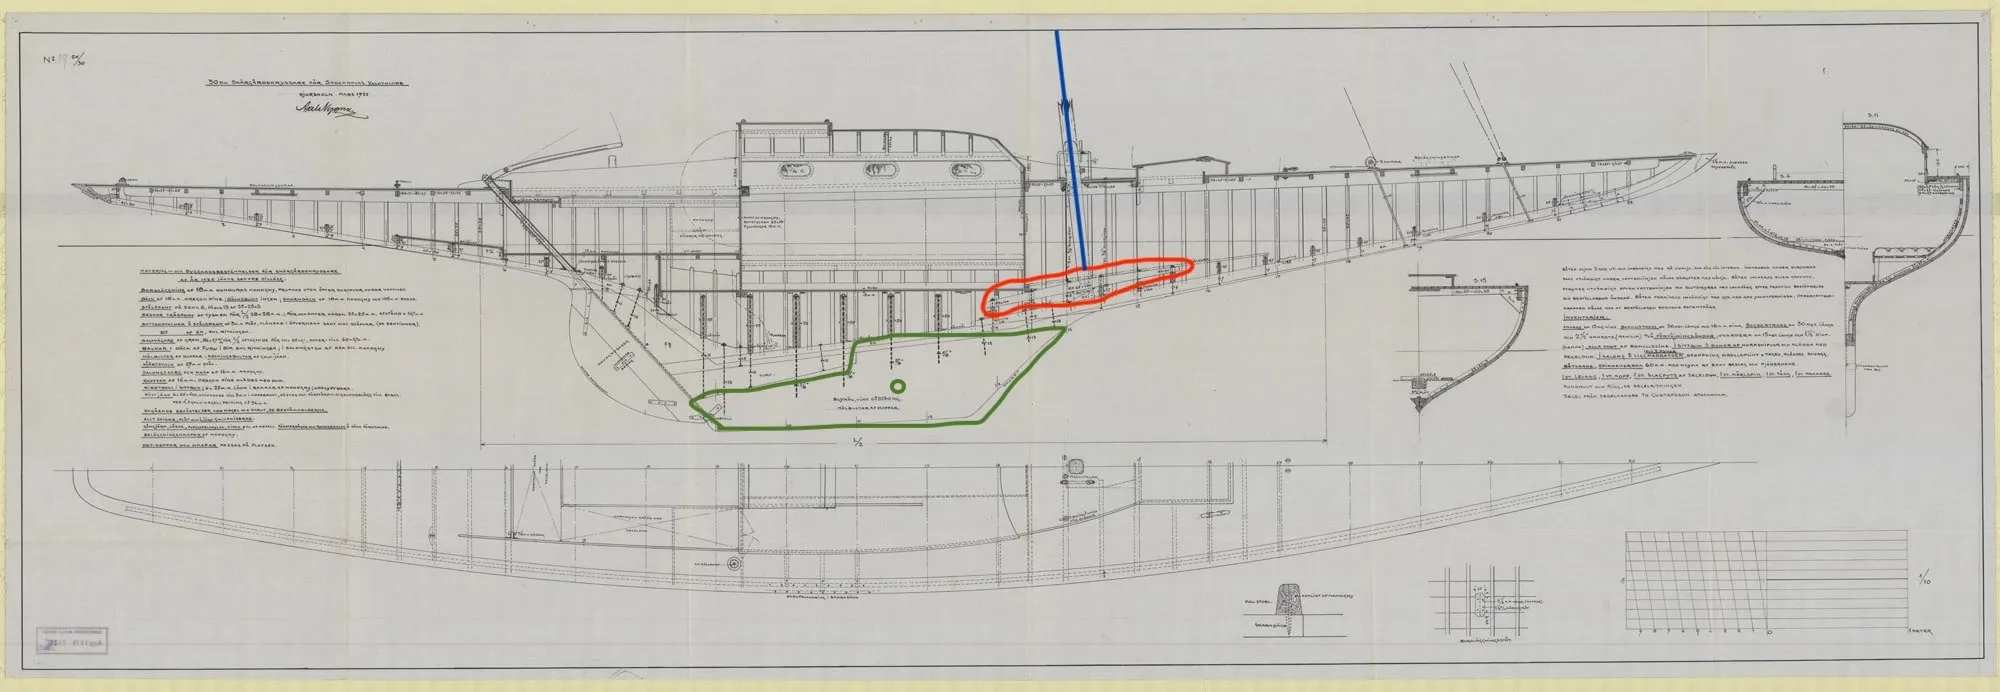
Our strategy to deal with this problem is multi-partite, but all of the tactics are focused on transferring and equalizing loads across the structure of the hull. The new mast step is no different - it will tie to together floor timbers and frames between the twisting moments, bolster the backbone of the boat itself.
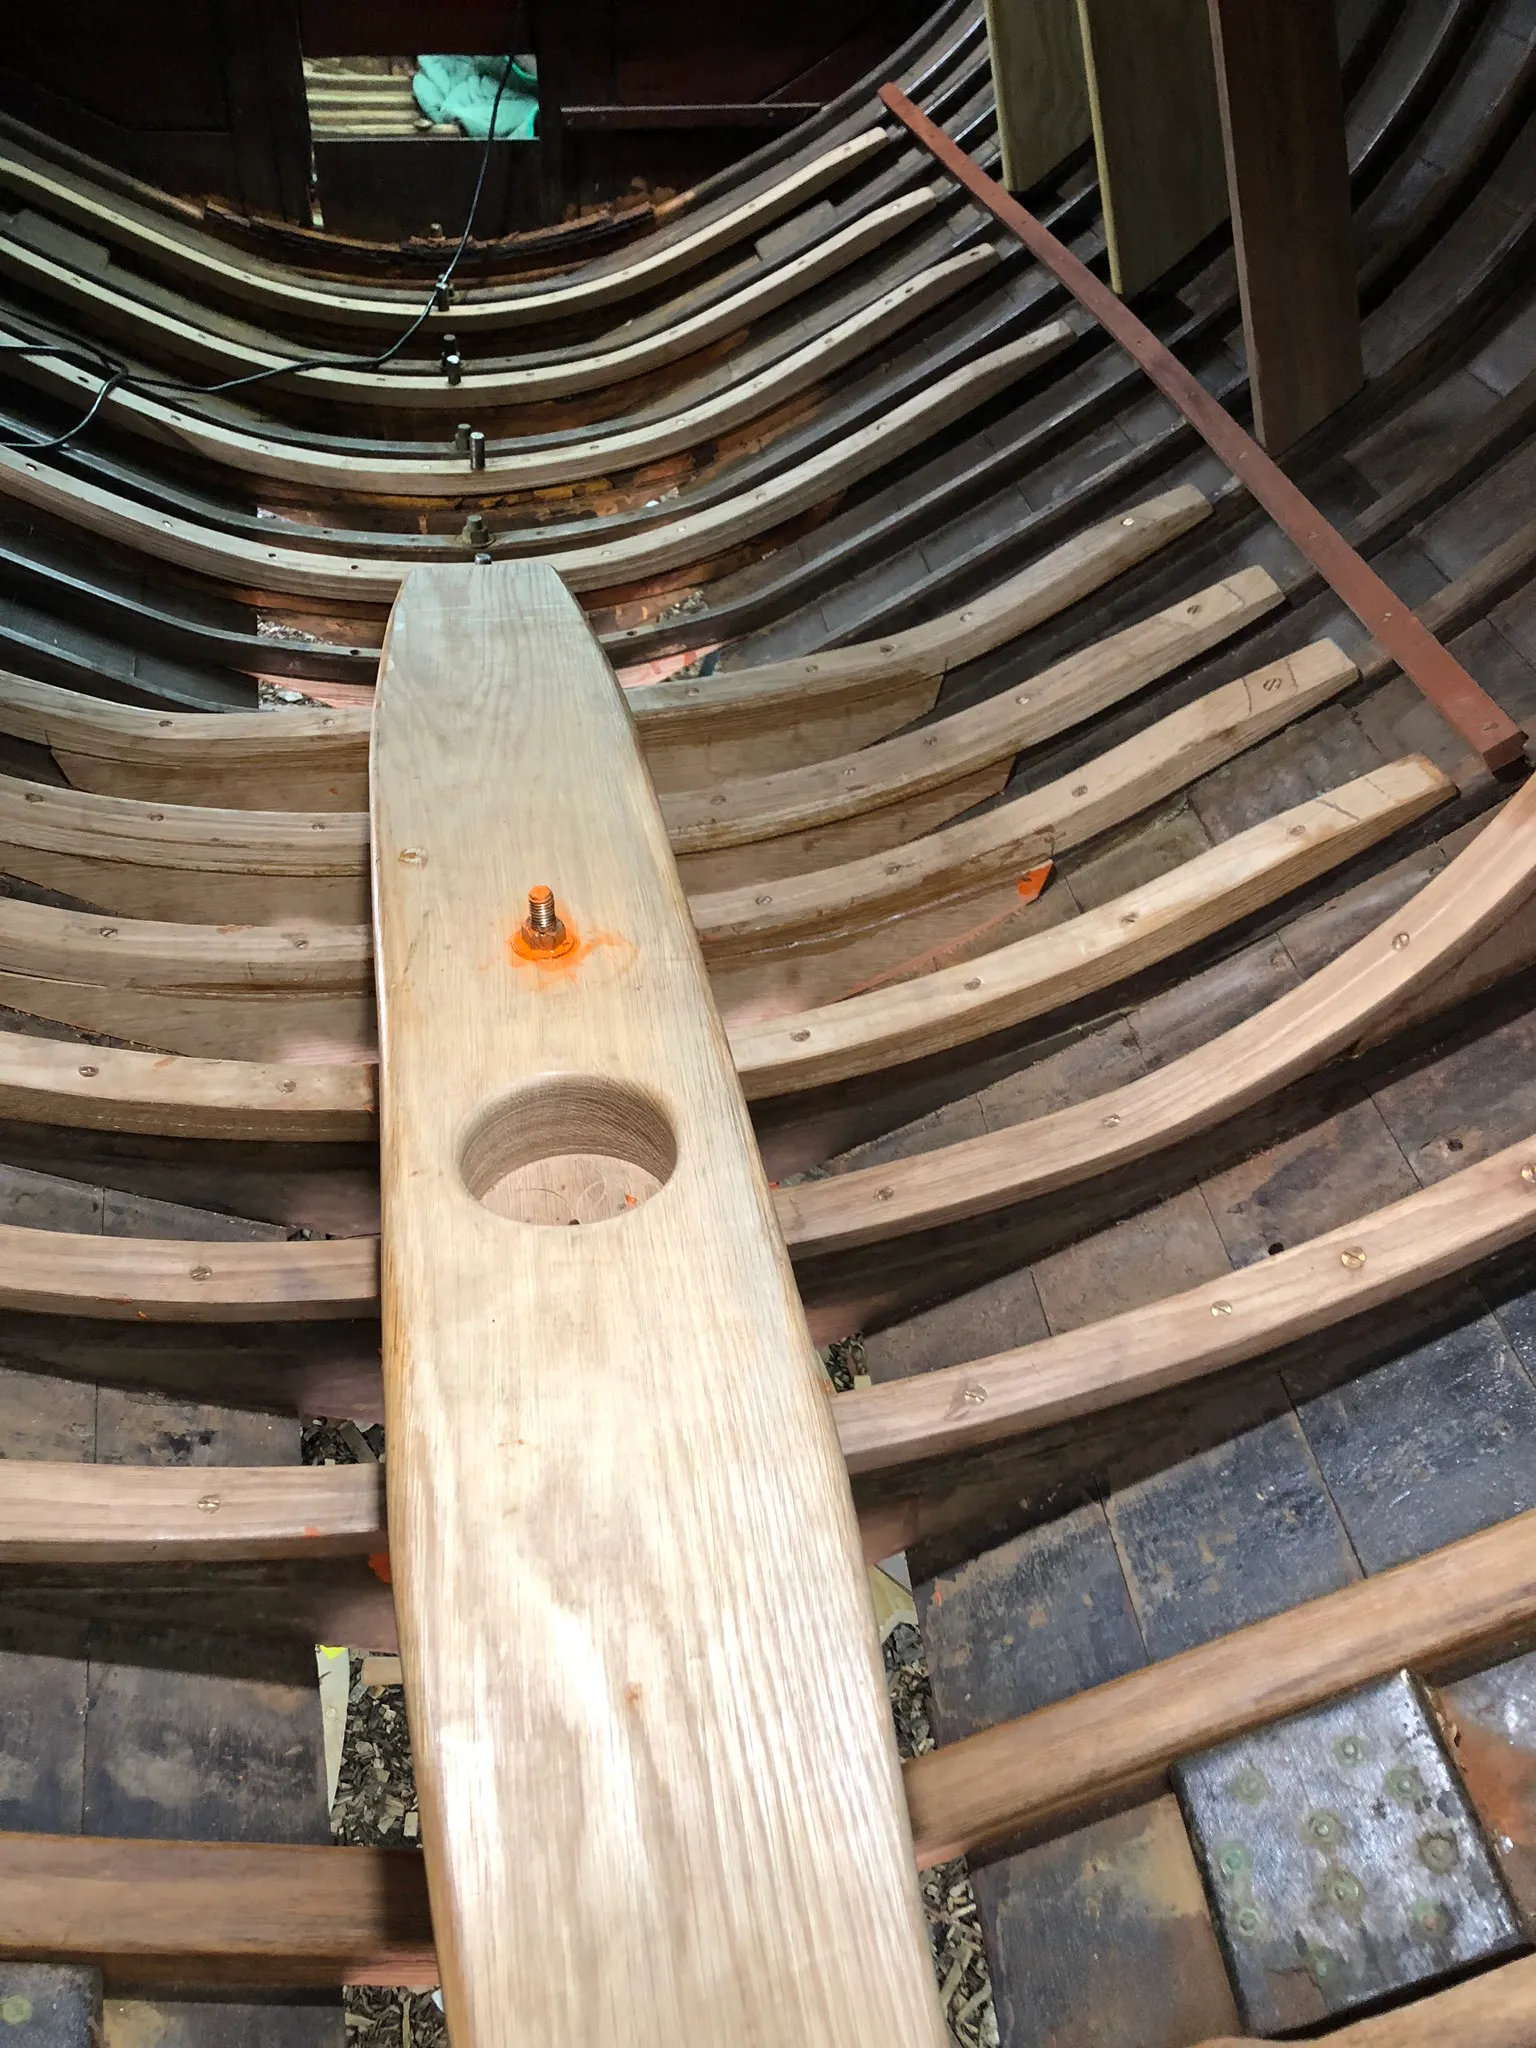
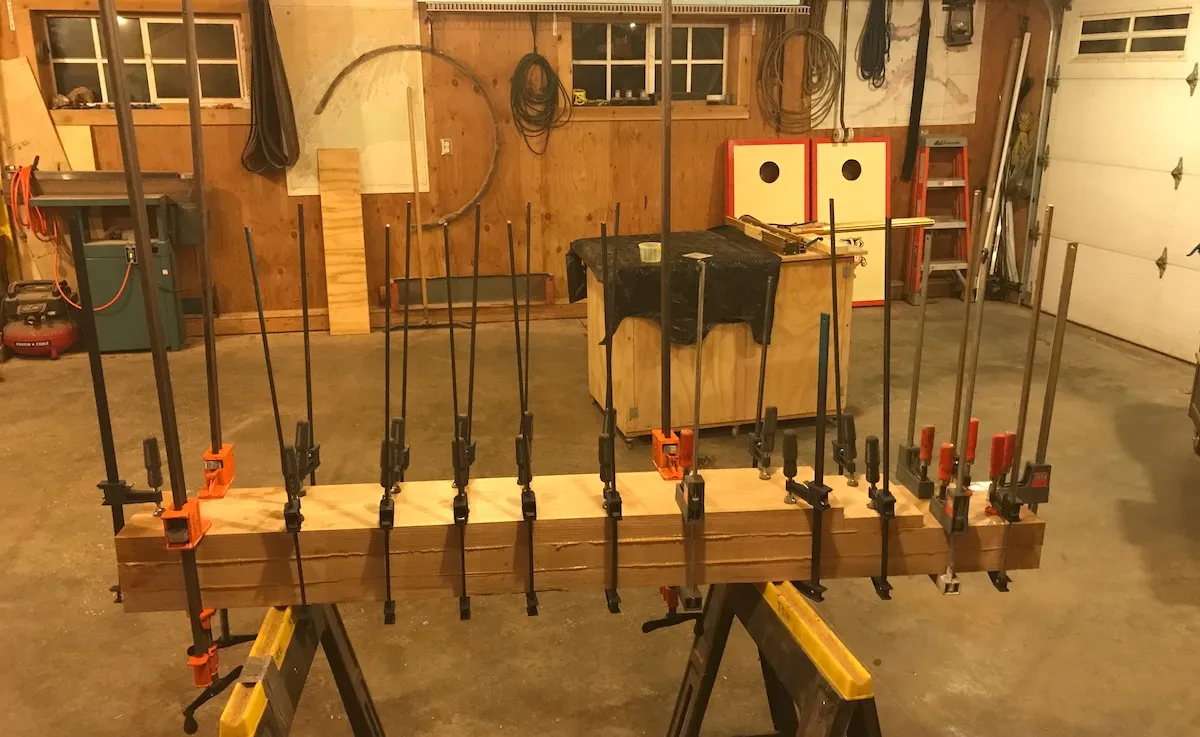
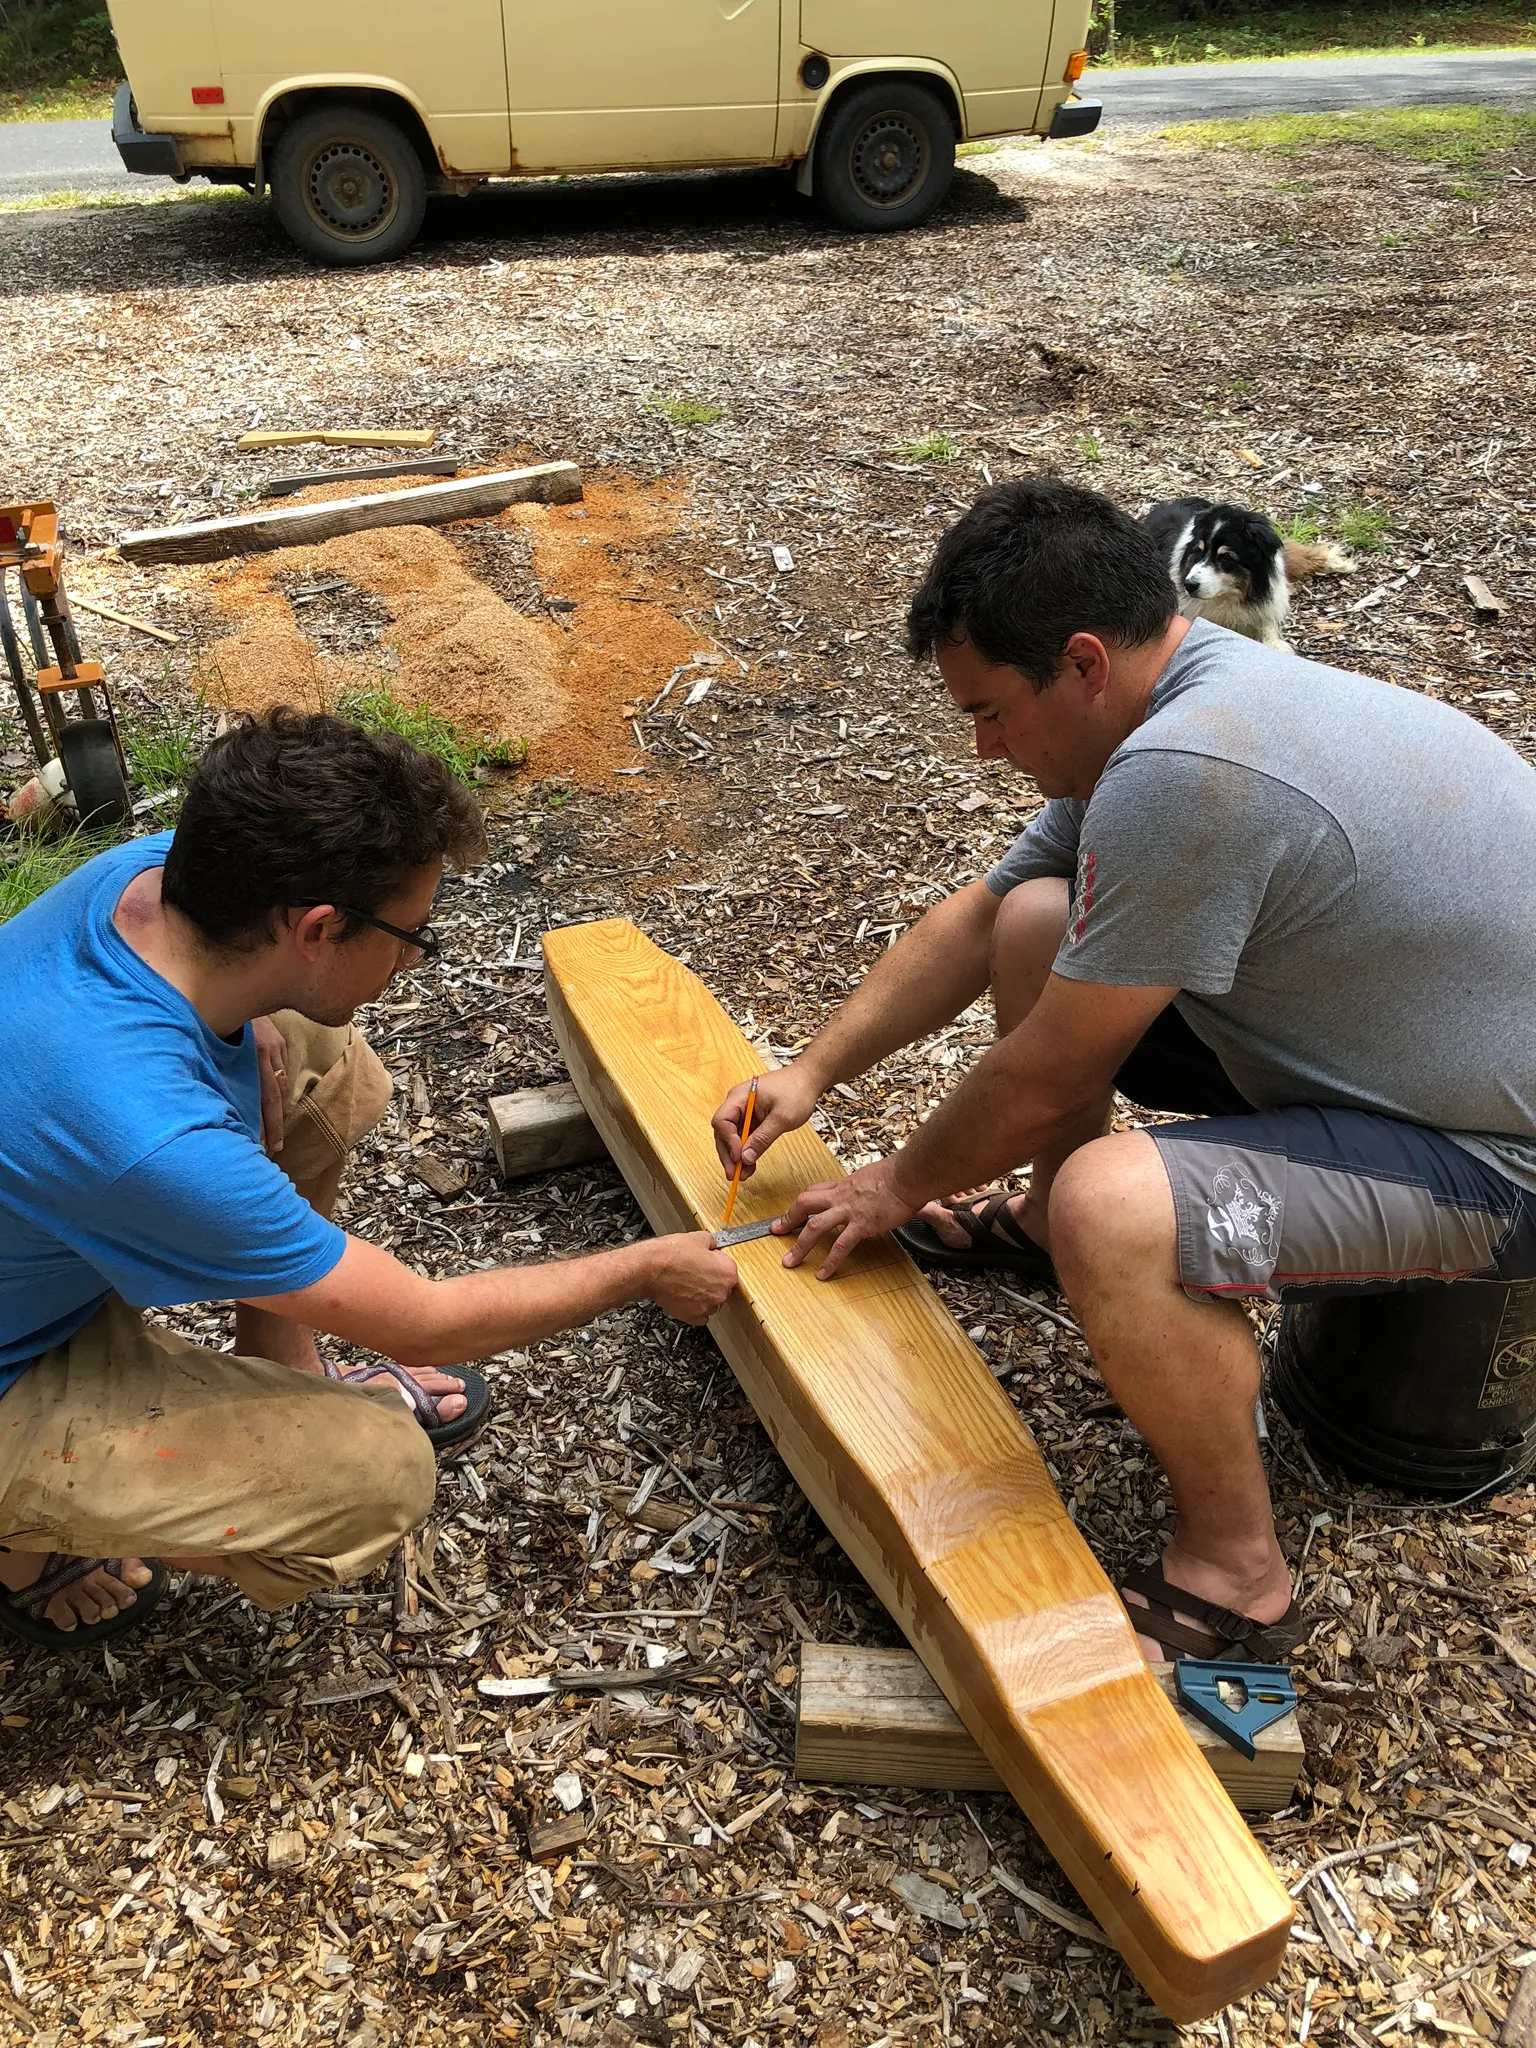
The new mast step was glued up following the same method as the new forefoot - three sections of 8/4 flat sawn white oak in 8” widths glued together with G-flex epoxy.
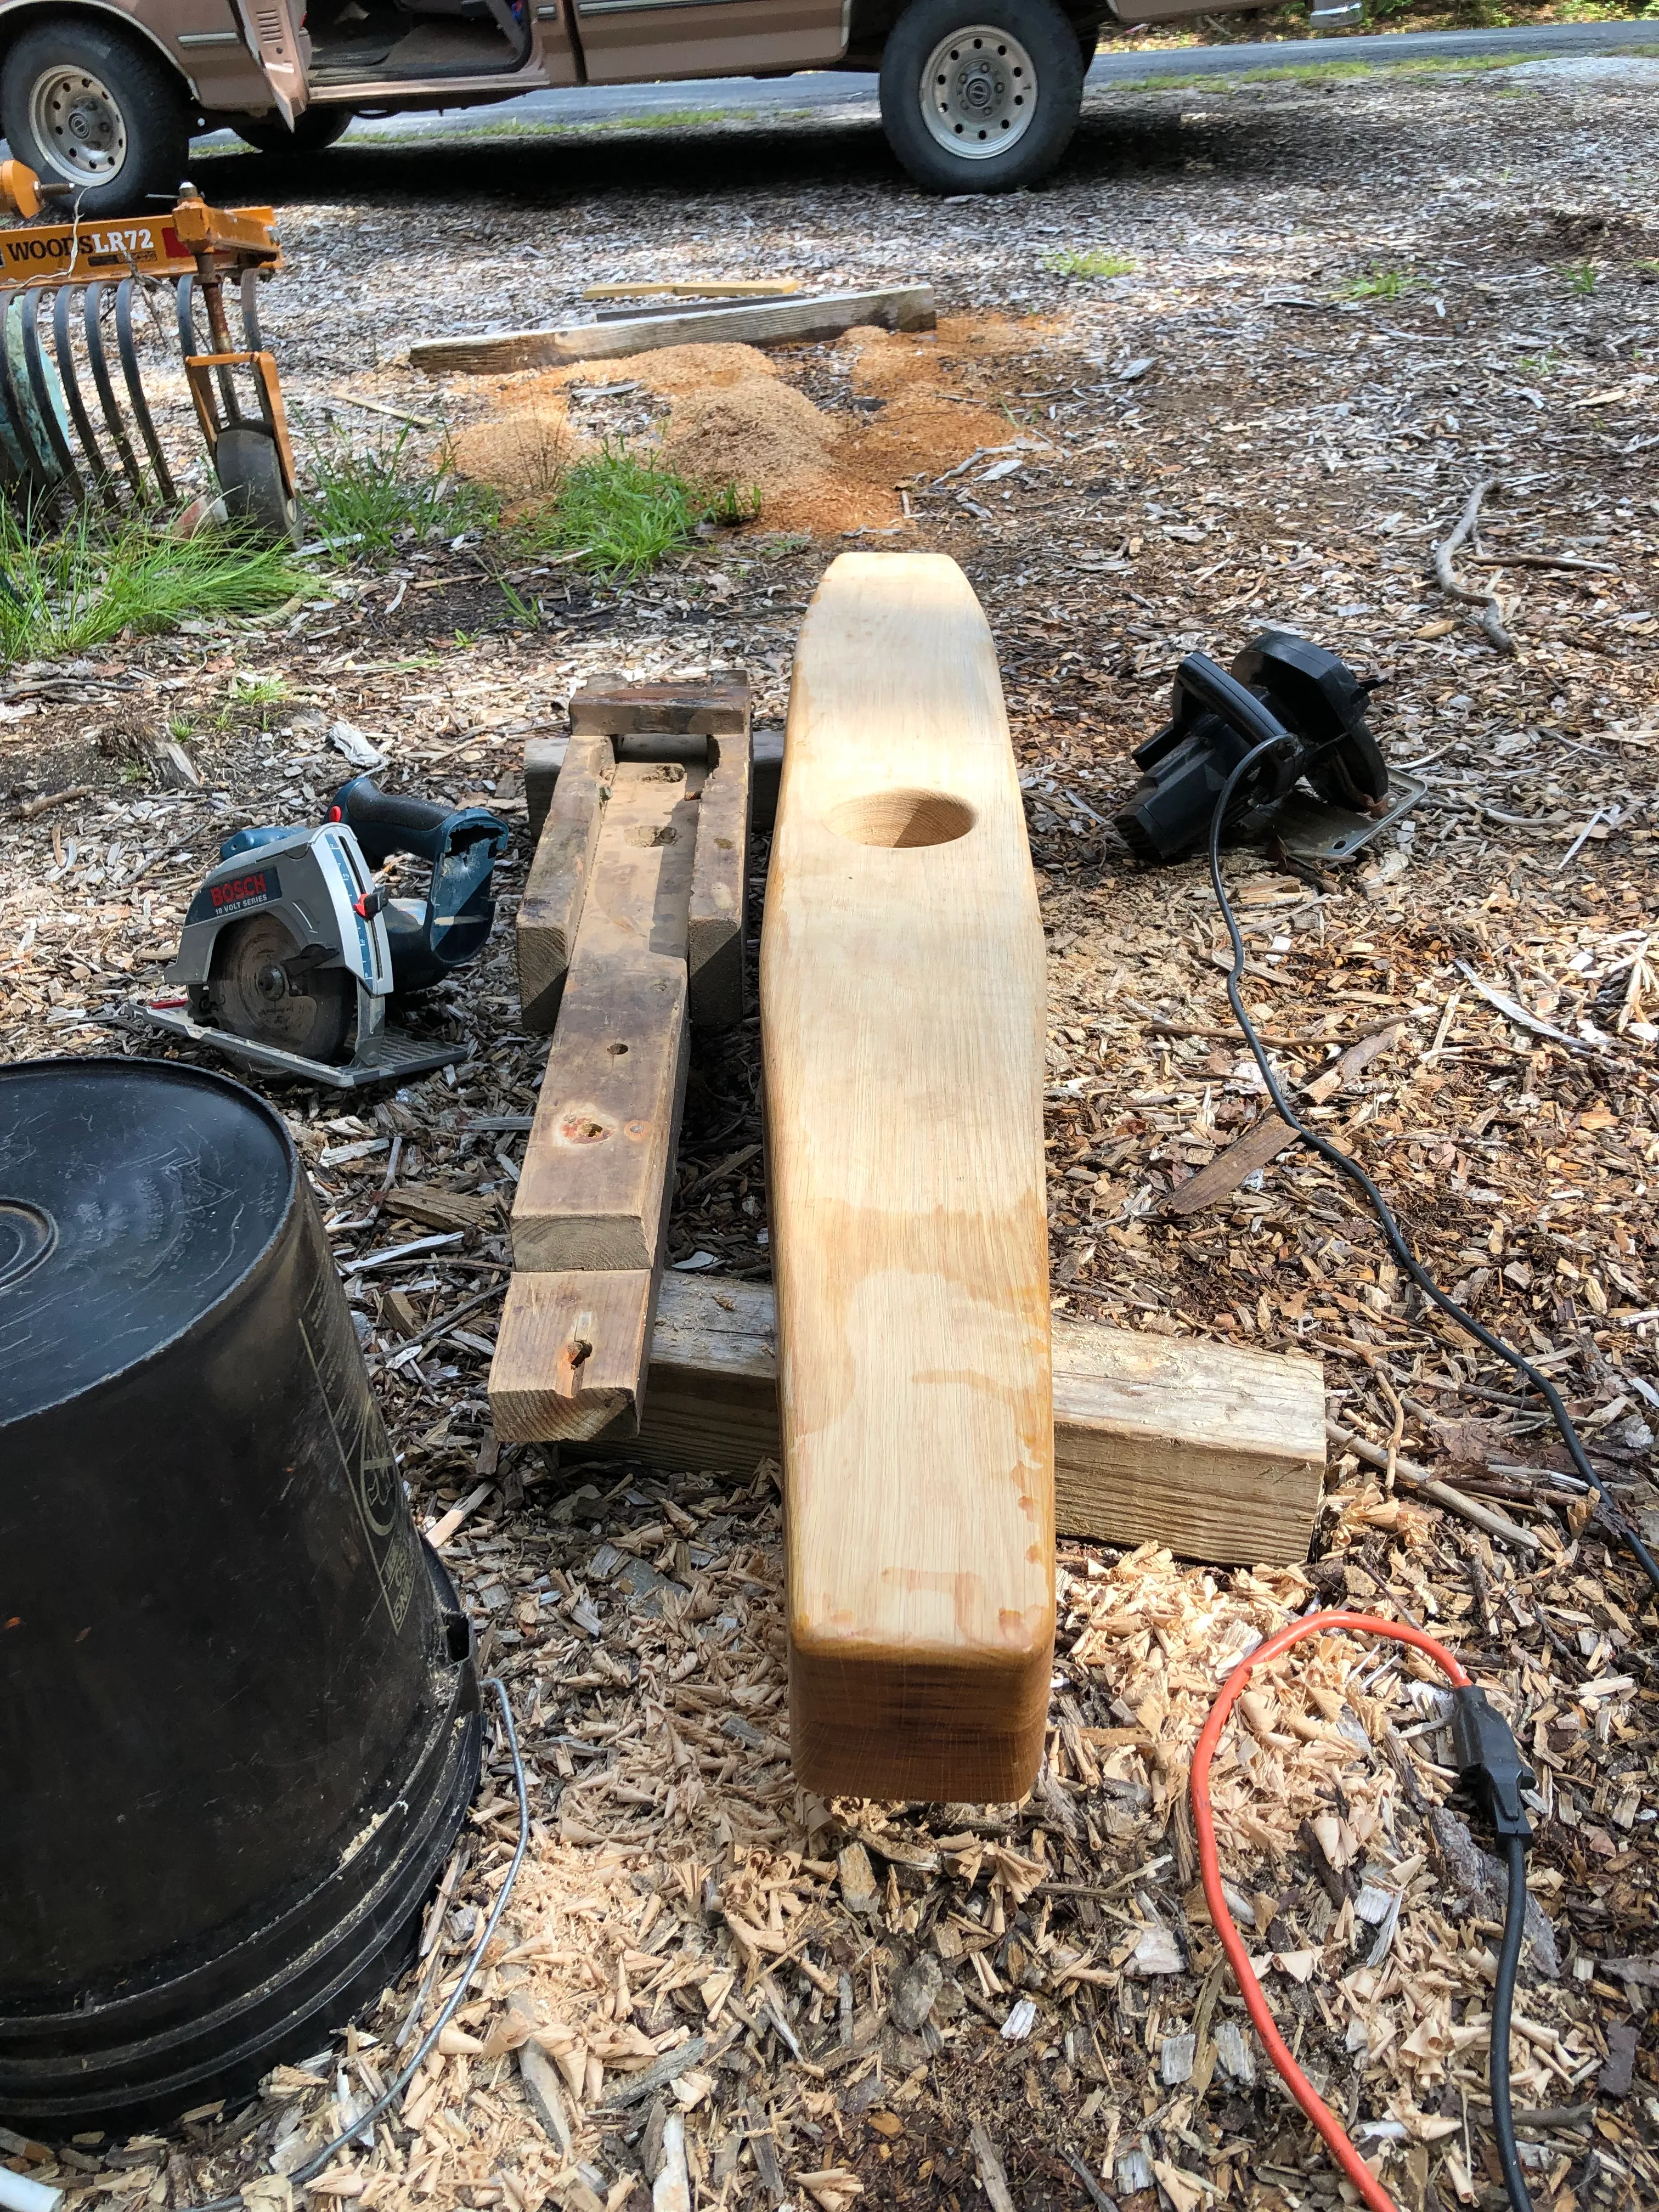
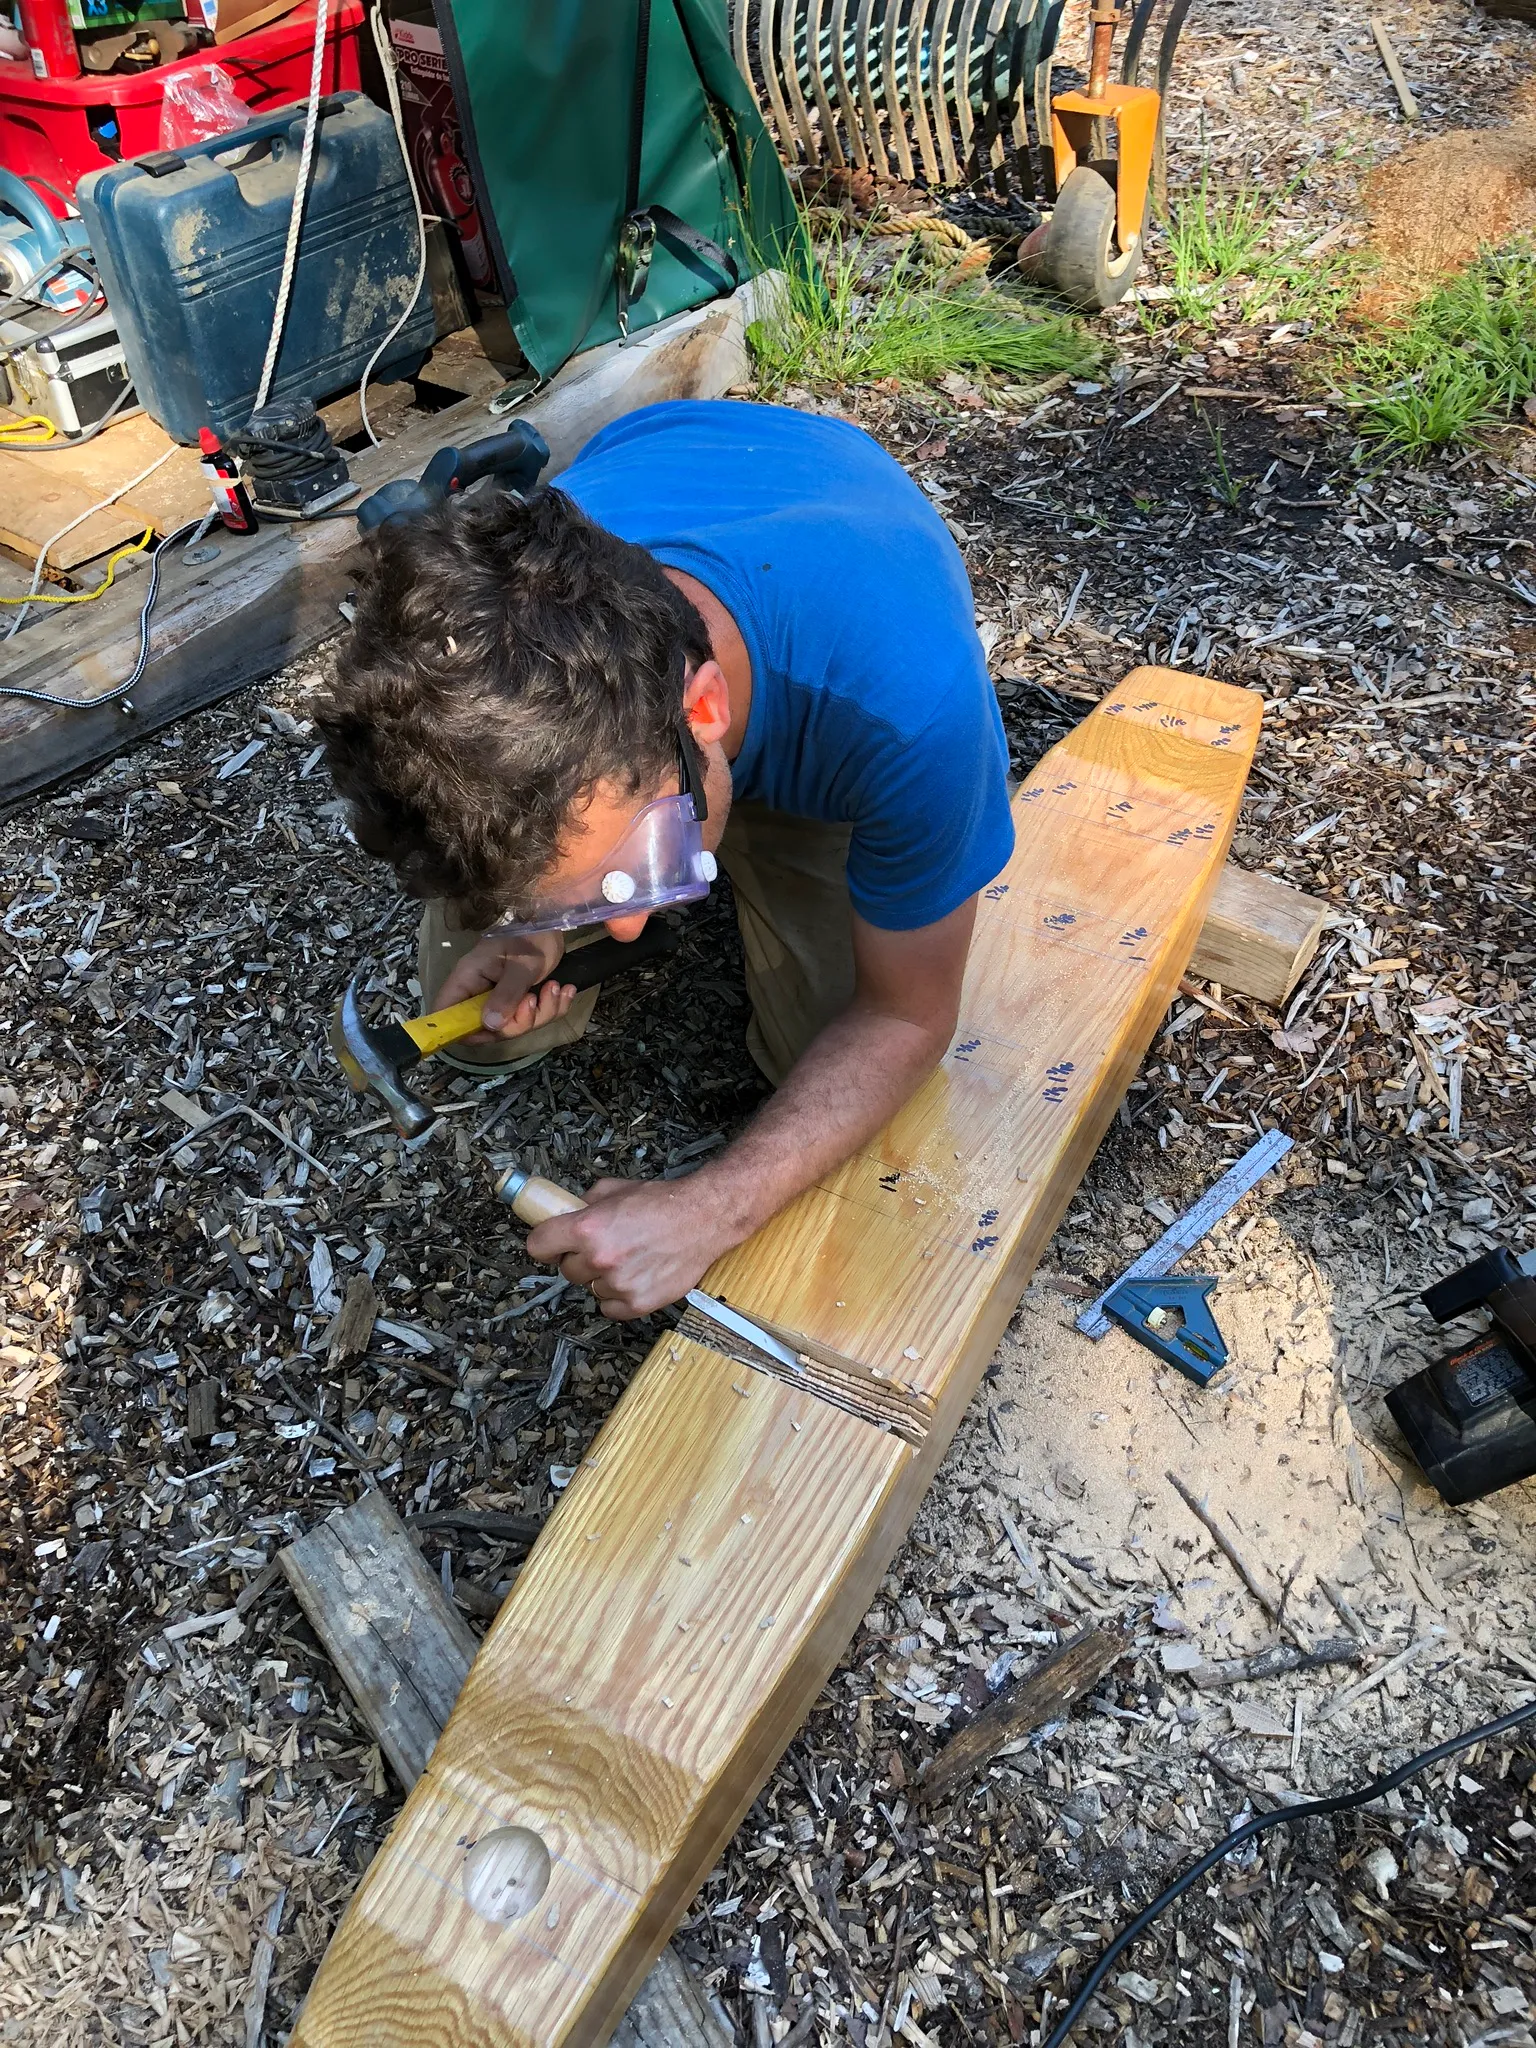
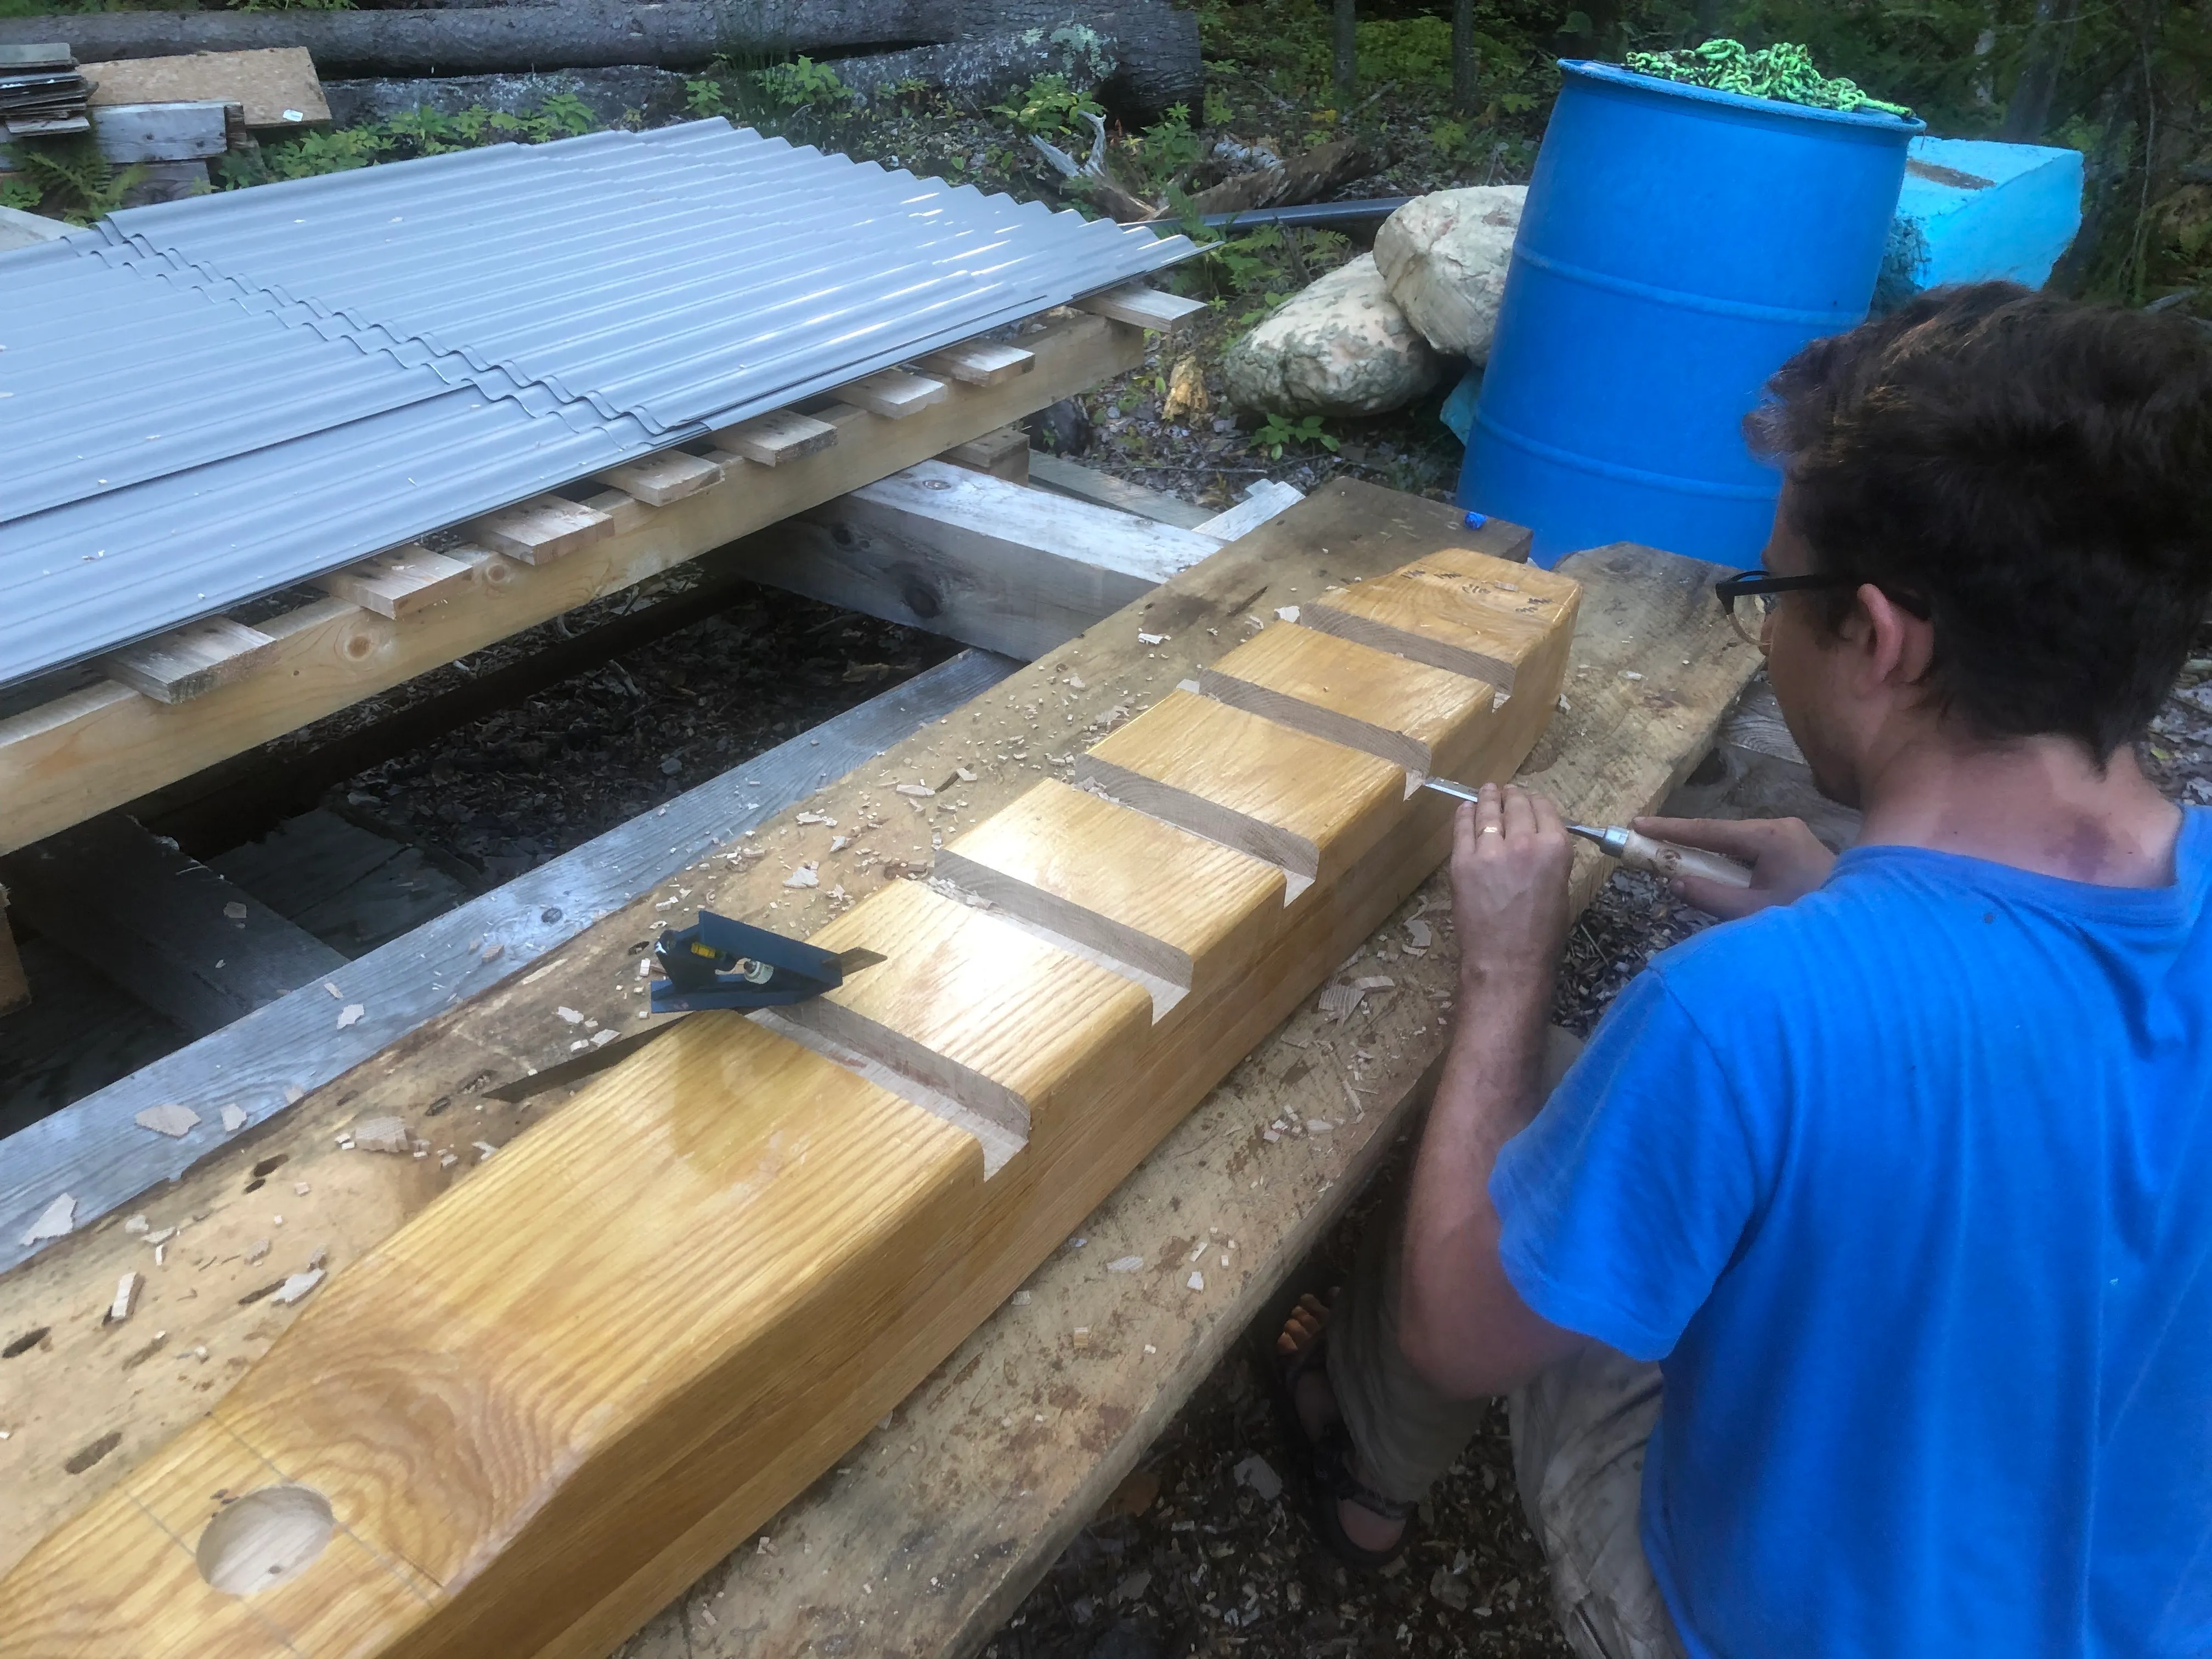
Lots of work happened between these two pictures. Shaping the mast step was a little ad hoc, but our aims wer to (1) mechanically lock together the floor timbers underneath, (2) reasonably approximate common shapes used by boatbuilders for this piece, and (3) avoid creating hard spots where the hull would effectively be “creased” at the edge of the mast step. This is why we stepped the thickness of the mast step down. It remains to be seen whether this is sufficient.
Executing this piece was much simpler than other jobs. Measure, mark, remove waste, test fit, install.
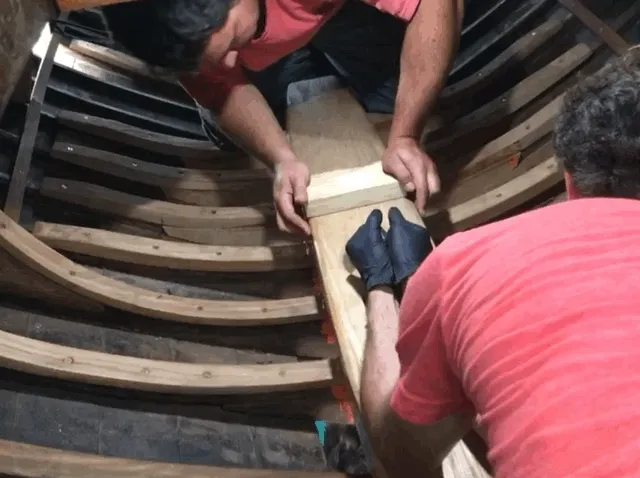
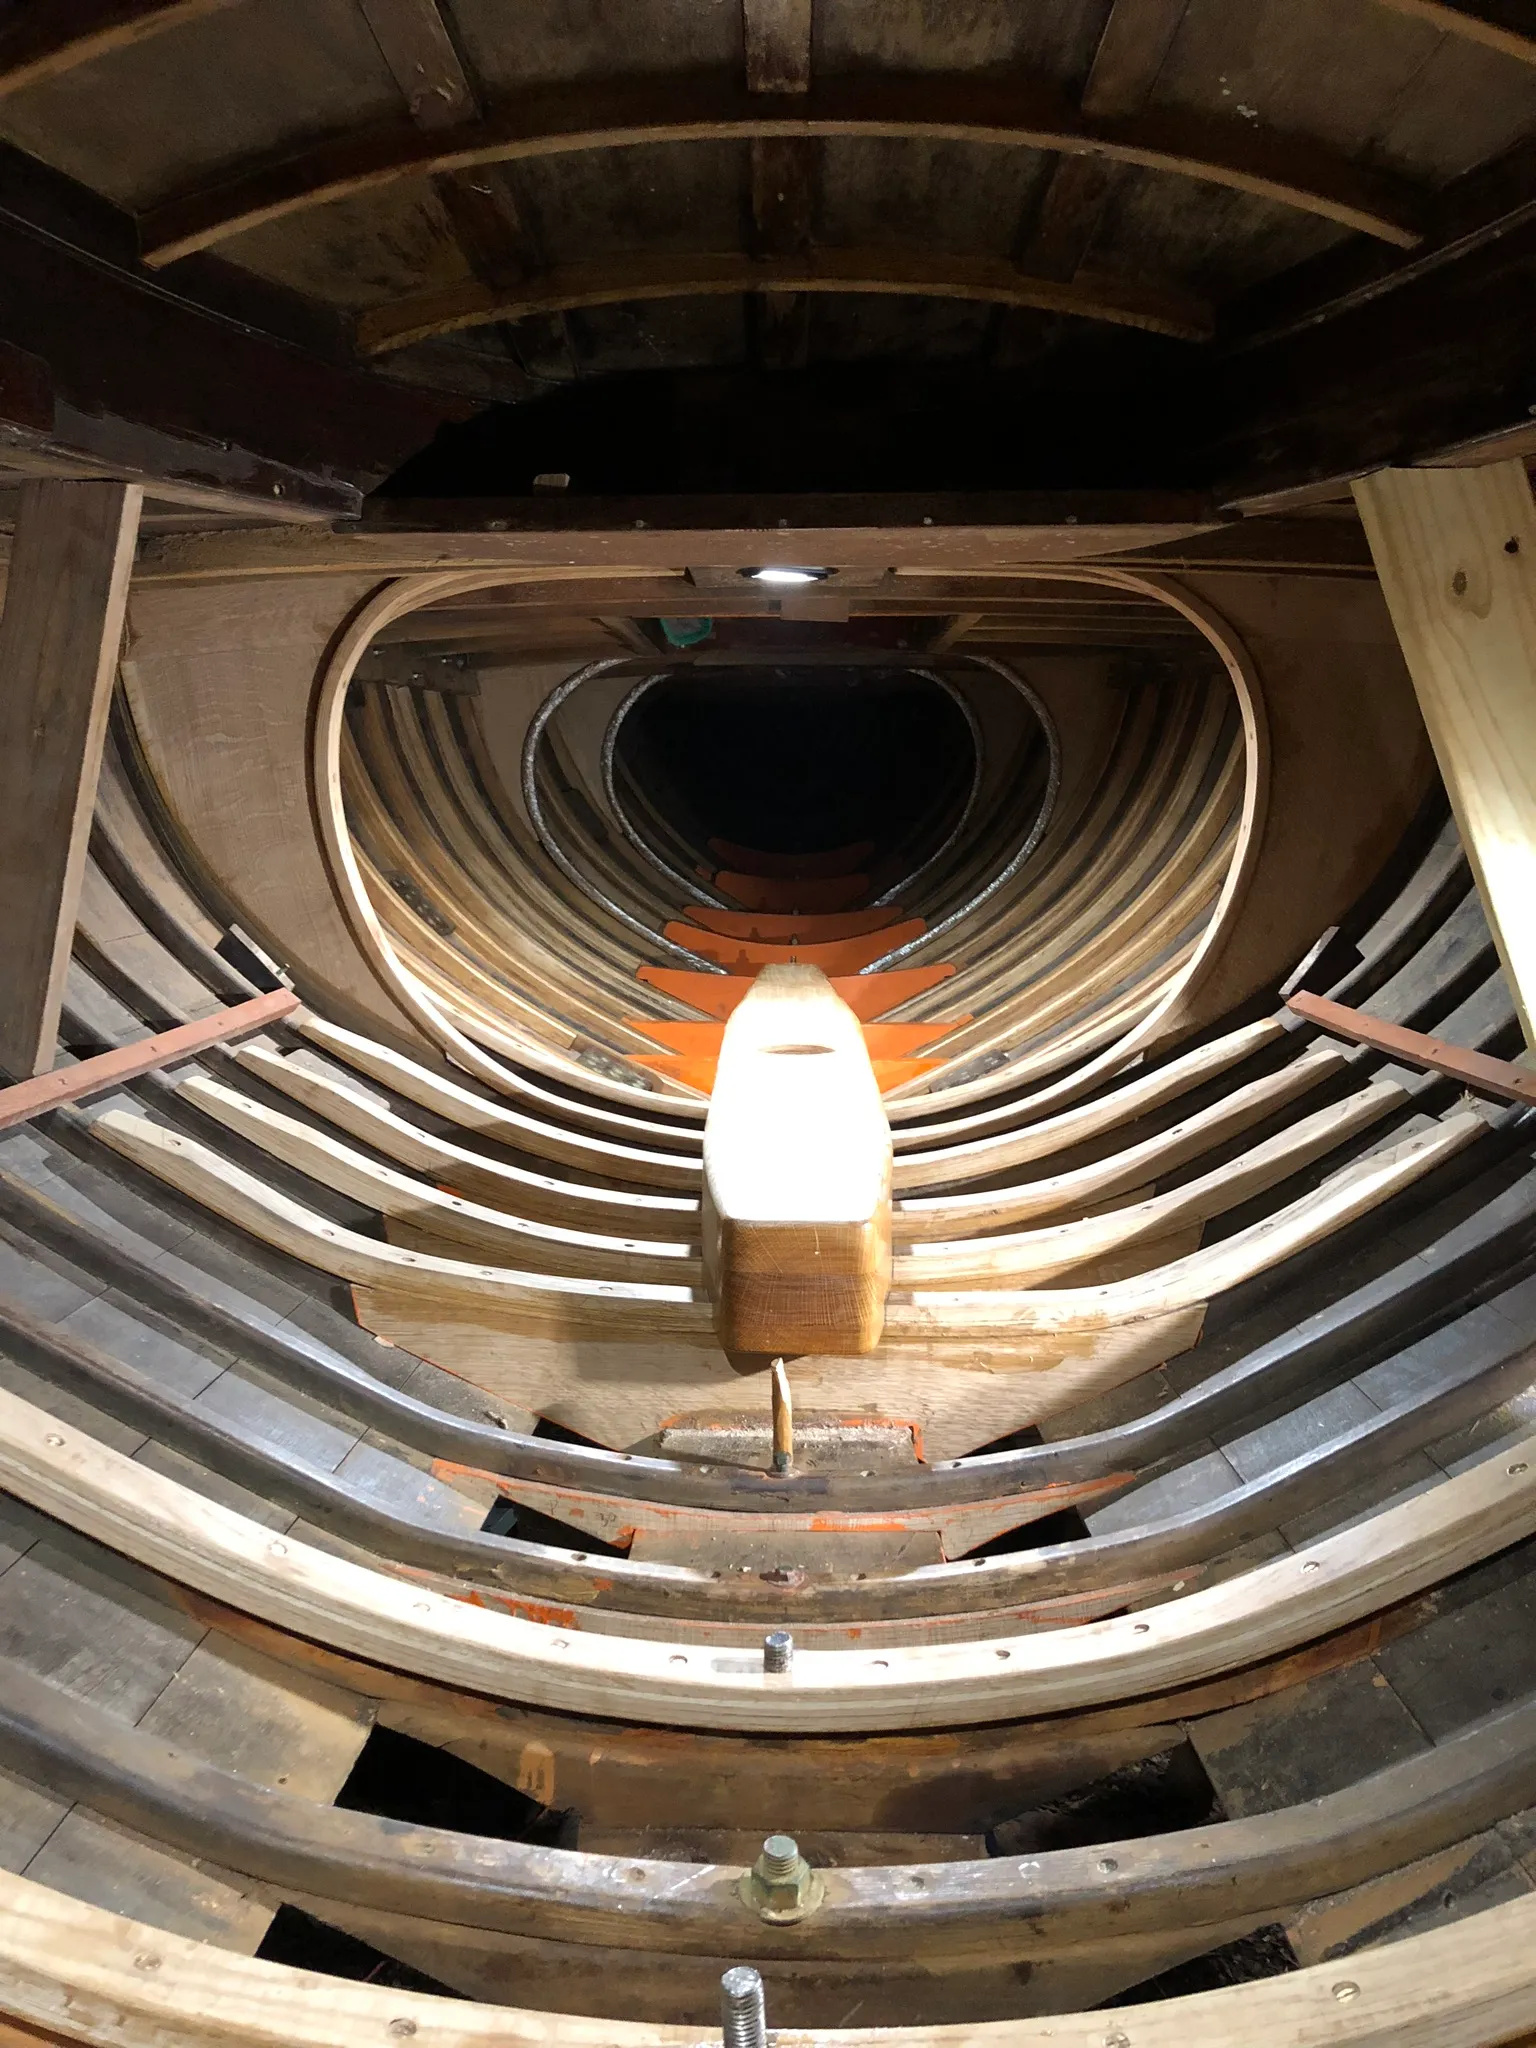
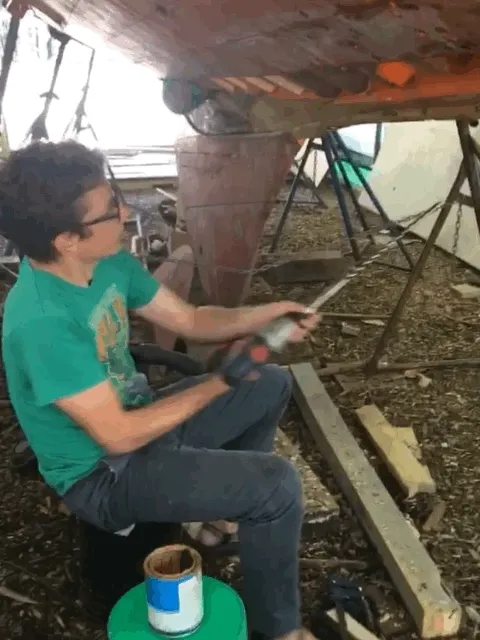
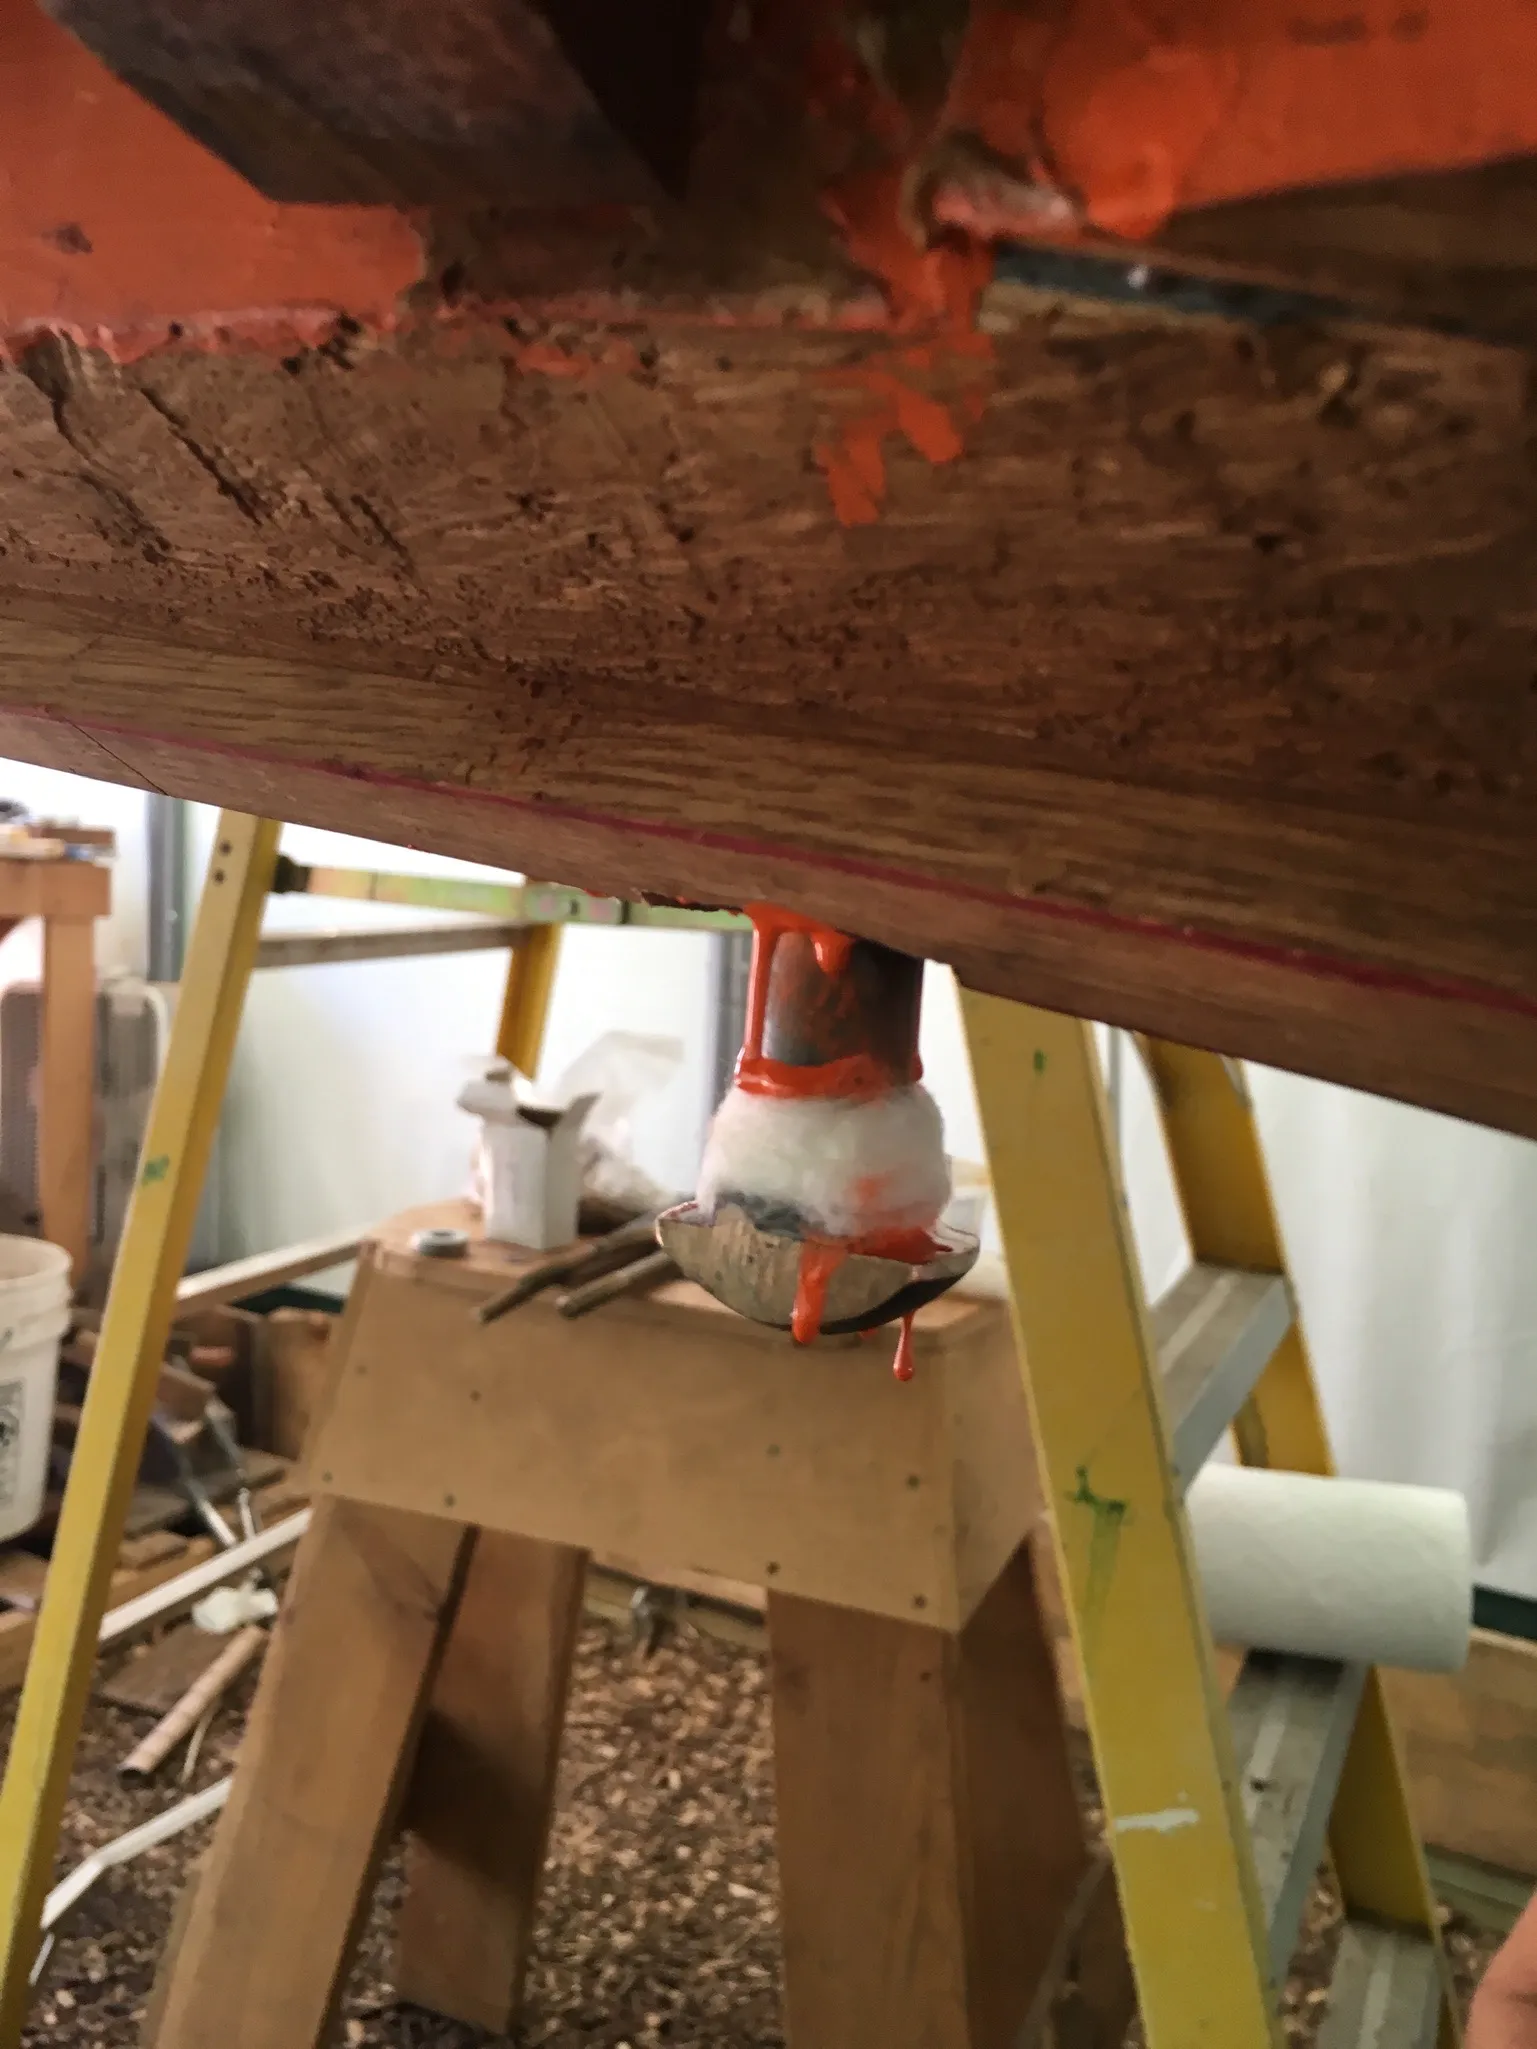
Now to drill the bolt holes to connect the keel timber, floor timbers, frames, and mast step into one big sandwich. We were forced to follow the existing holes, drilling from the bottom up, because the original holes in the keel timber (the mating surface above the new forefoot piece) were still there. We didn’t want to try to fill those old holes, or further swiss-cheese our structural backbone. So, we followed the existing holes and were at the mercy of their vertical alignment. Turns out they weren’t even close to plumb, which made for a wiggly line of bolts in our mast step. This has no ill effects other than emotional damage to the boat owners.
