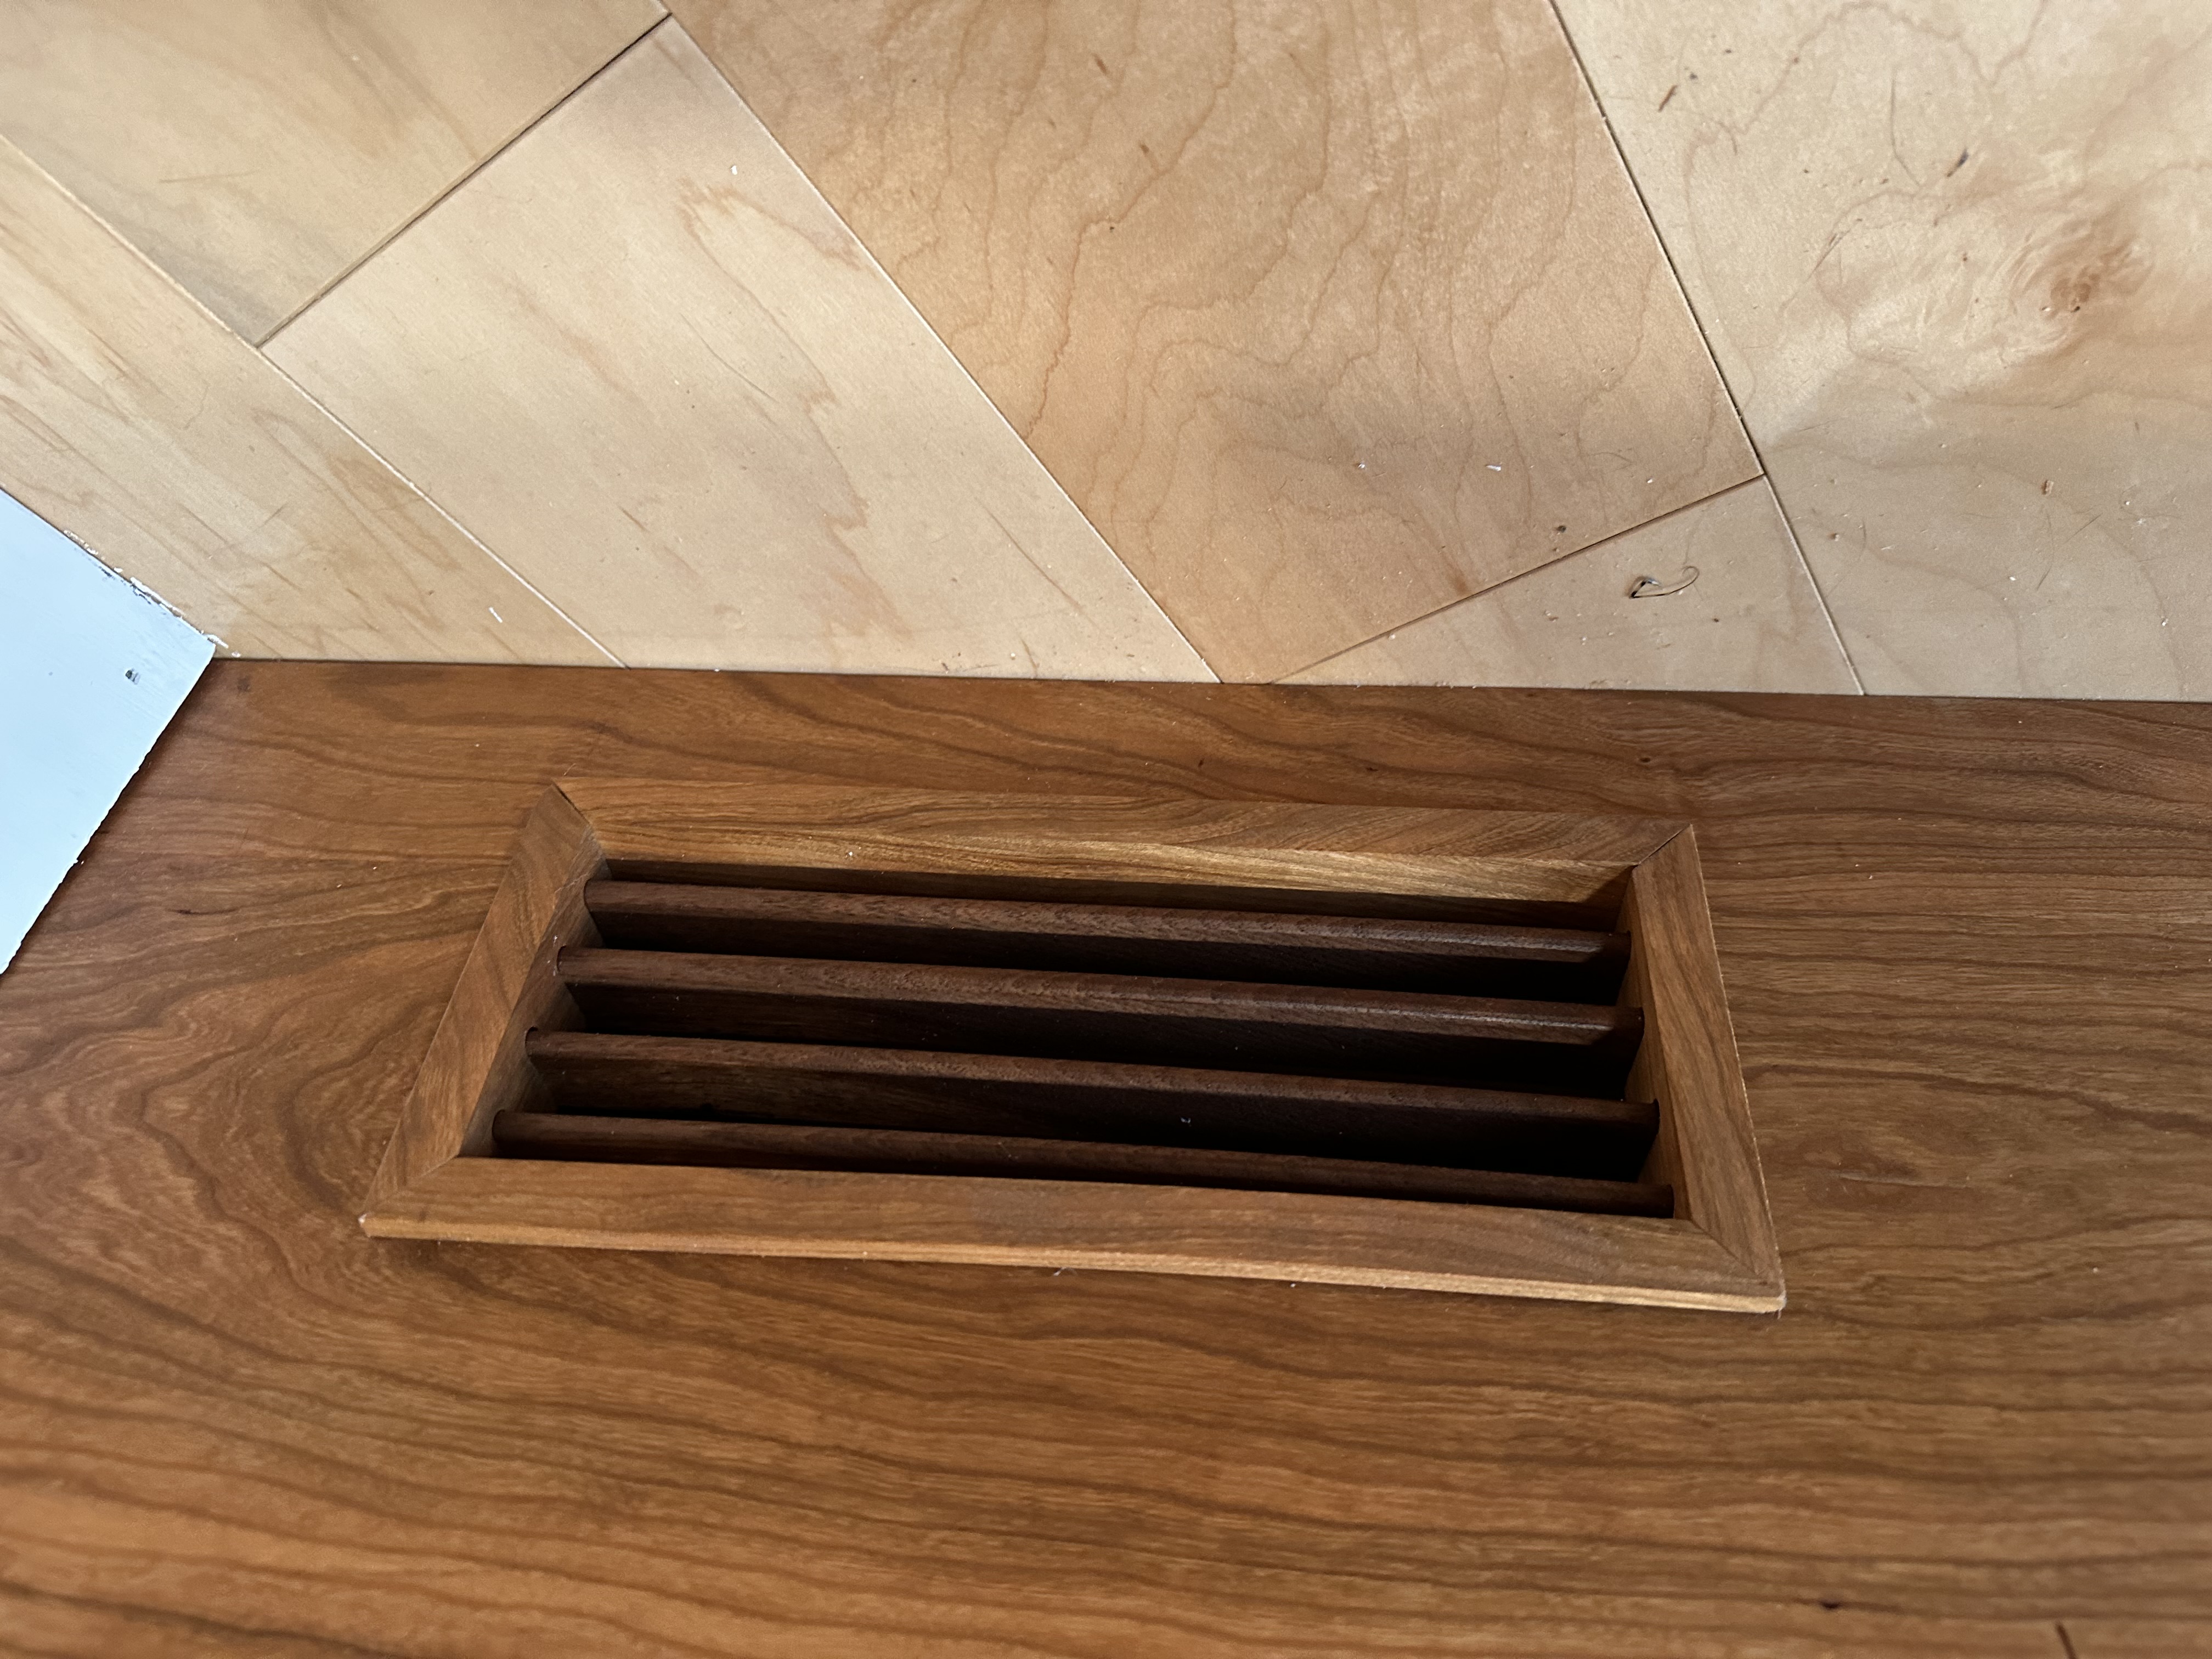
I had been wanting to work with cherry for a while. Of the four major domestic hardwoods — walnut, oak, maple, cherry — I’d used the first three extensively but never cherry on anything meaningful.
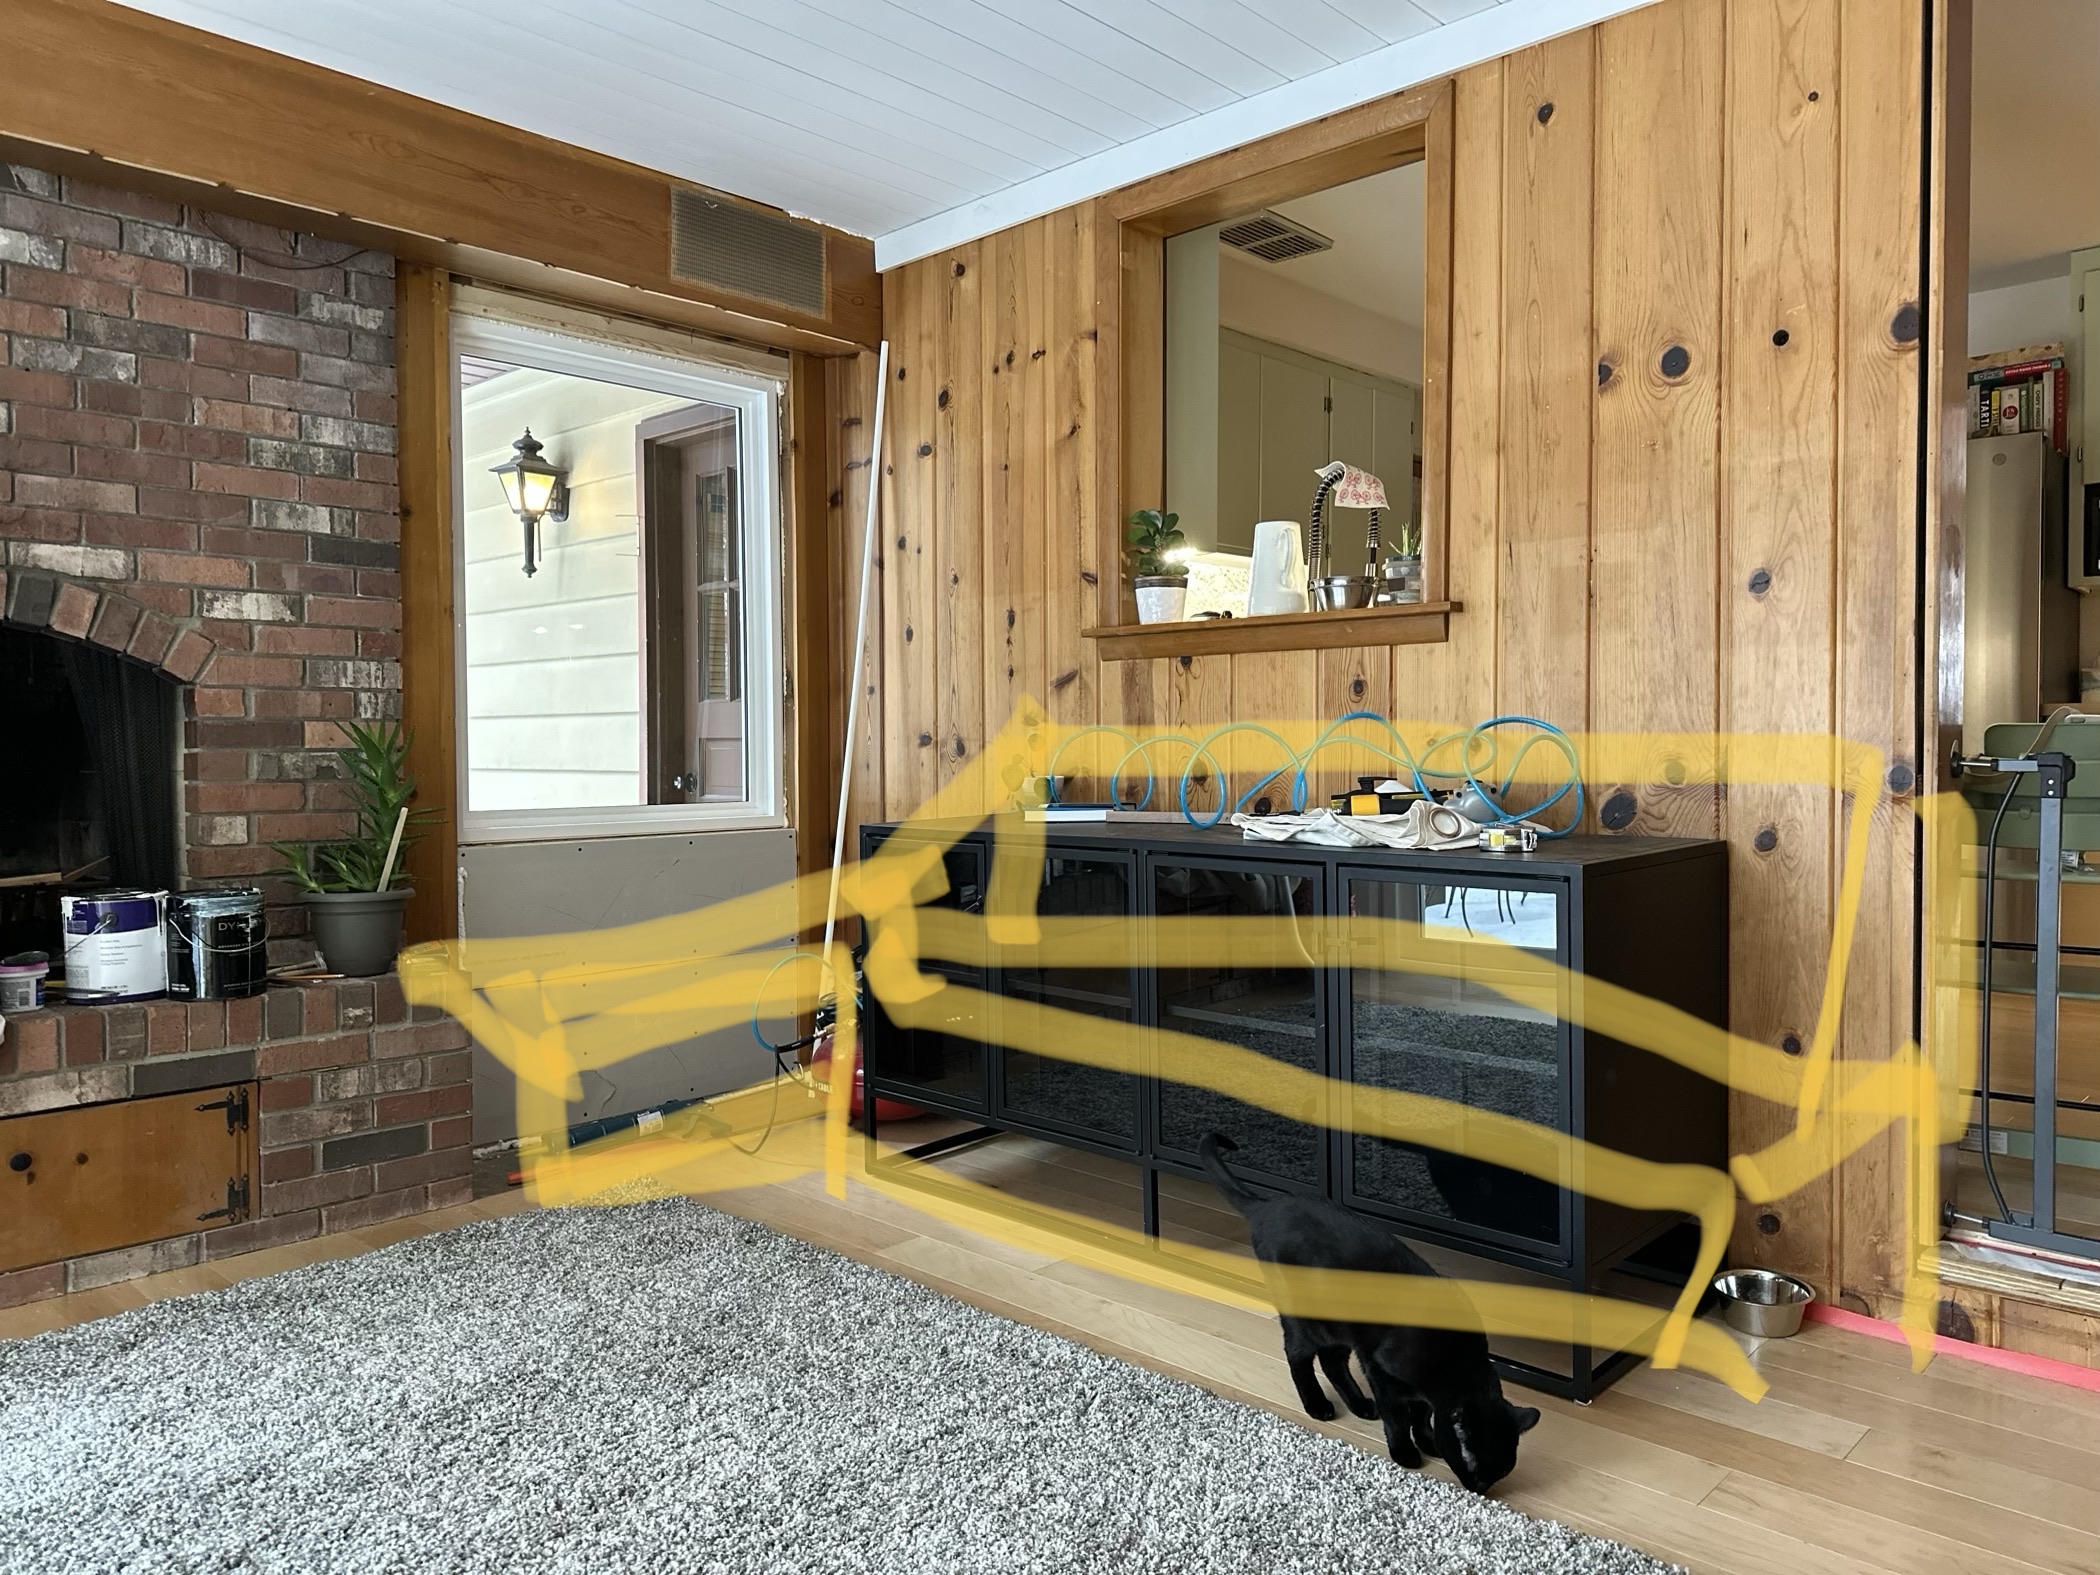
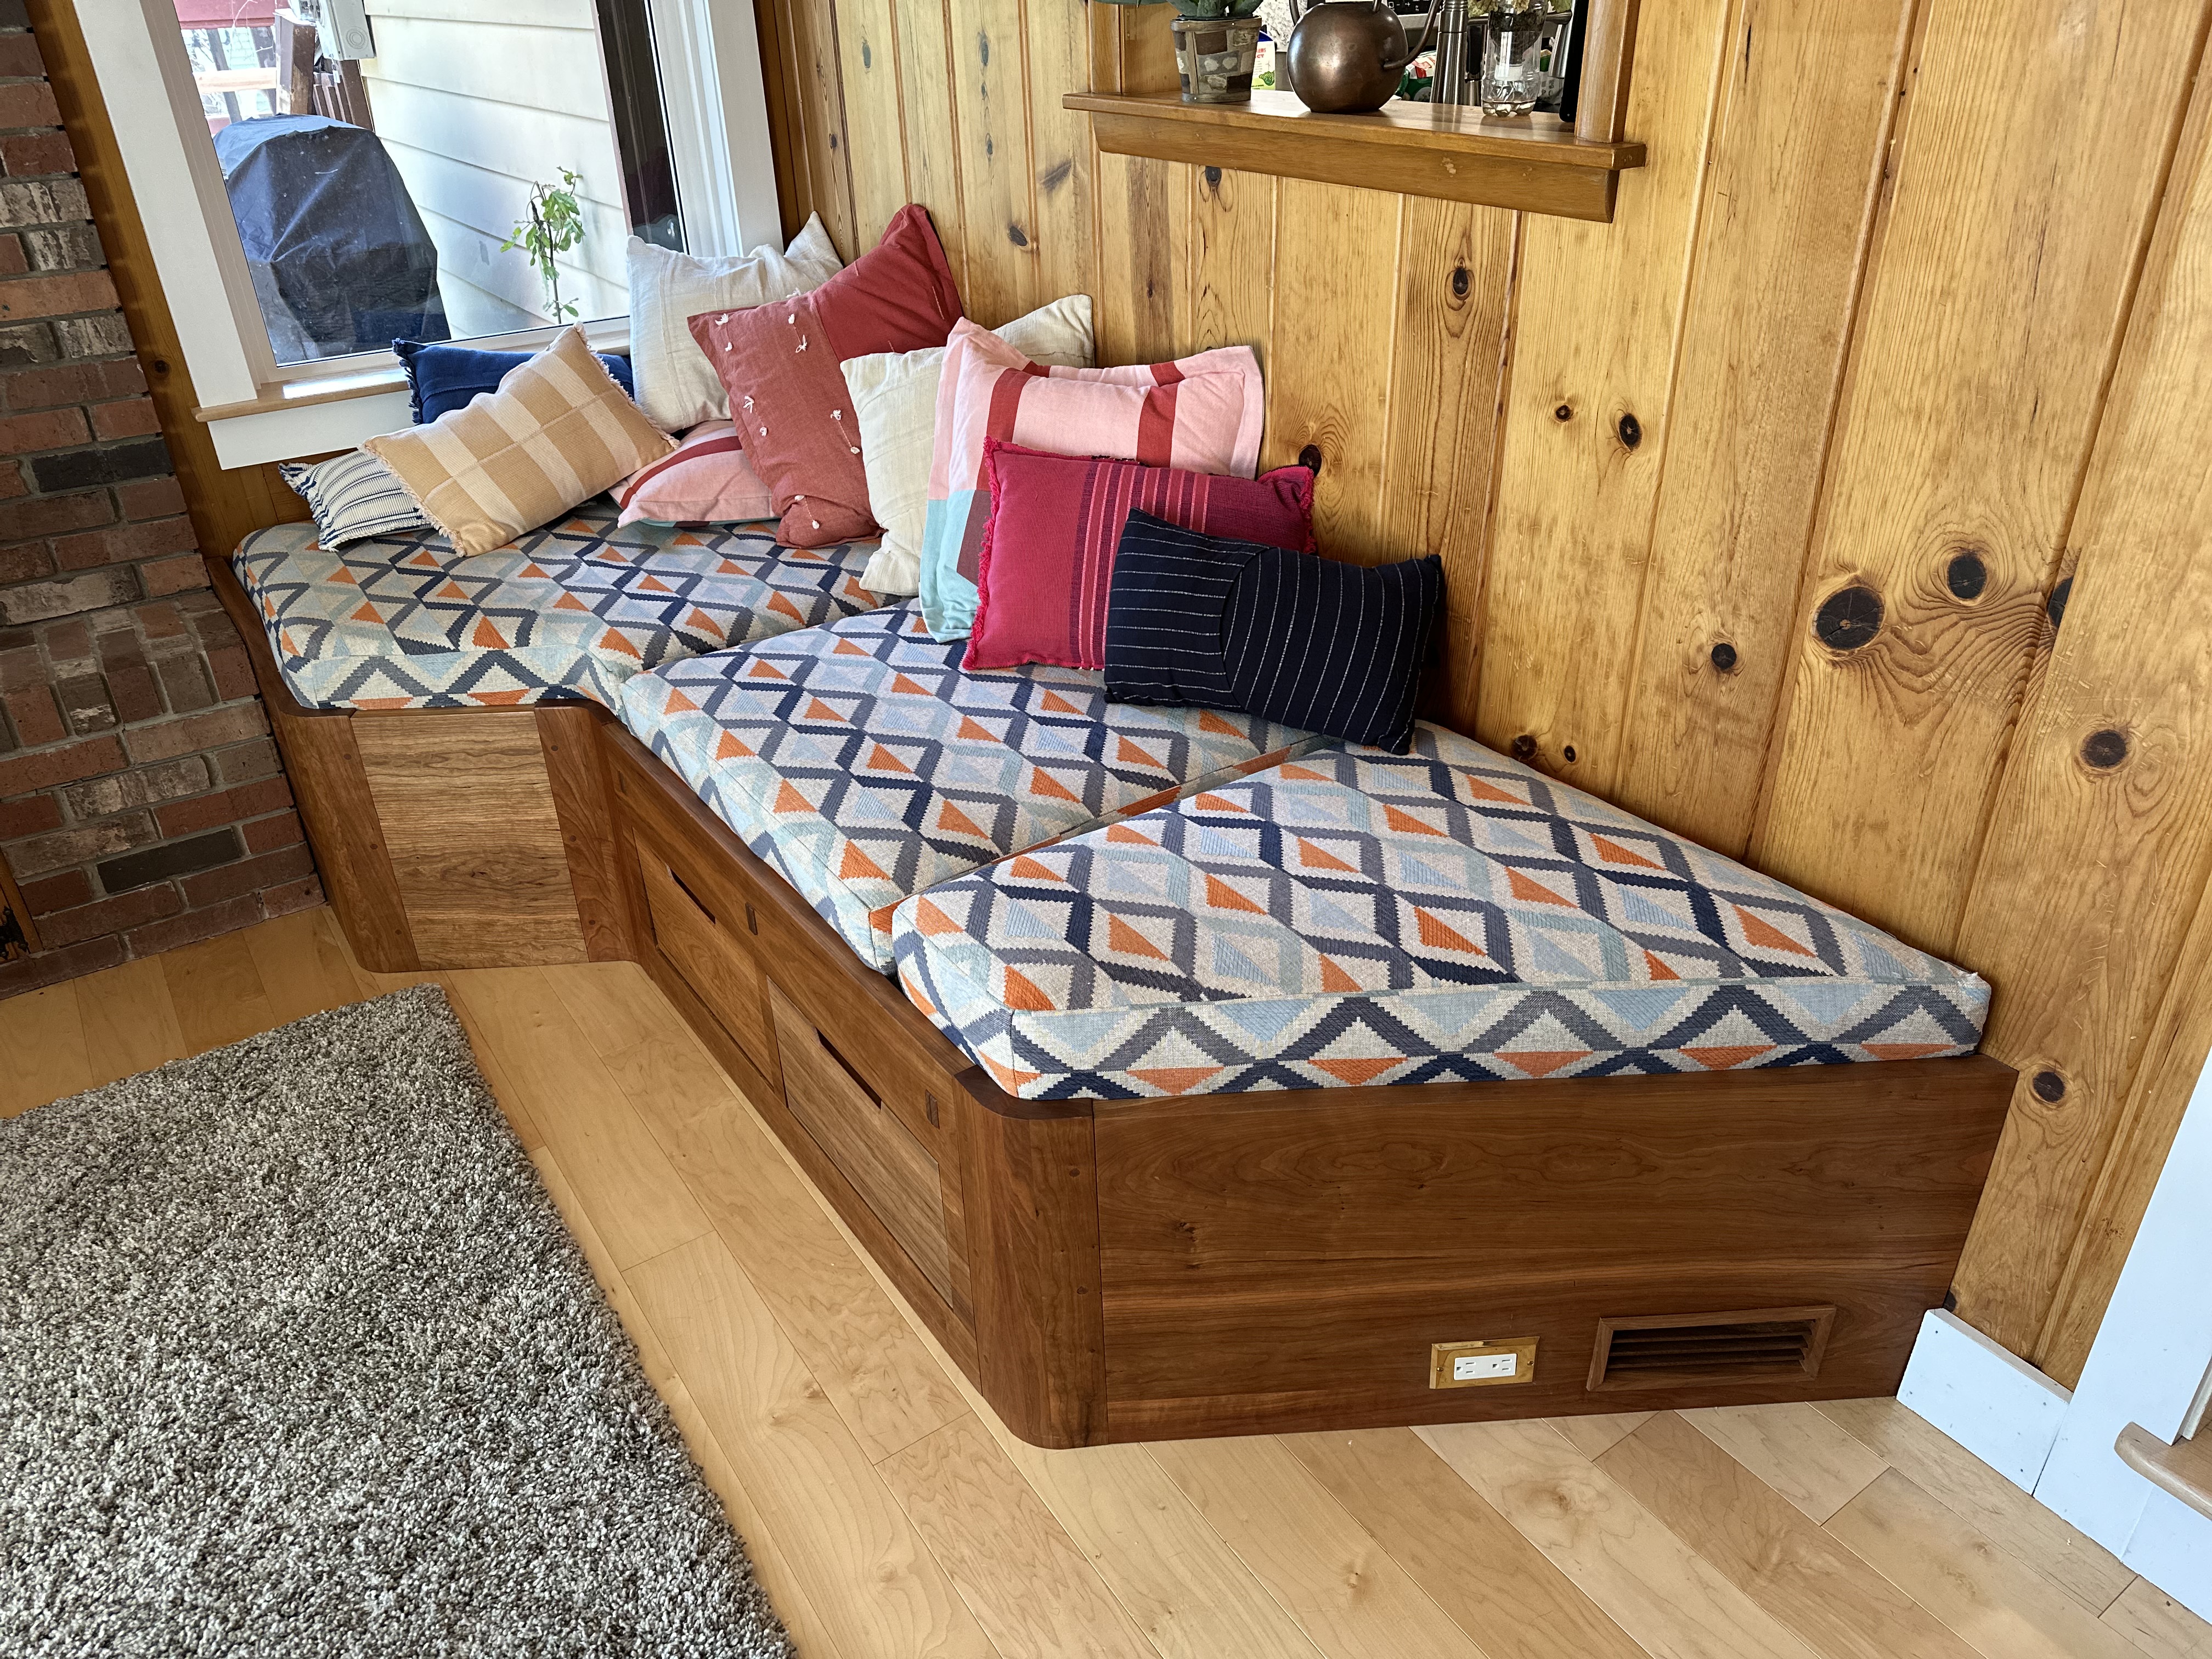
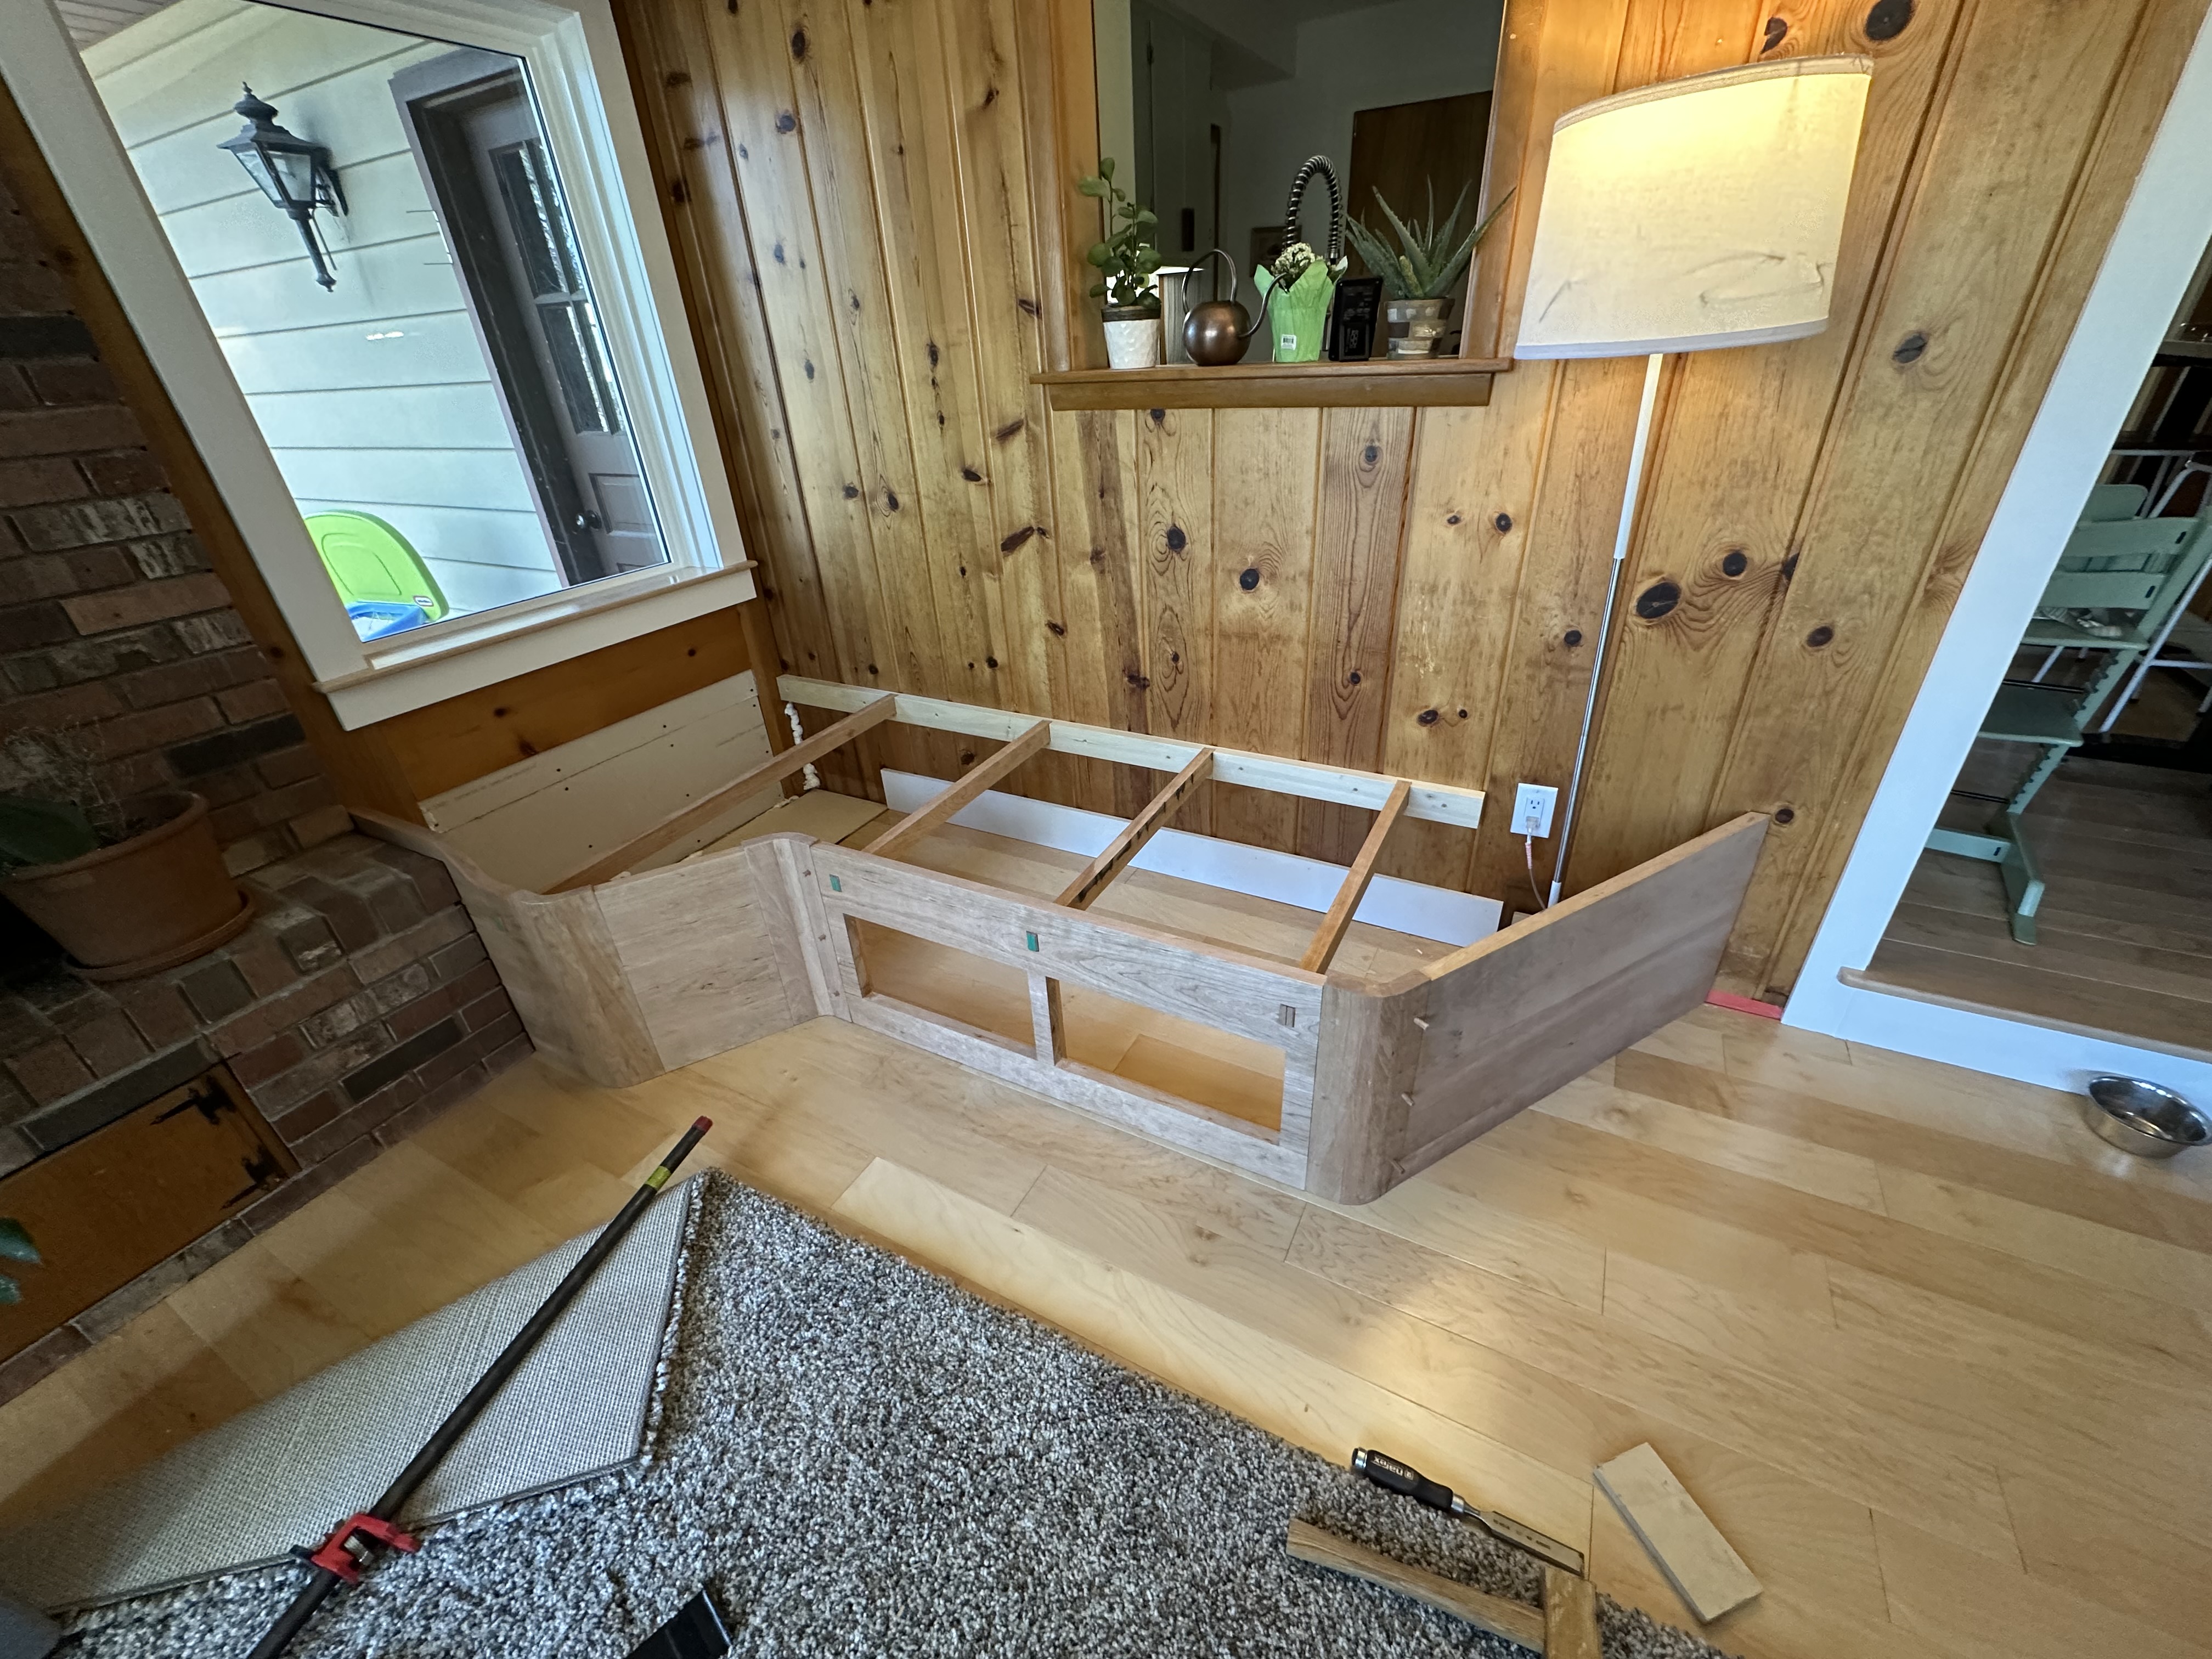
I’d also been gradually improving the usability of my house’s small sun room. The room has knotty pine paneling, a brick fireplace, and an awkward corner that defeated every furniture arrangement I tried. Nothing fit well, and anything freestanding left dead space behind it. What the room needed was built-in seating — something that could wrap the corner and make use of every inch. So I decided to build it out of cherry.
Design
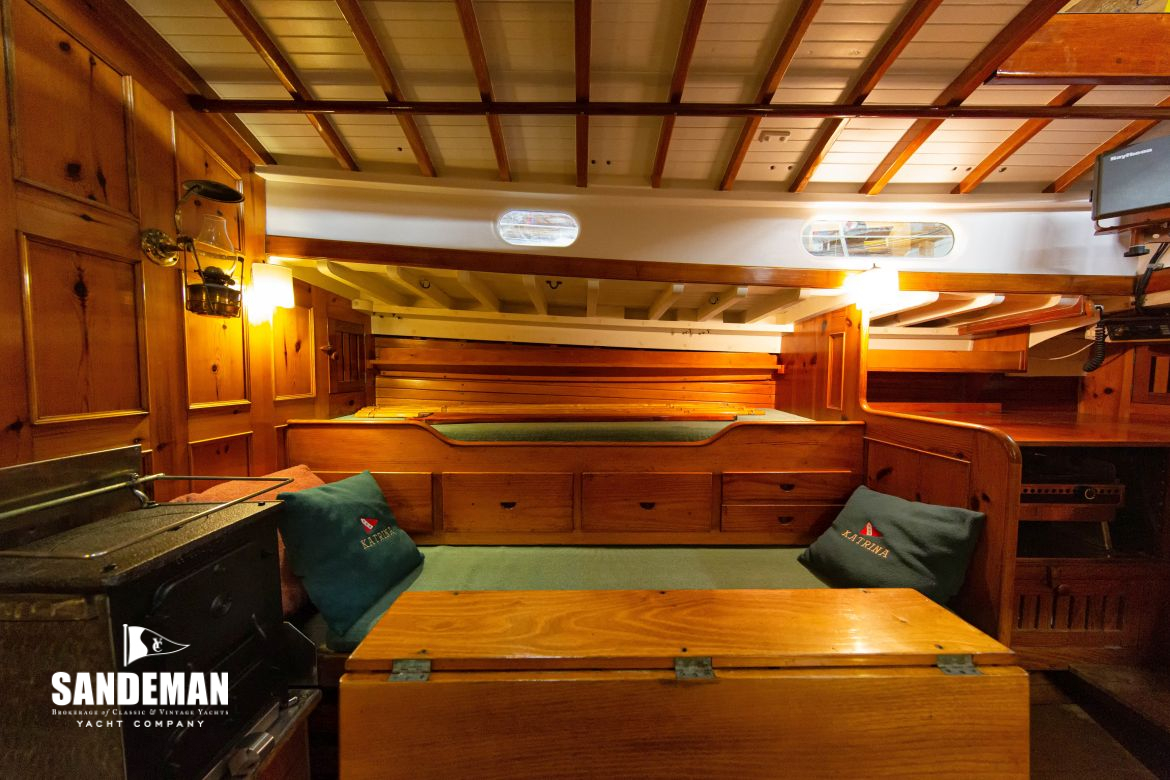
The inspiration came from an unlikely place: the interior of a Concordia yawl. The Concordia is arguably the most beautiful production sailboat ever built, and its interior joinery is famously considered. I love the general design and aesthetic - not fancy, meant to be lived and used, but a great deal of attention paid to proportions and details. Reminiscent of shaker furniture in that regard. Meant to be used, but also a simple beauty to it. A sun room is not a sailboat, but the design problem felt the same: make a small, irregular space comfortable, beautiful, and functional.
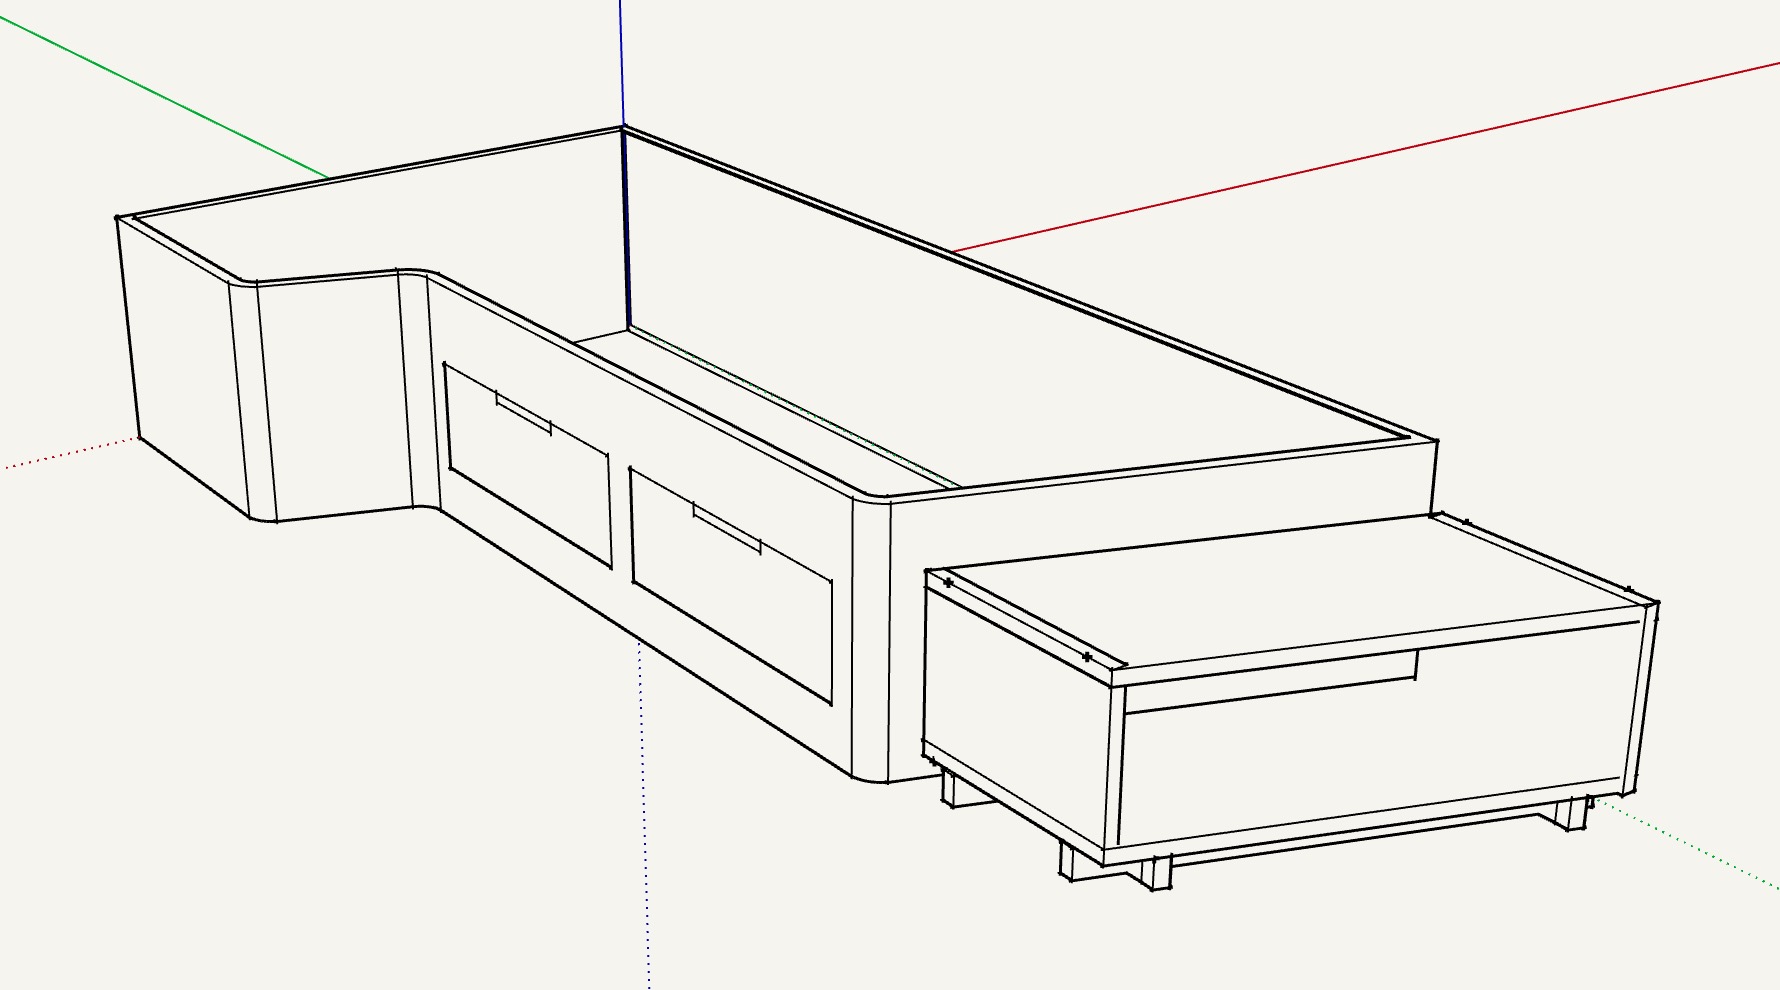
I built a quick 3D model in SketchUp to work out proportions and make sure the piece would fit the corner and look nice.
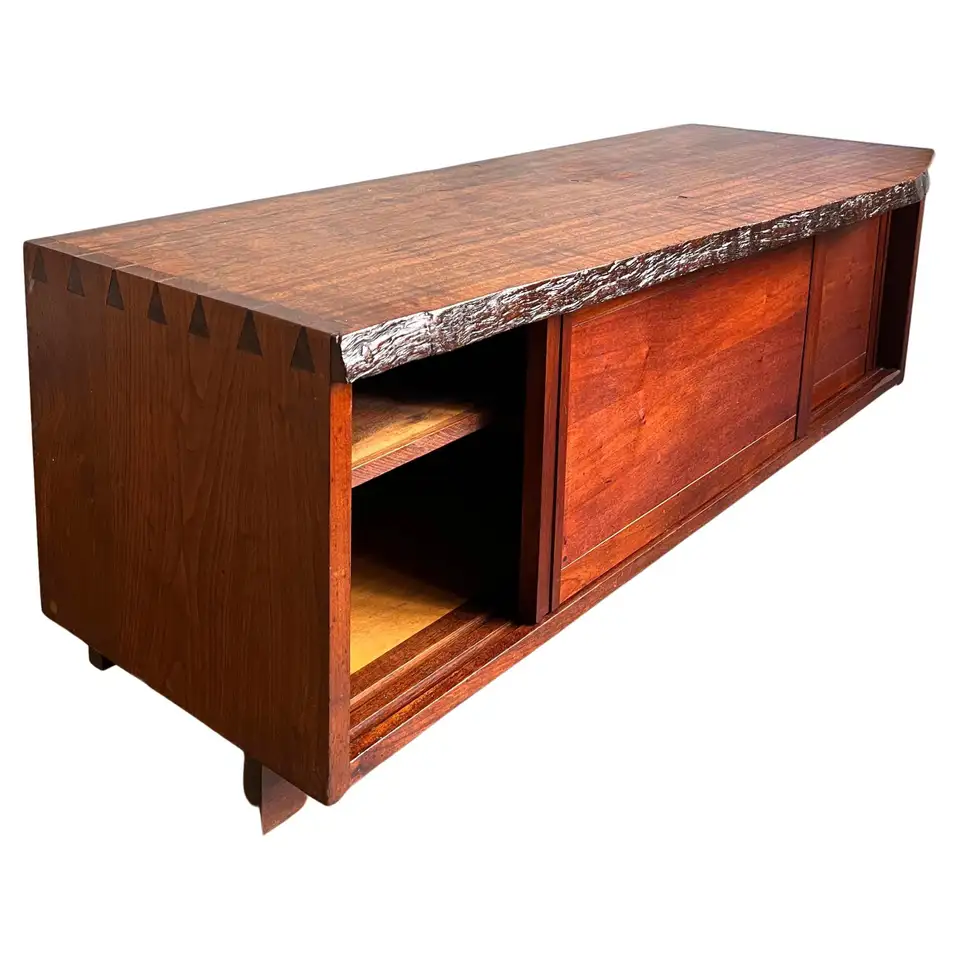
I originally planned to also build an adjacent storage piece with a live-edge sliding door, inspired by Nakashima. I still want to buildi this, but in the end I decided the corner was already busy enough with just the bench, and dropped it.
Cherry's chatoyance — that shifting, shimmering luster when light catches the figure at different angles. This is the quality that makes cherry worth the trouble.
The curvy bits
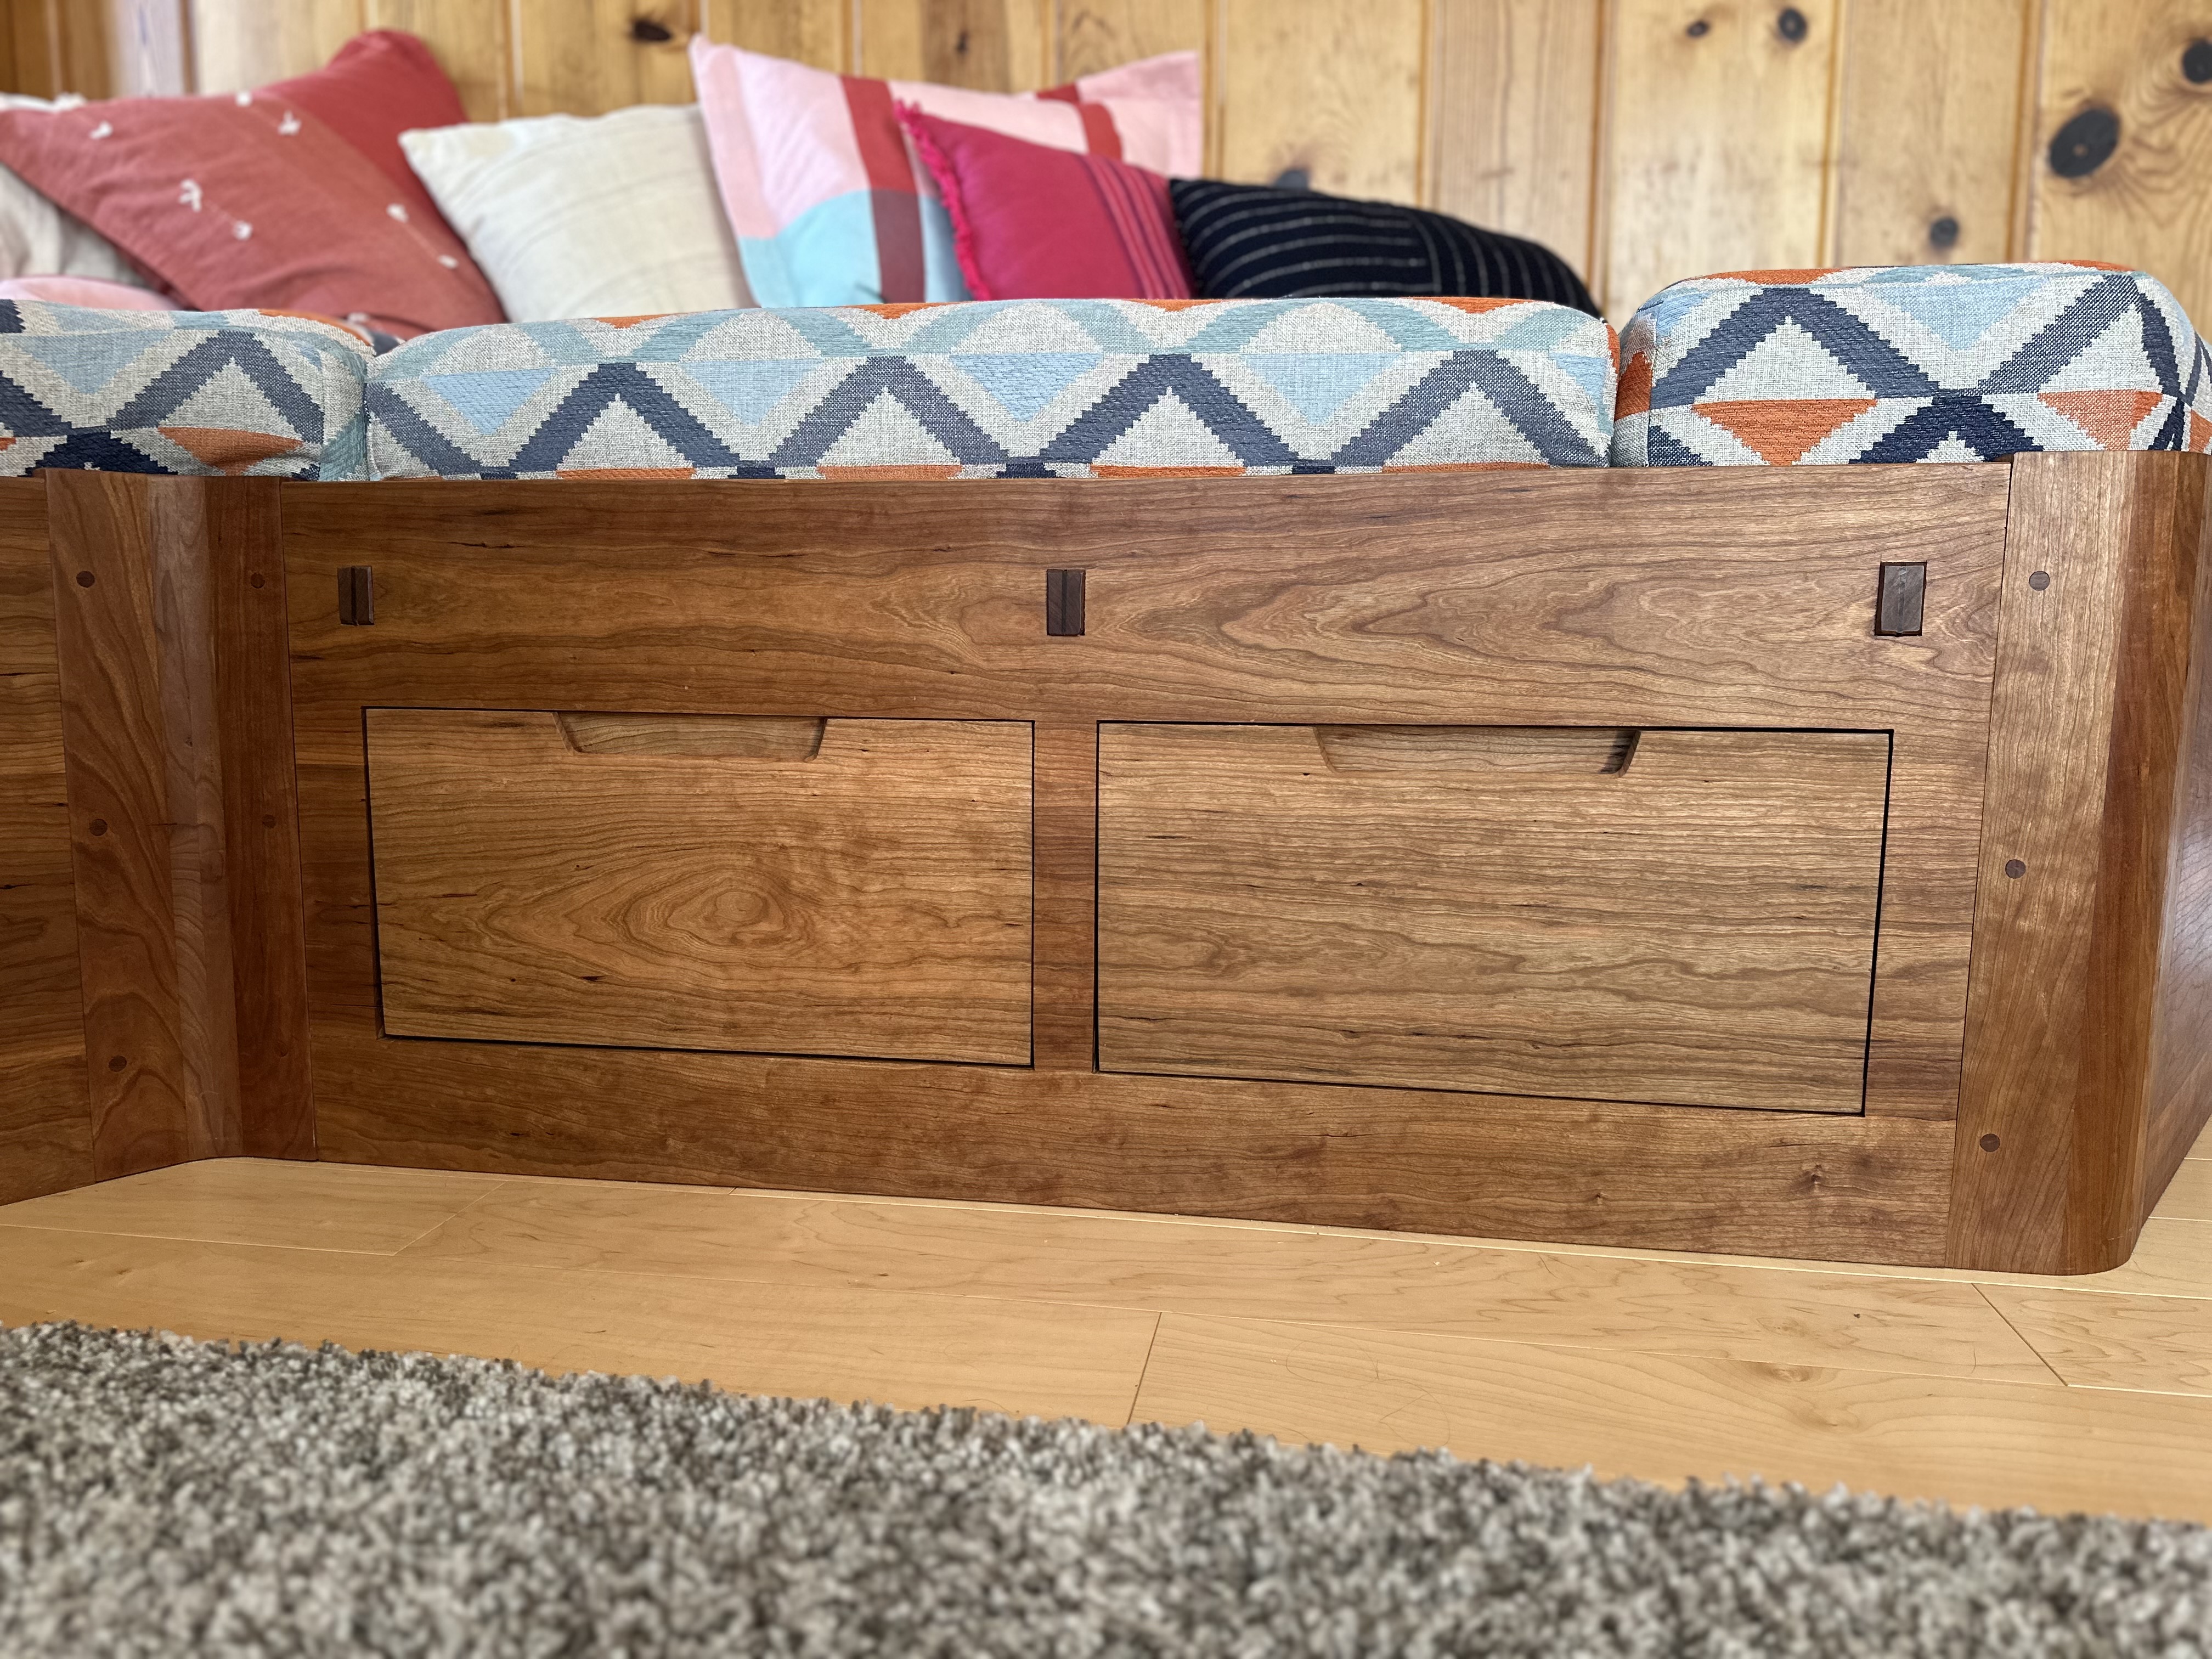
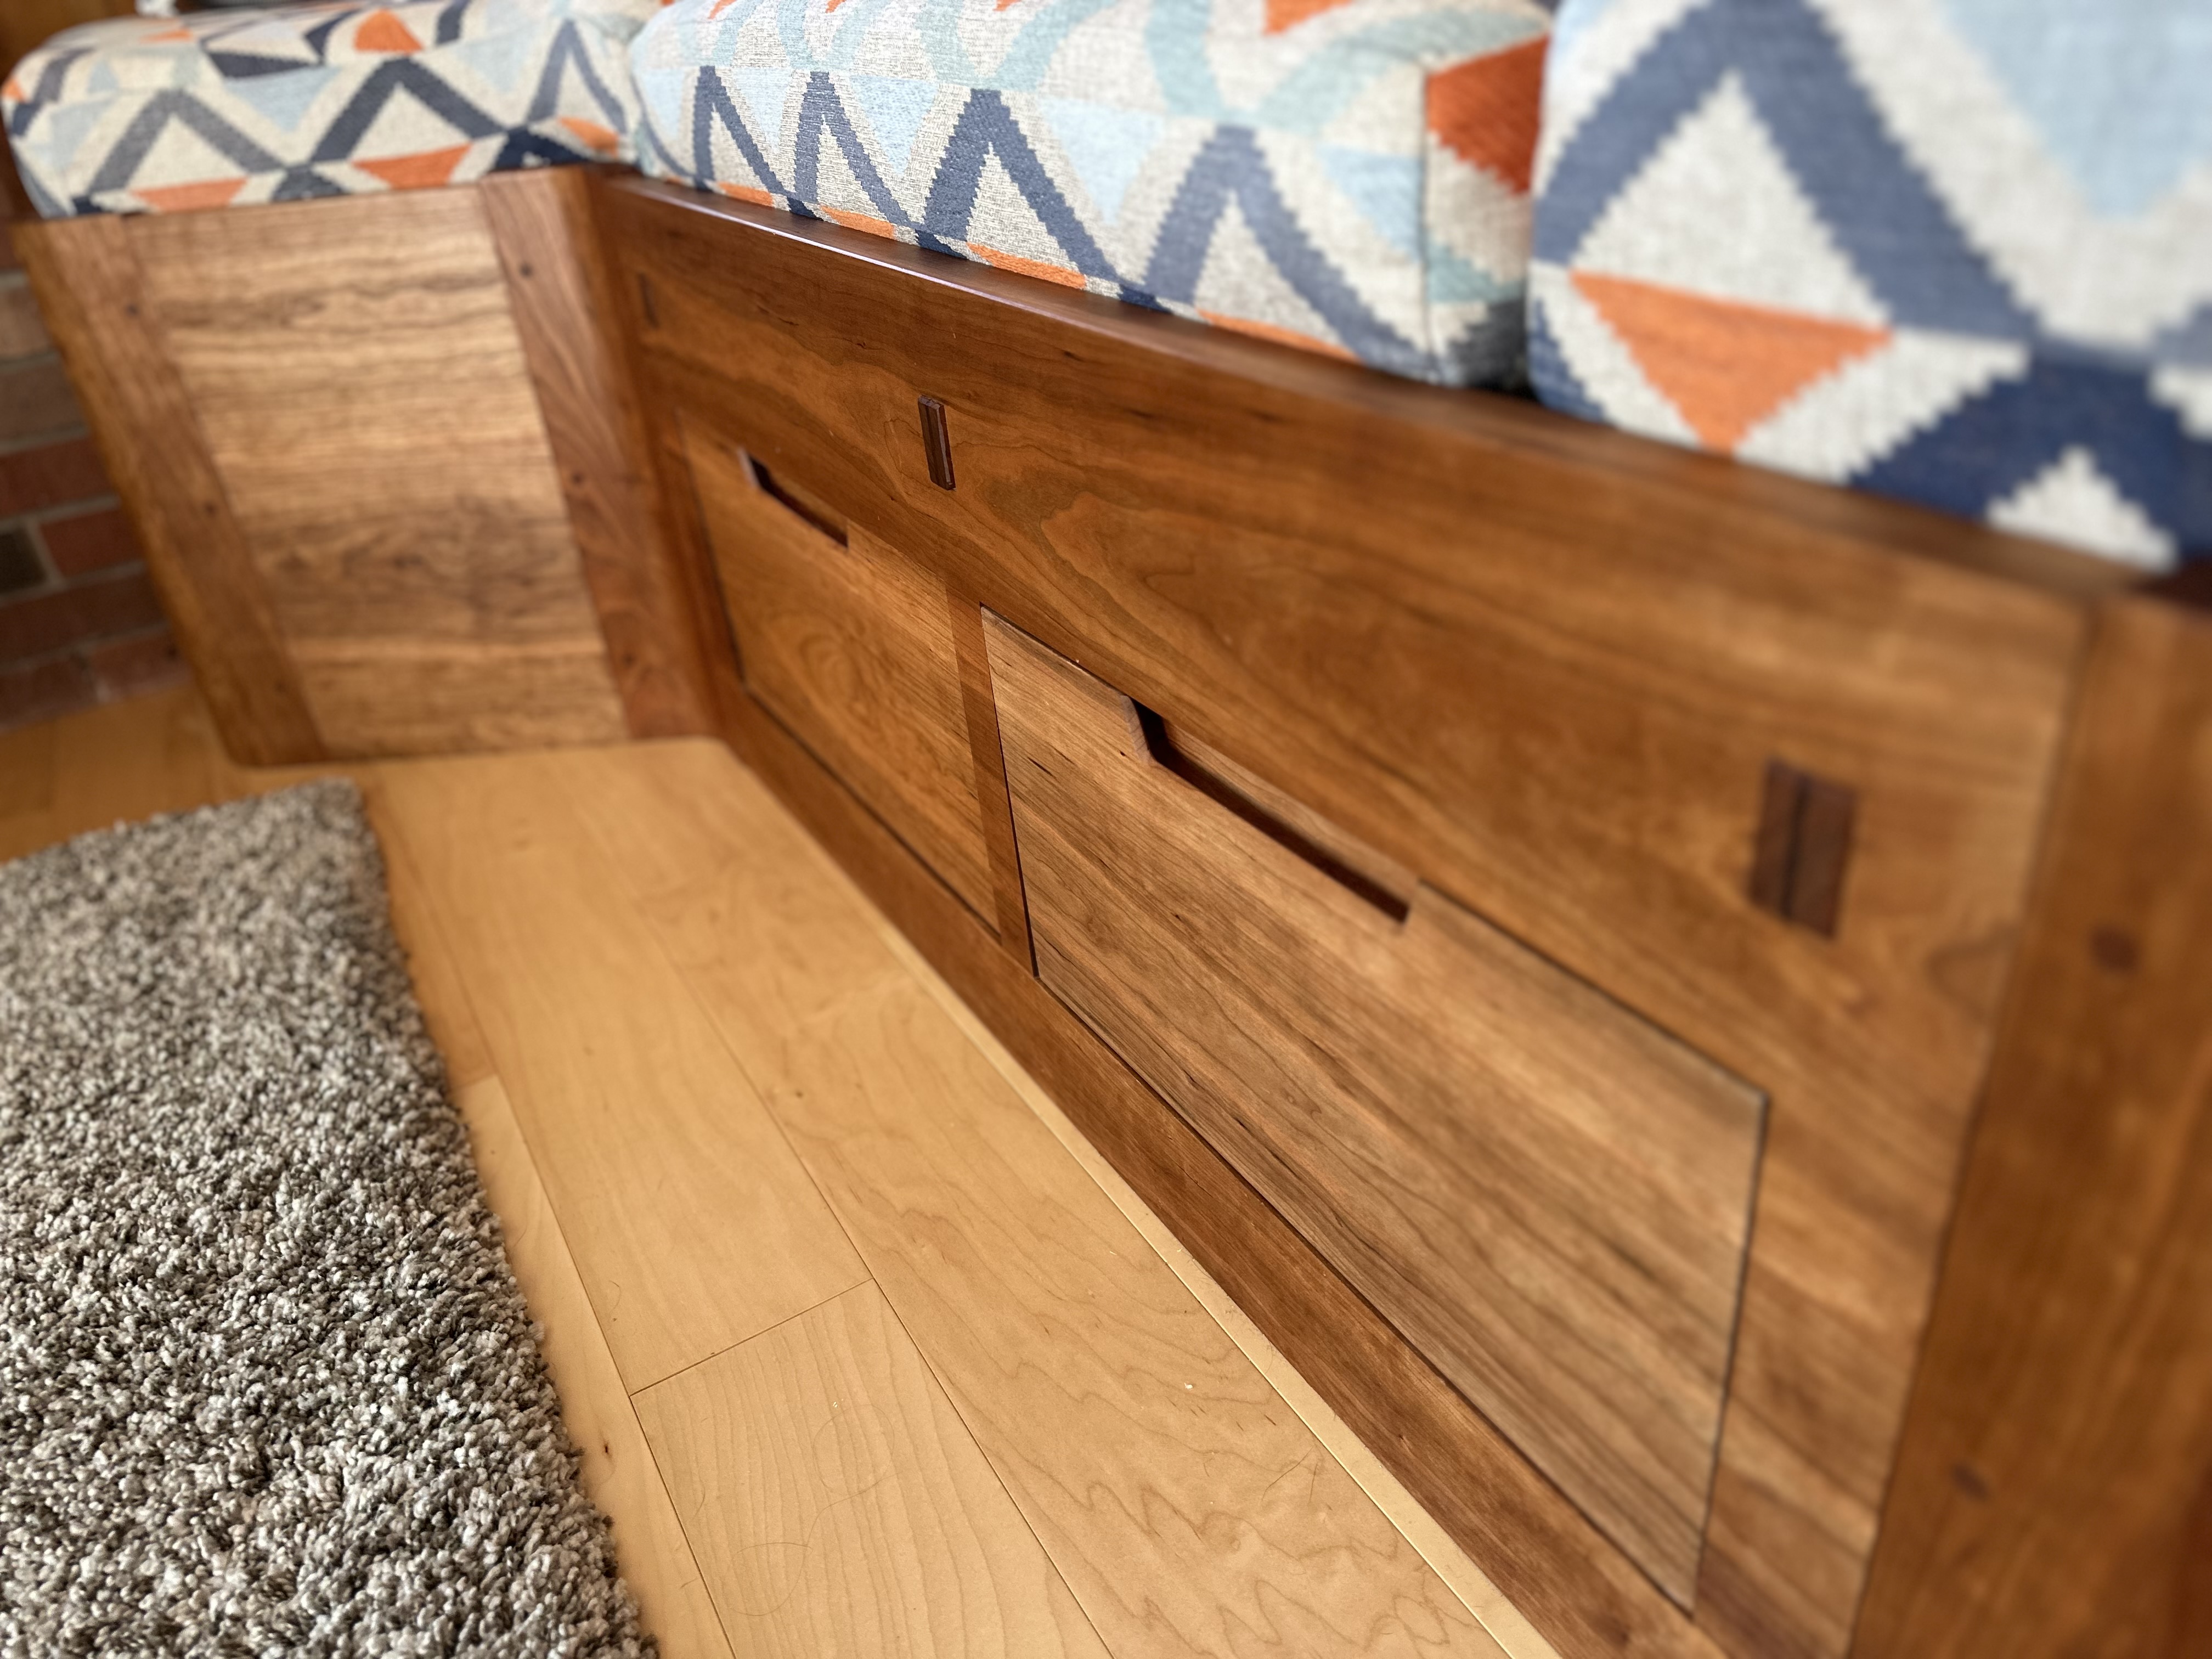
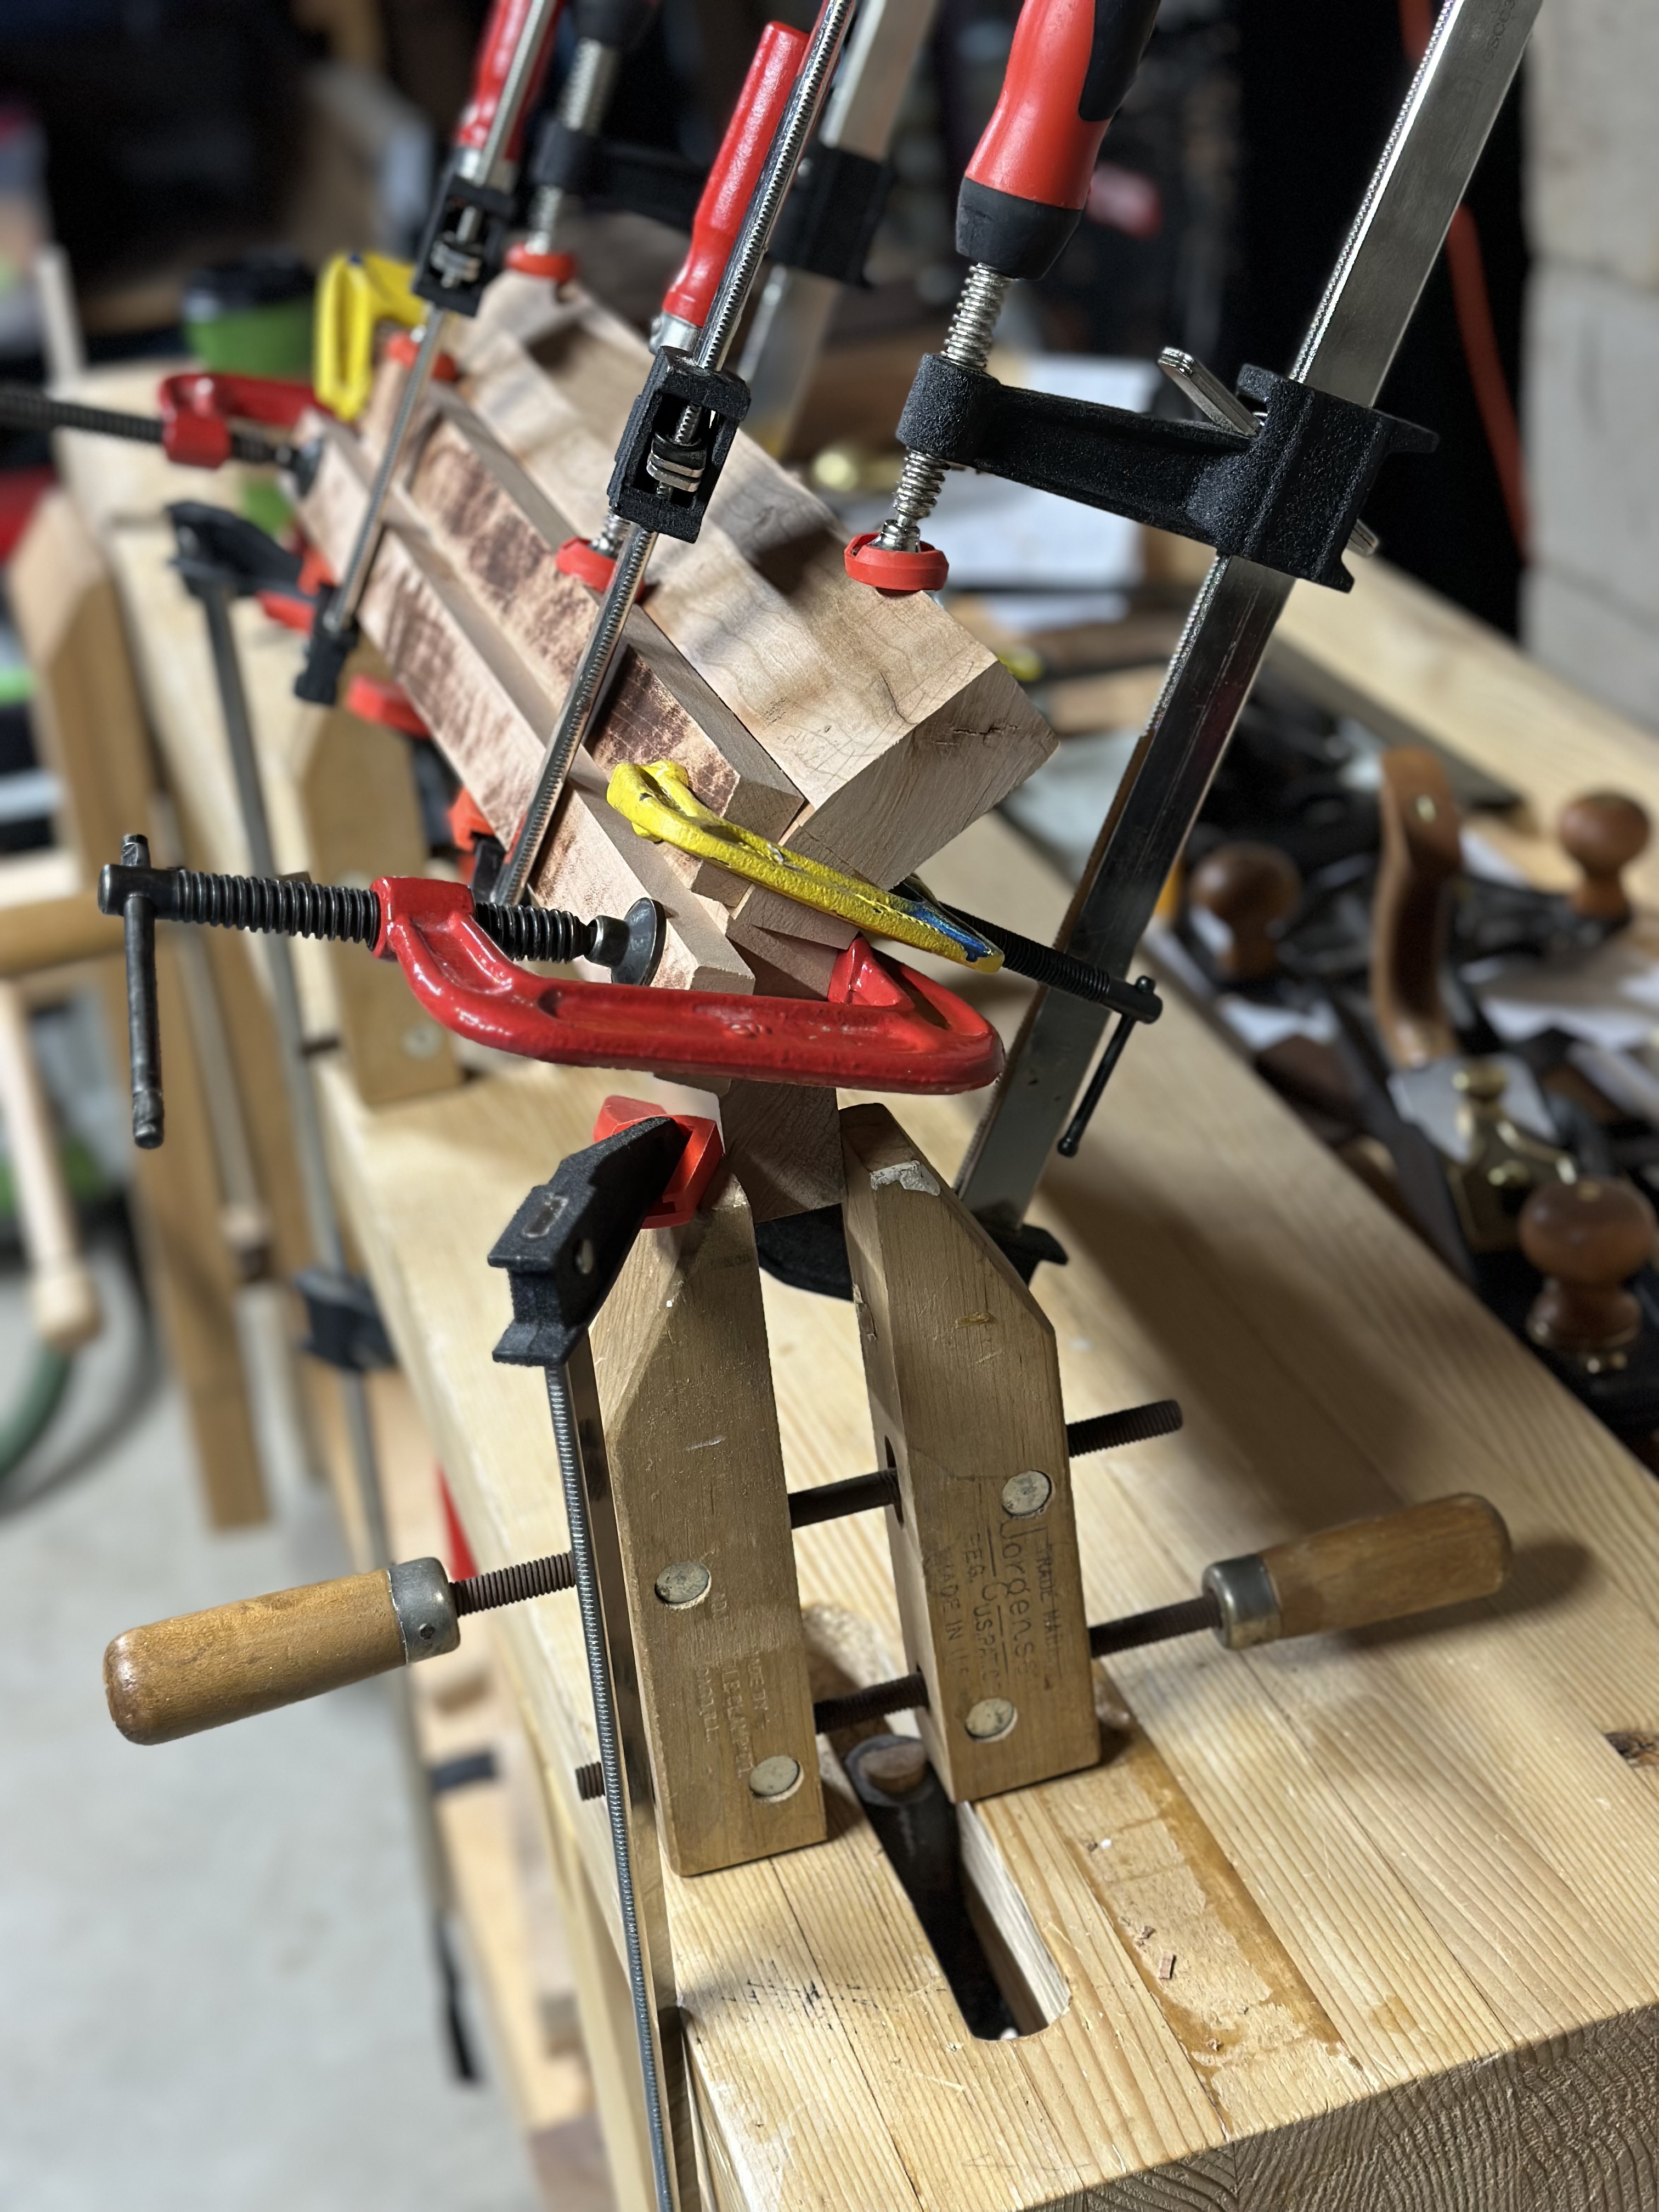
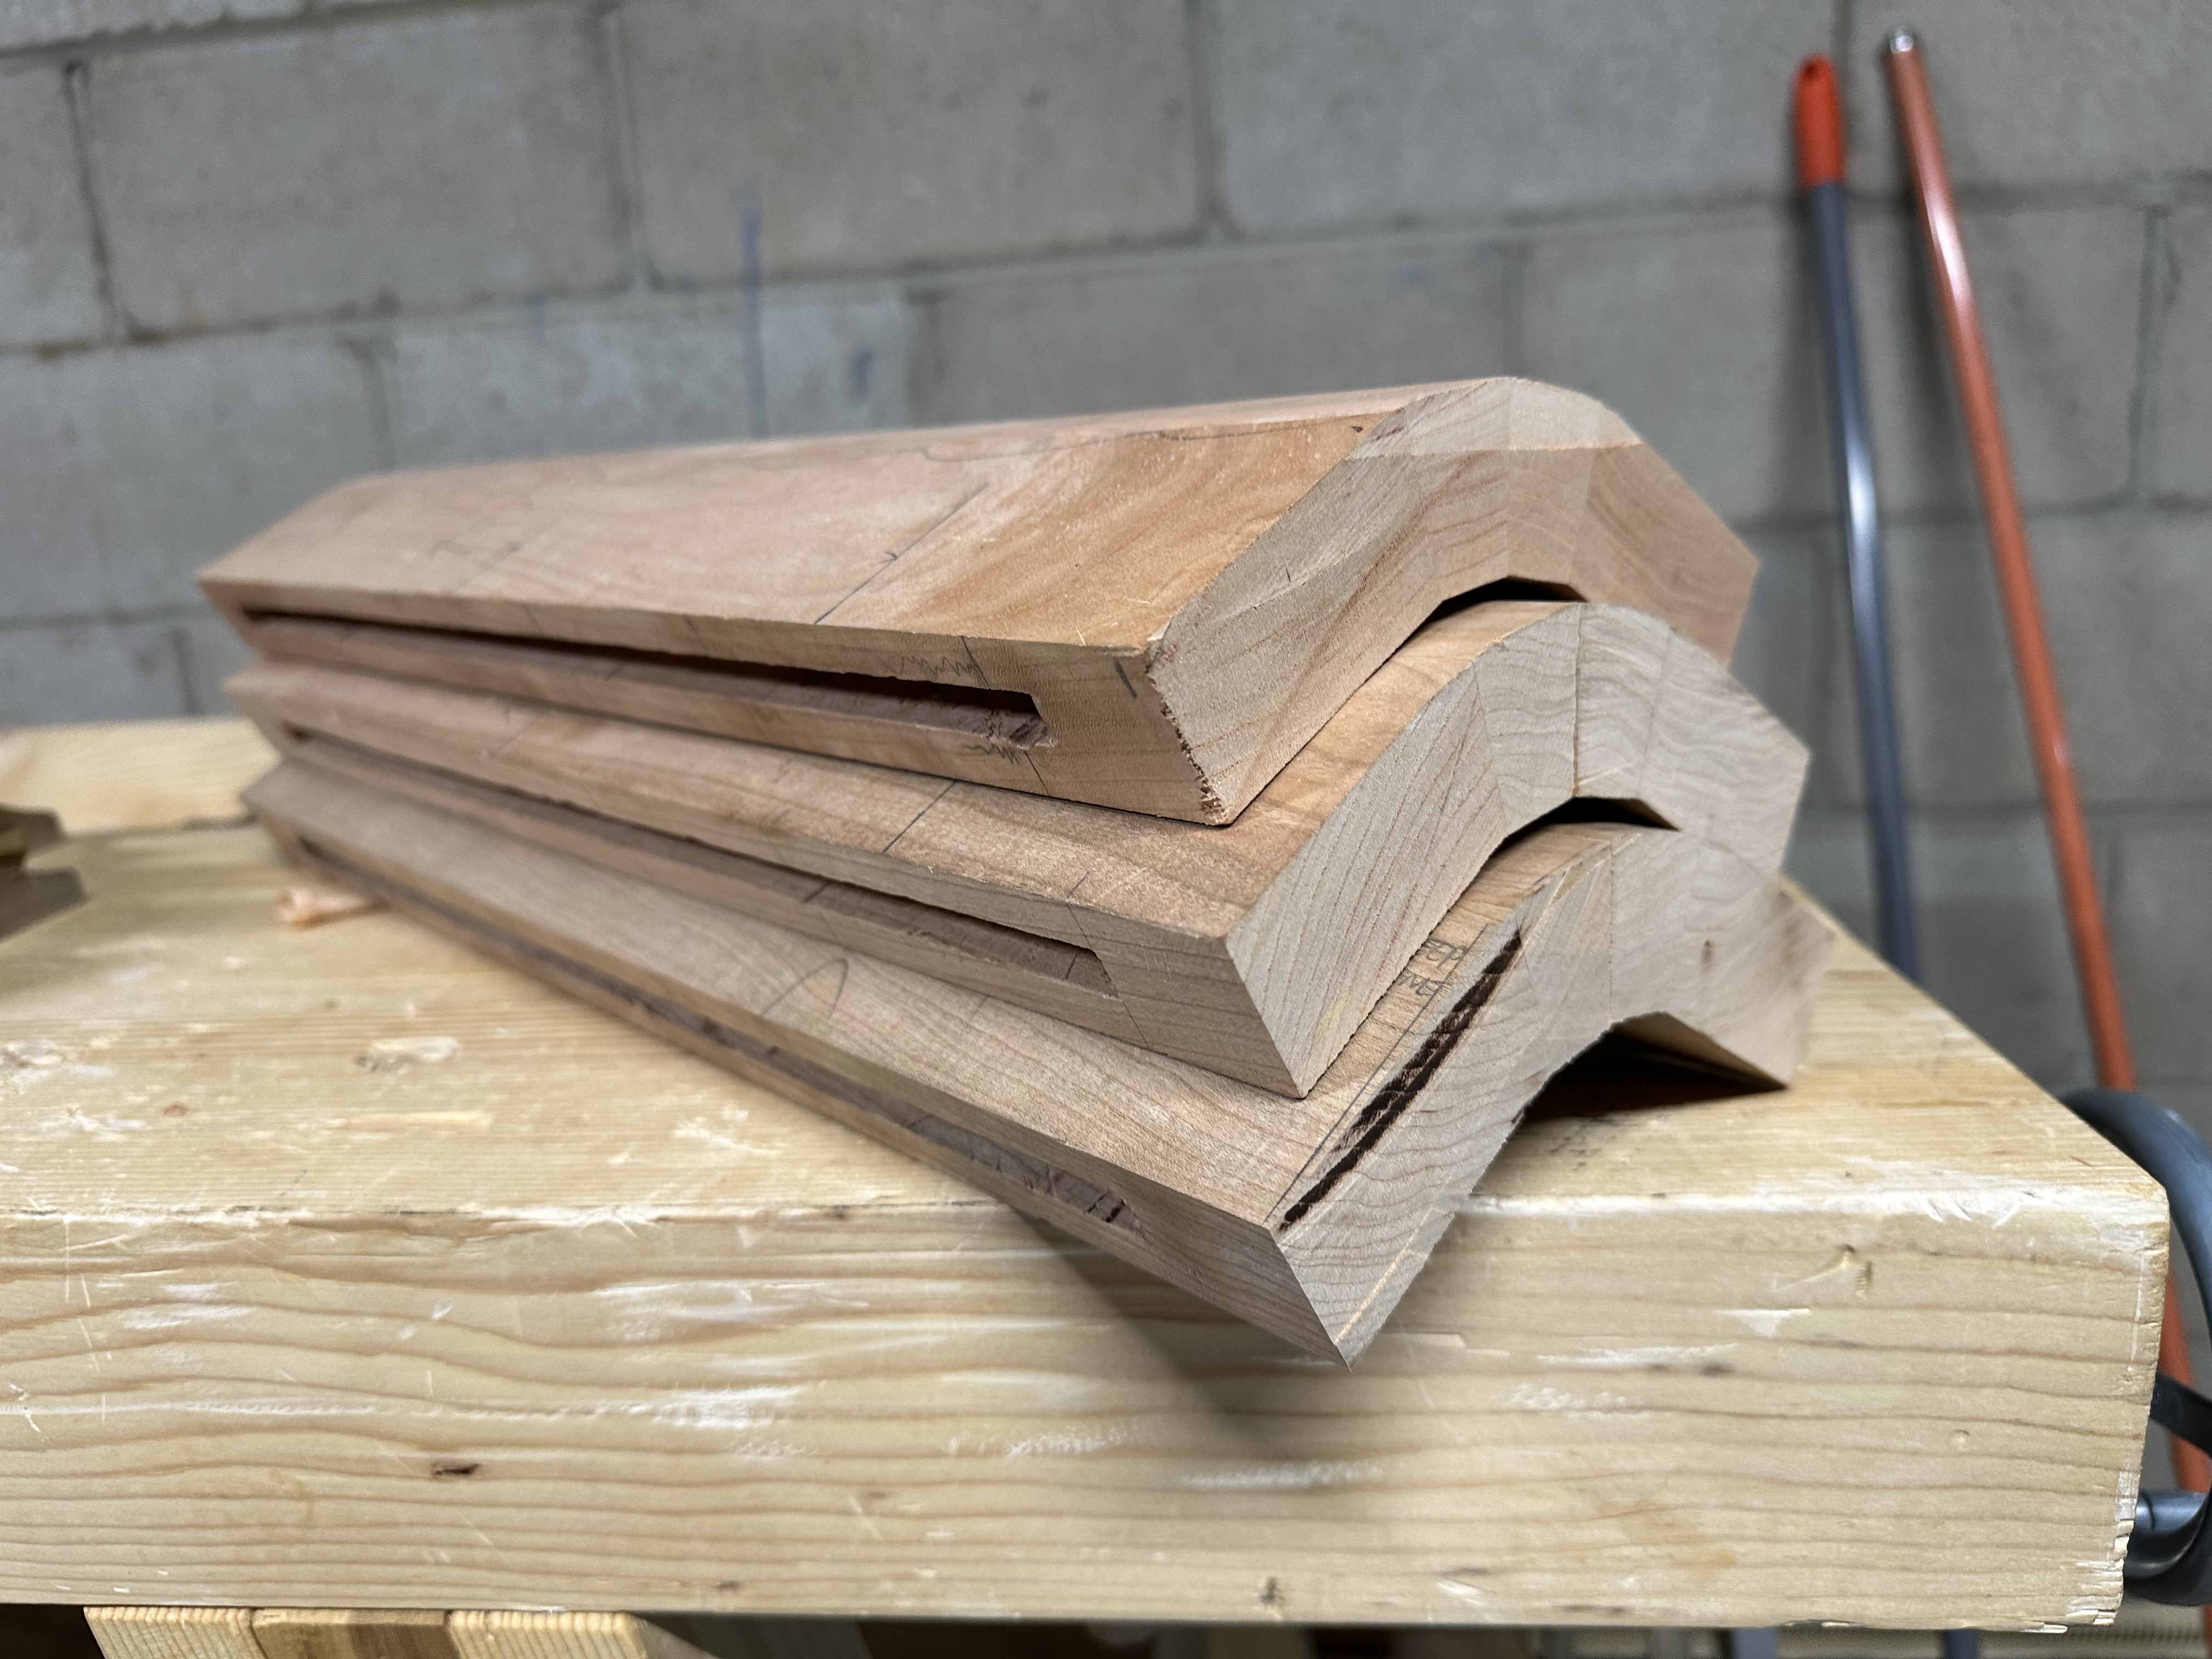
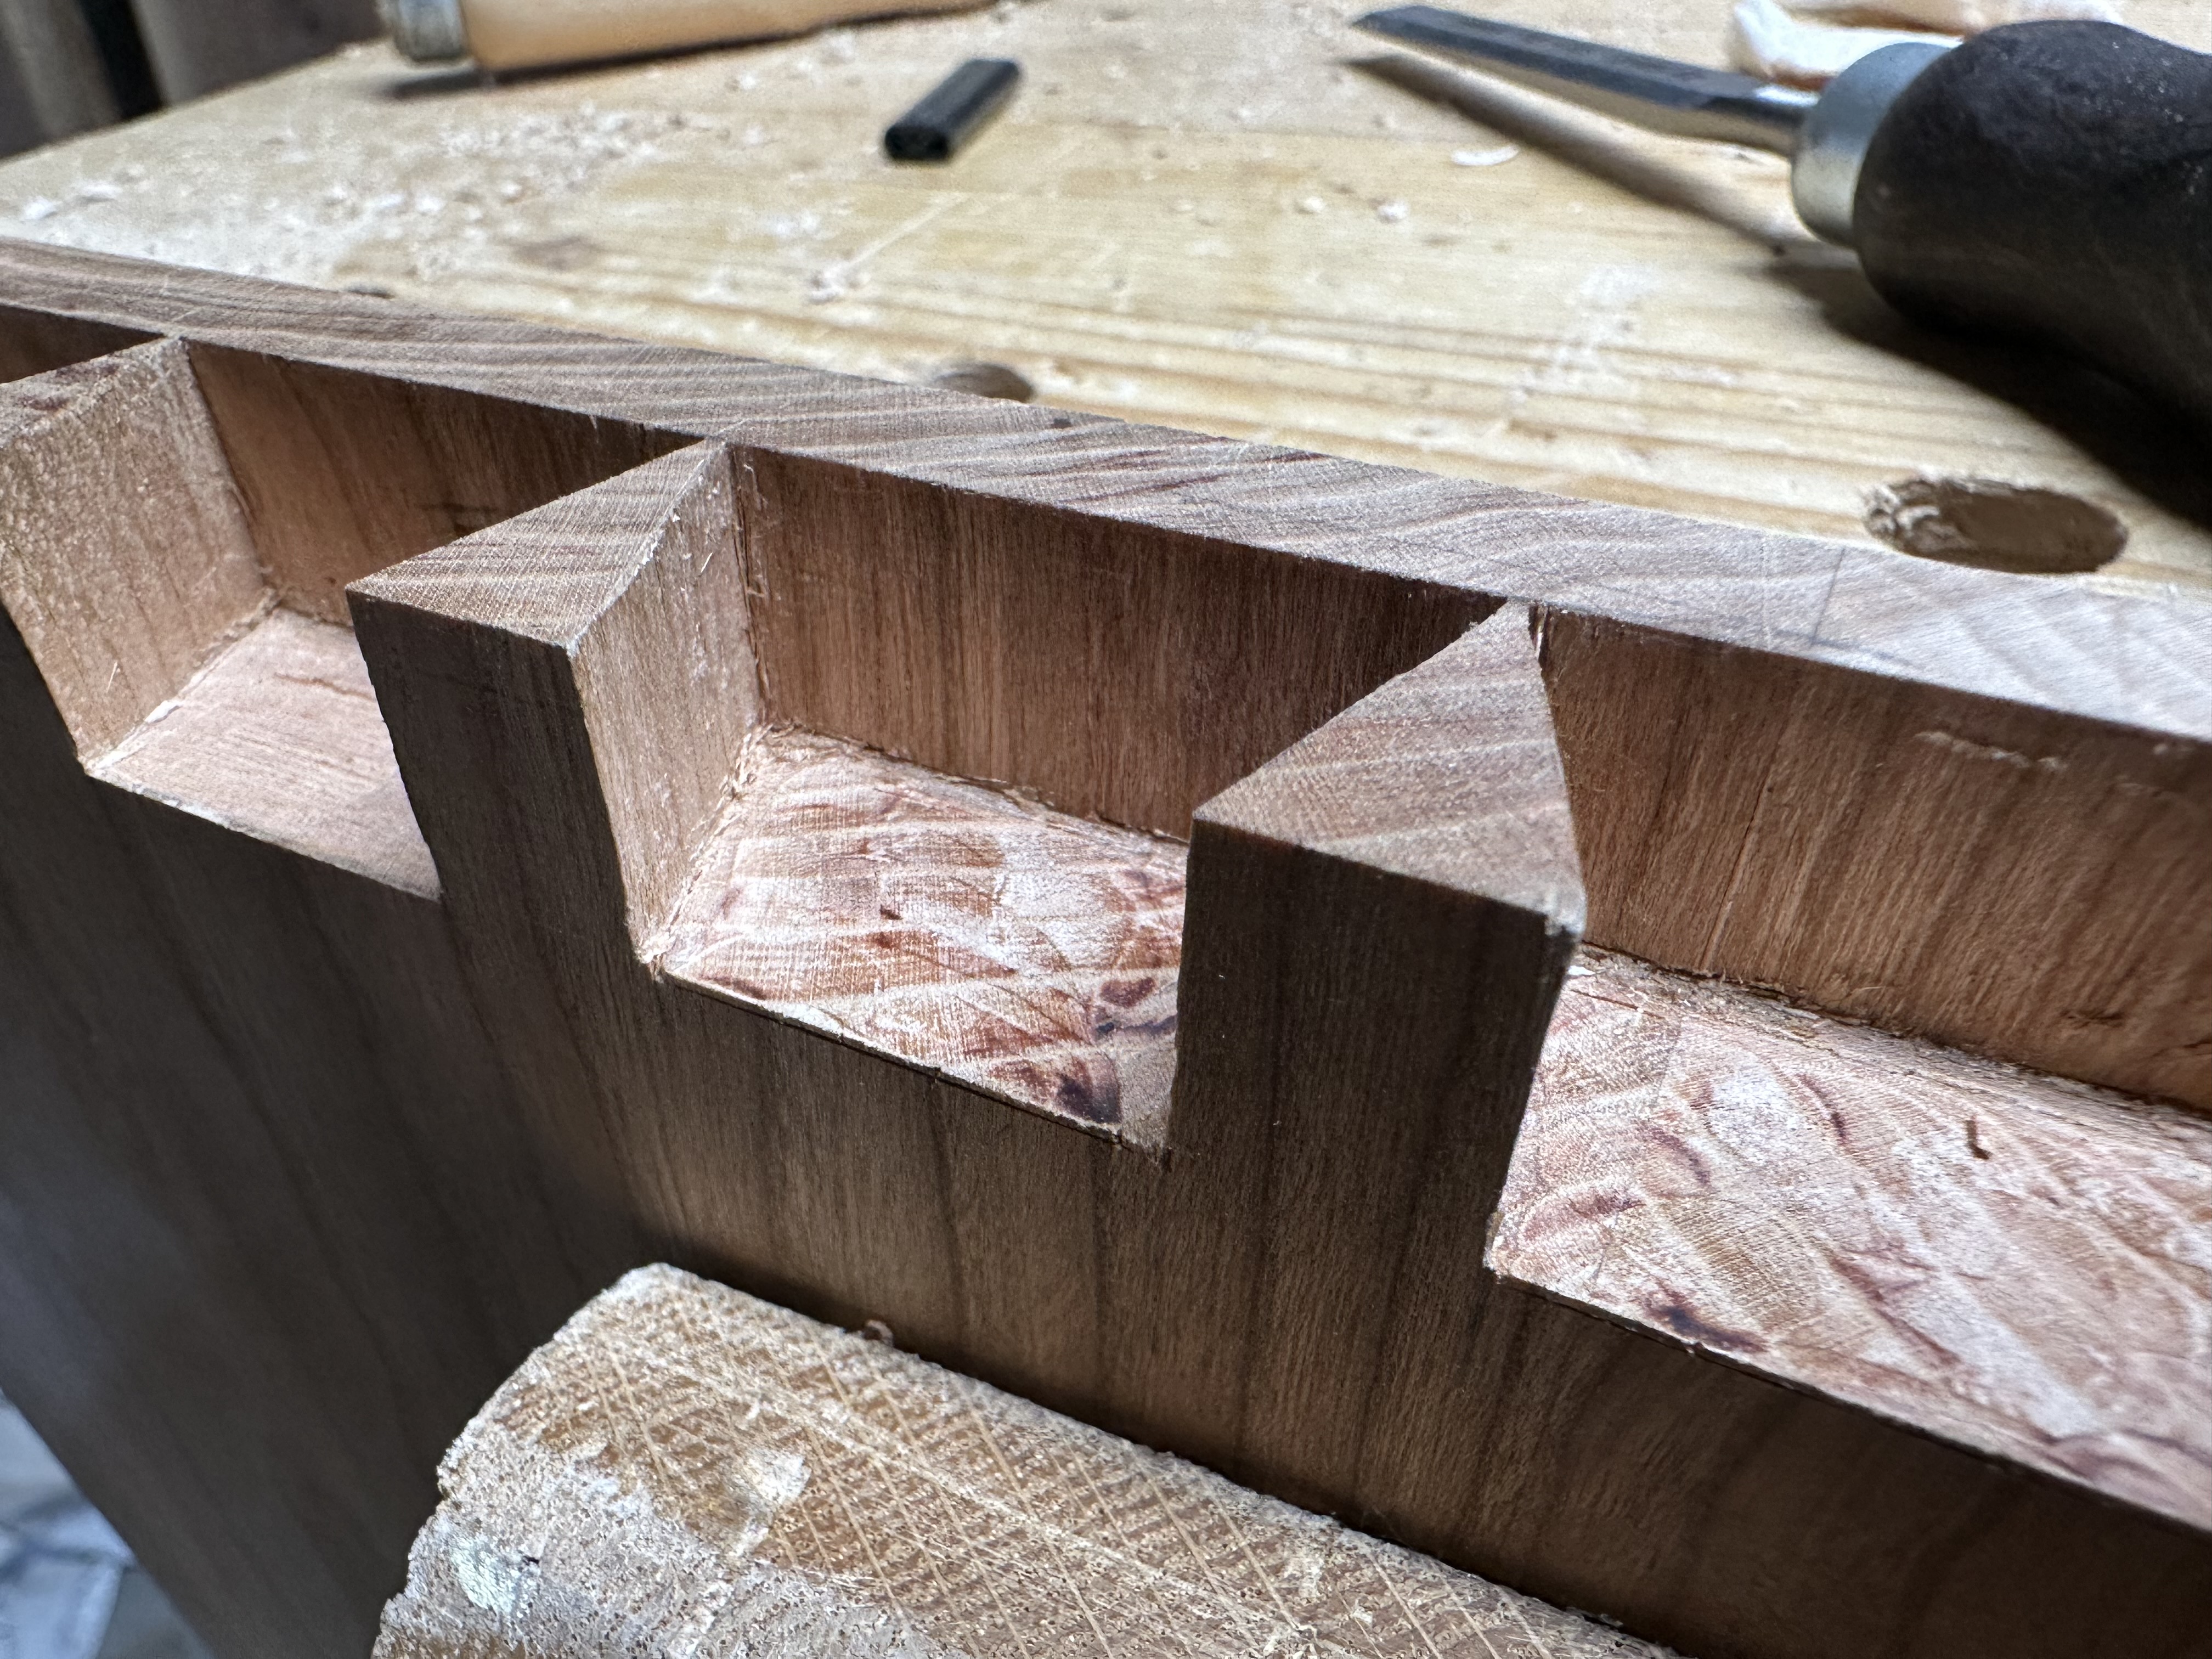
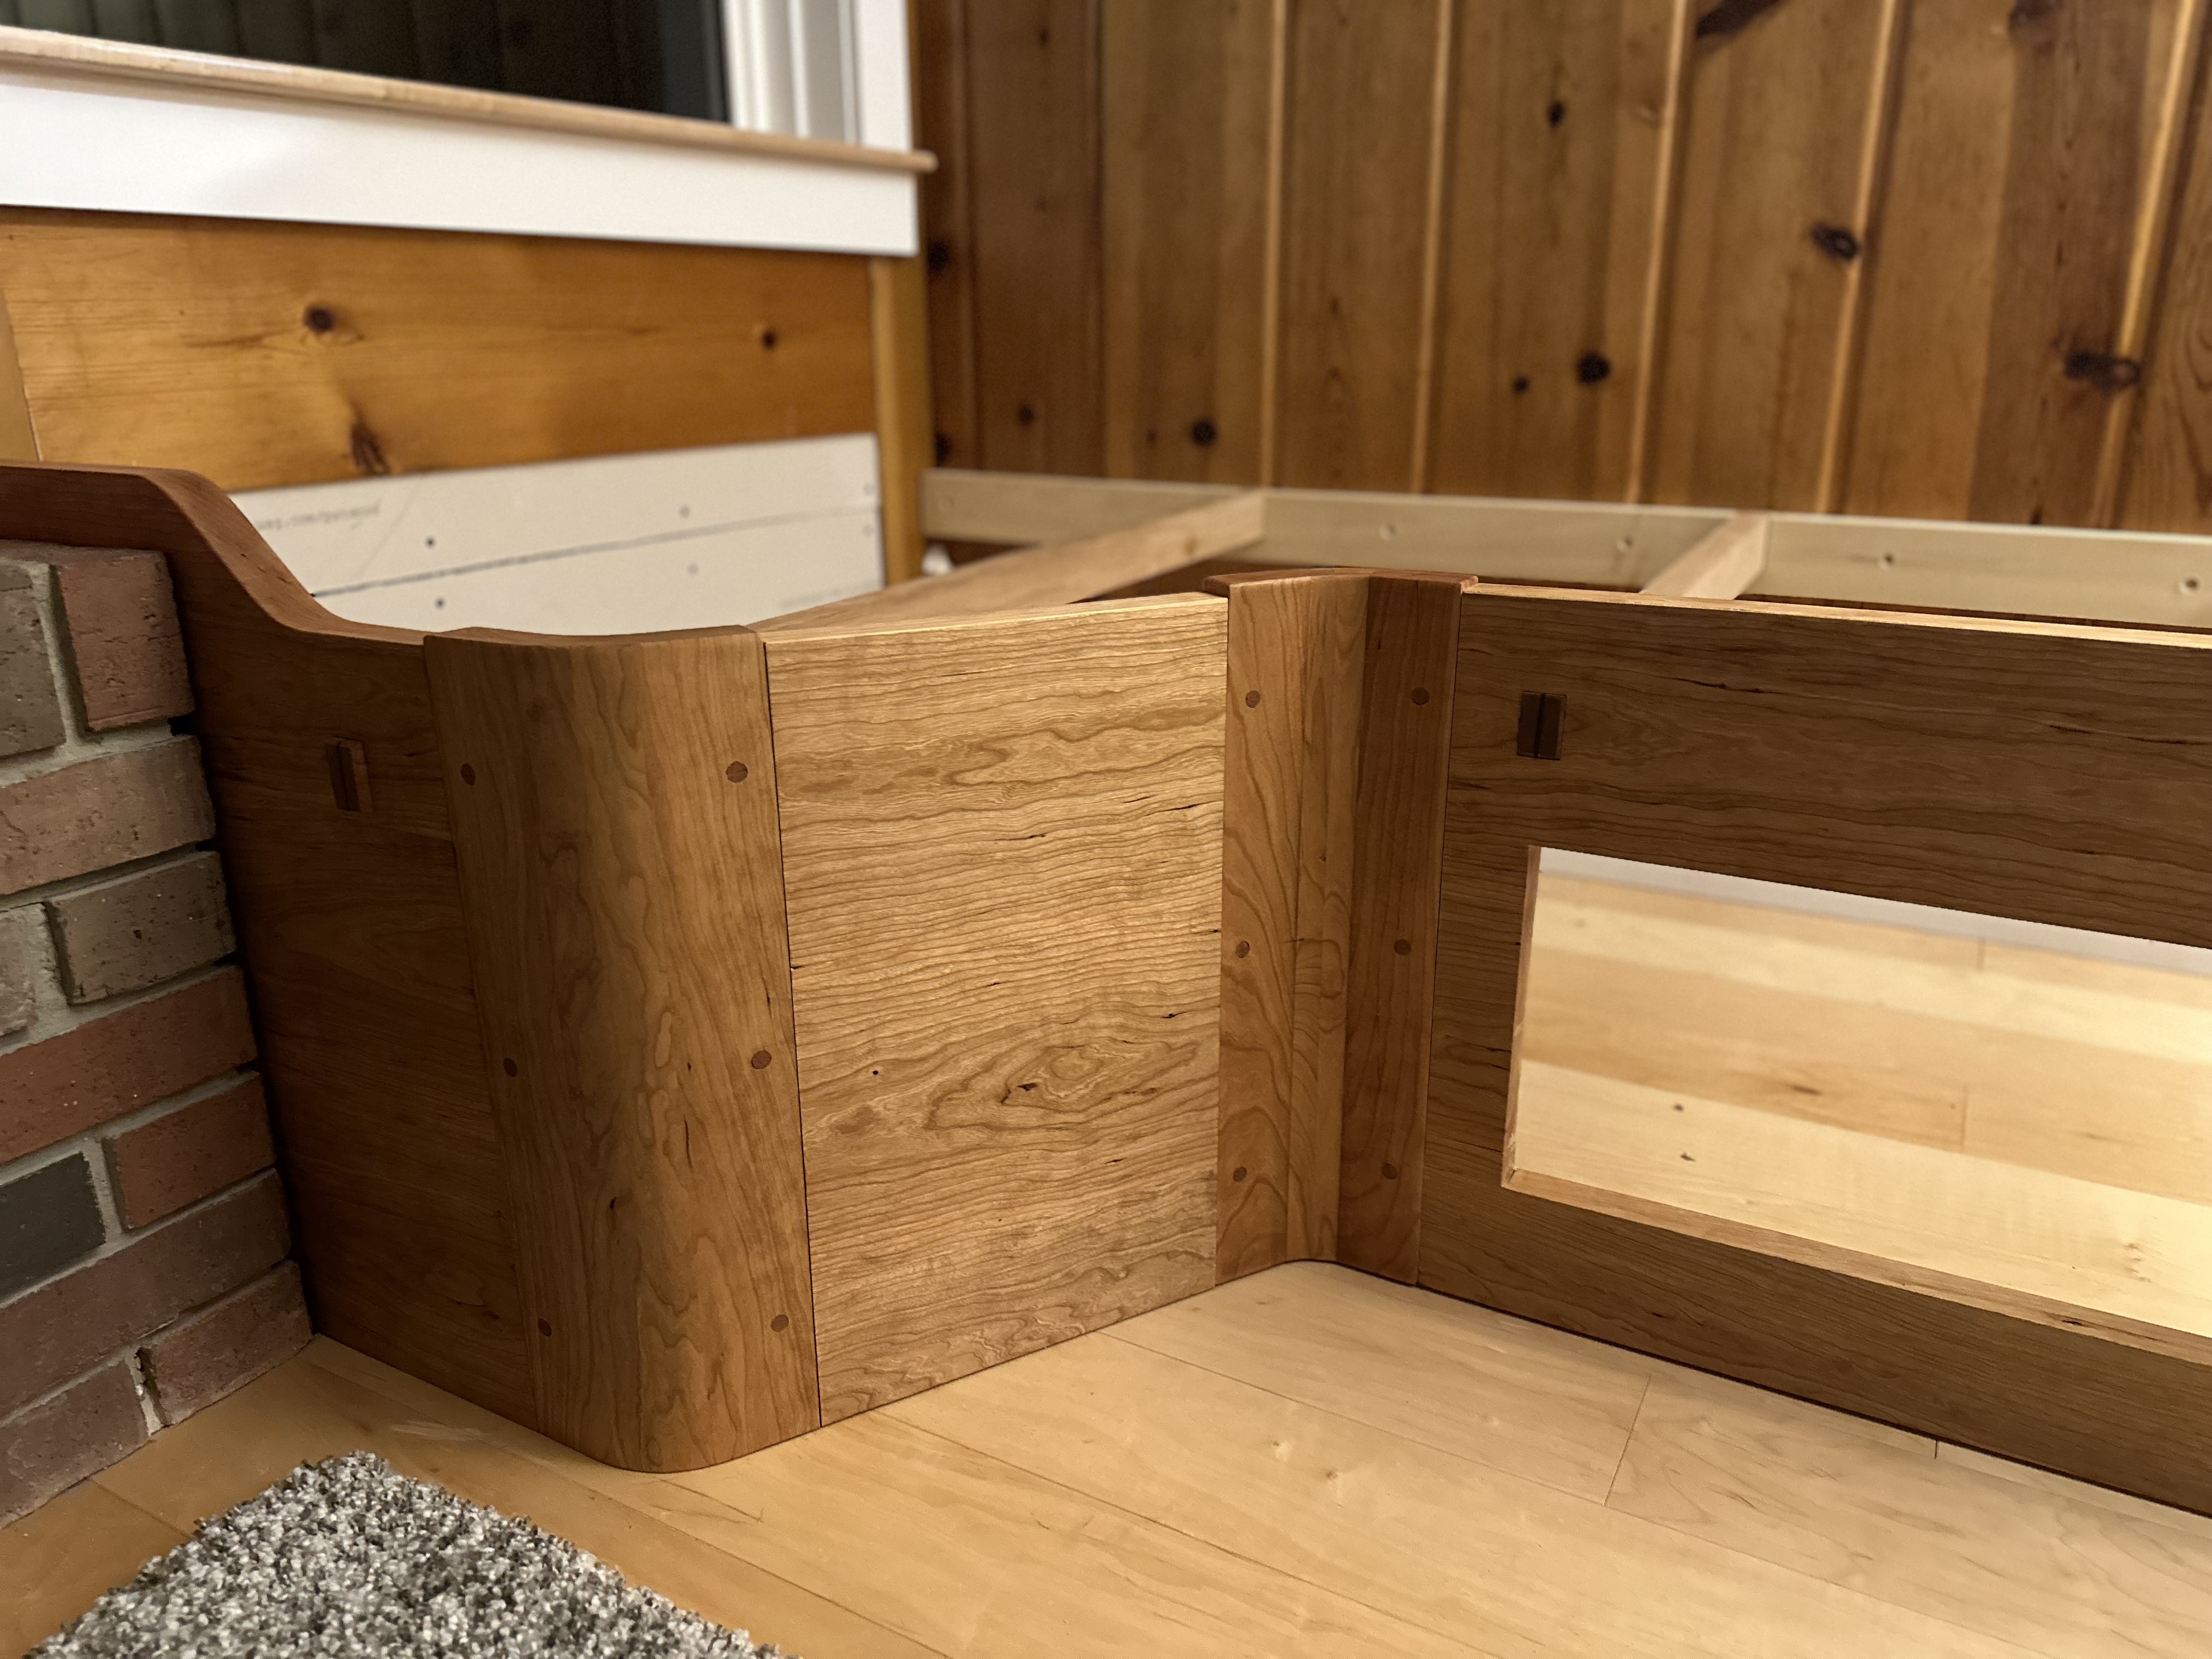
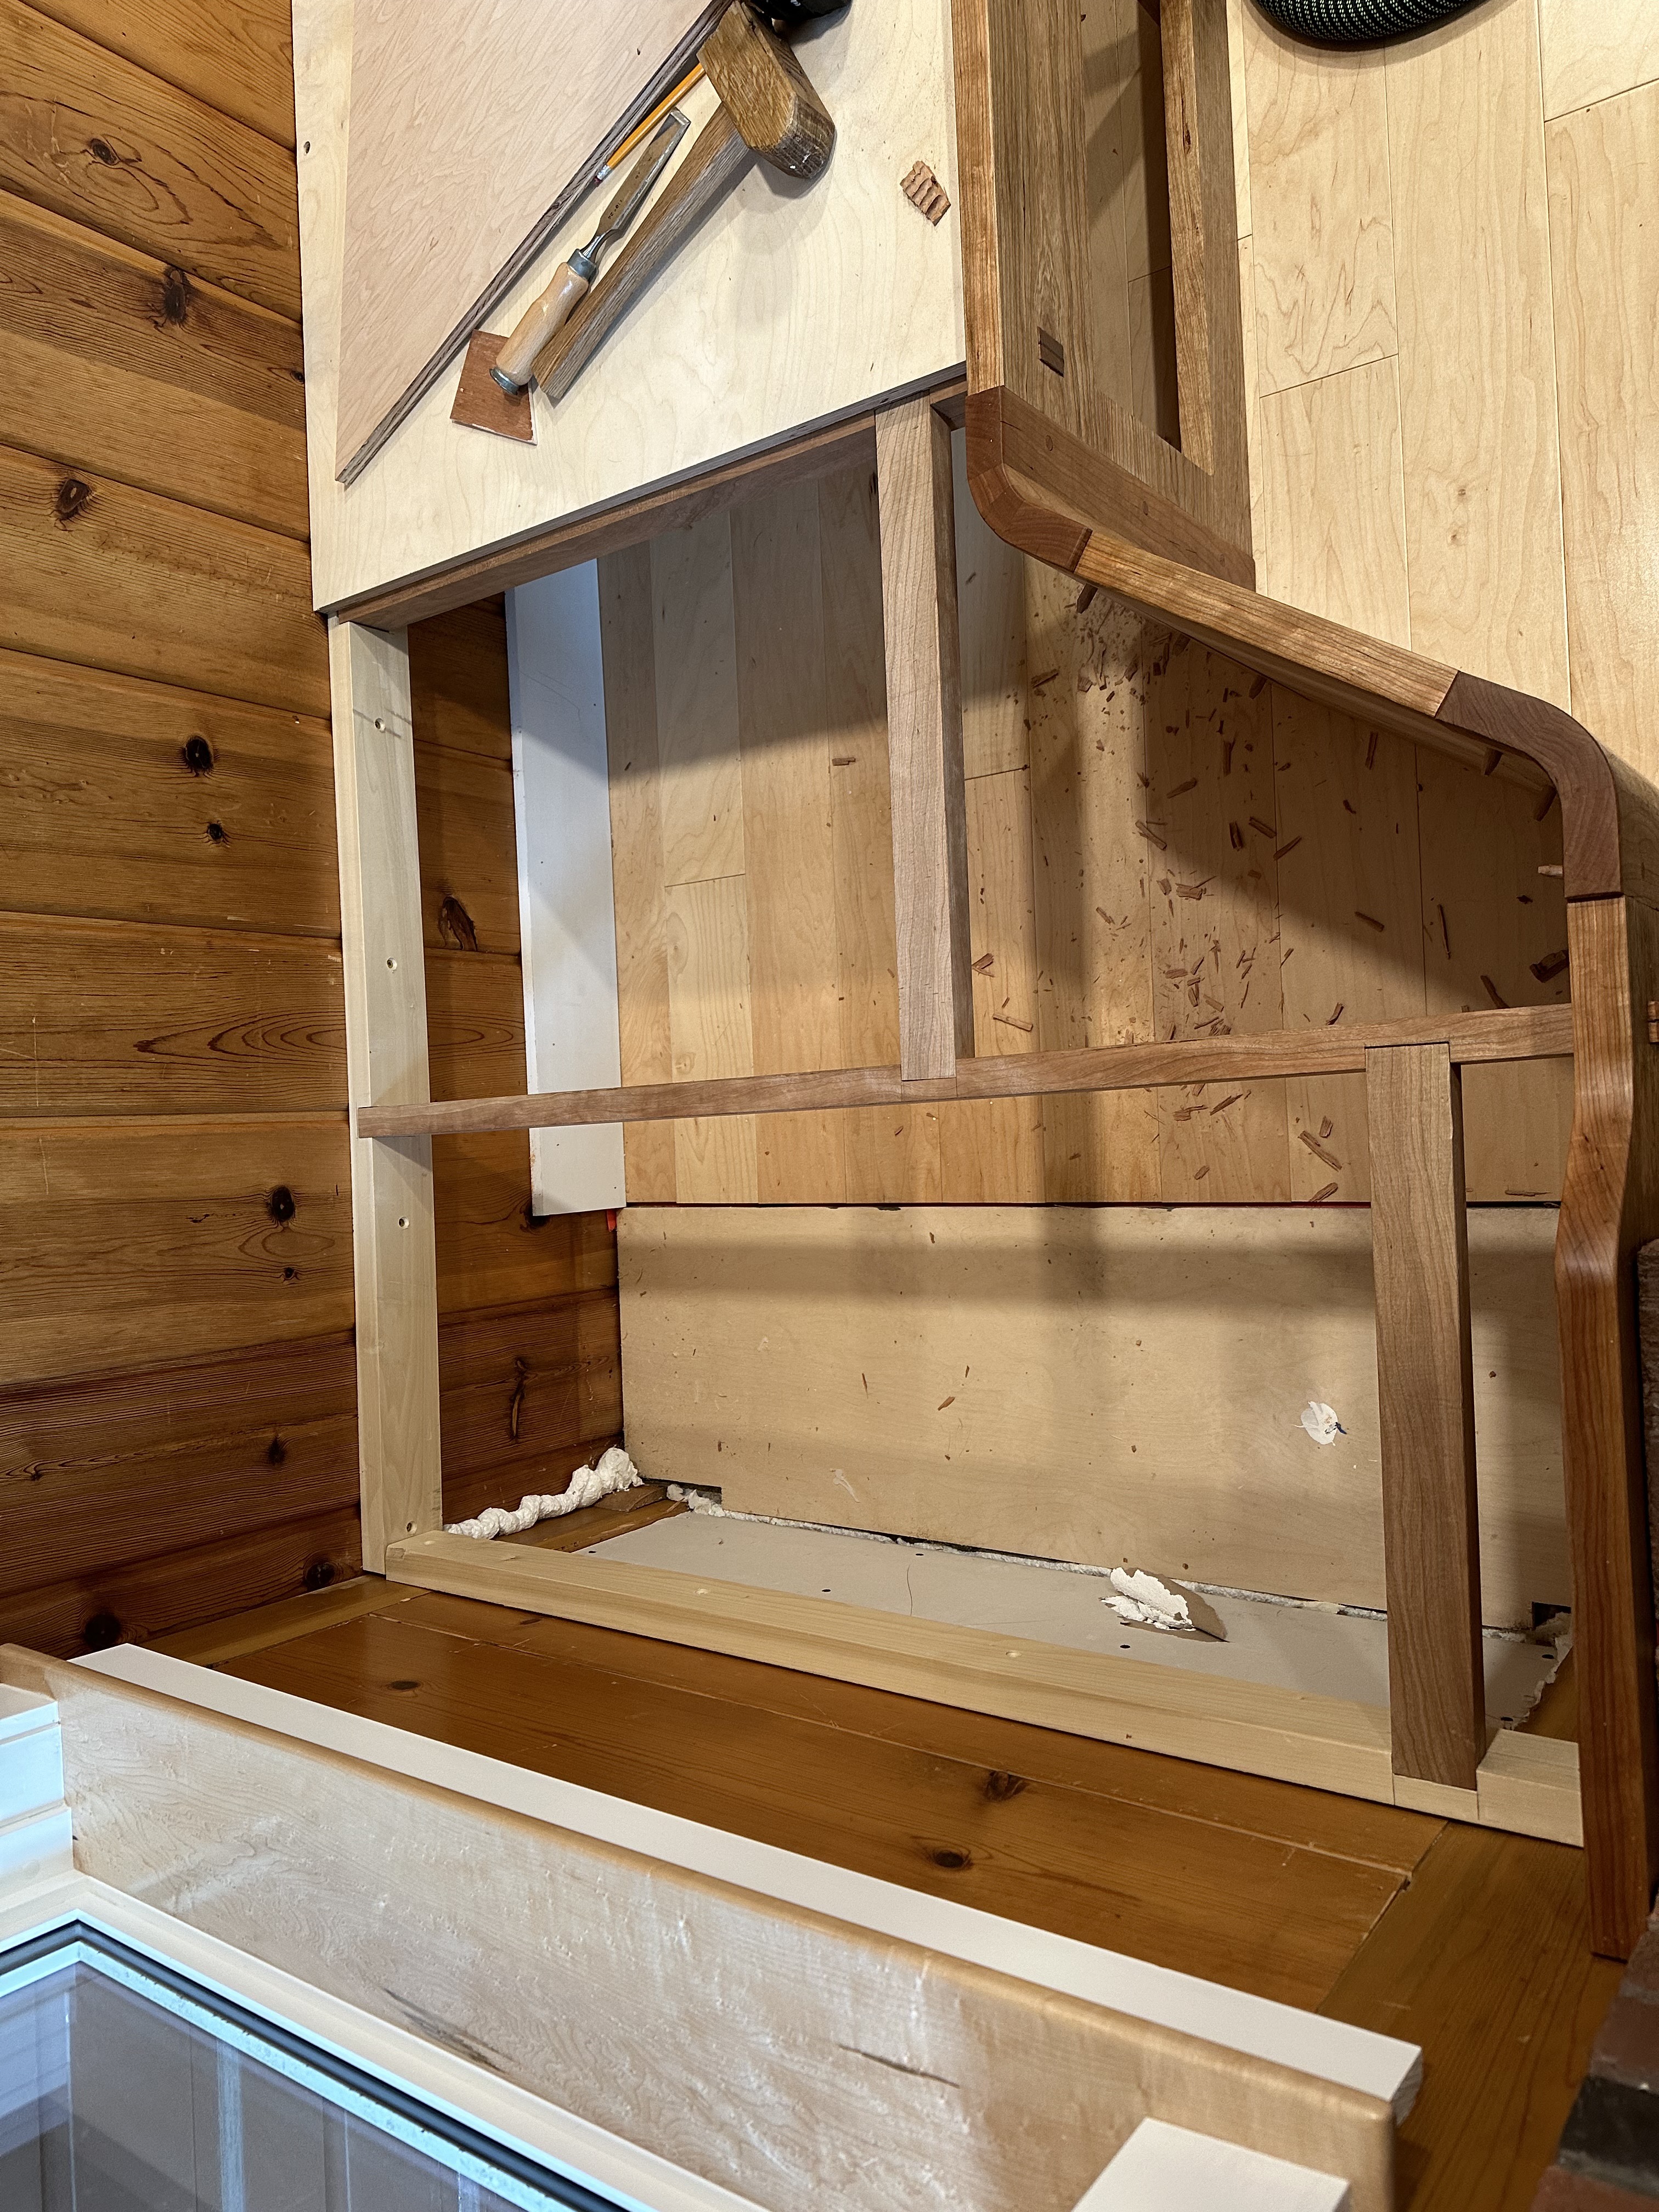
The bench casework is just four flat cherry panels — the primary case front with the two drawers and three smaller plain panels. What ties them together are curved and mortised connector pieces that wrap the corners, doubling as breadboards to keep the panels flat.
Each connector is built barrel-stave style: four cherry pieces with beveled faces, glued together to form the desired curve and angle change. The outer two staves have breadboard mortises cut into them and accept the drawbore pegs that lock the panels together.
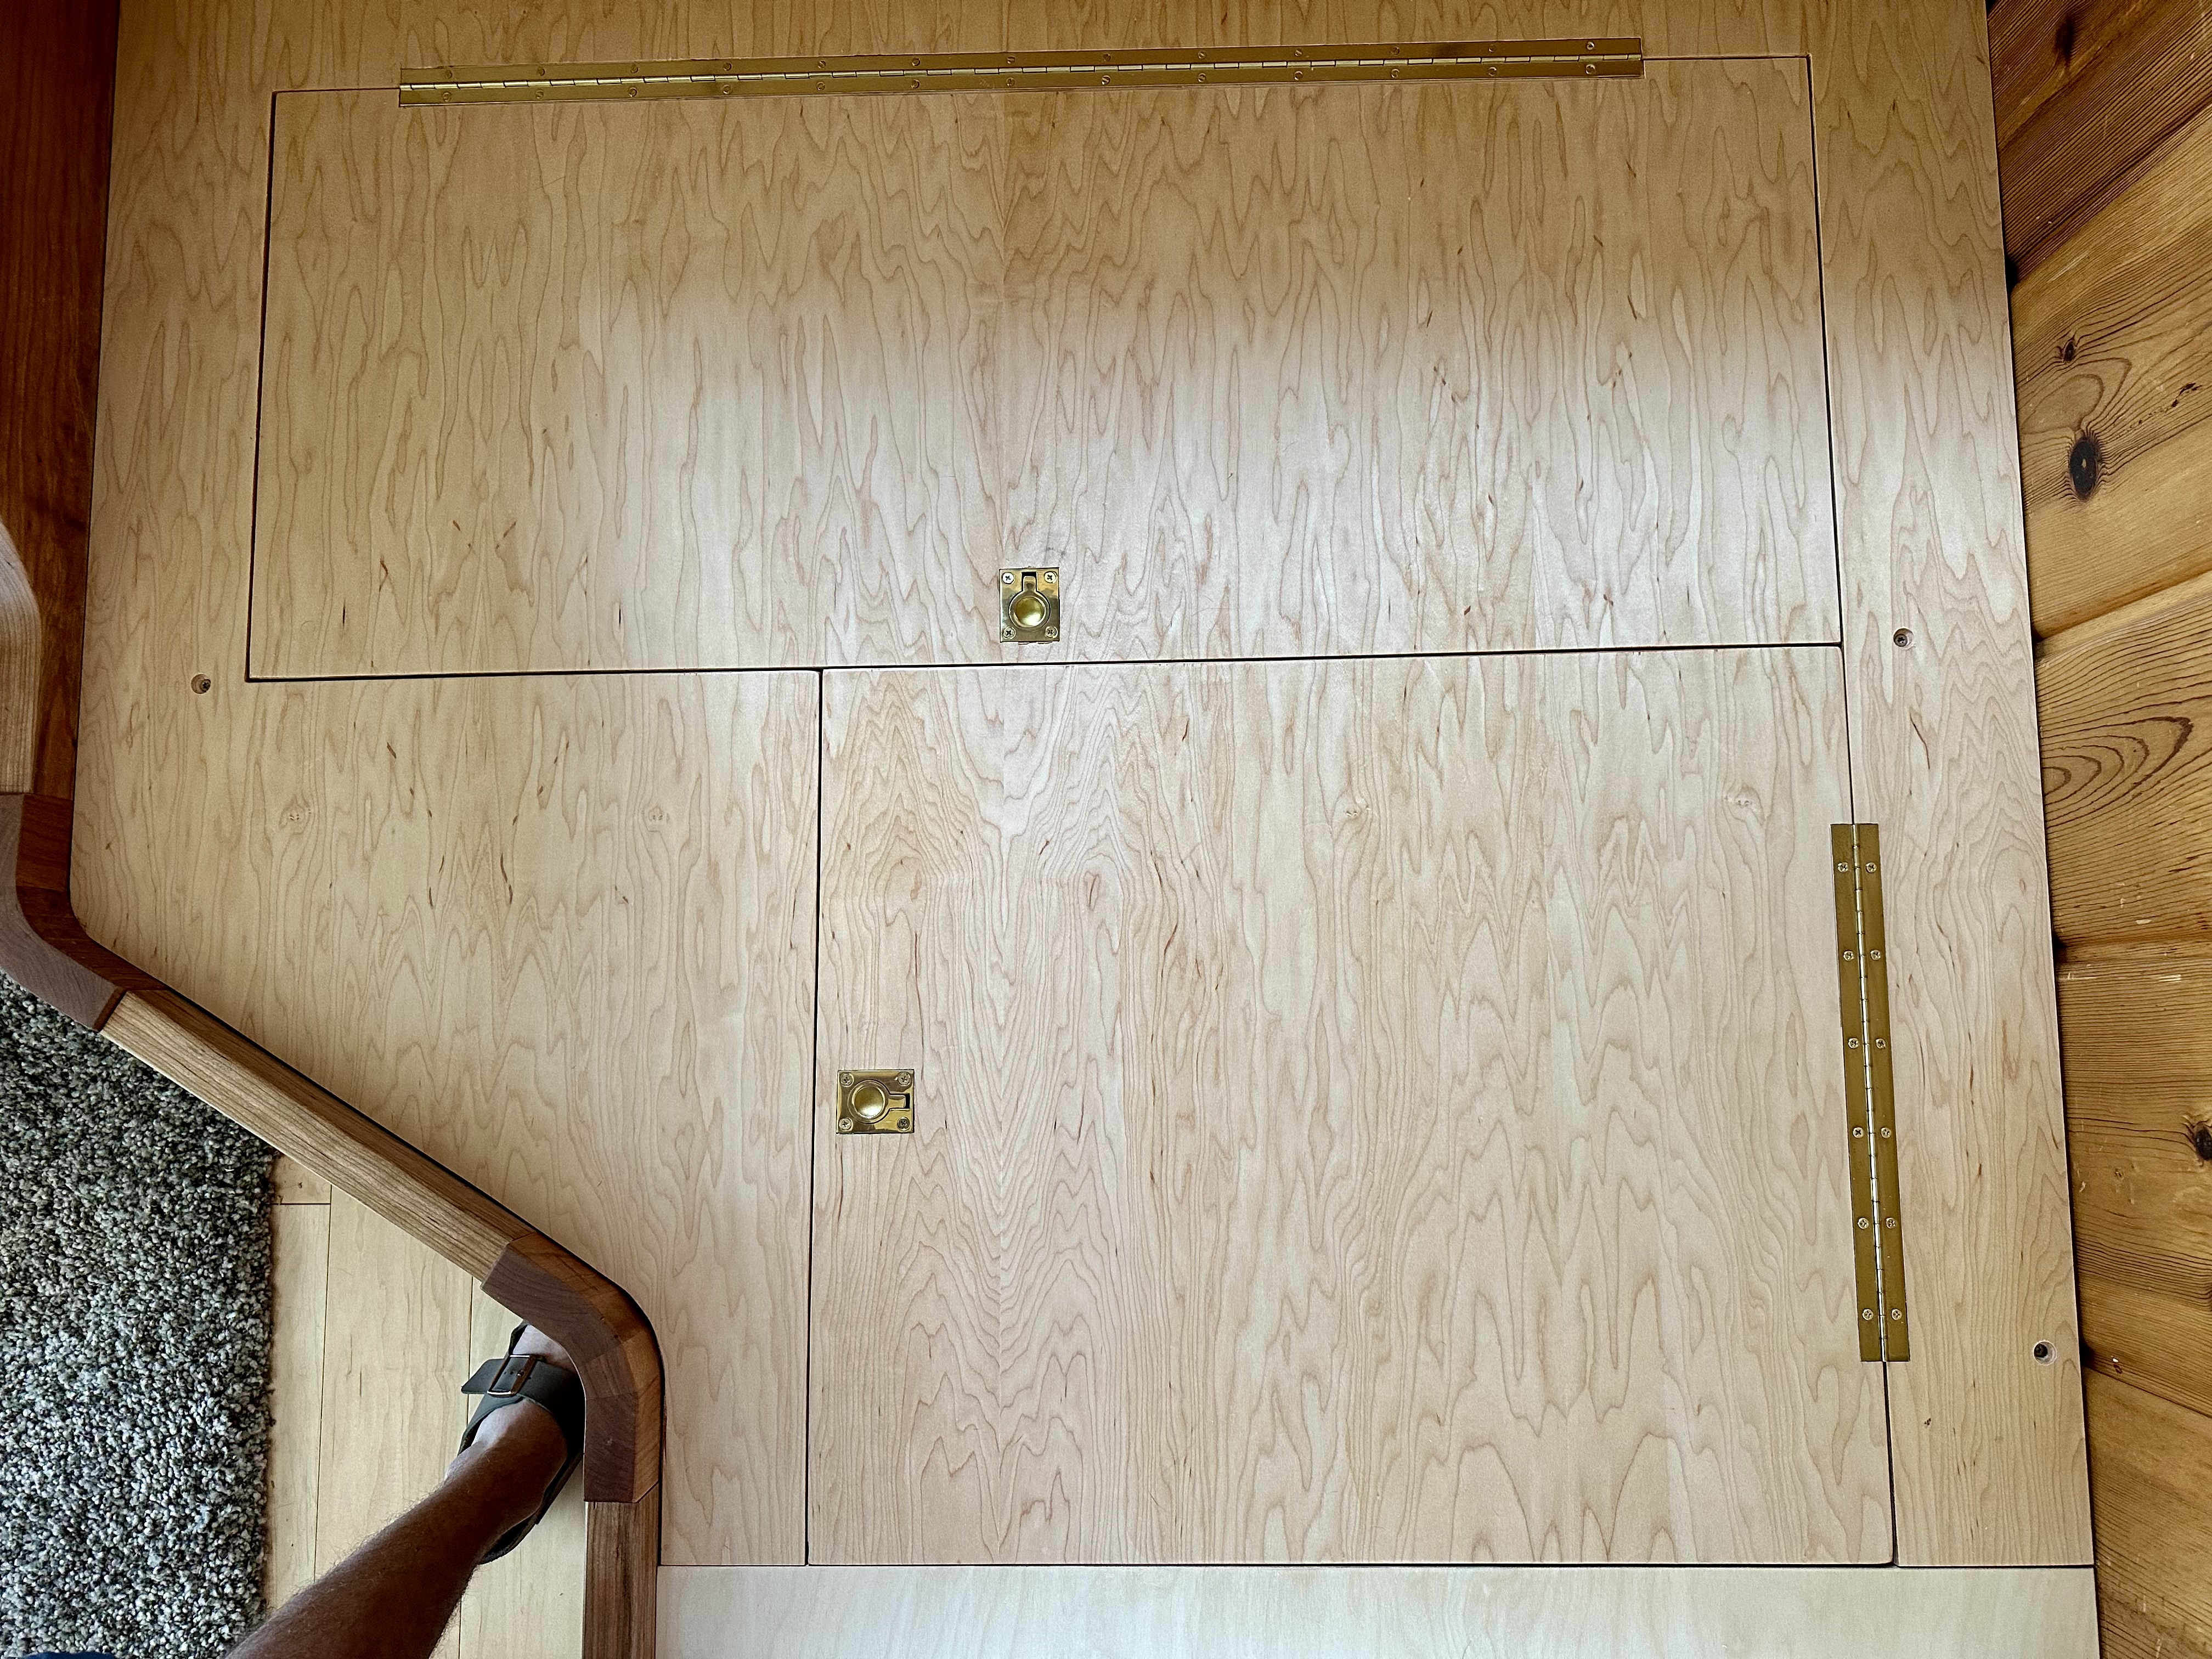
Panels and drawers
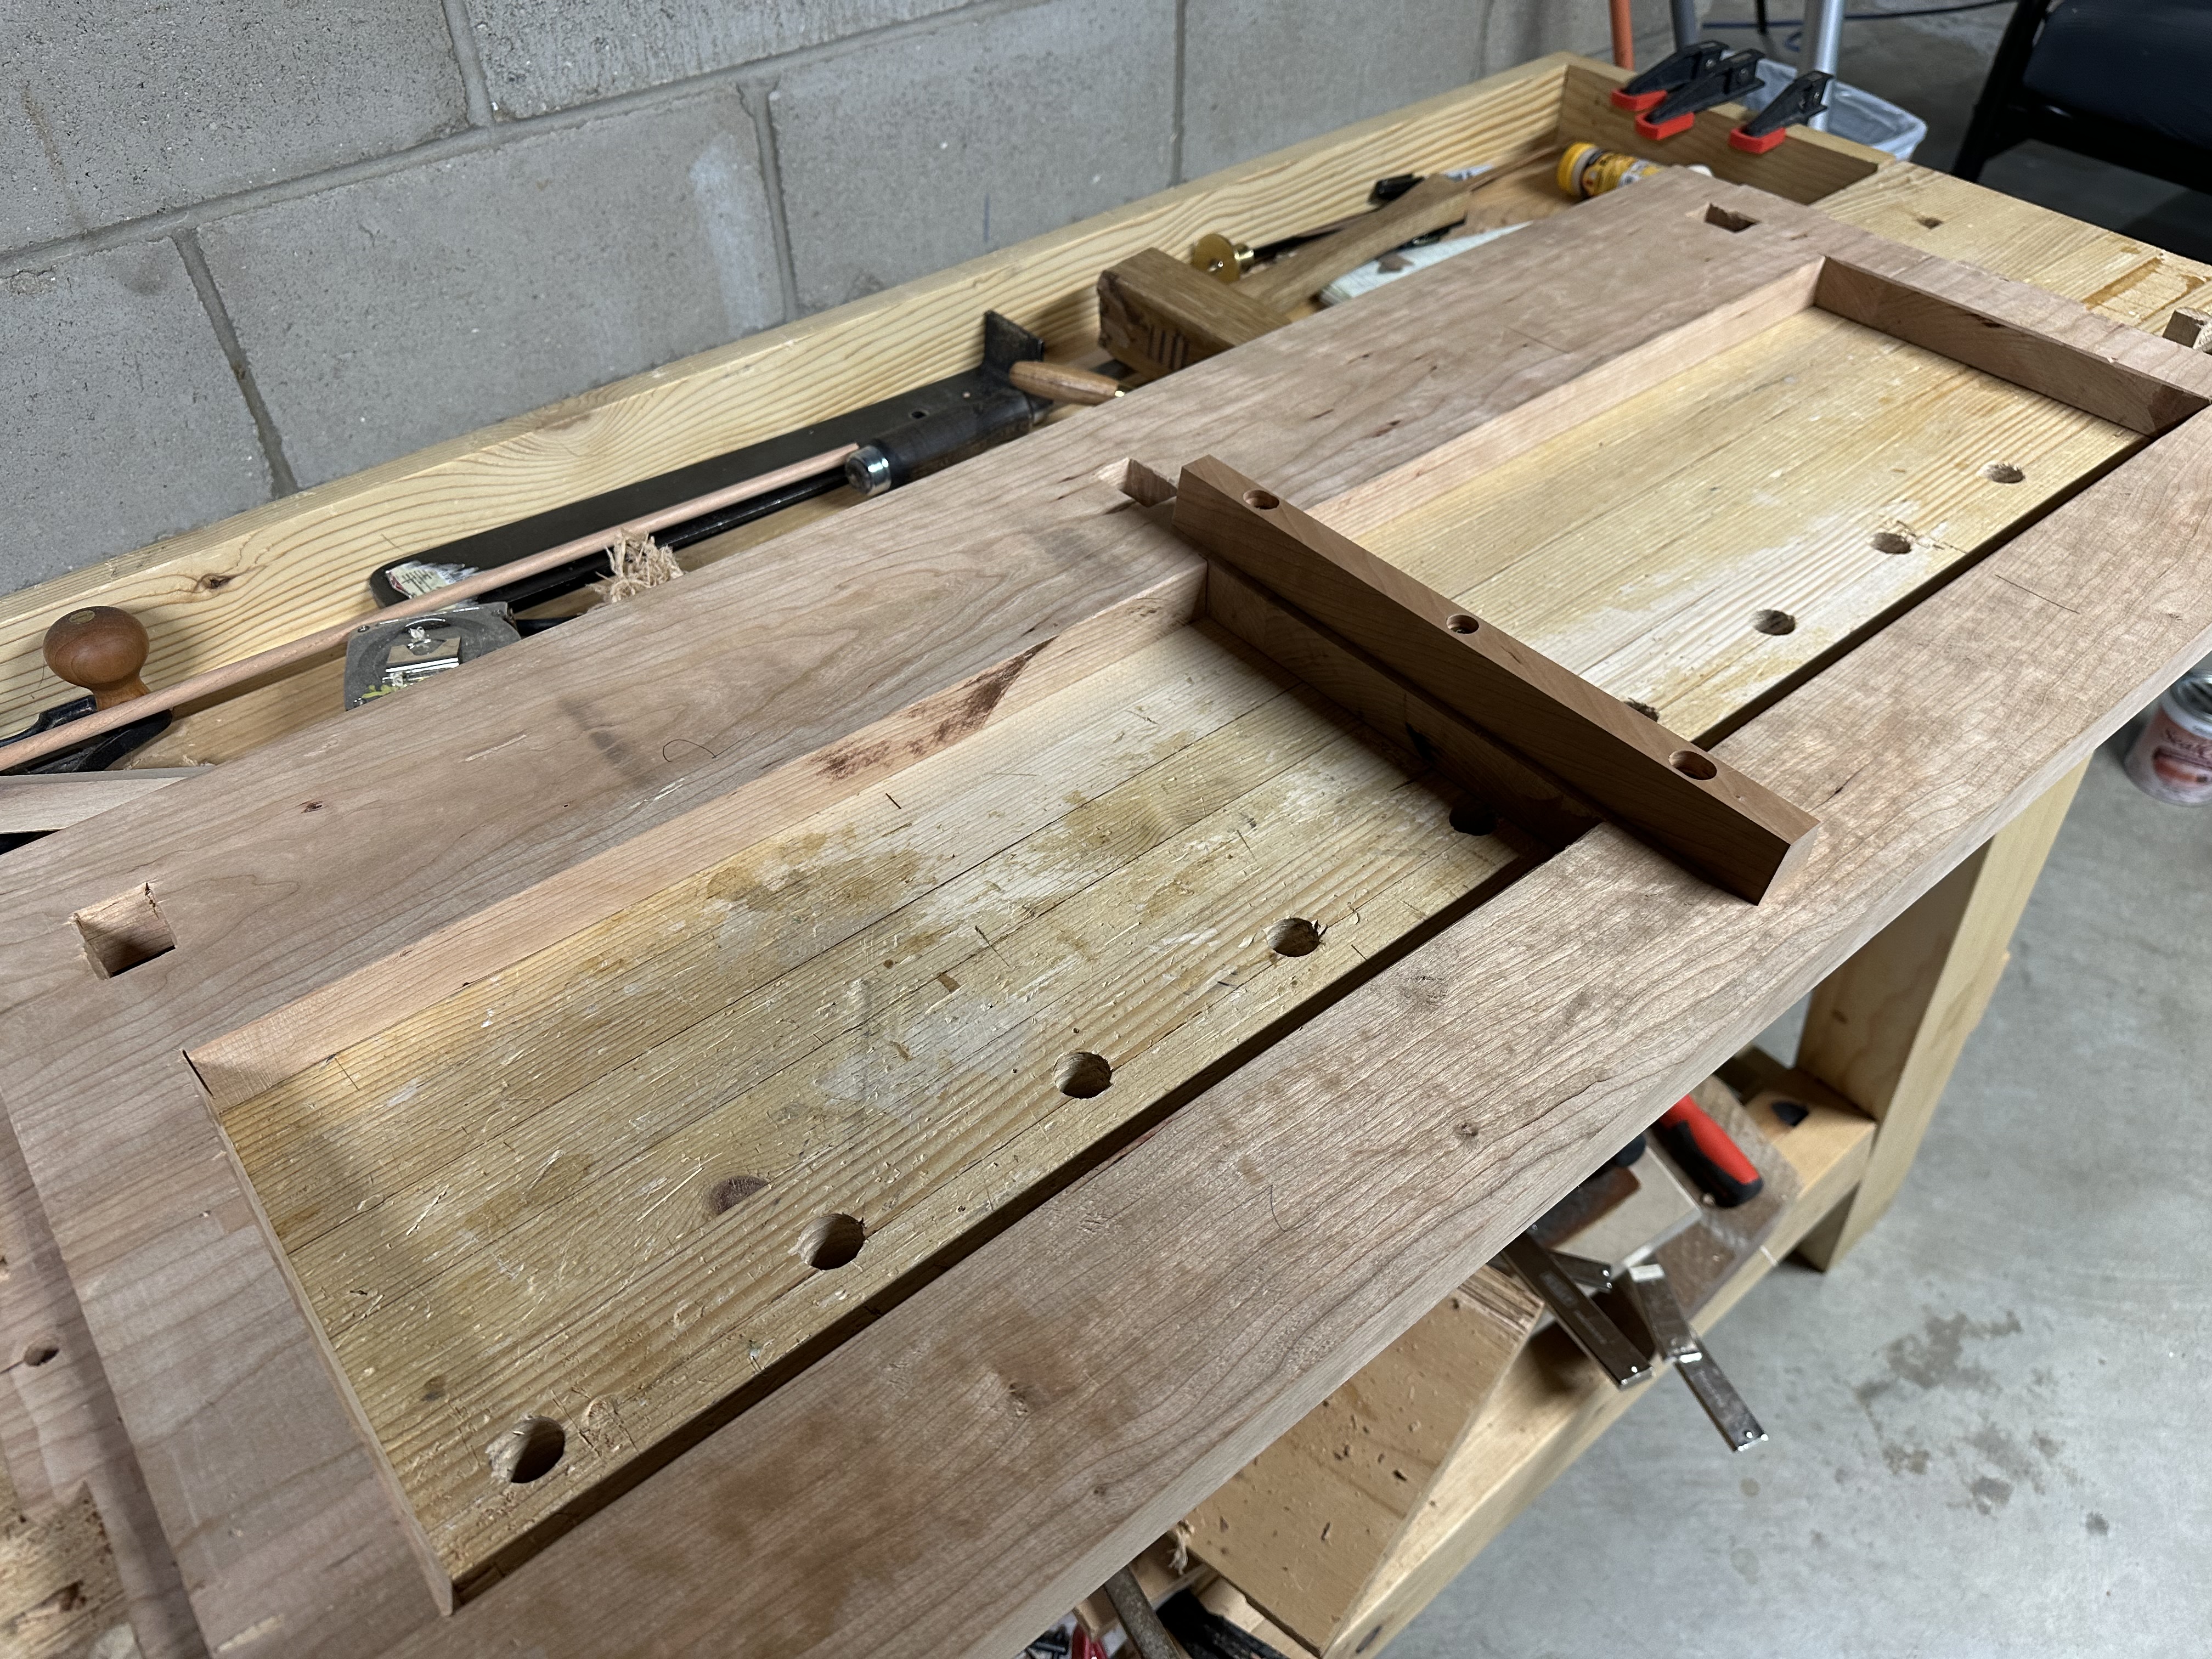
The casework is simple: solid cherry panels with breadboard ends to keep the panel flat as it moves with seasonal humidity changes.
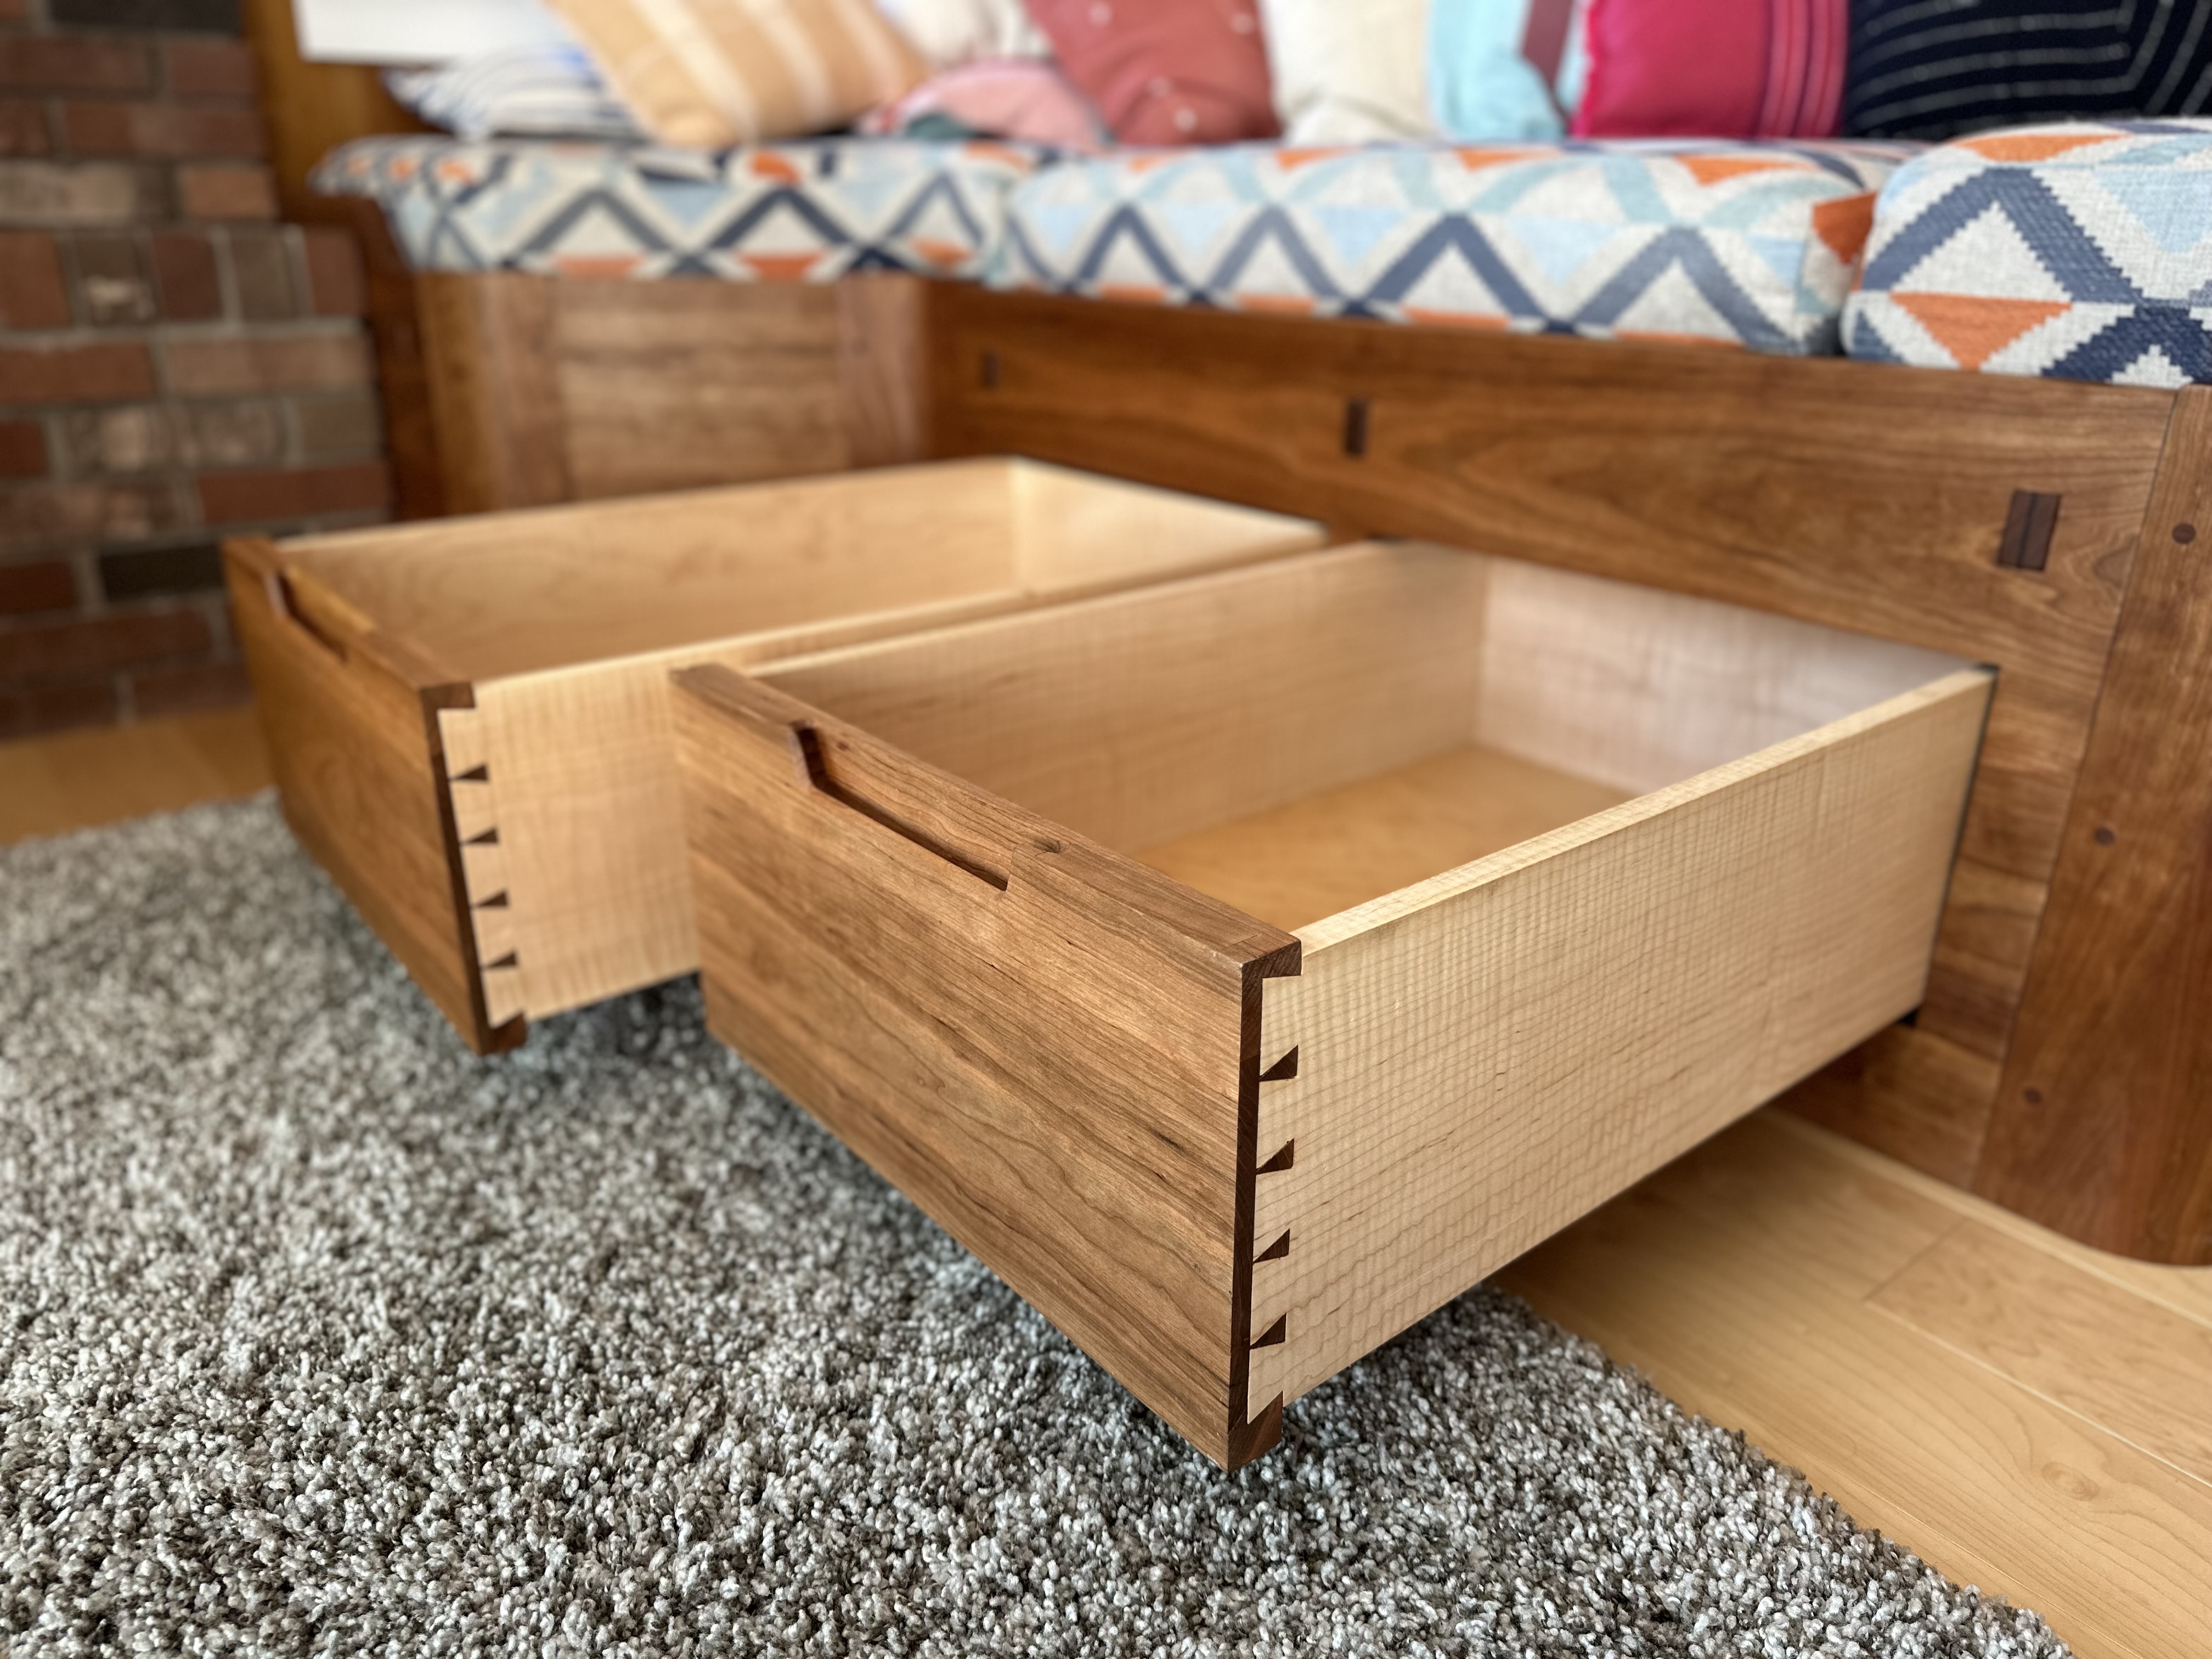
The drawer fronts were cut directly out of the primary case front — one continuous piece of wood, sawn into sections, so the grain flows unbroken from the case across the drawer fronts.
The trade-off is structural. Cutting the drawer fronts out of the panel leaves the remaining panel with three sections of short grain — the wood fibers run across the narrow remaining sections rather than along them, making those spots very fragile. These areas needed reinforcement from behind.

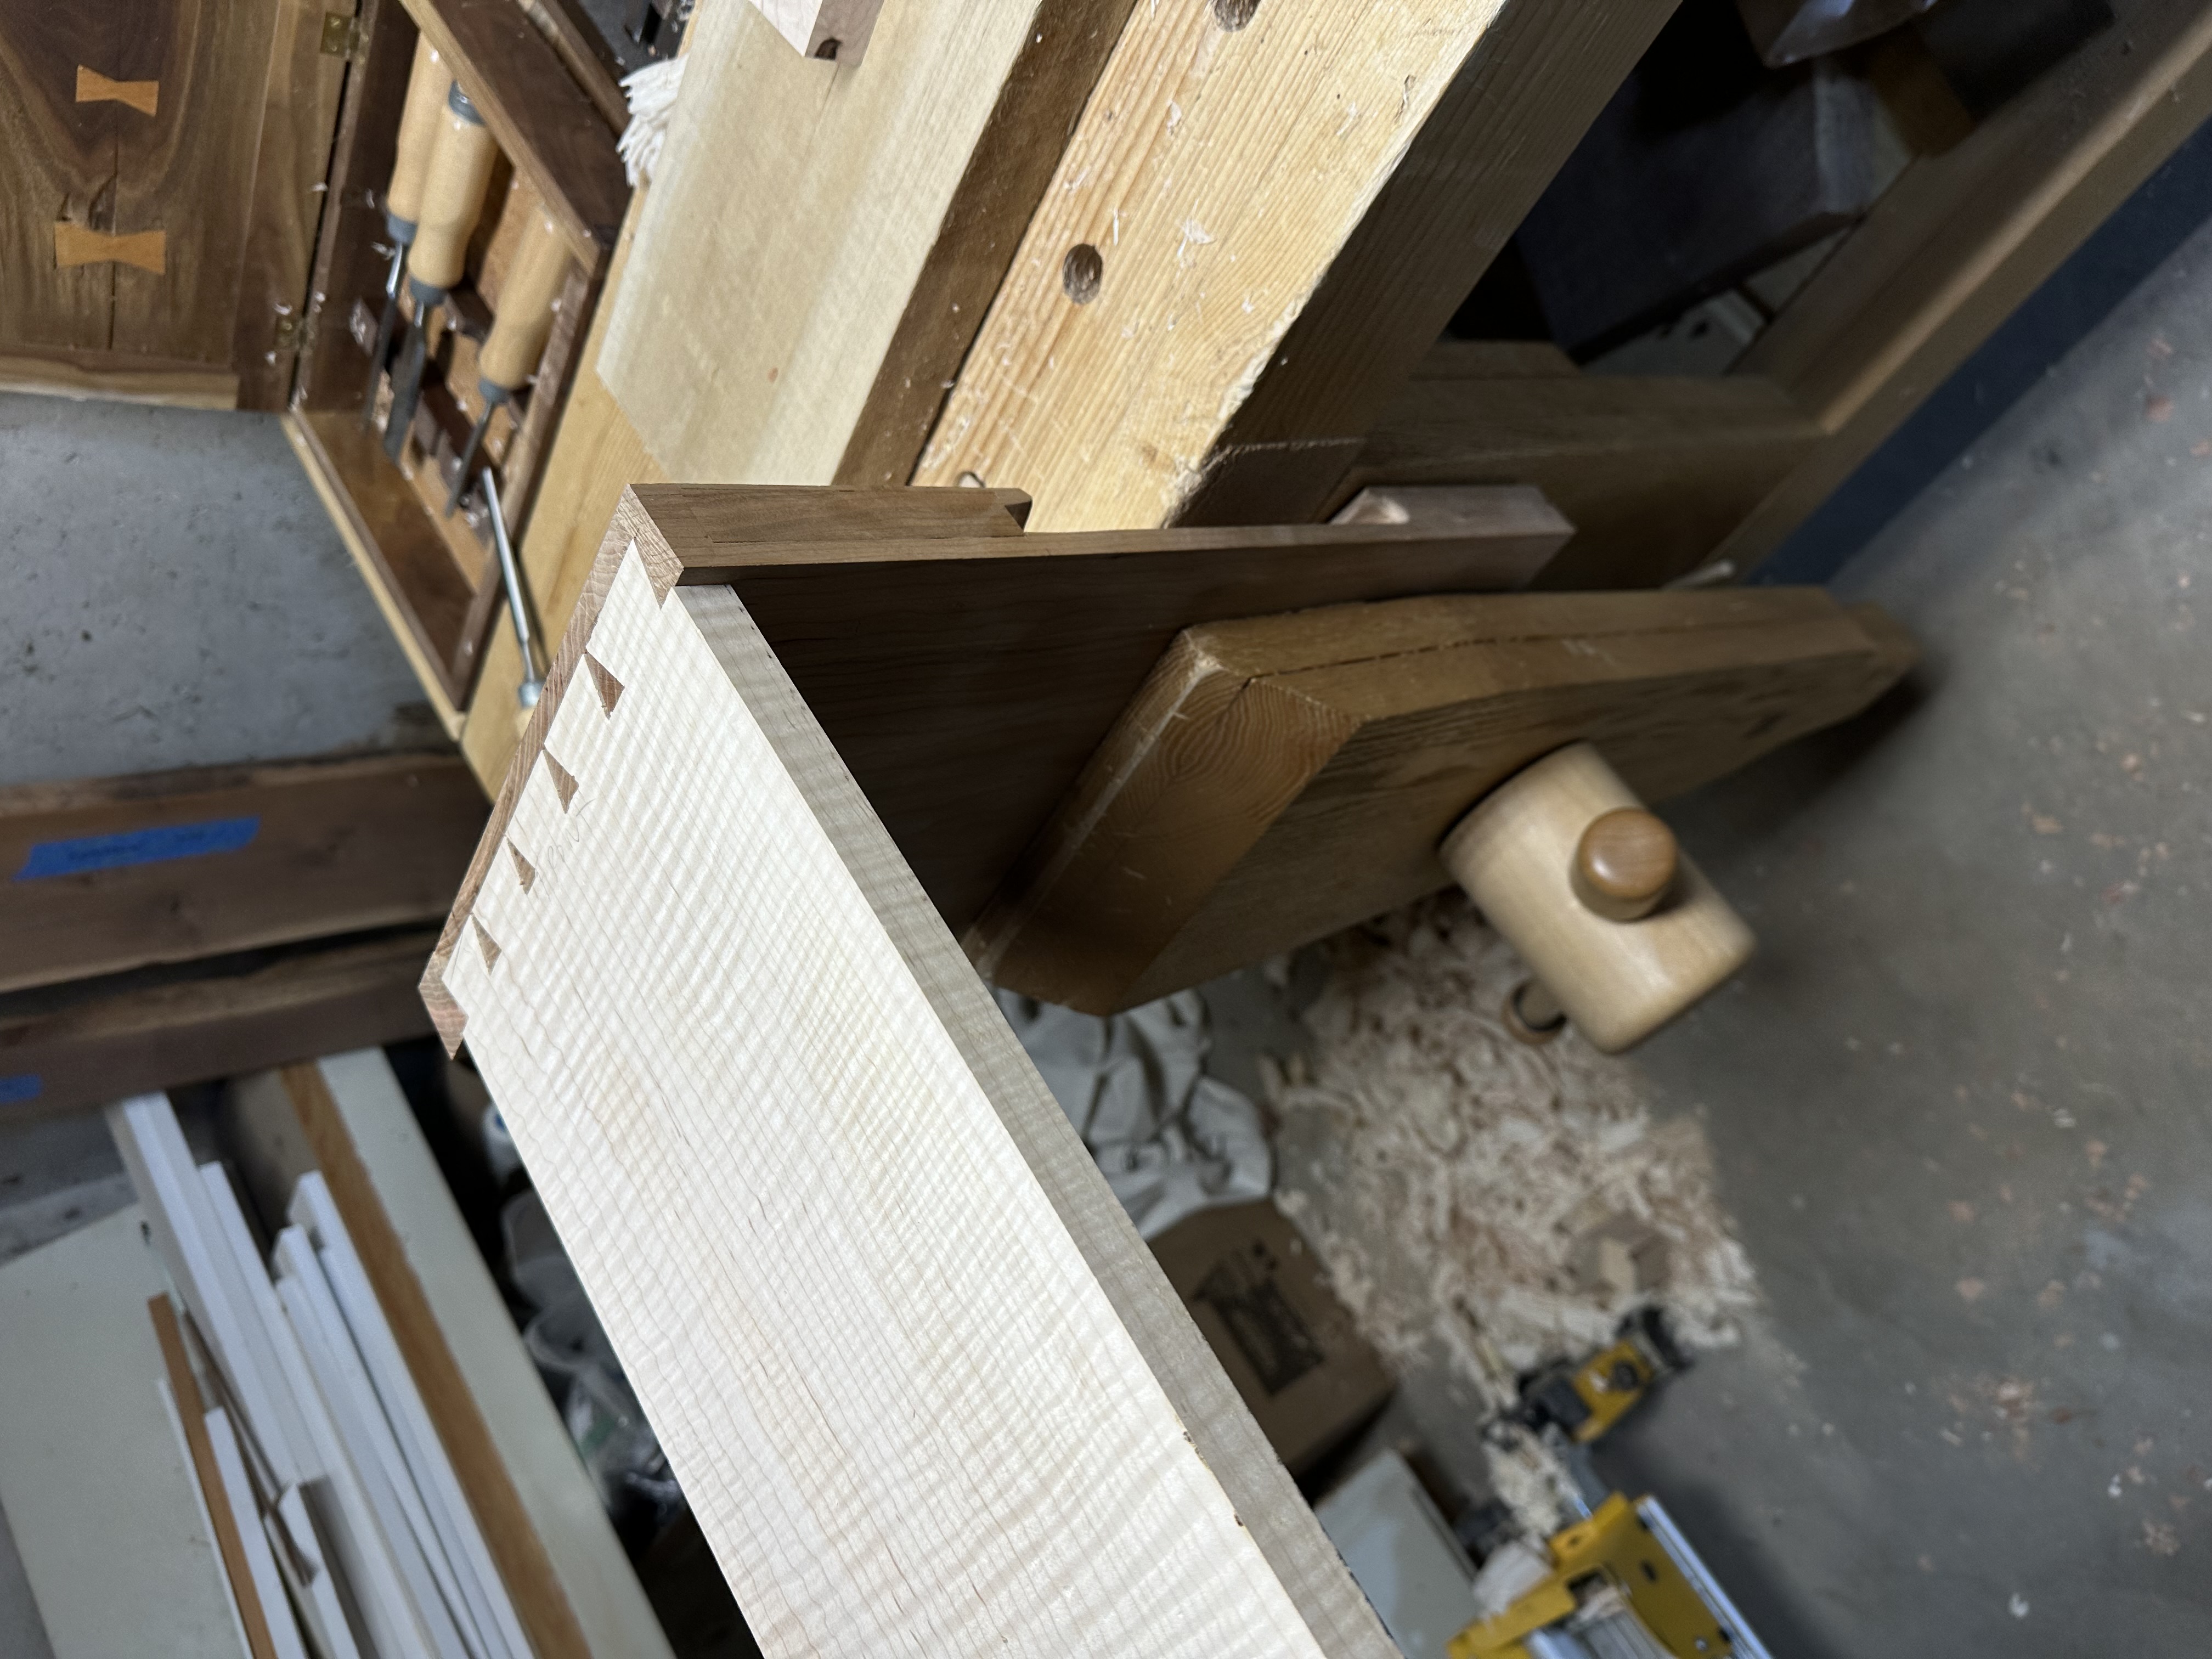
The drawers are half-blind dovetailed at the front and through-dovetailed at the back, with maple sides and bottom, mounted on Blum soft-close undermount slides. Sizing the drawer boxes to hide the slides took a little big of figuring but we got there.
Assembly and storage
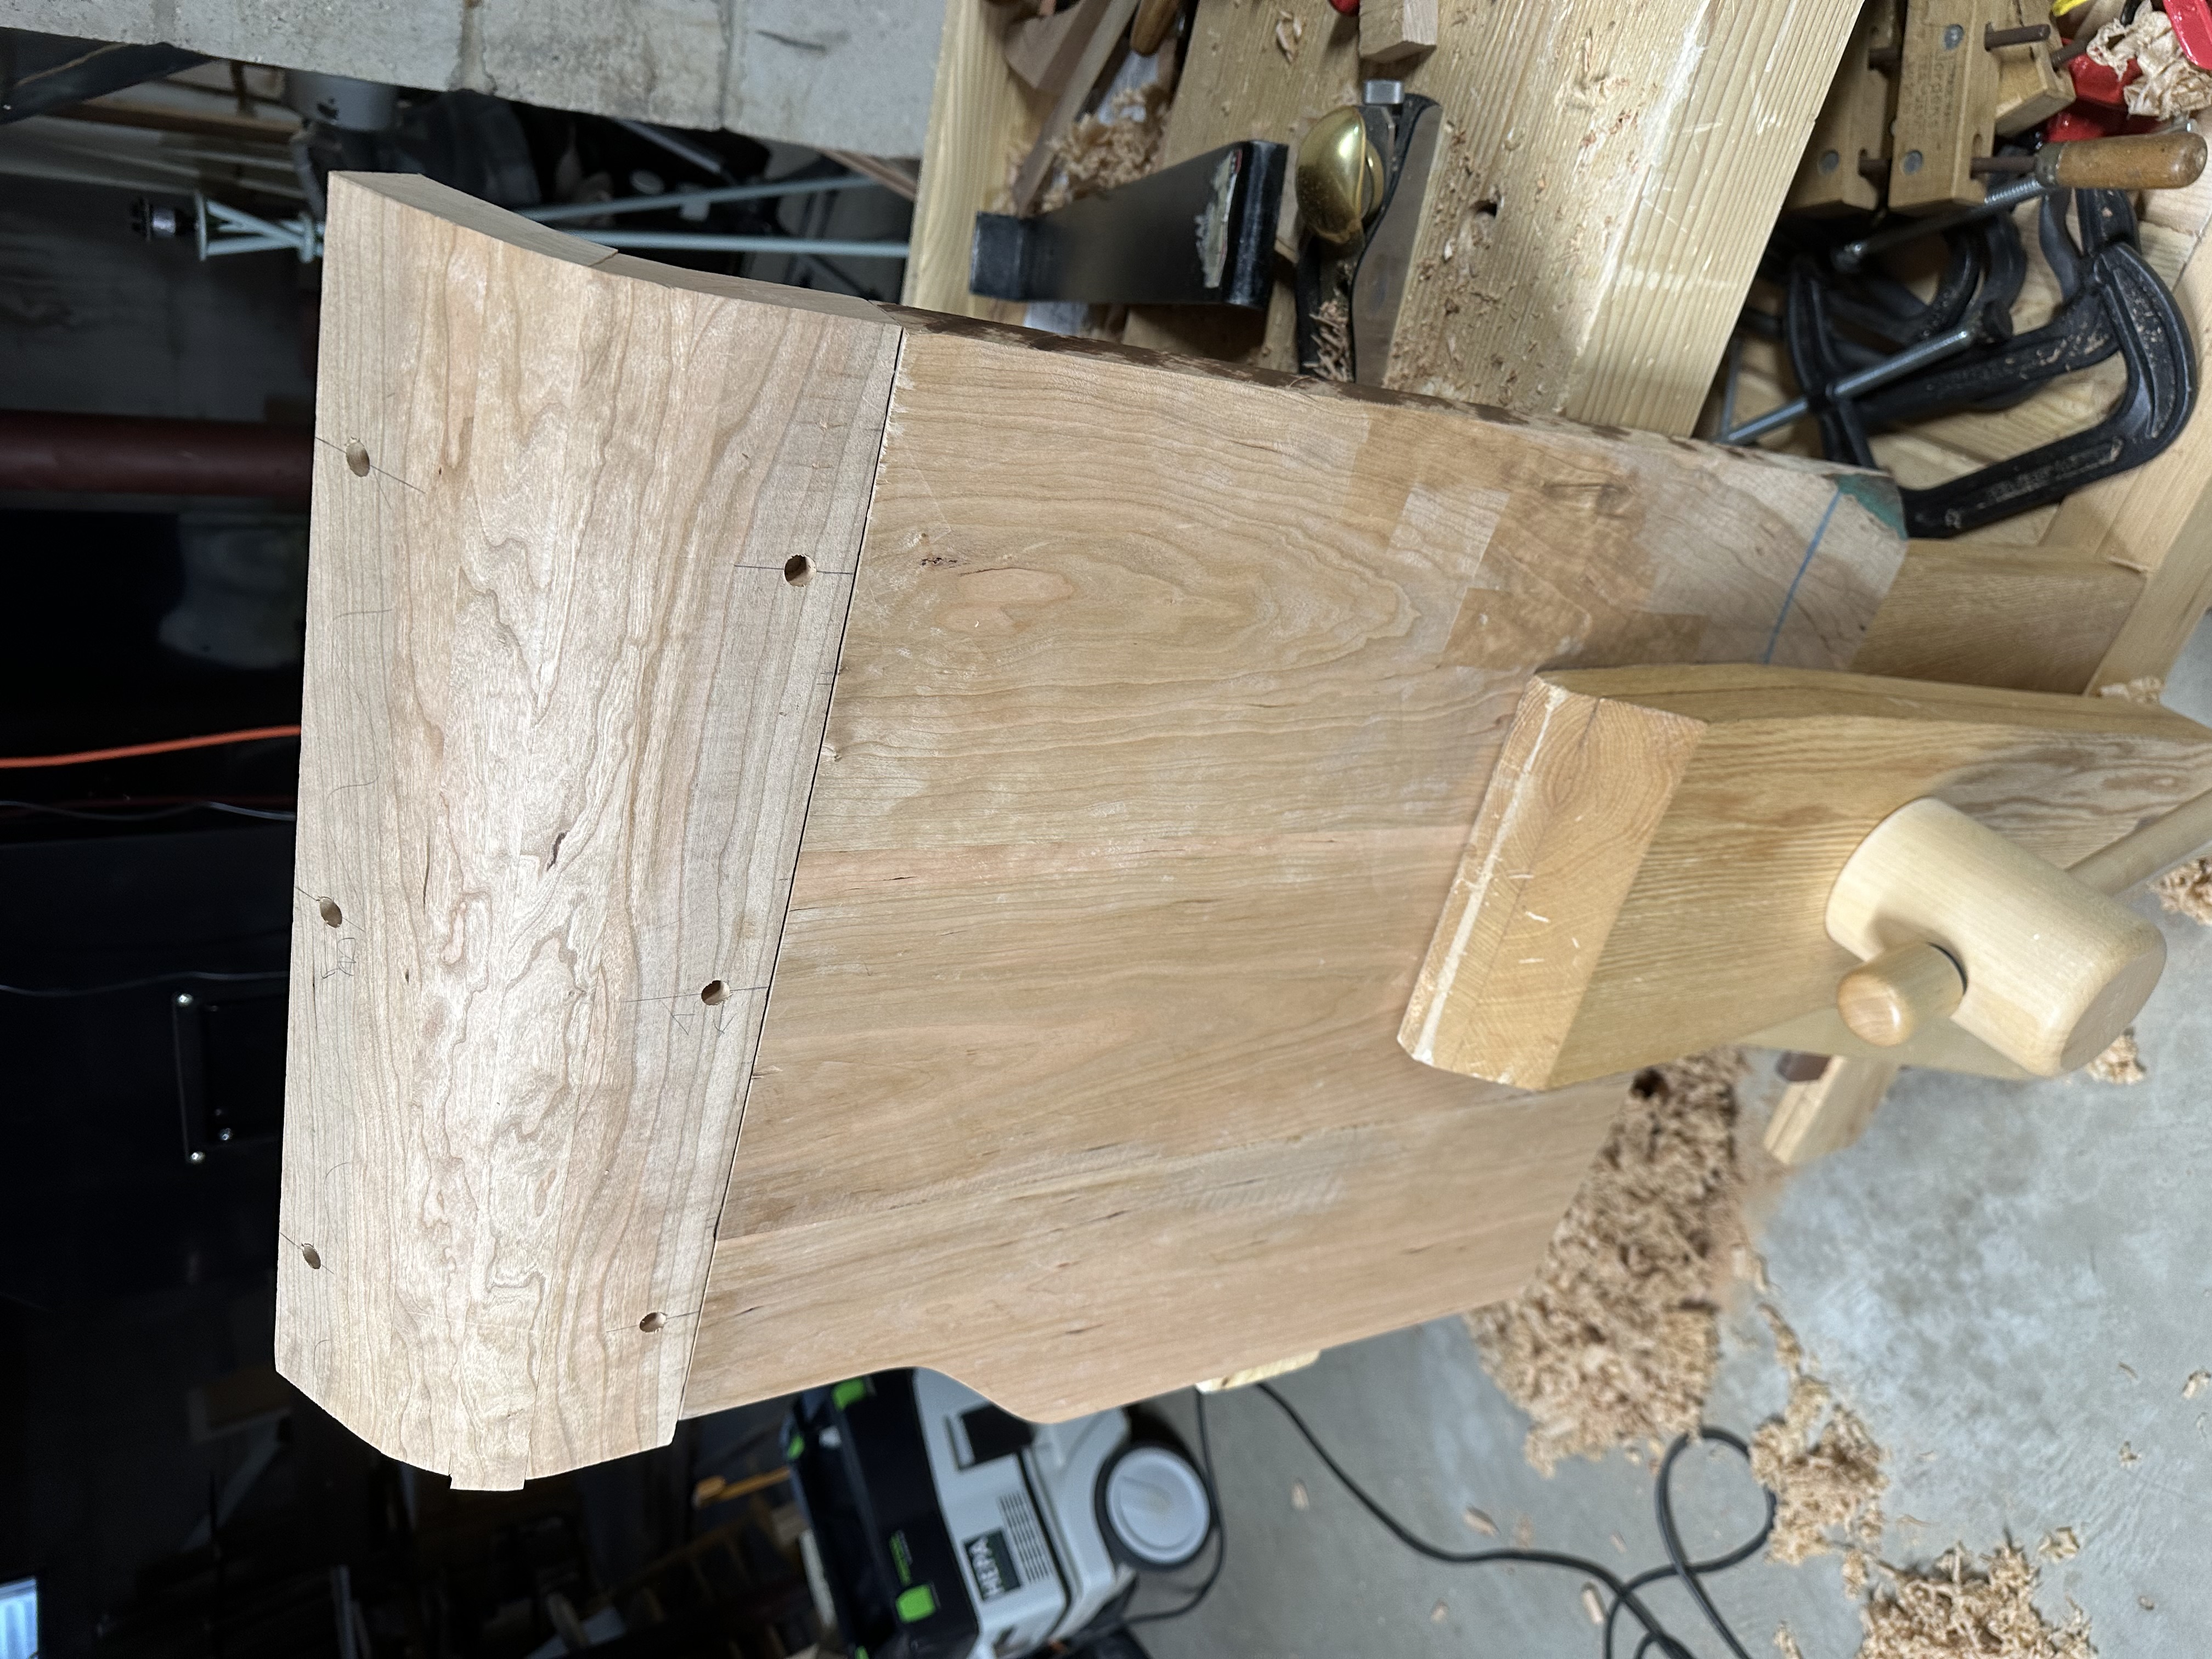
The case is joined with wedged through-tenons and wedged drawbore pegs — both self-locking. The wedges spread the tenon inside its mortise; the pegs pull each joint tight through offset holes. Once driven, the structure is under permanent mechanical tension. No glue to creep, no hardware to loosen.

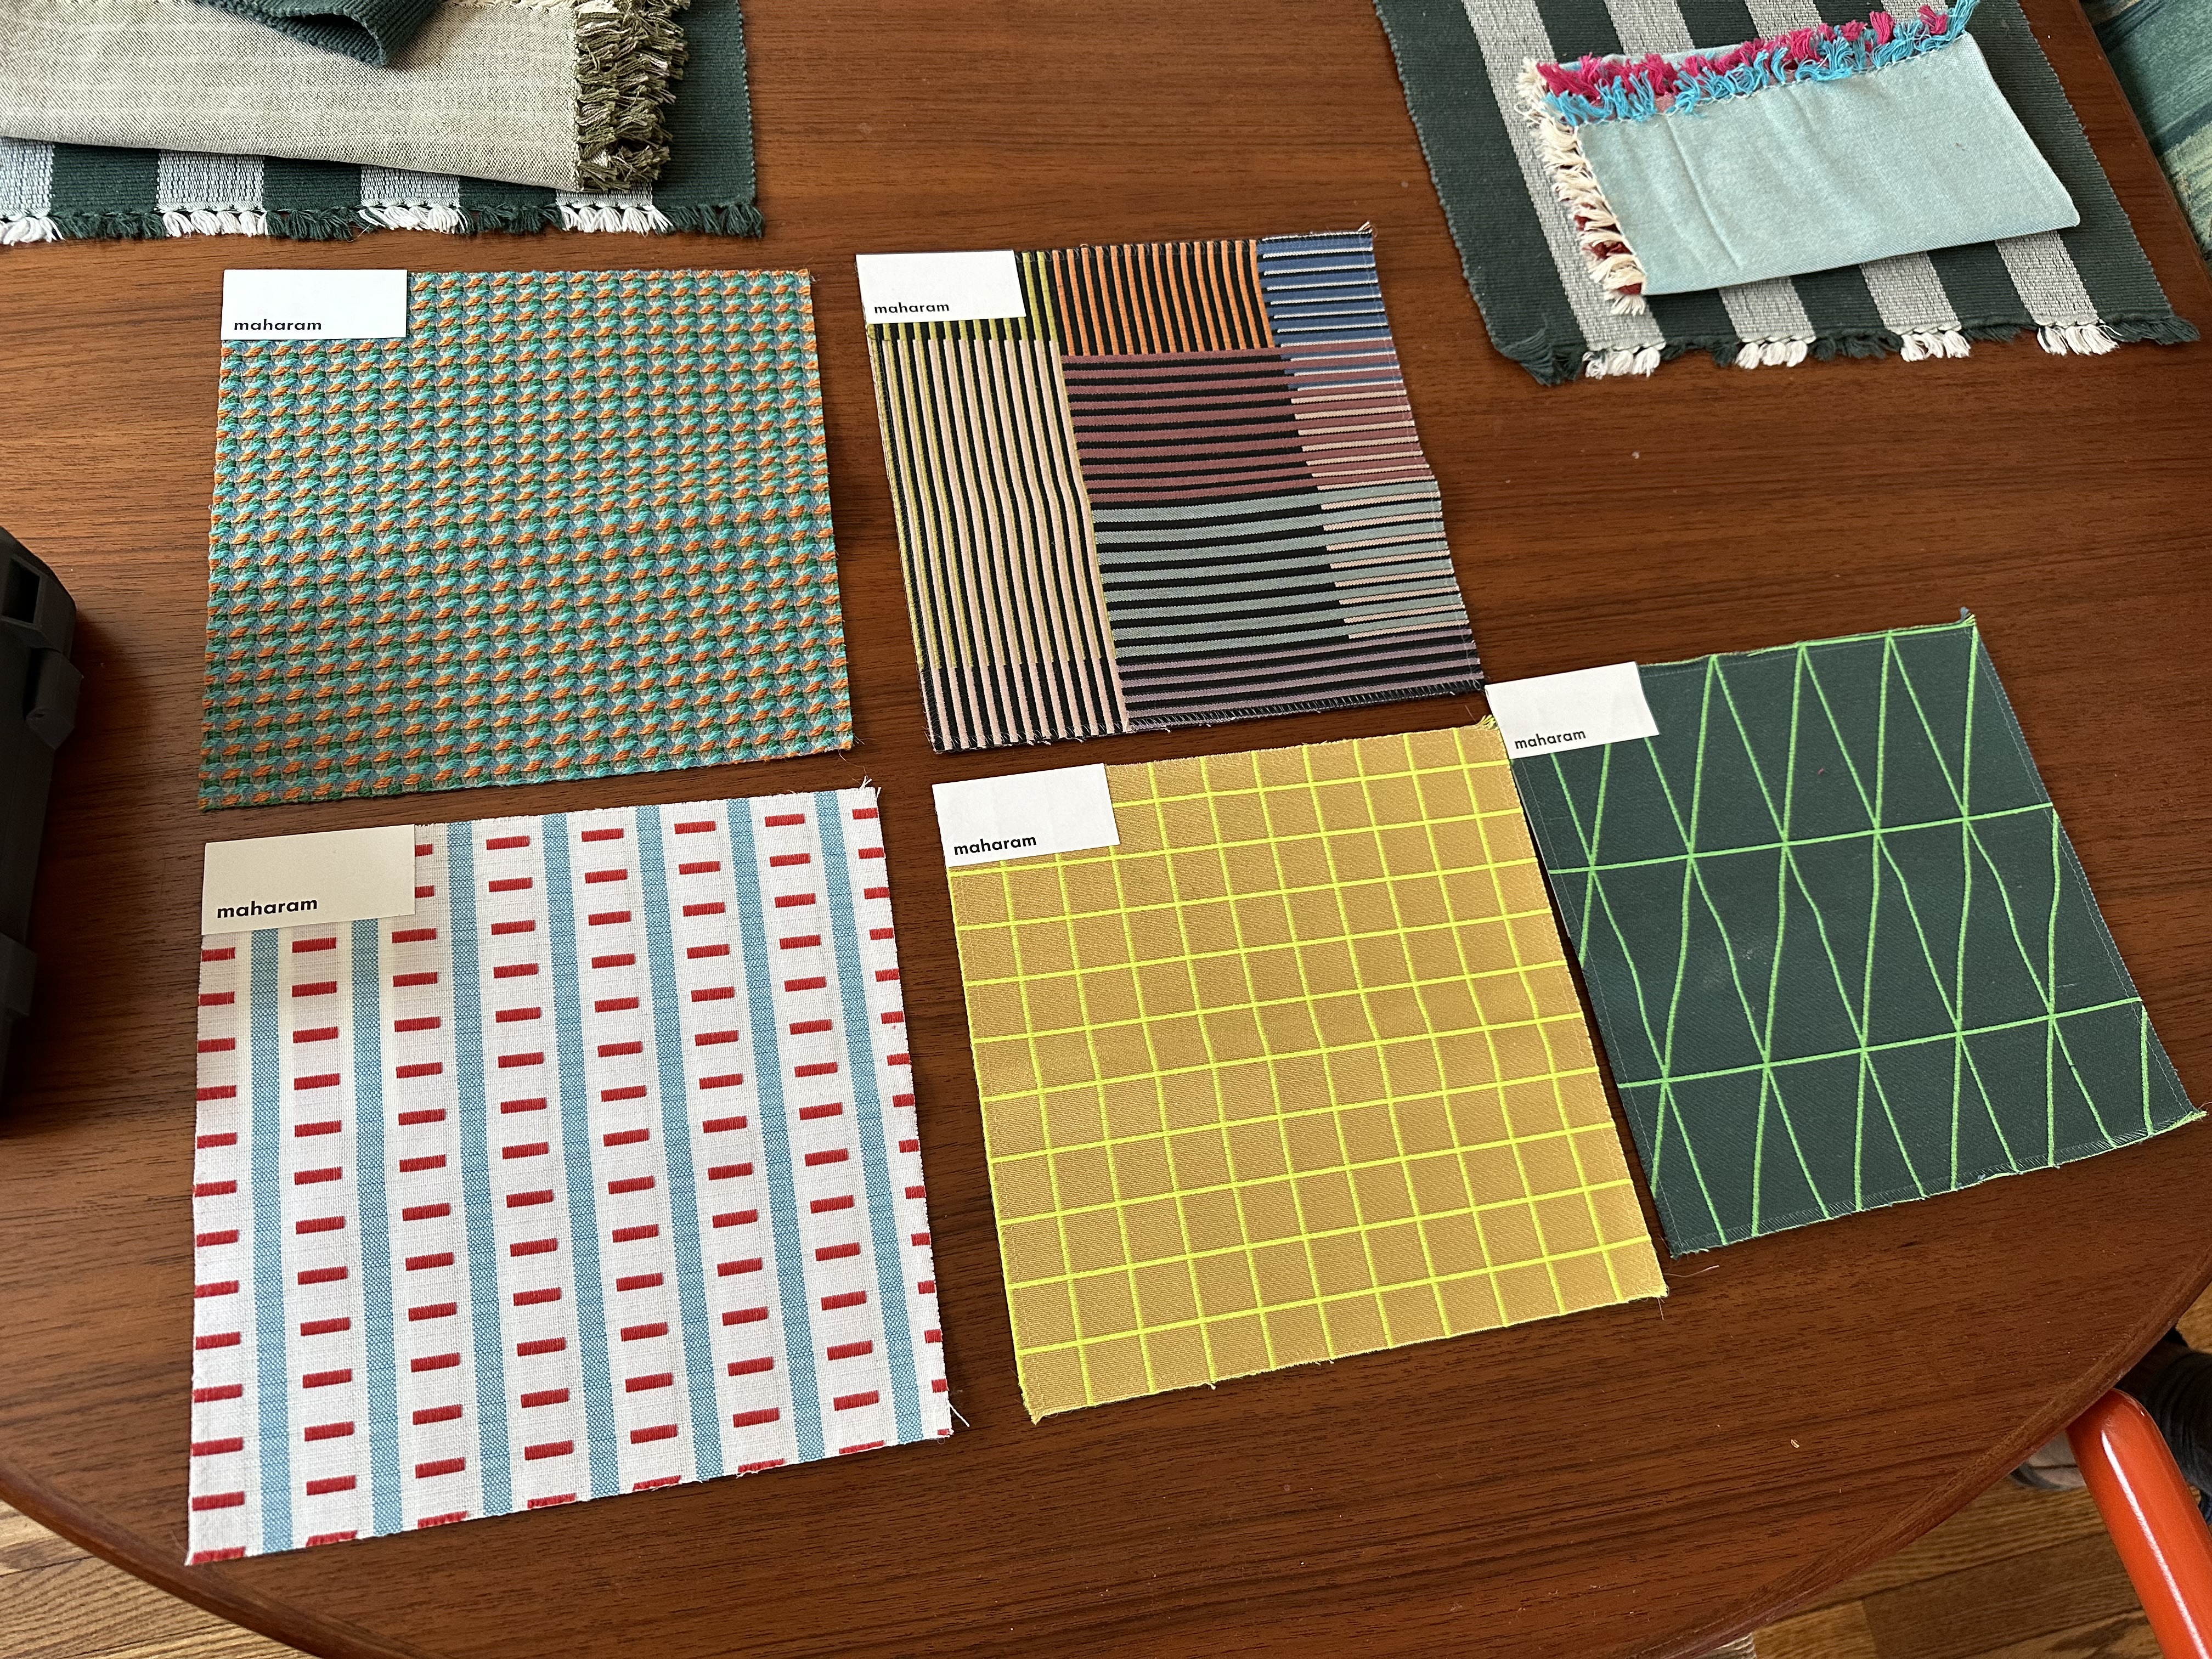
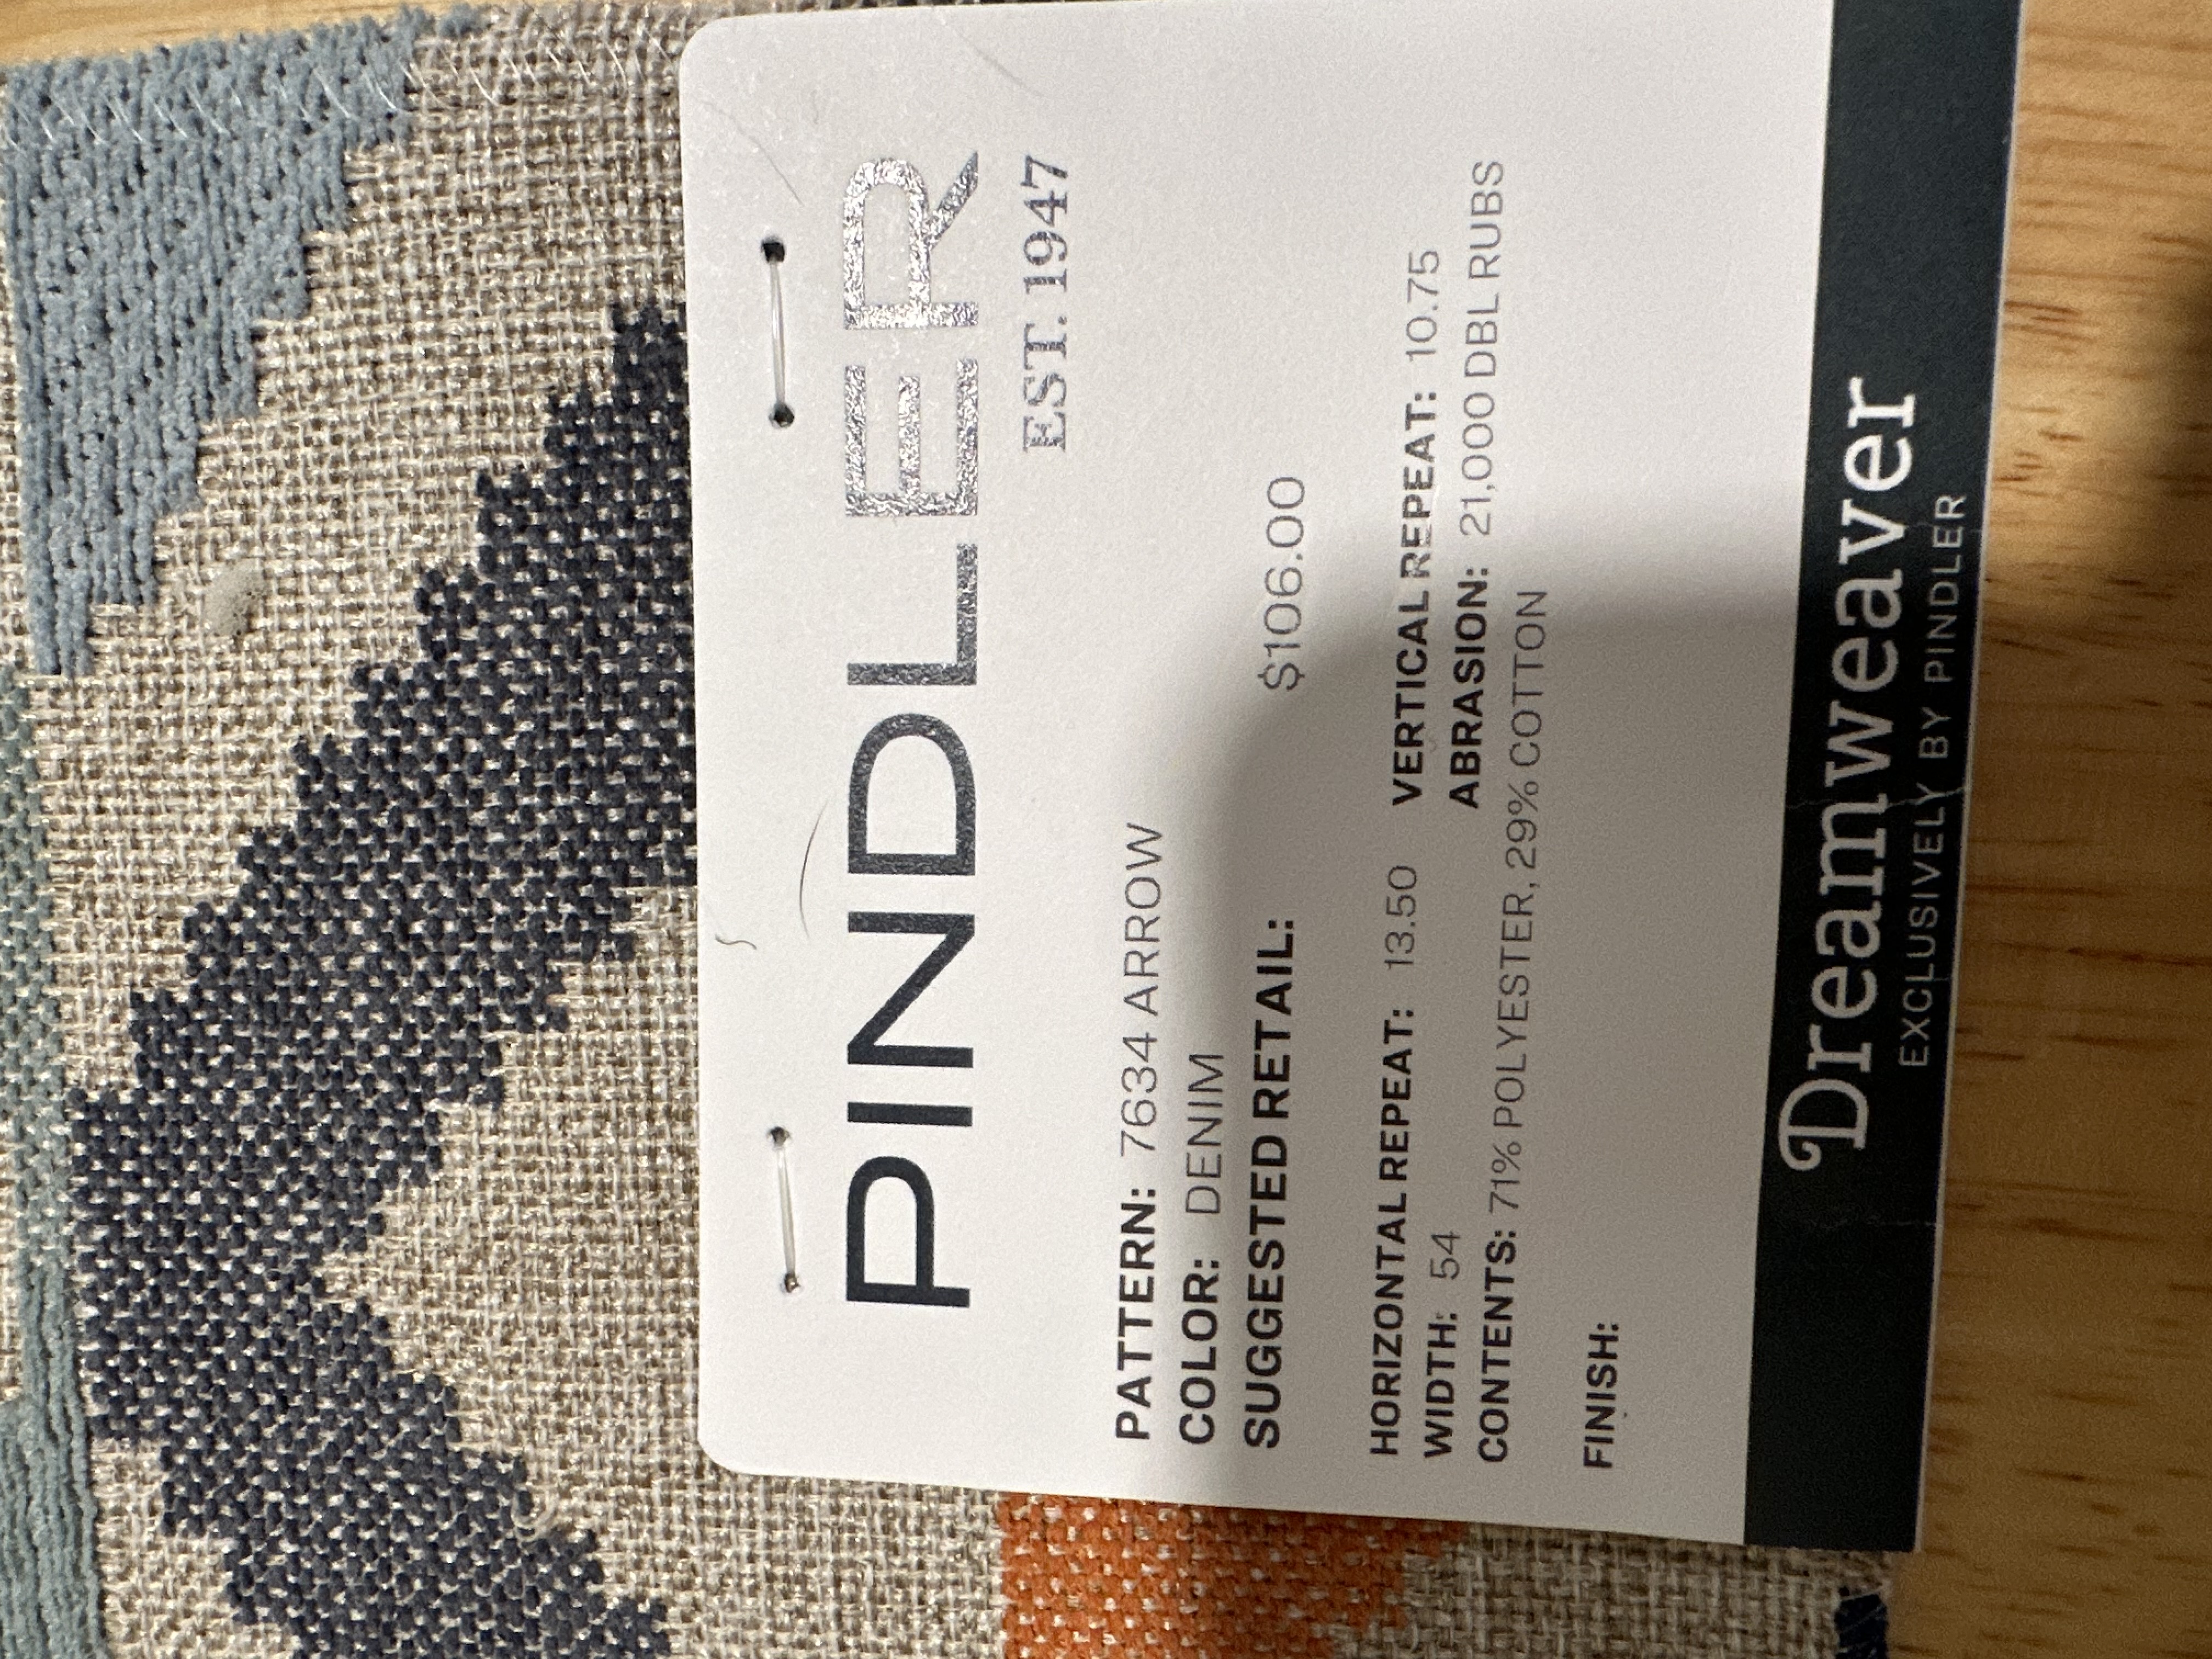
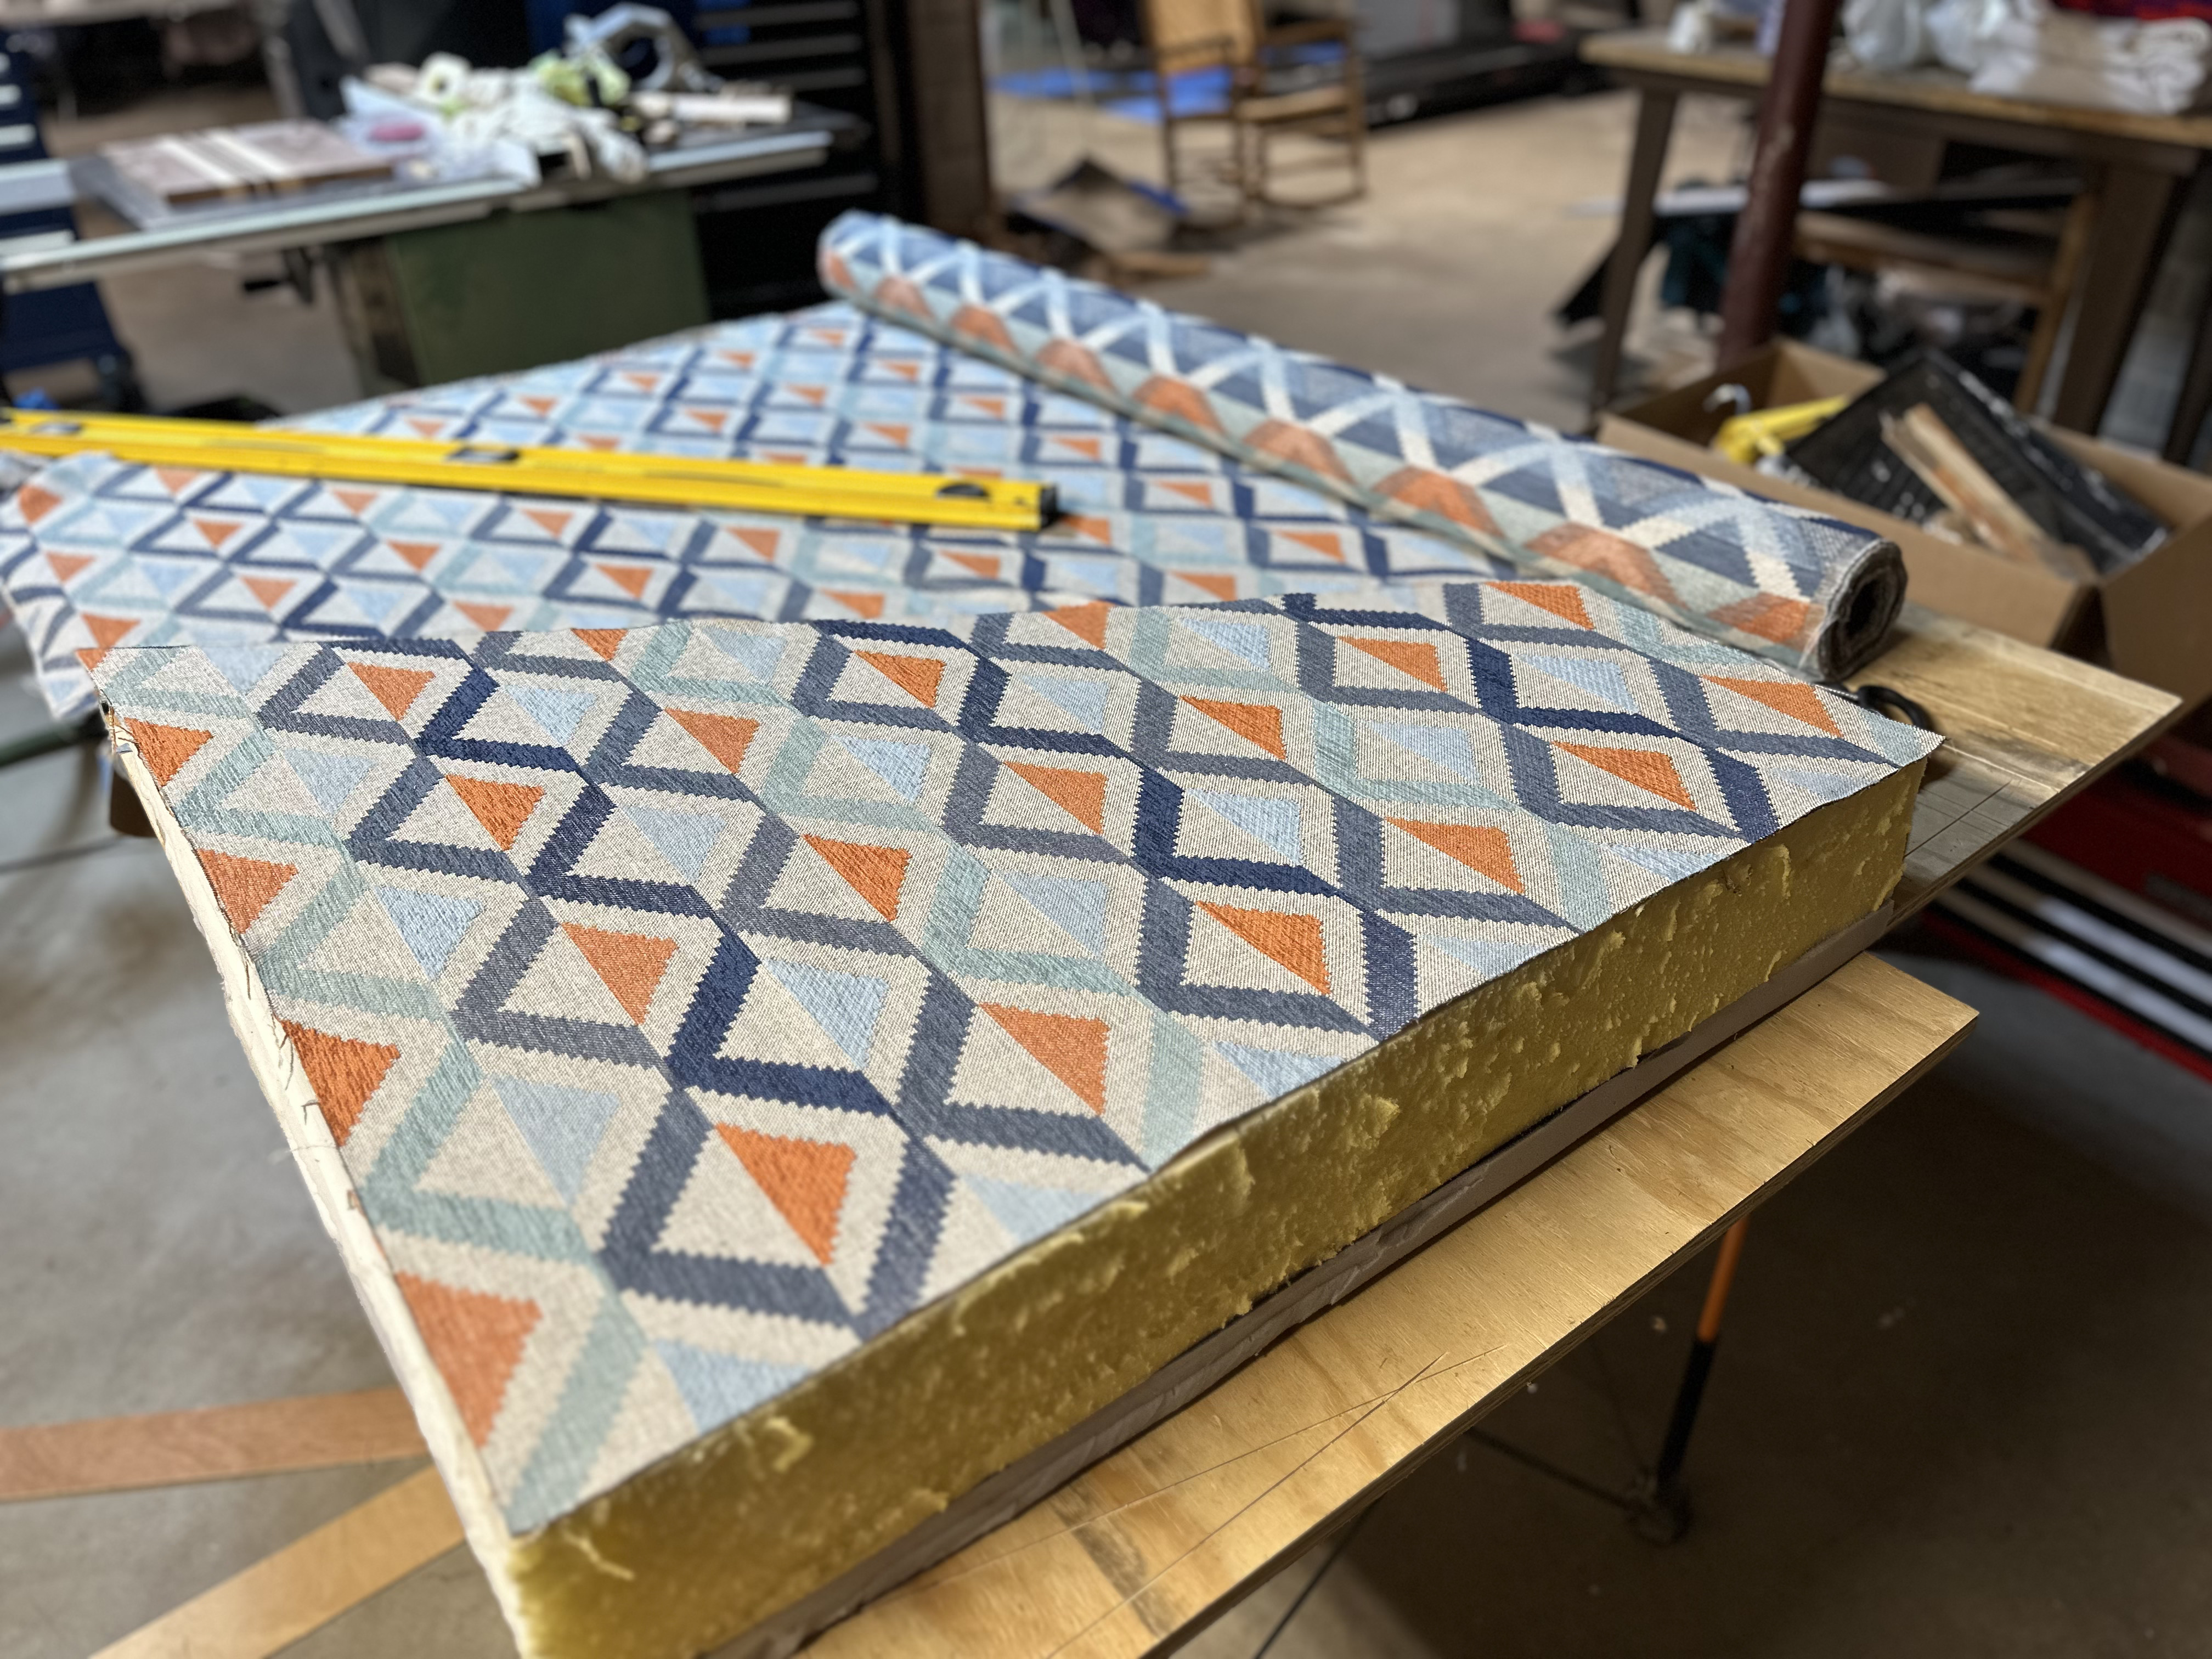
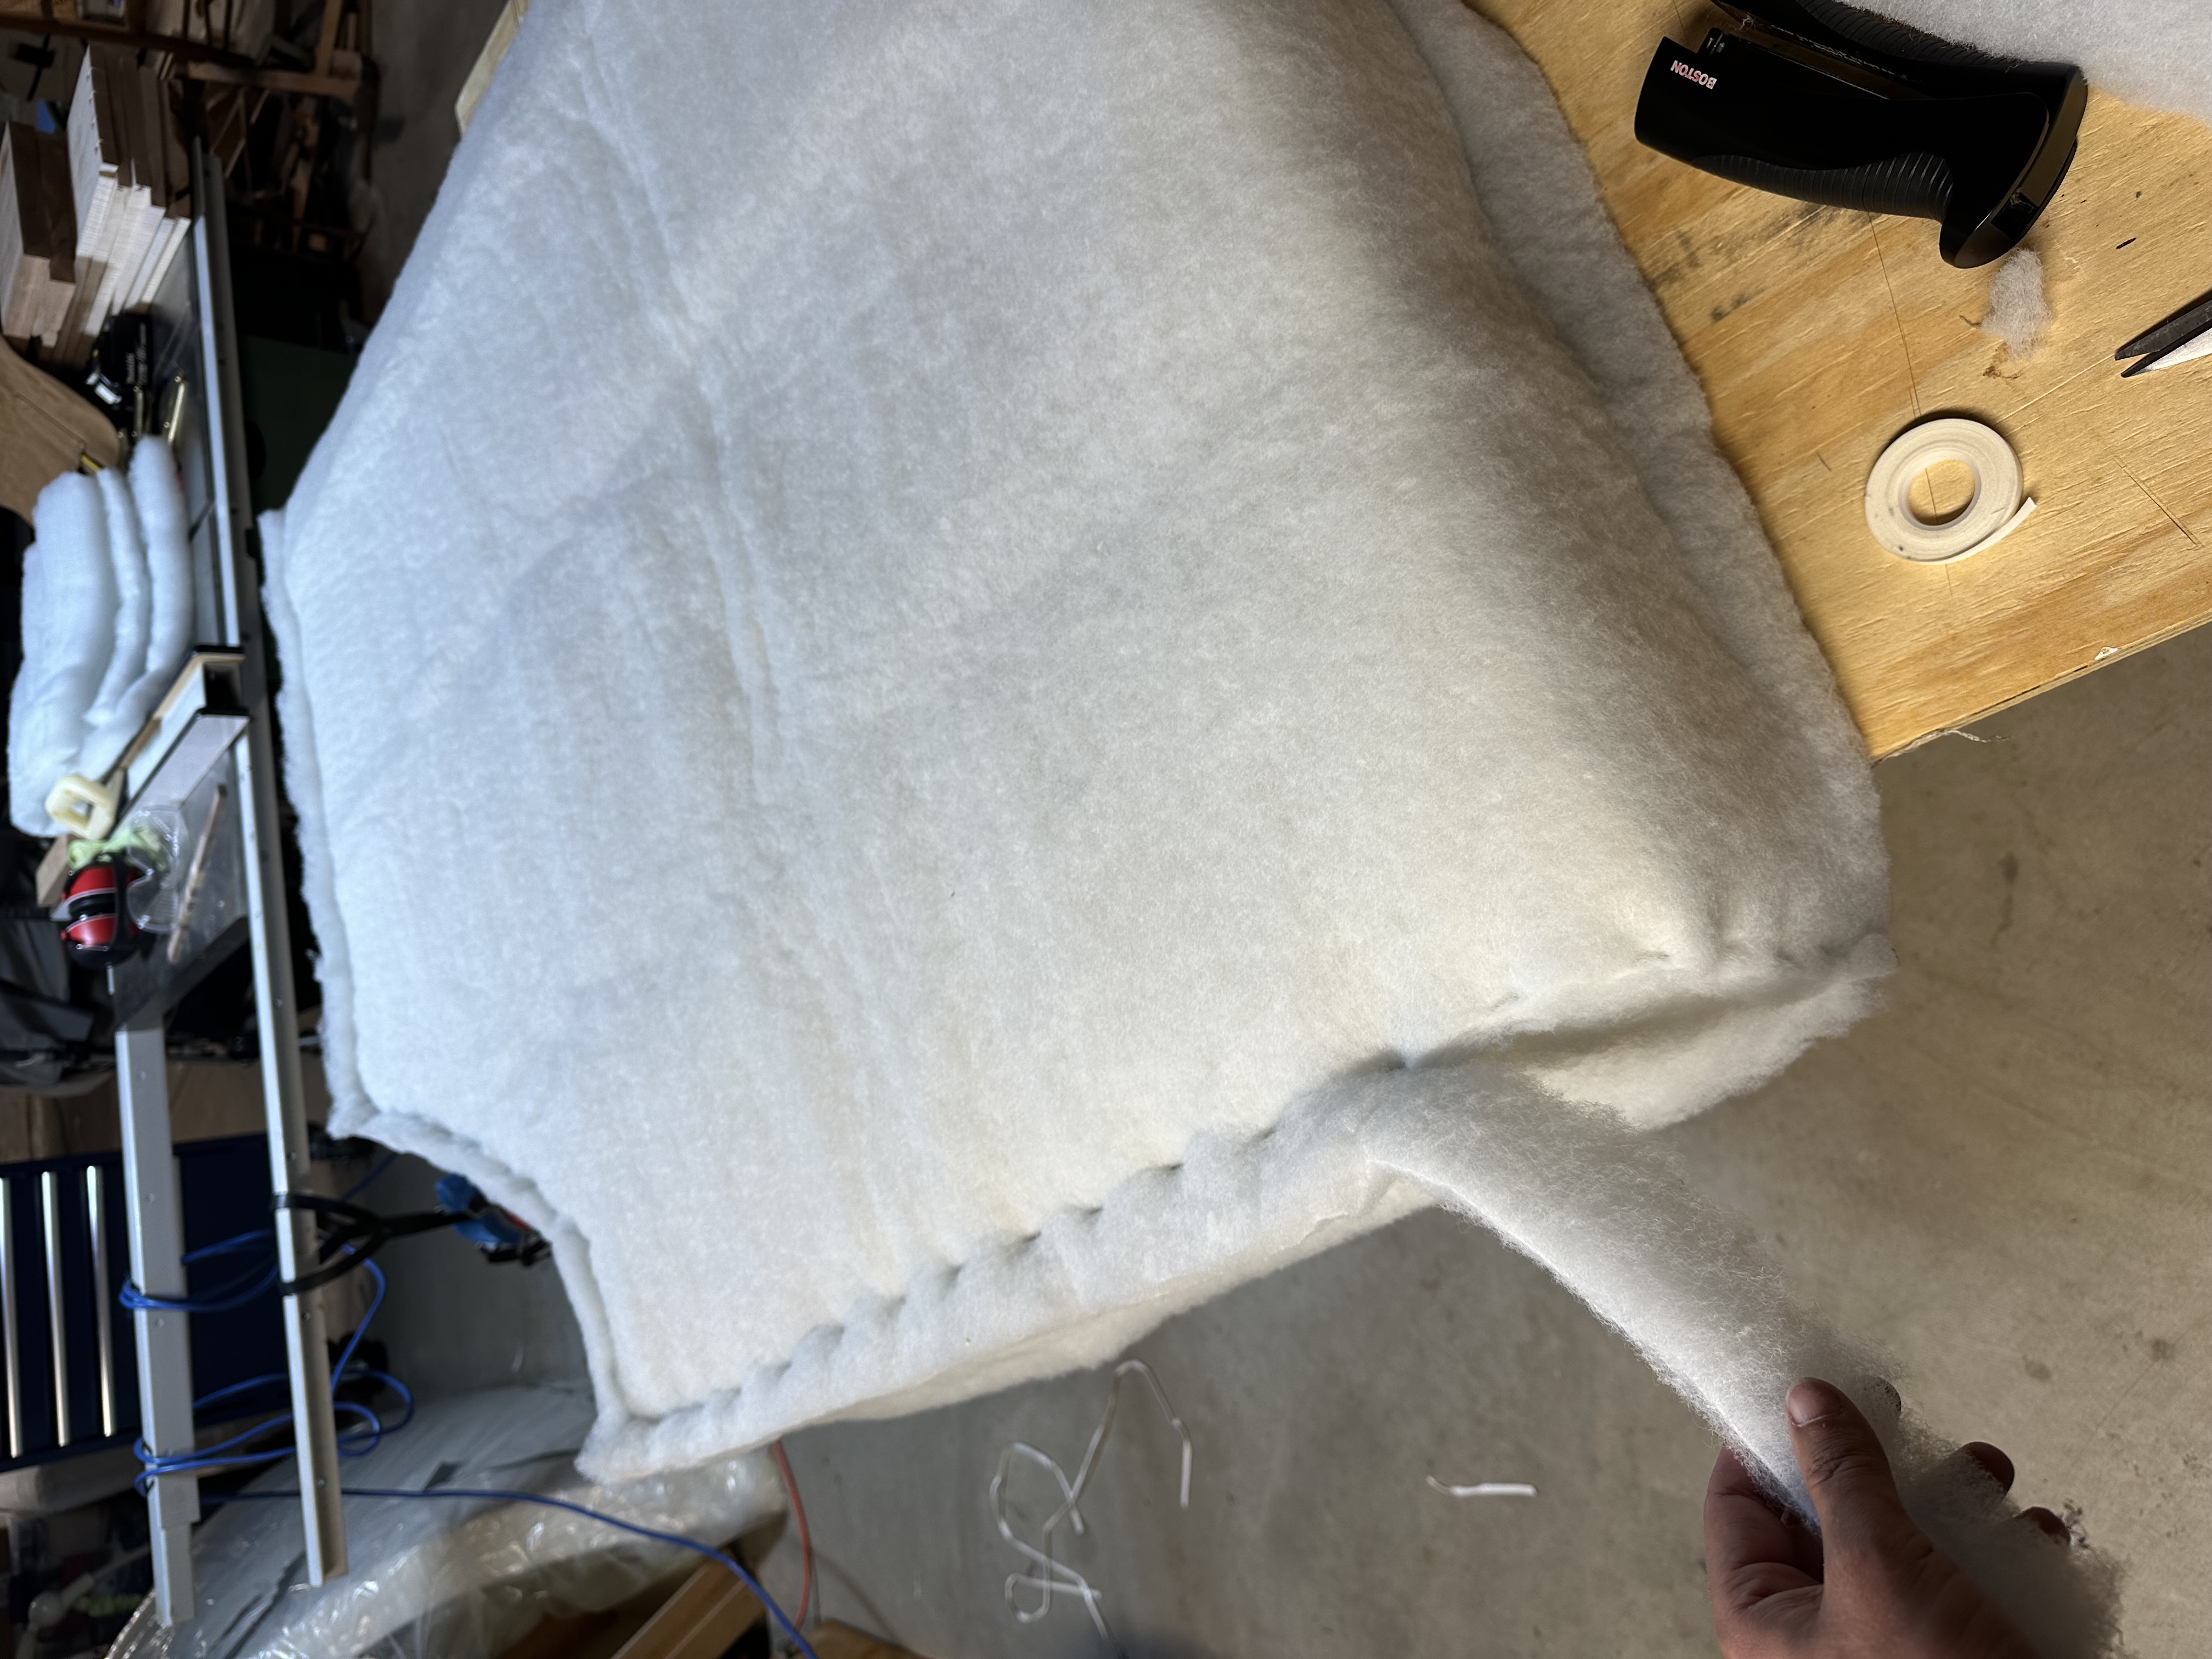
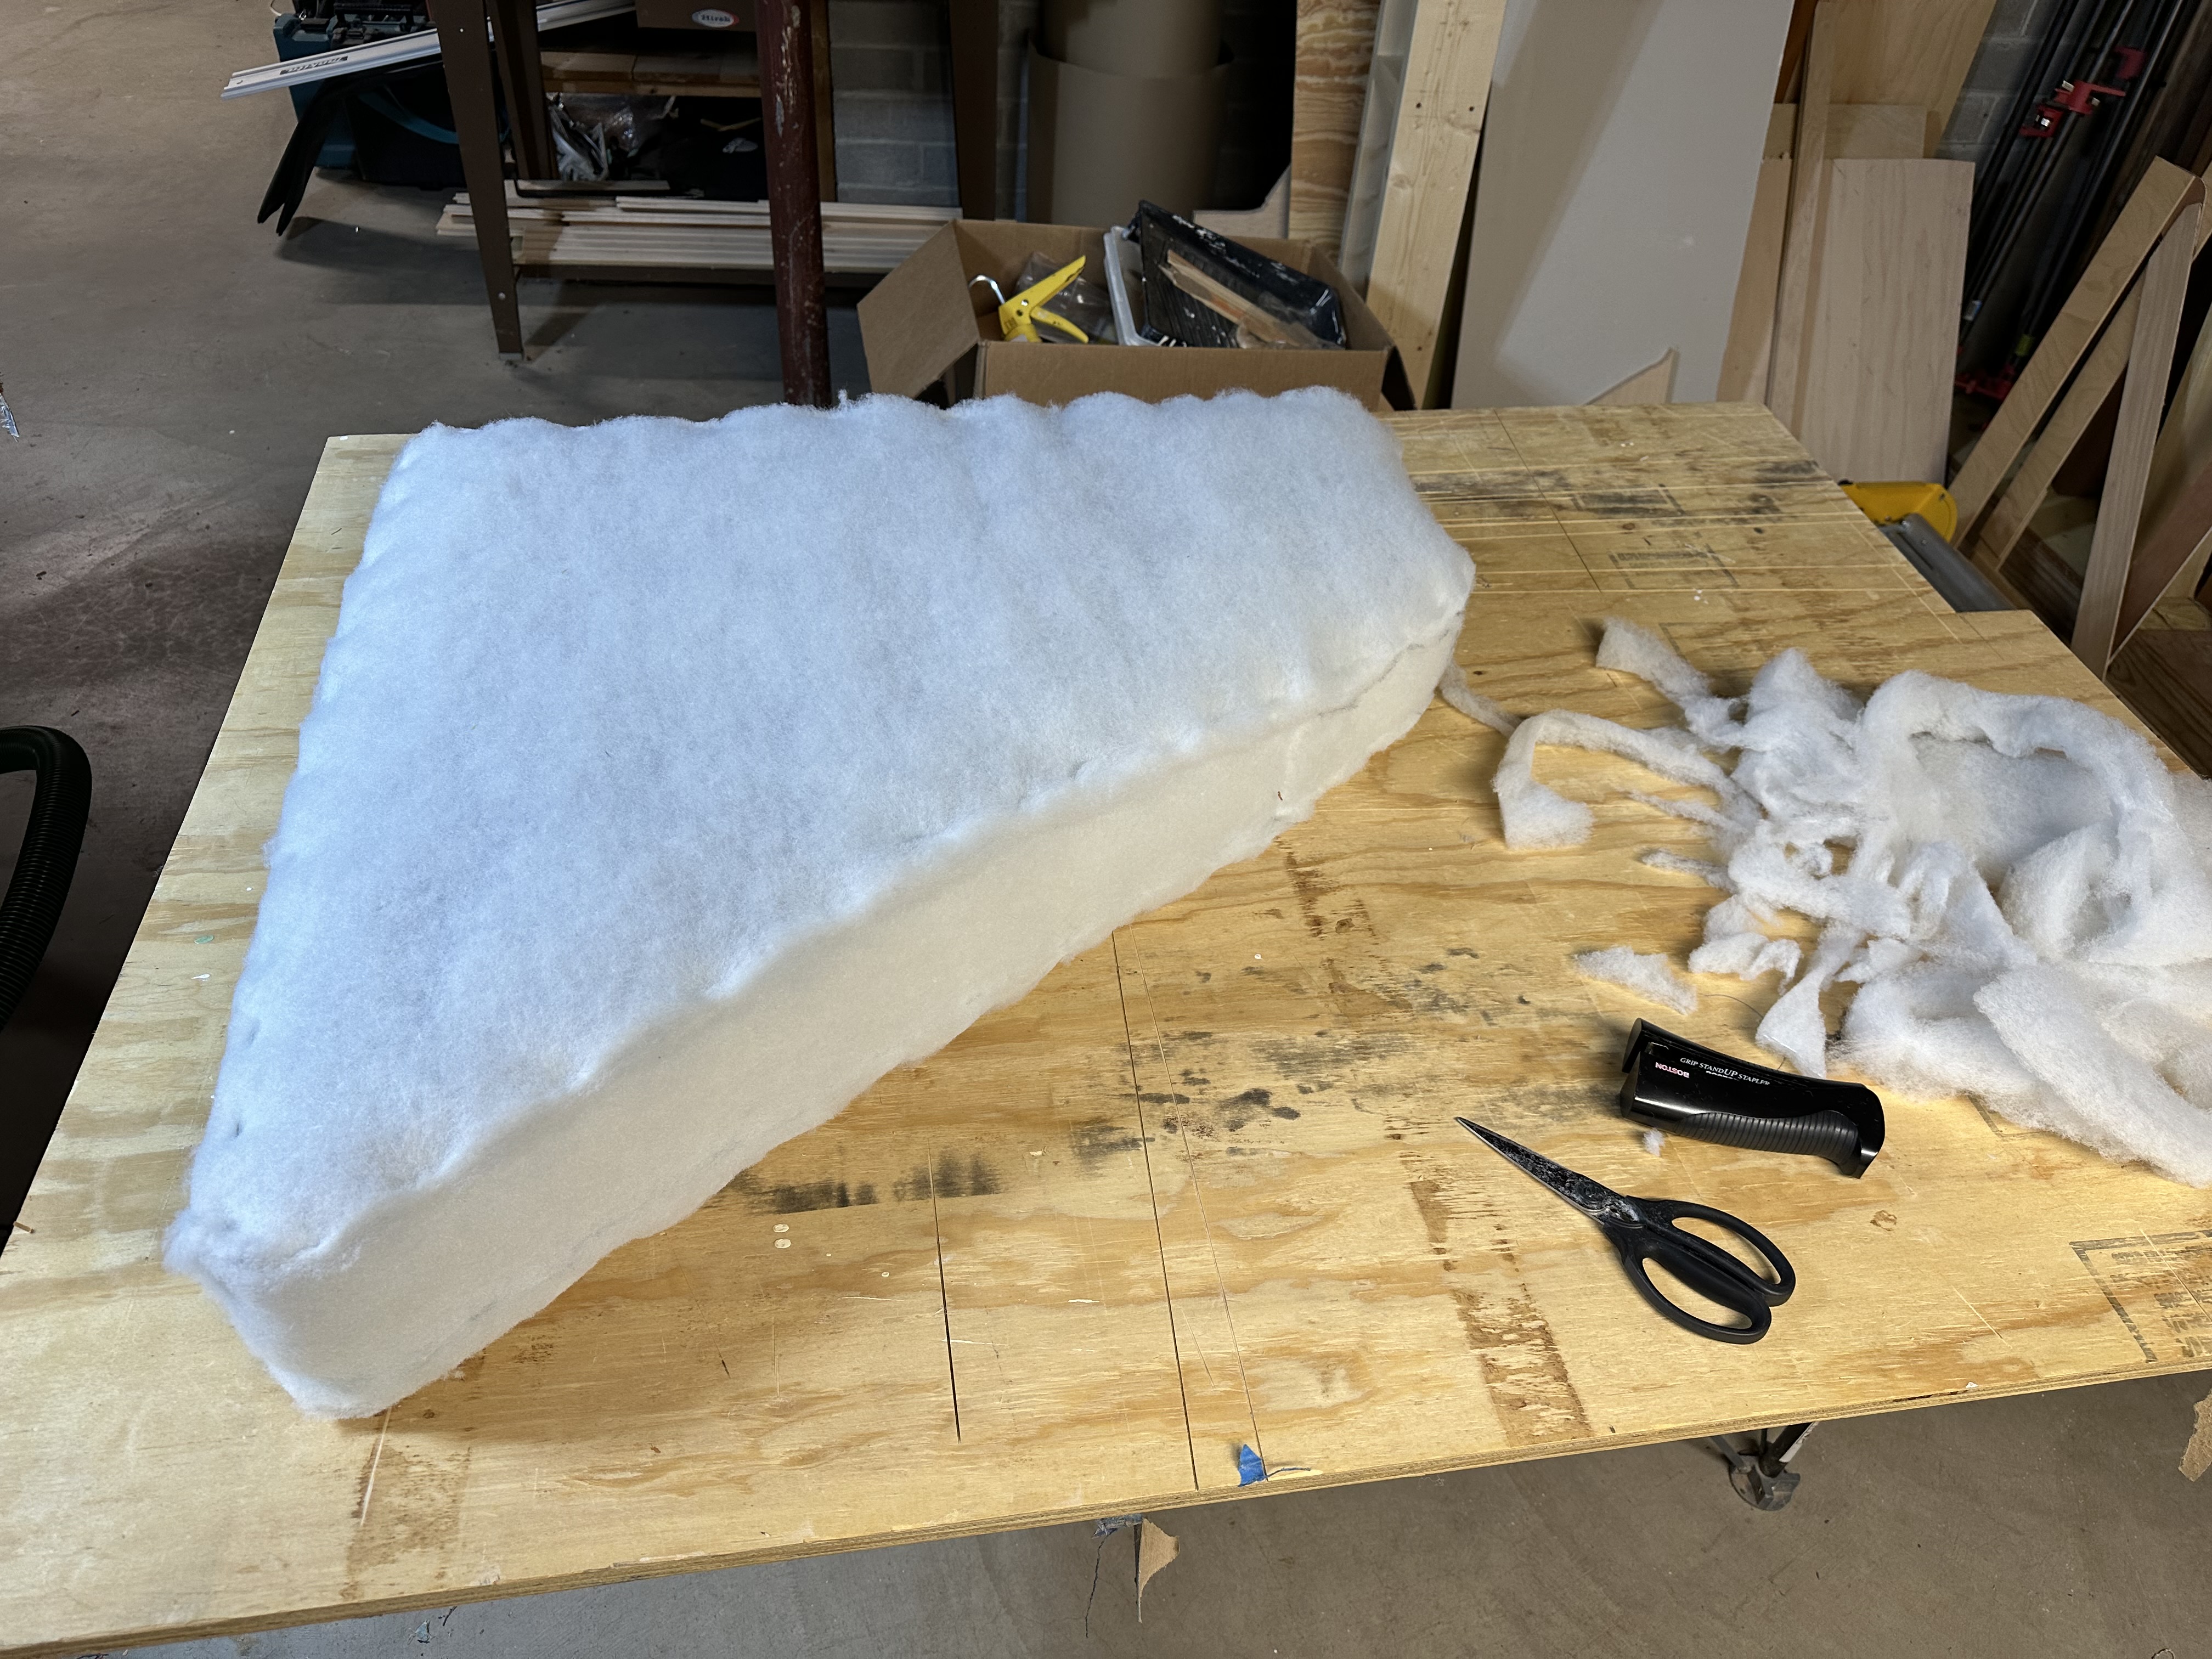
Cushions
I made the cushions from scratch, which I hadn’t done before. The process: buy foam in two firmnesses, laminate them together with spray adhesive (firm on the bottom, soft on top), wrap each block in dacron batting, then sew a cover and zip it over the foam. The dacron softens the edges and keeps the foam from grabbing at the fabric. I highly recommend using silk film to help the insertion of the foam cushions into the covers - it lets you vacuum-compress the foam, making insertion a breeze. Otherwise it’s really quite a battle.
The finished product
Cherry is not the easiest wood to work — it burns on the table saw, tears out easily, and any surface irregularity you miss will announce itself the moment finish goes on. But boy, with sharp tools and a bit of patience, it is a joy to work with. I finished this piece with Tried and True, buffed out with my finish sander and a white pad.