skip to content
Toby Lunt

Cockpit joinery

/ 5 min read

The cockpit is where you spend most of your time on a sailboat. It’s where you steer, trim your sails, eat your lunch, and watch the sun go down. Ariadne’s cockpit needed some serious help. The original woodwork was still stunningly beautiful but was showing its age in both form and function.

Replacing the companionway bulkhead

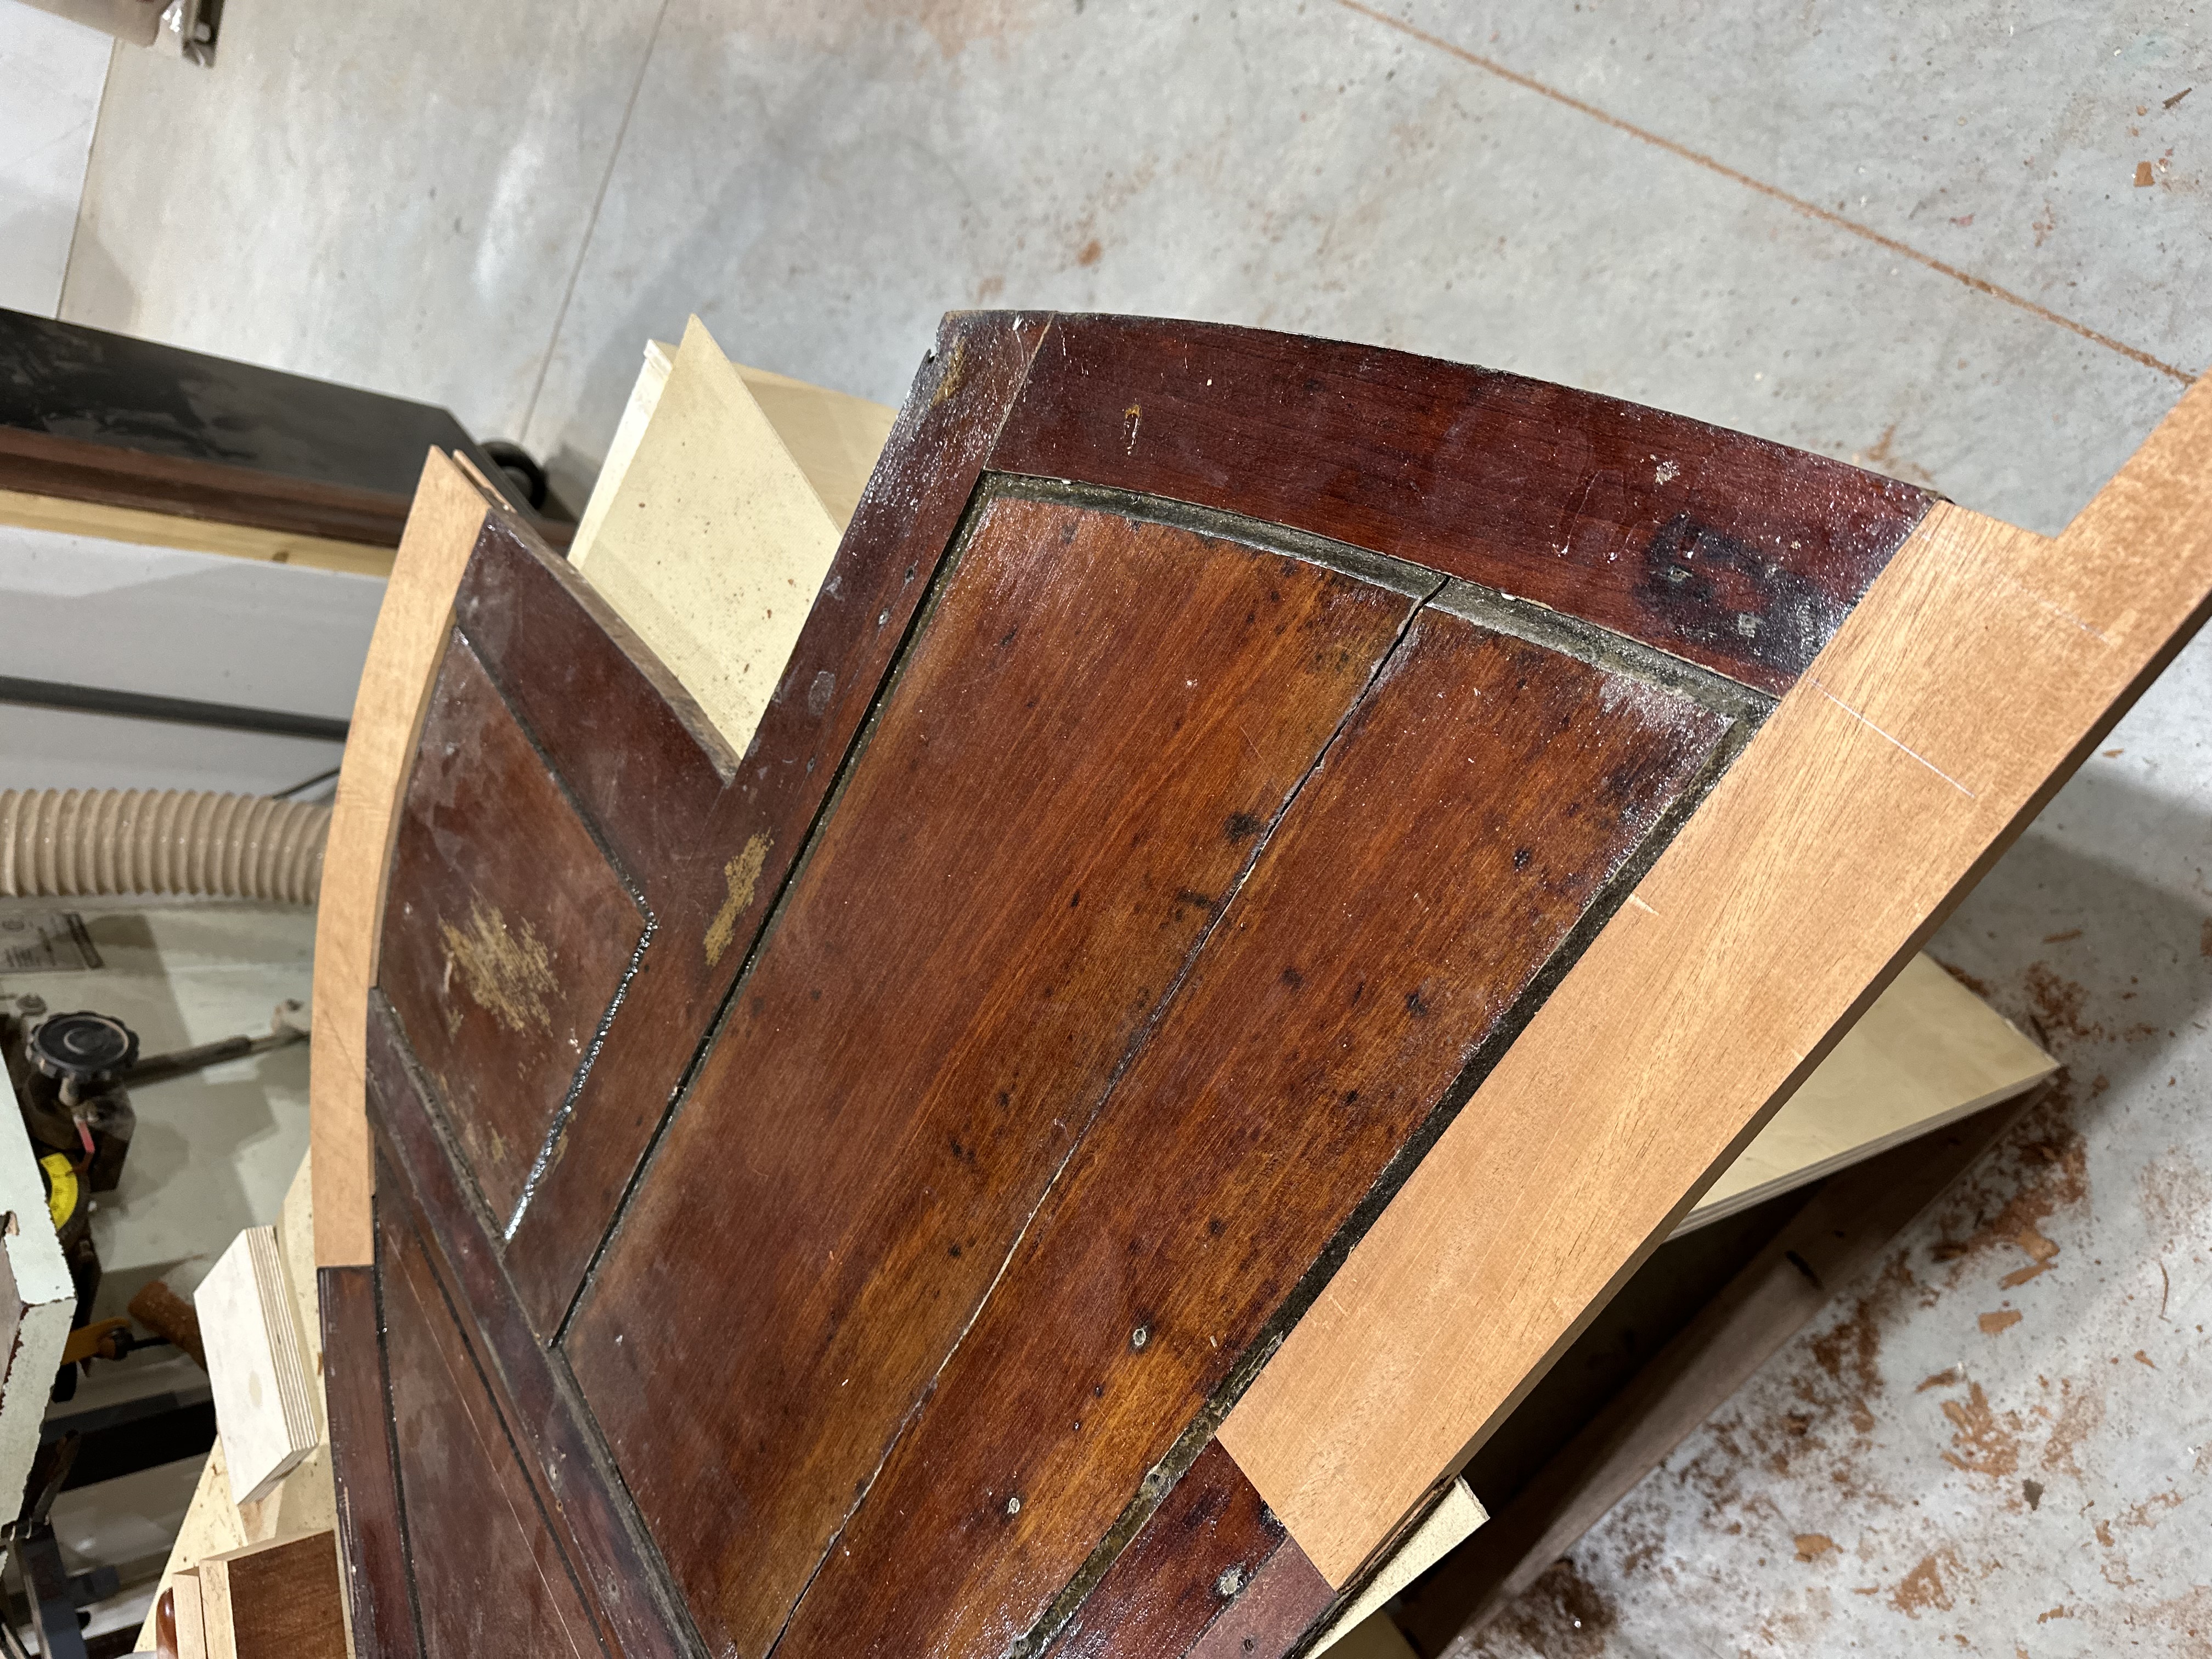
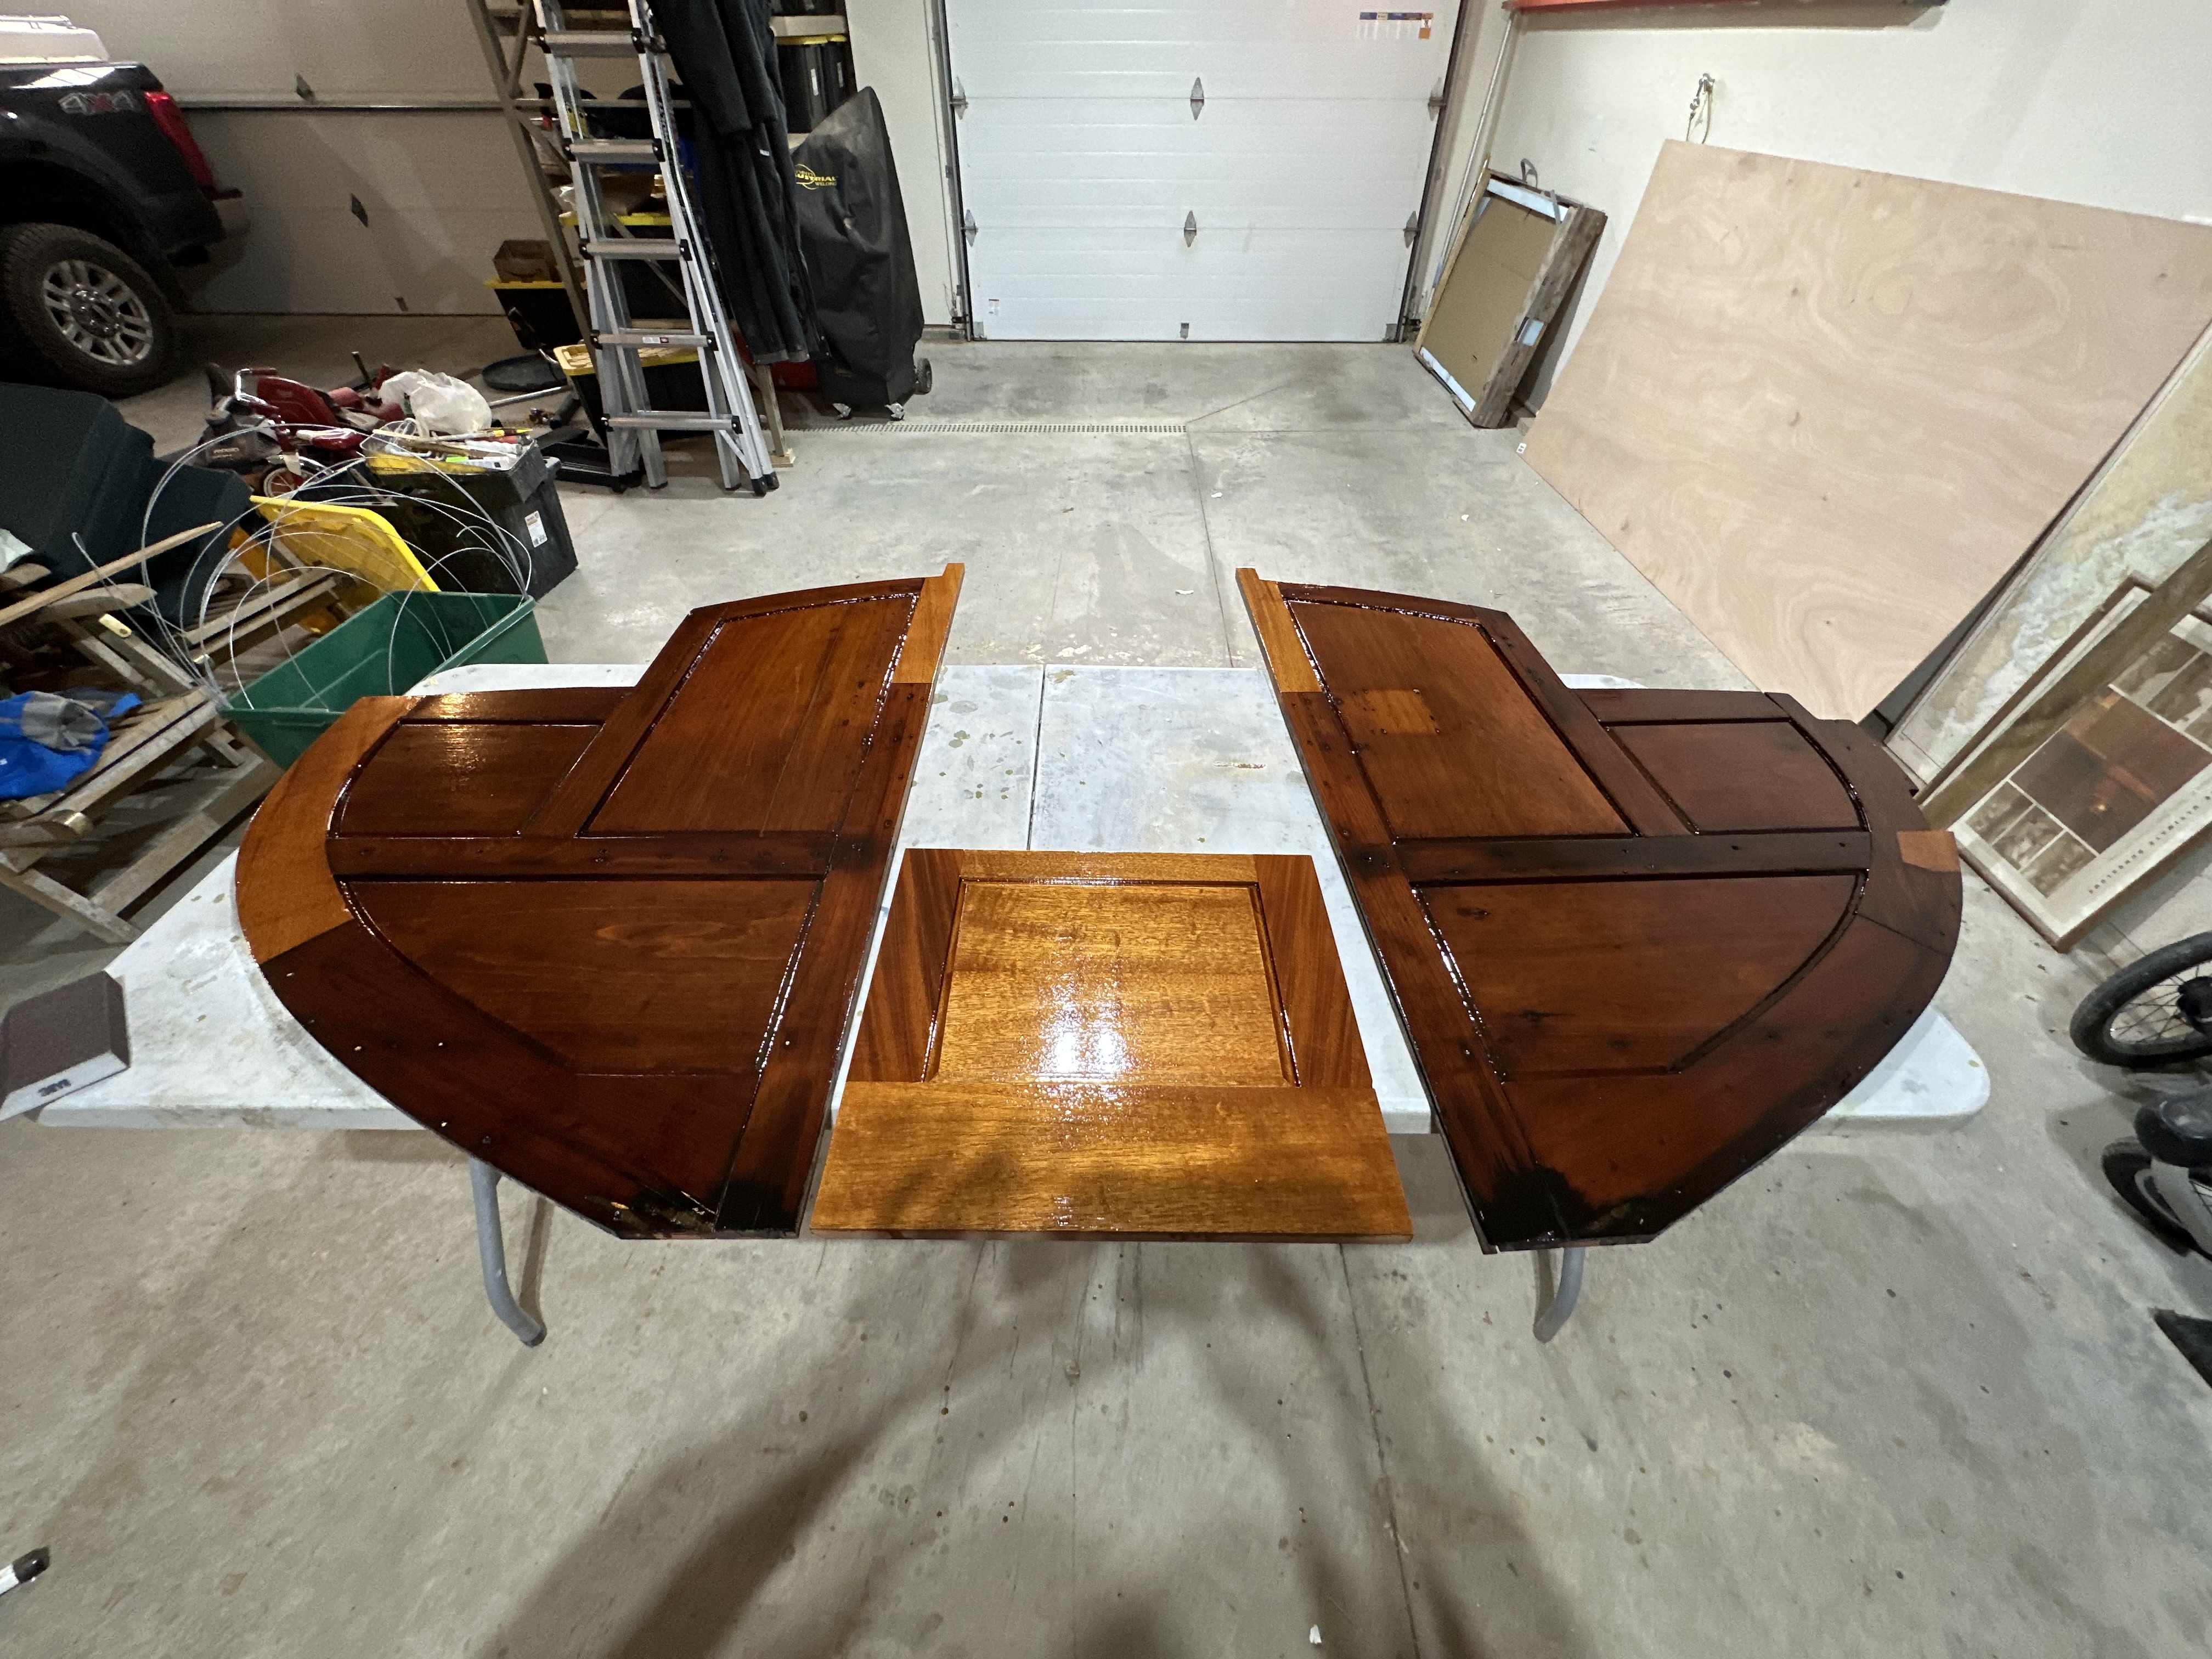
The original companionway bulkhead is of frame-and-panel construction in mahogany, with raised panels set into mortise-and-tenon frames. It’s gorgeous joinery. It’s also the primary structural connection between the deck, the cabin house sides, and the hull. After nearly a century, it was no longer performing its duties.

Original companionway bulkhead
The original companionway bulkhead coming out of the boat. Frame-and-panel mahogany, beautiful but showing its age — split panels, pieces of stiles hacked away, and loose joints.

We removed the entire bulkhead and brought it to the shop. As checked baggage (that was fun). Several of the frame members had rot, damage from fasteners, or other issues. So we milled new pieces from mahogany and scarfed them in, keeping as much of the original as possible.

Installing bulkhead from above
Bulkhead out.
Panoramic of work inside hull
Panoramic view of working inside the hull with the bulkhead out.
Bulkhead on shop floor with replacement piece
Damaged rails and stiles were replaced individually to preserve as much original material as possible.
Fitting new piece to bulkhead
Fitting a new frame piece to the bulkhead. Look at the cool original mortise-and-tenon layout! Our new mortises had to match the old tenons.
Bulkhead glue-up
Gluing up the bulkhead with the new pieces after having stripped the old varnish. Never enough clamps.

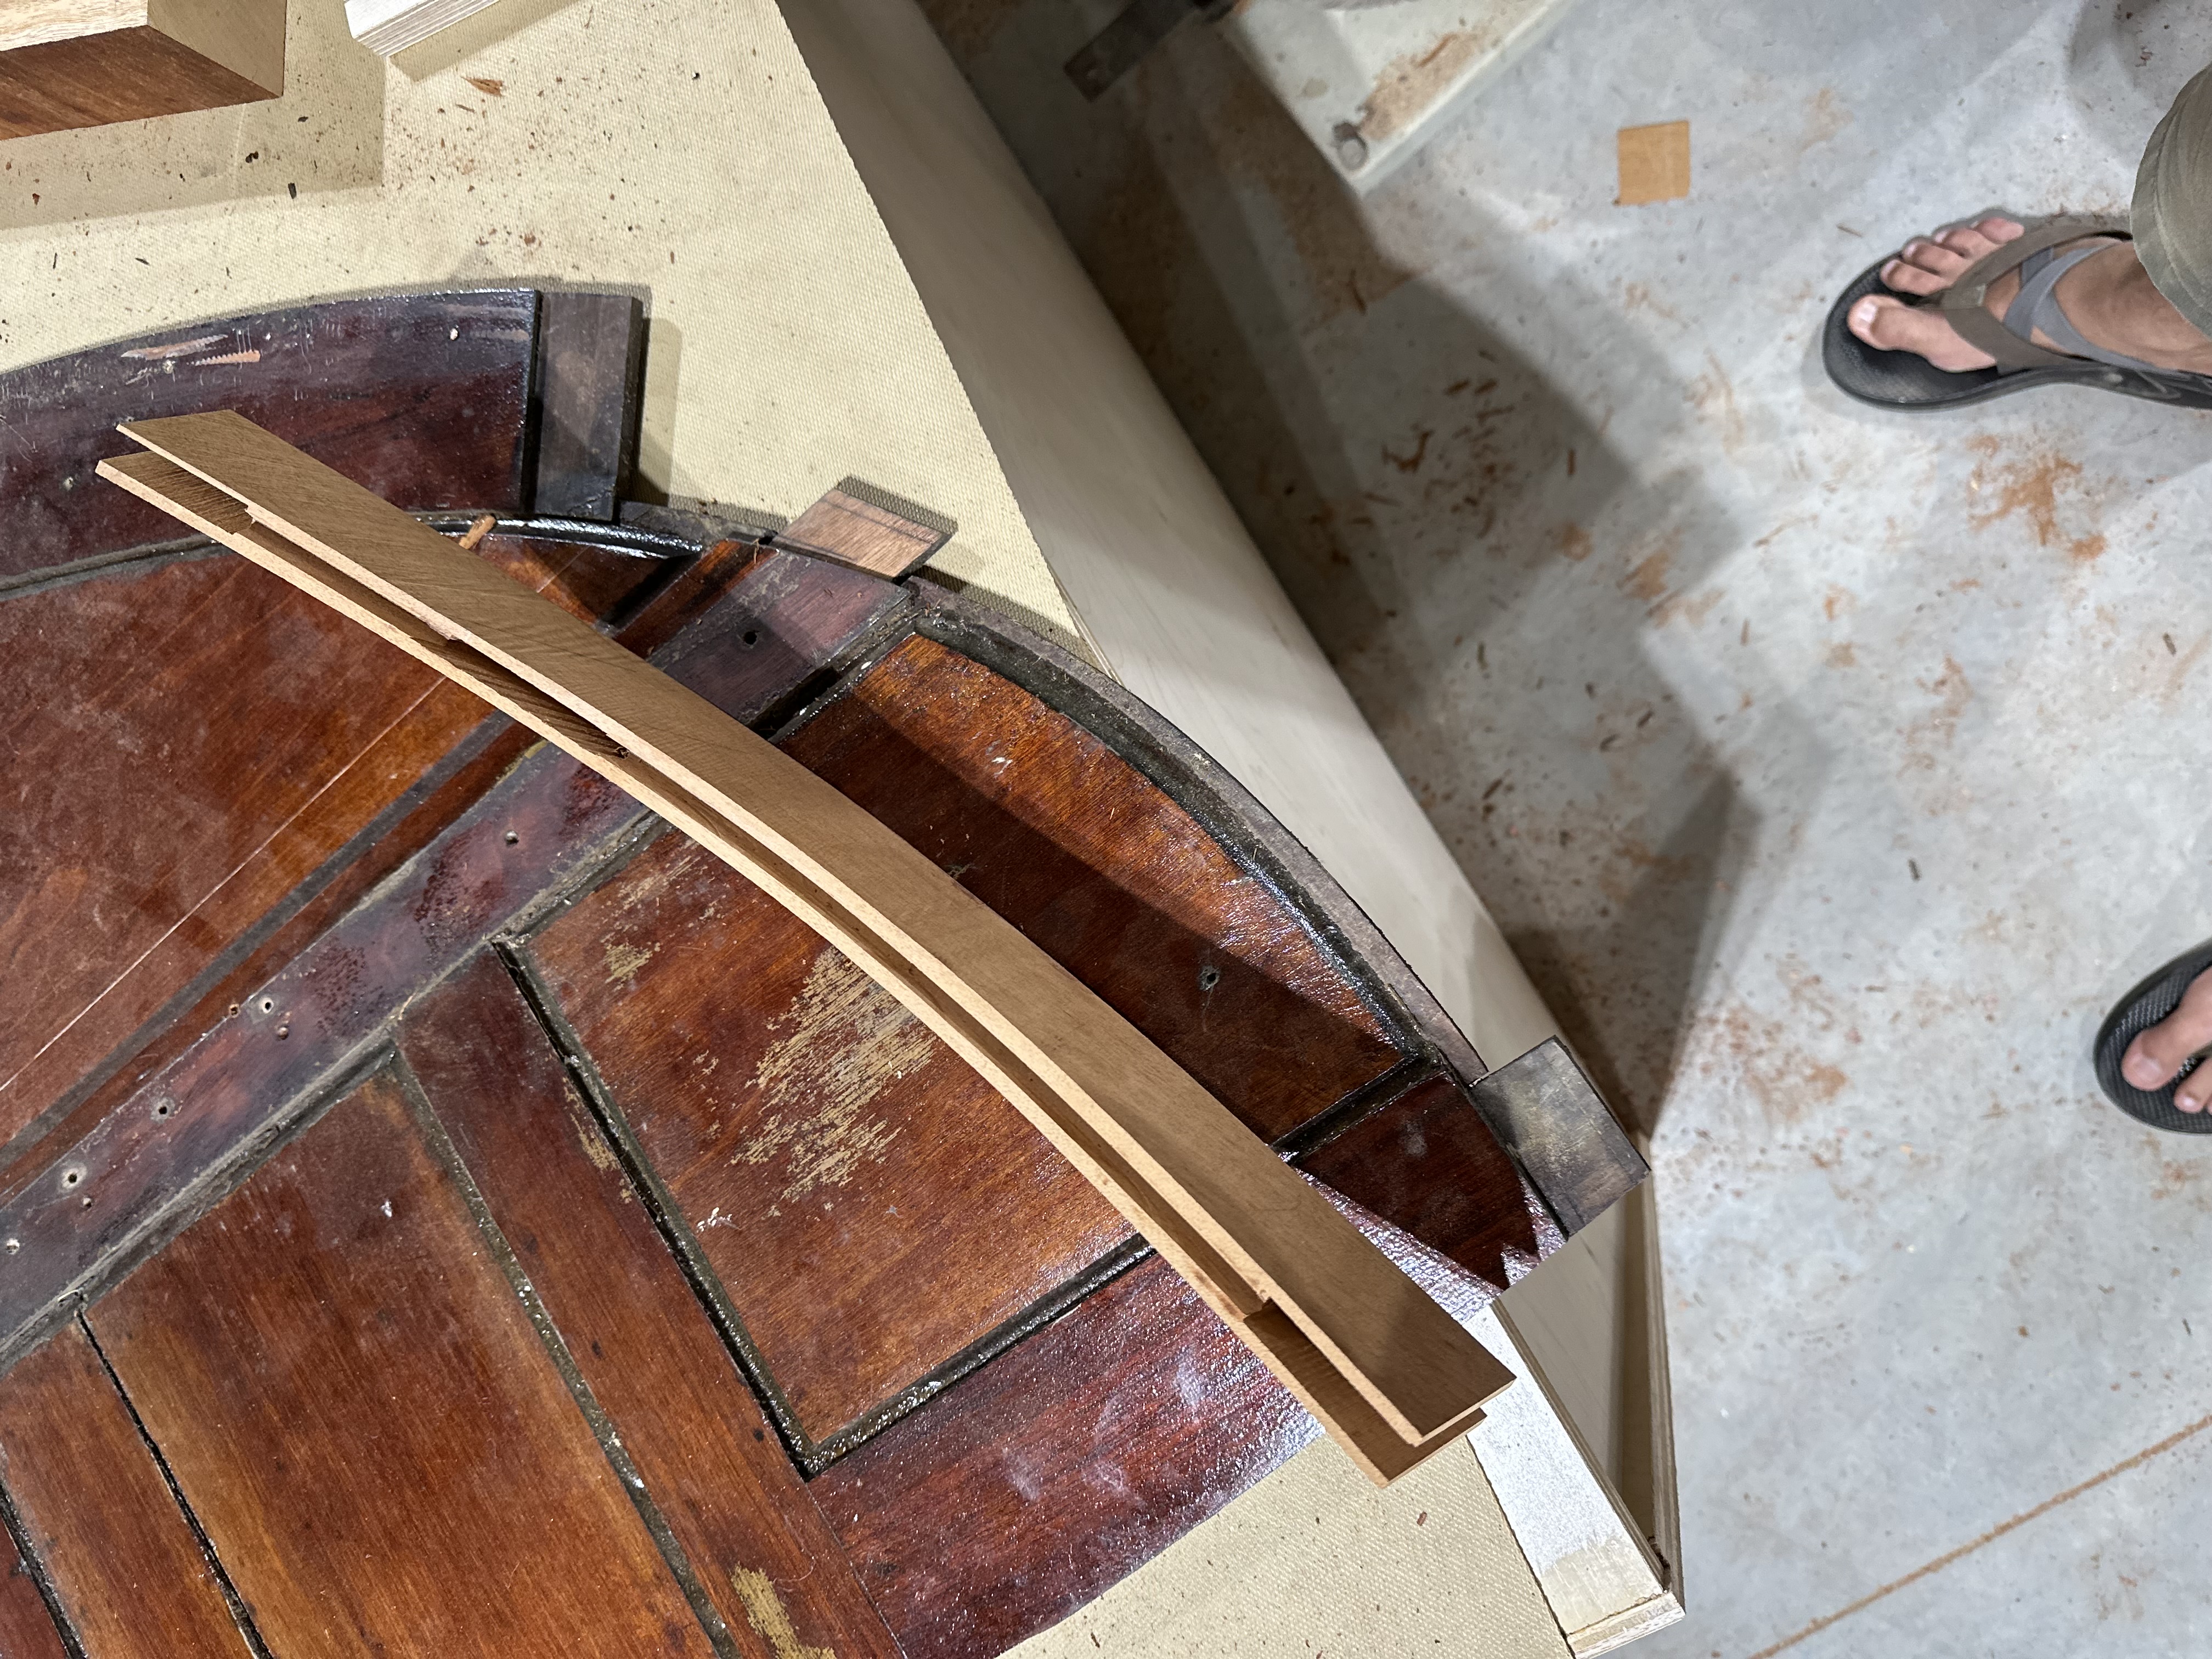
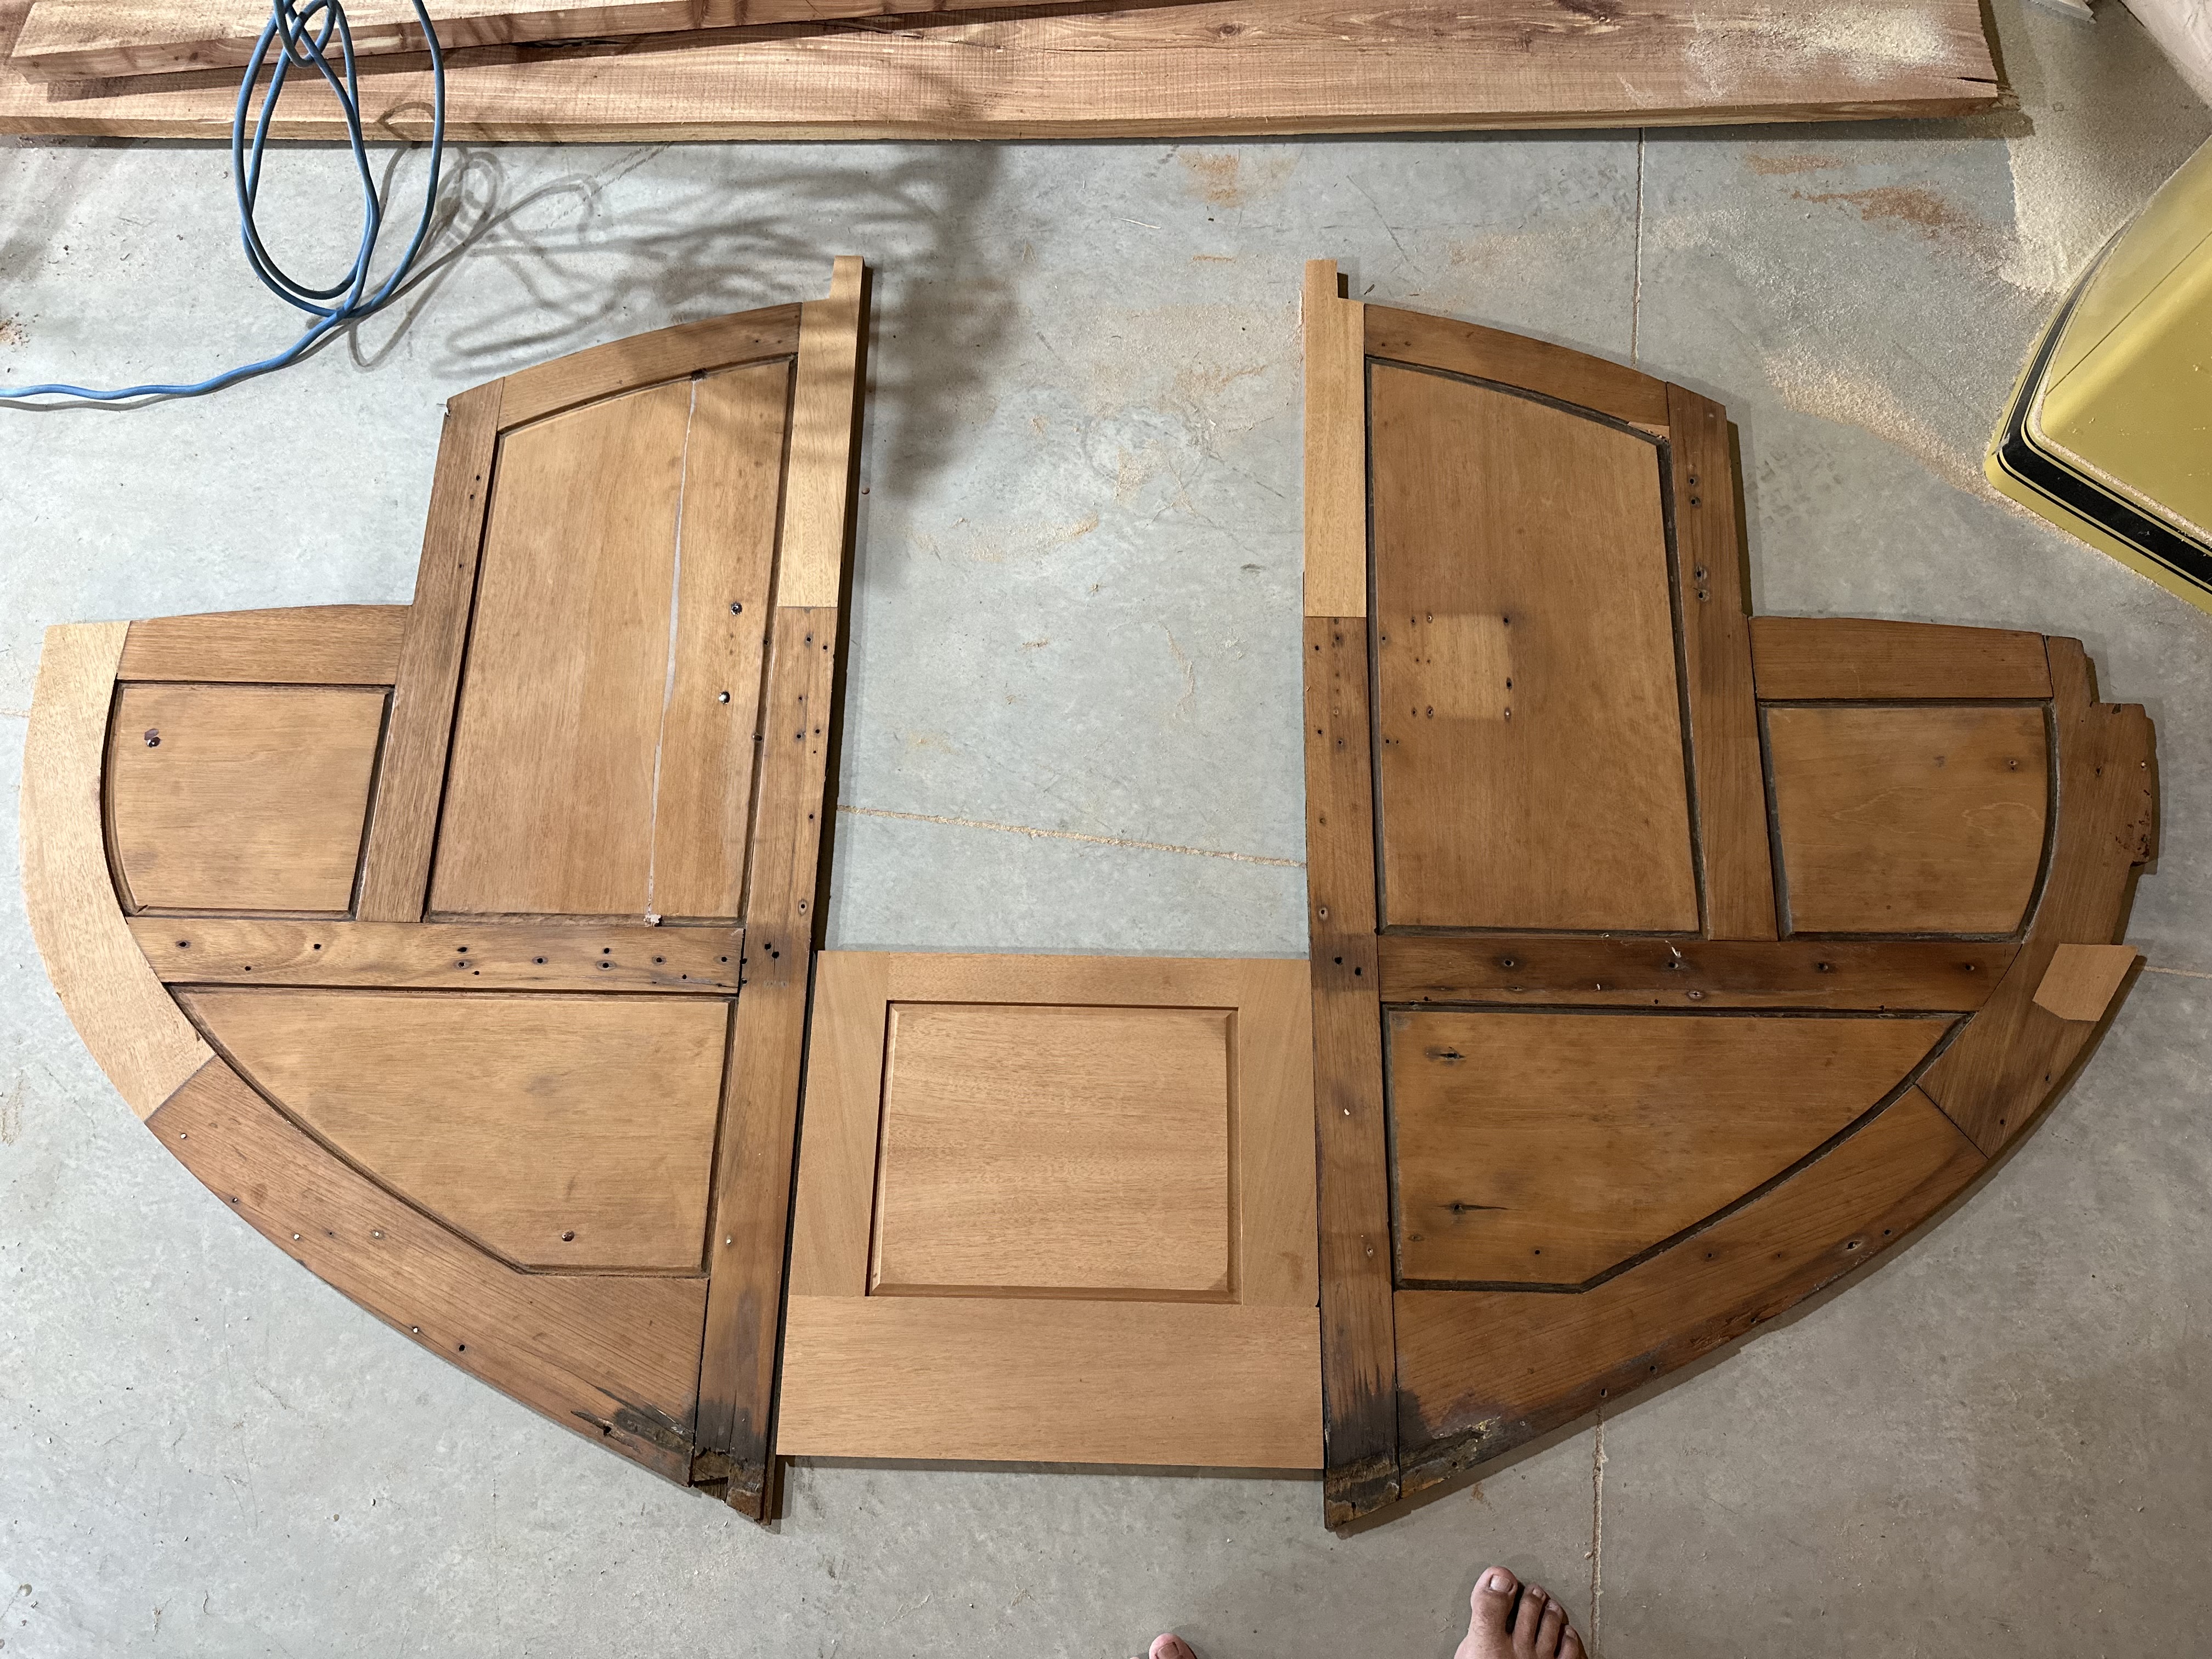
With the damaged pieces replaced, we built a new center panel and re-varnished the whole assembly.

Both bulkhead halves refreshed
The bulkhead laid out on the shop floor after repair. The lighter-colored pieces are the new mahogany spliced in to replace damaged originals. The rotten pointy bits at the bottom will be trimmed off and soaked with epoxy.
Bulkhead halves fully varnished
Bulkhead fully varnished. The new wood definitely is quite visible, but will fade.

Plywood backing

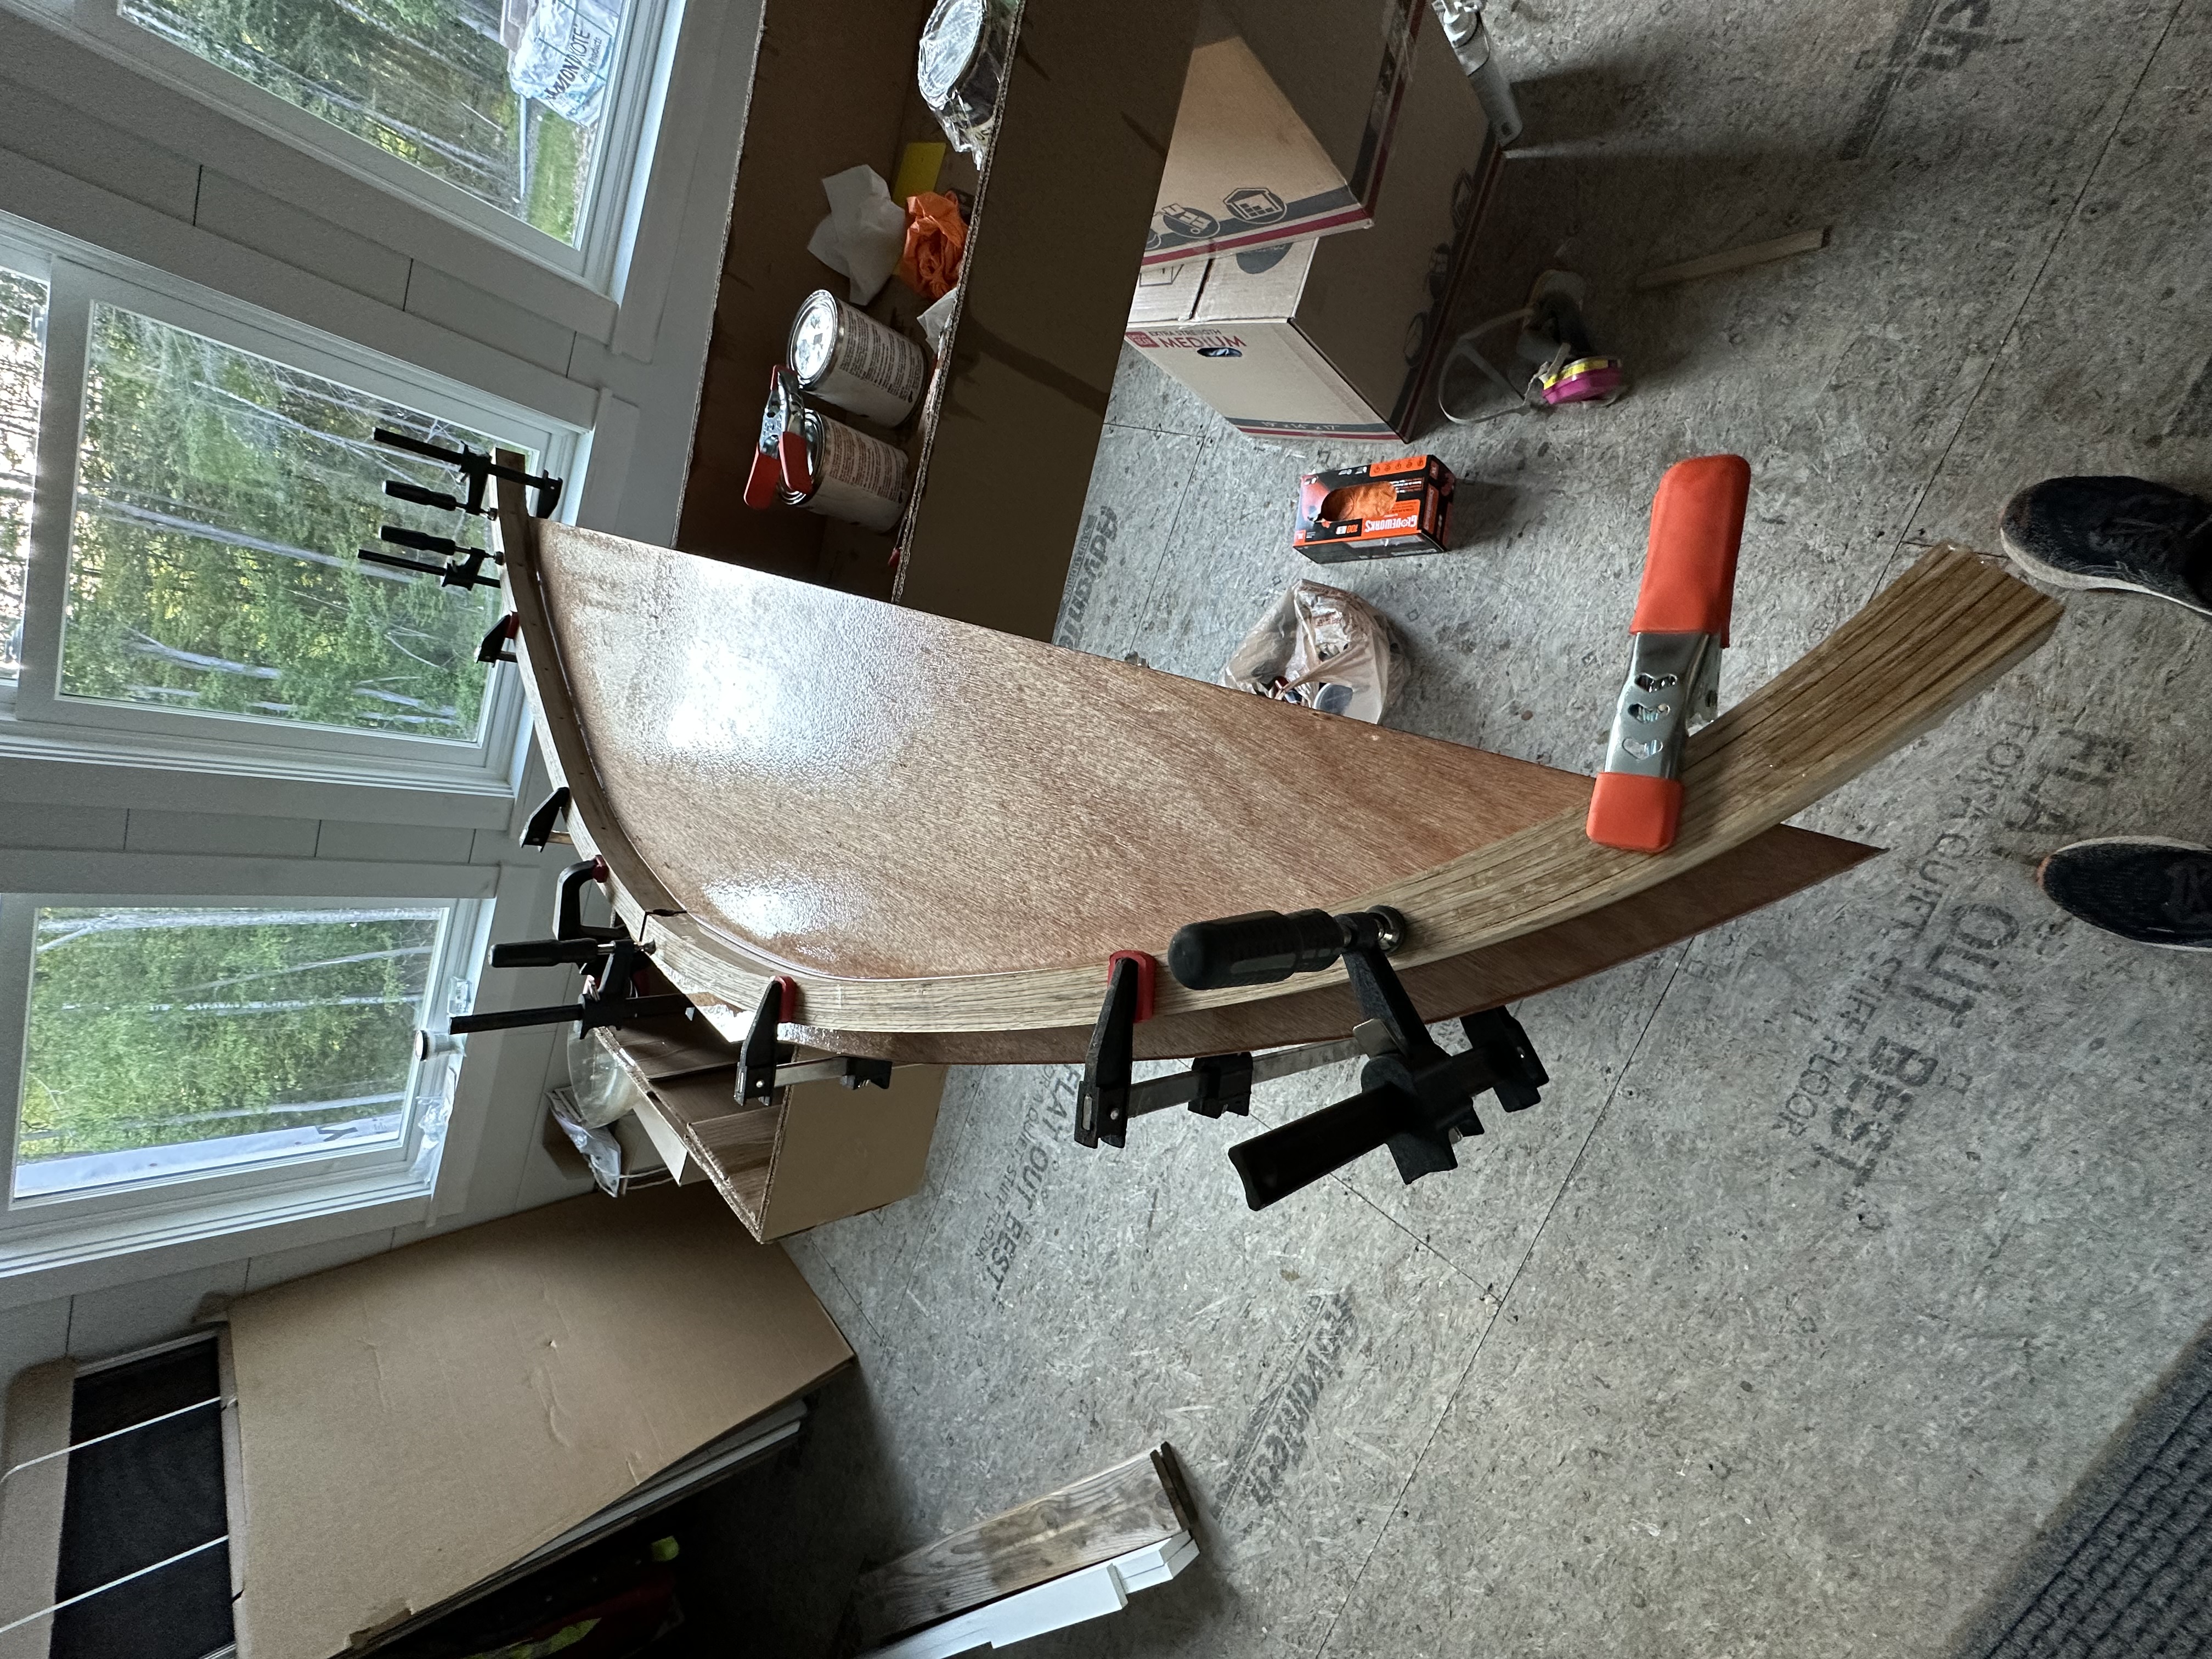
Beautiful as the mahogany is, frame-and-panel construction has an inherent weakness: the panels float in their grooves, and the joints between rails and stiles can work loose over time. The bulkhead looked great, but it still wasn’t rigid enough to do its structural job.

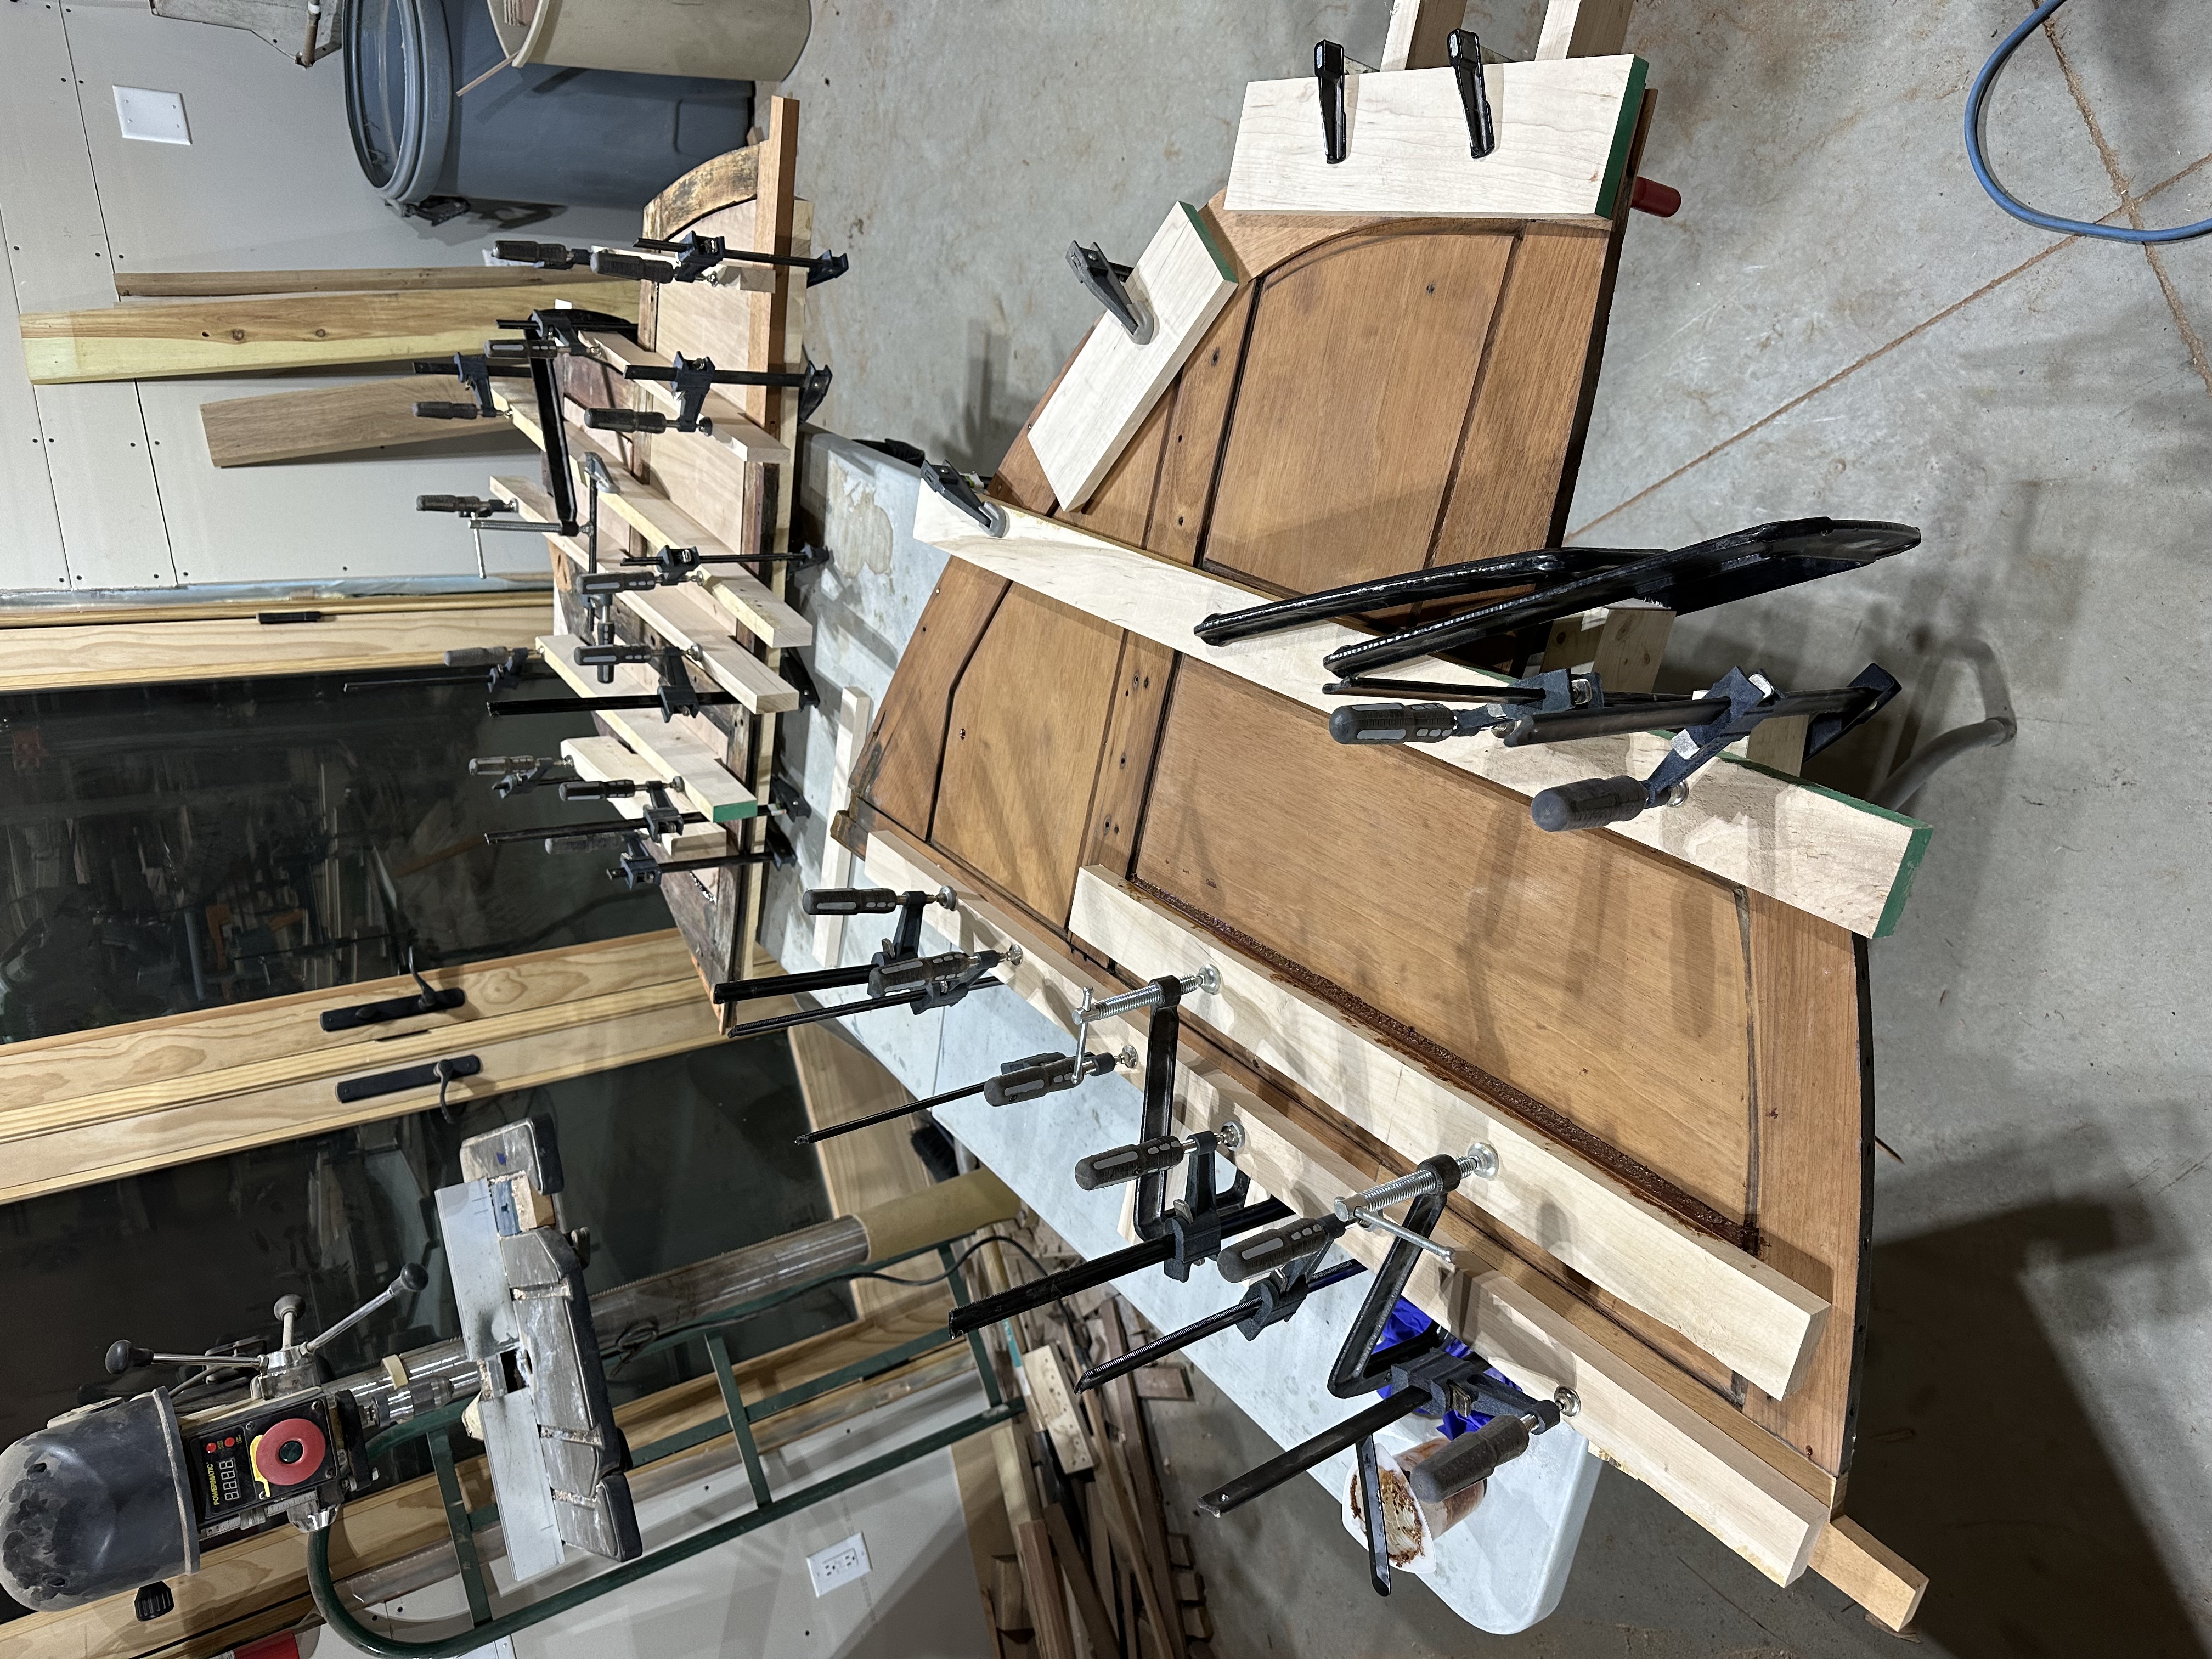
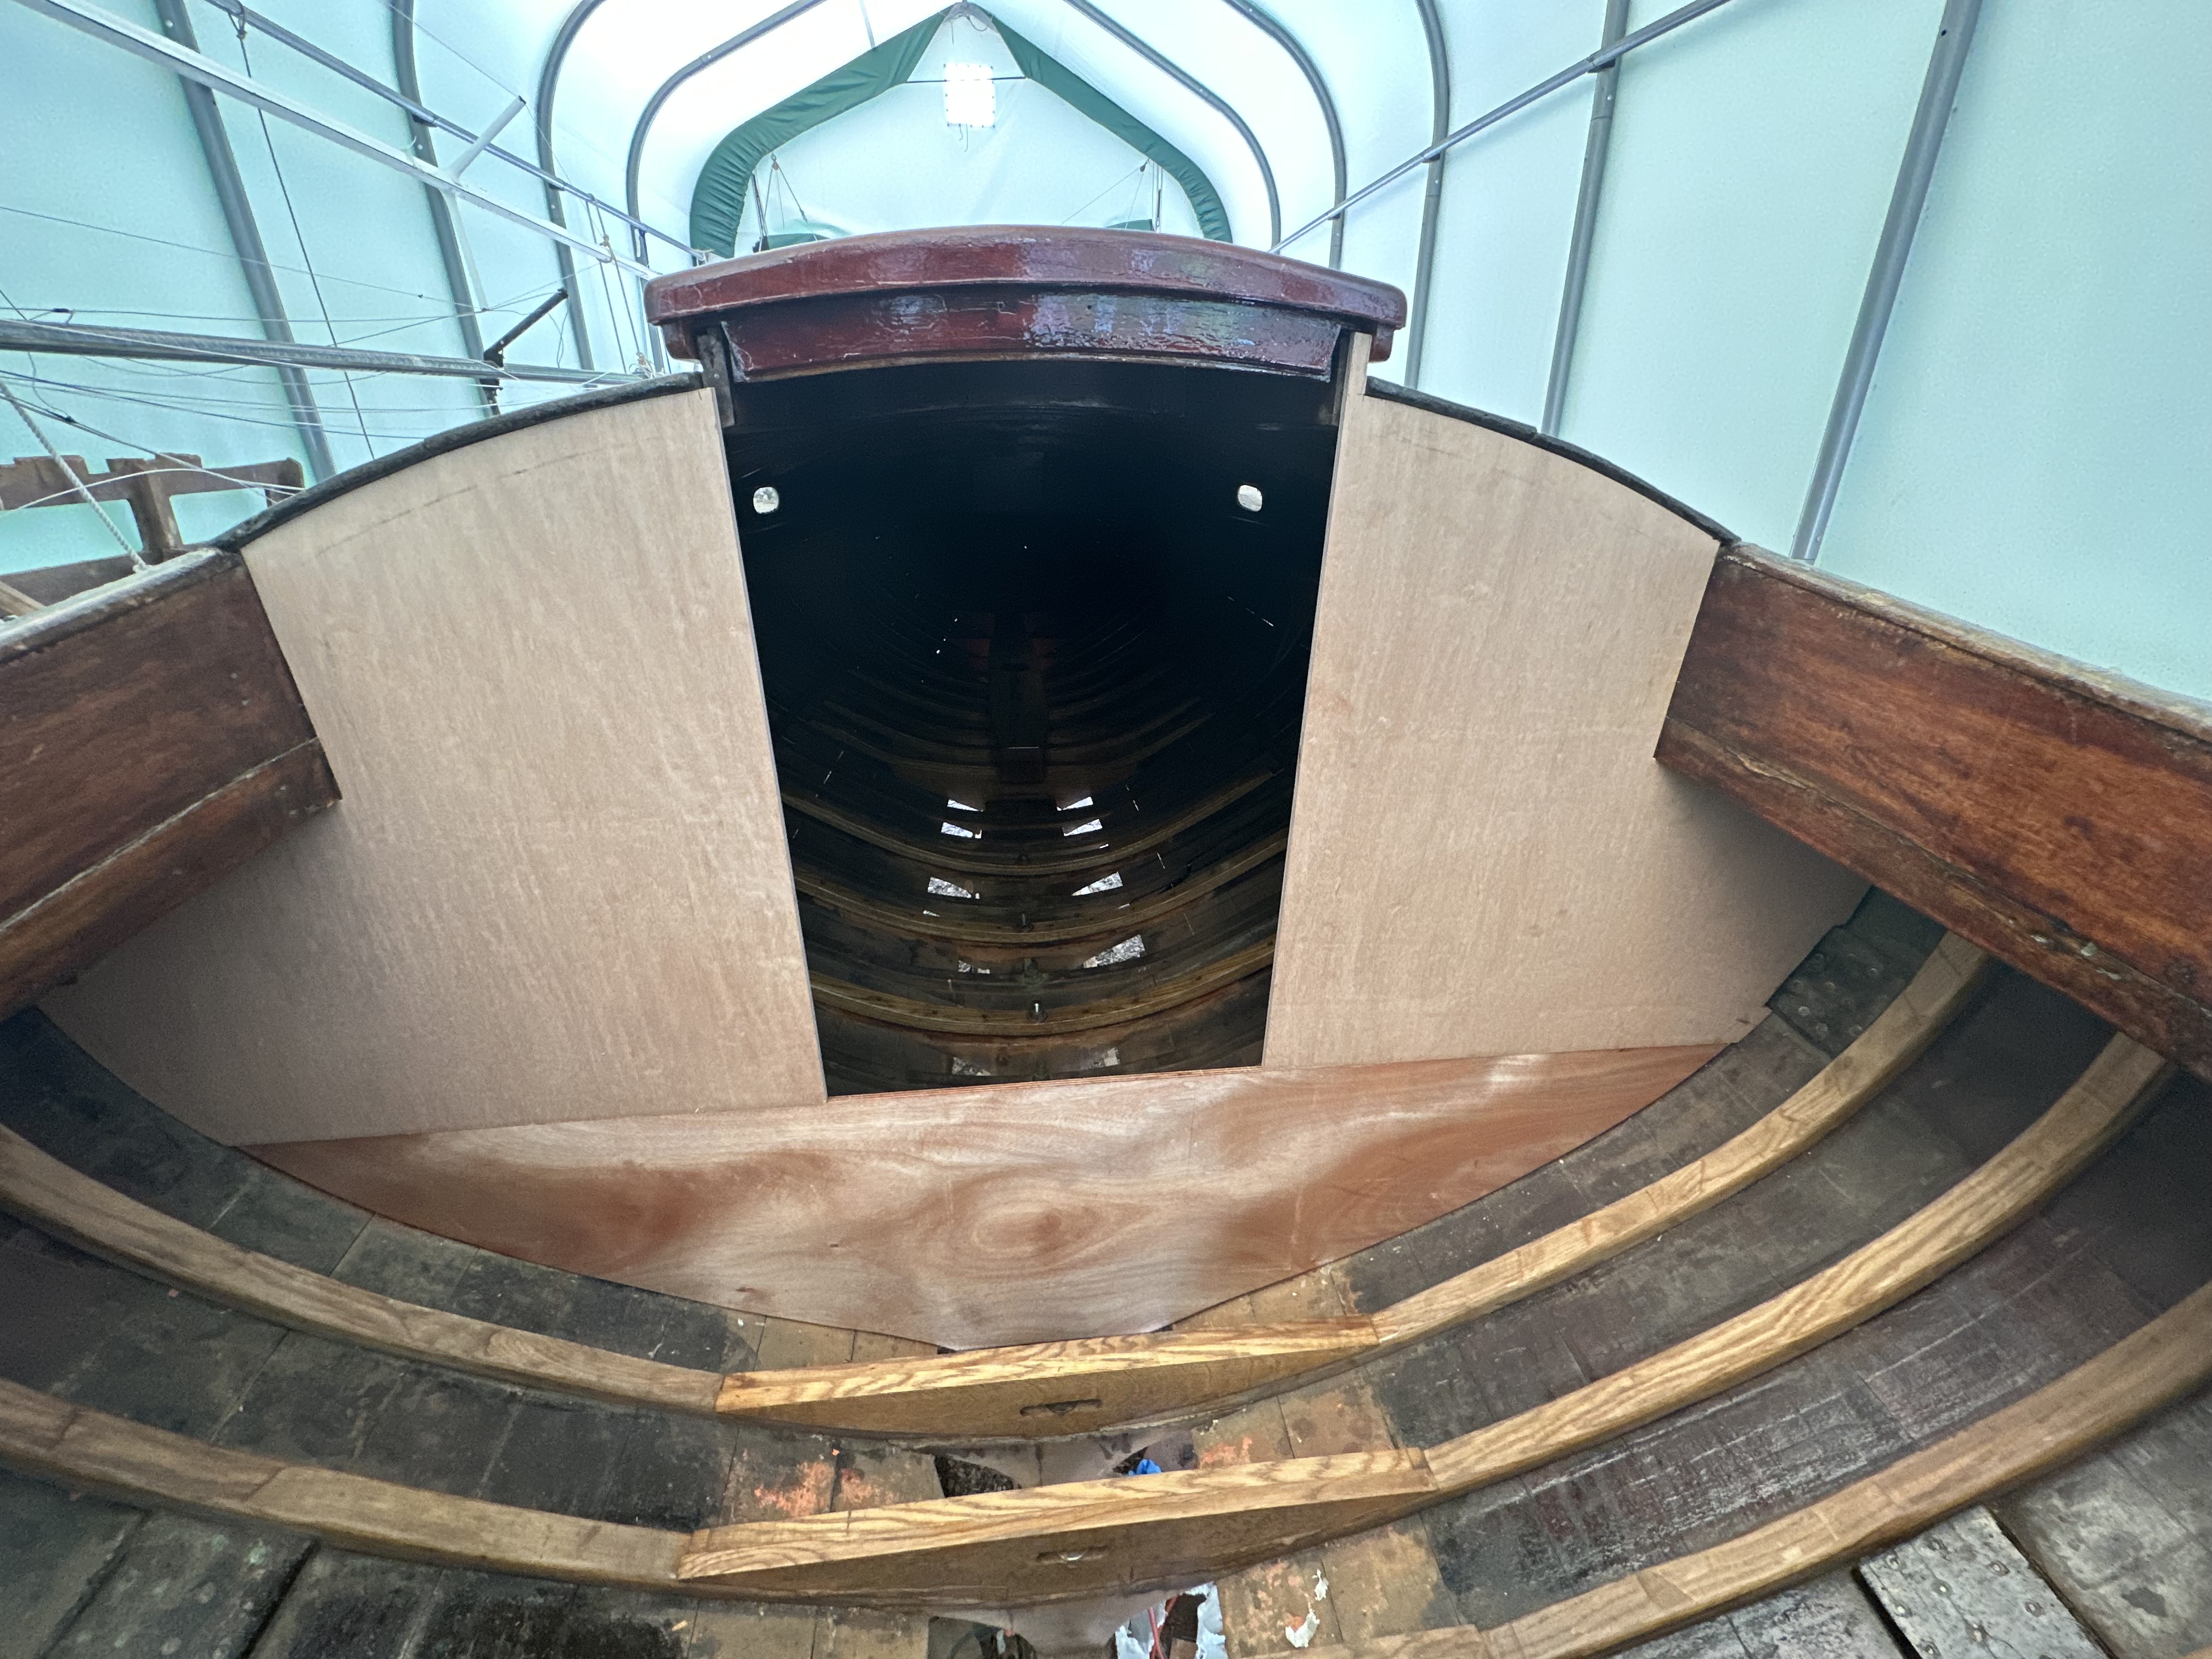
The solution was to face the entire inboard side of the bulkhead with epoxy-sealed marine plywood. The plywood turns the bulkhead from a decorative partition into a single rigid plane that ties the cabin sides to the deck and resists the twisting forces that a boat generates under sail. This would also allow us to permanently attach the bulkhead to a beefed-up adjacent frame. The plywood is invisible from the cockpit side where all you see is the original mahogany.

Plywood backing being laminated
Epoxying the marine plywood bulkhead to the adjacent laminated frame. These frames tie into a keel bolt and a floor timber, effectively mating the bulkhead to the centerline. The plywood is shaped to curve of the inside of the planking and was epoxy-sealed.
Plywood bulkhead installed, epoxied to frame and screwed in place
The plywood bulkhead installed, viewed from the cockpit side. The mahogany frame-and-panel bulkhead will screw to this plywood face on the cockpit side purely for aesthetics. We kept the frame and panel mechanically fastened rather than epoxied so the whole assembly stays removable.

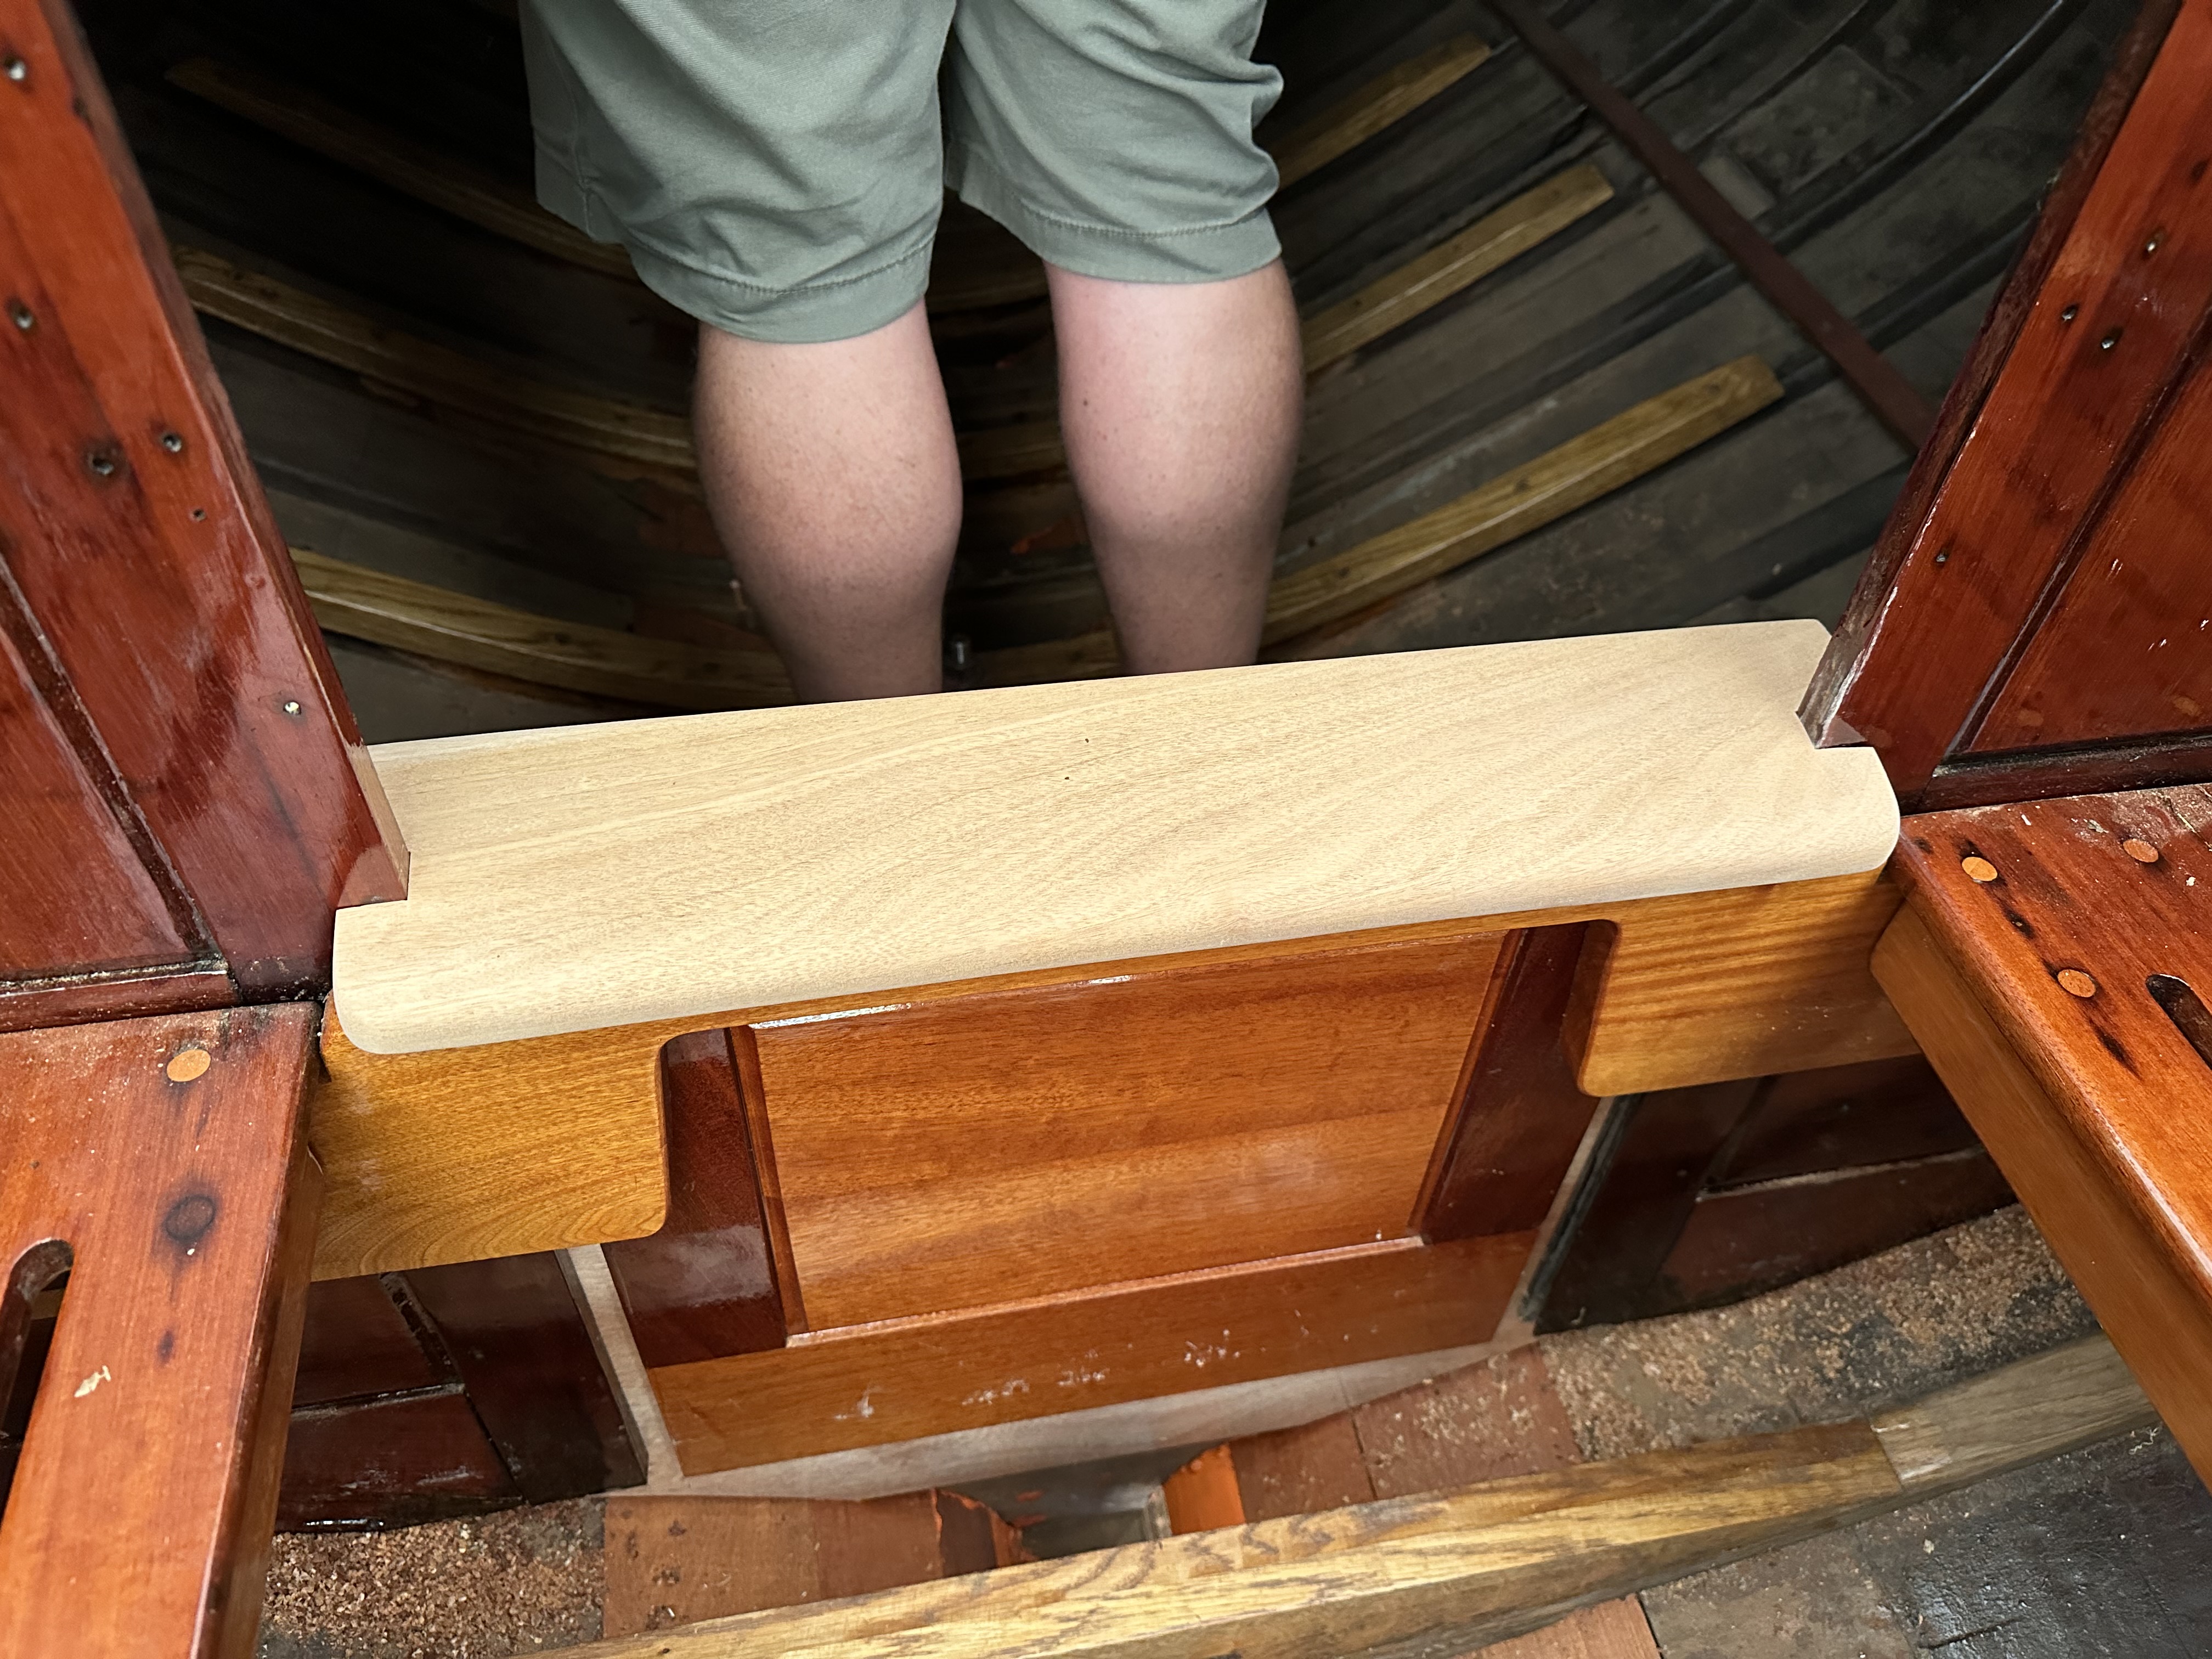
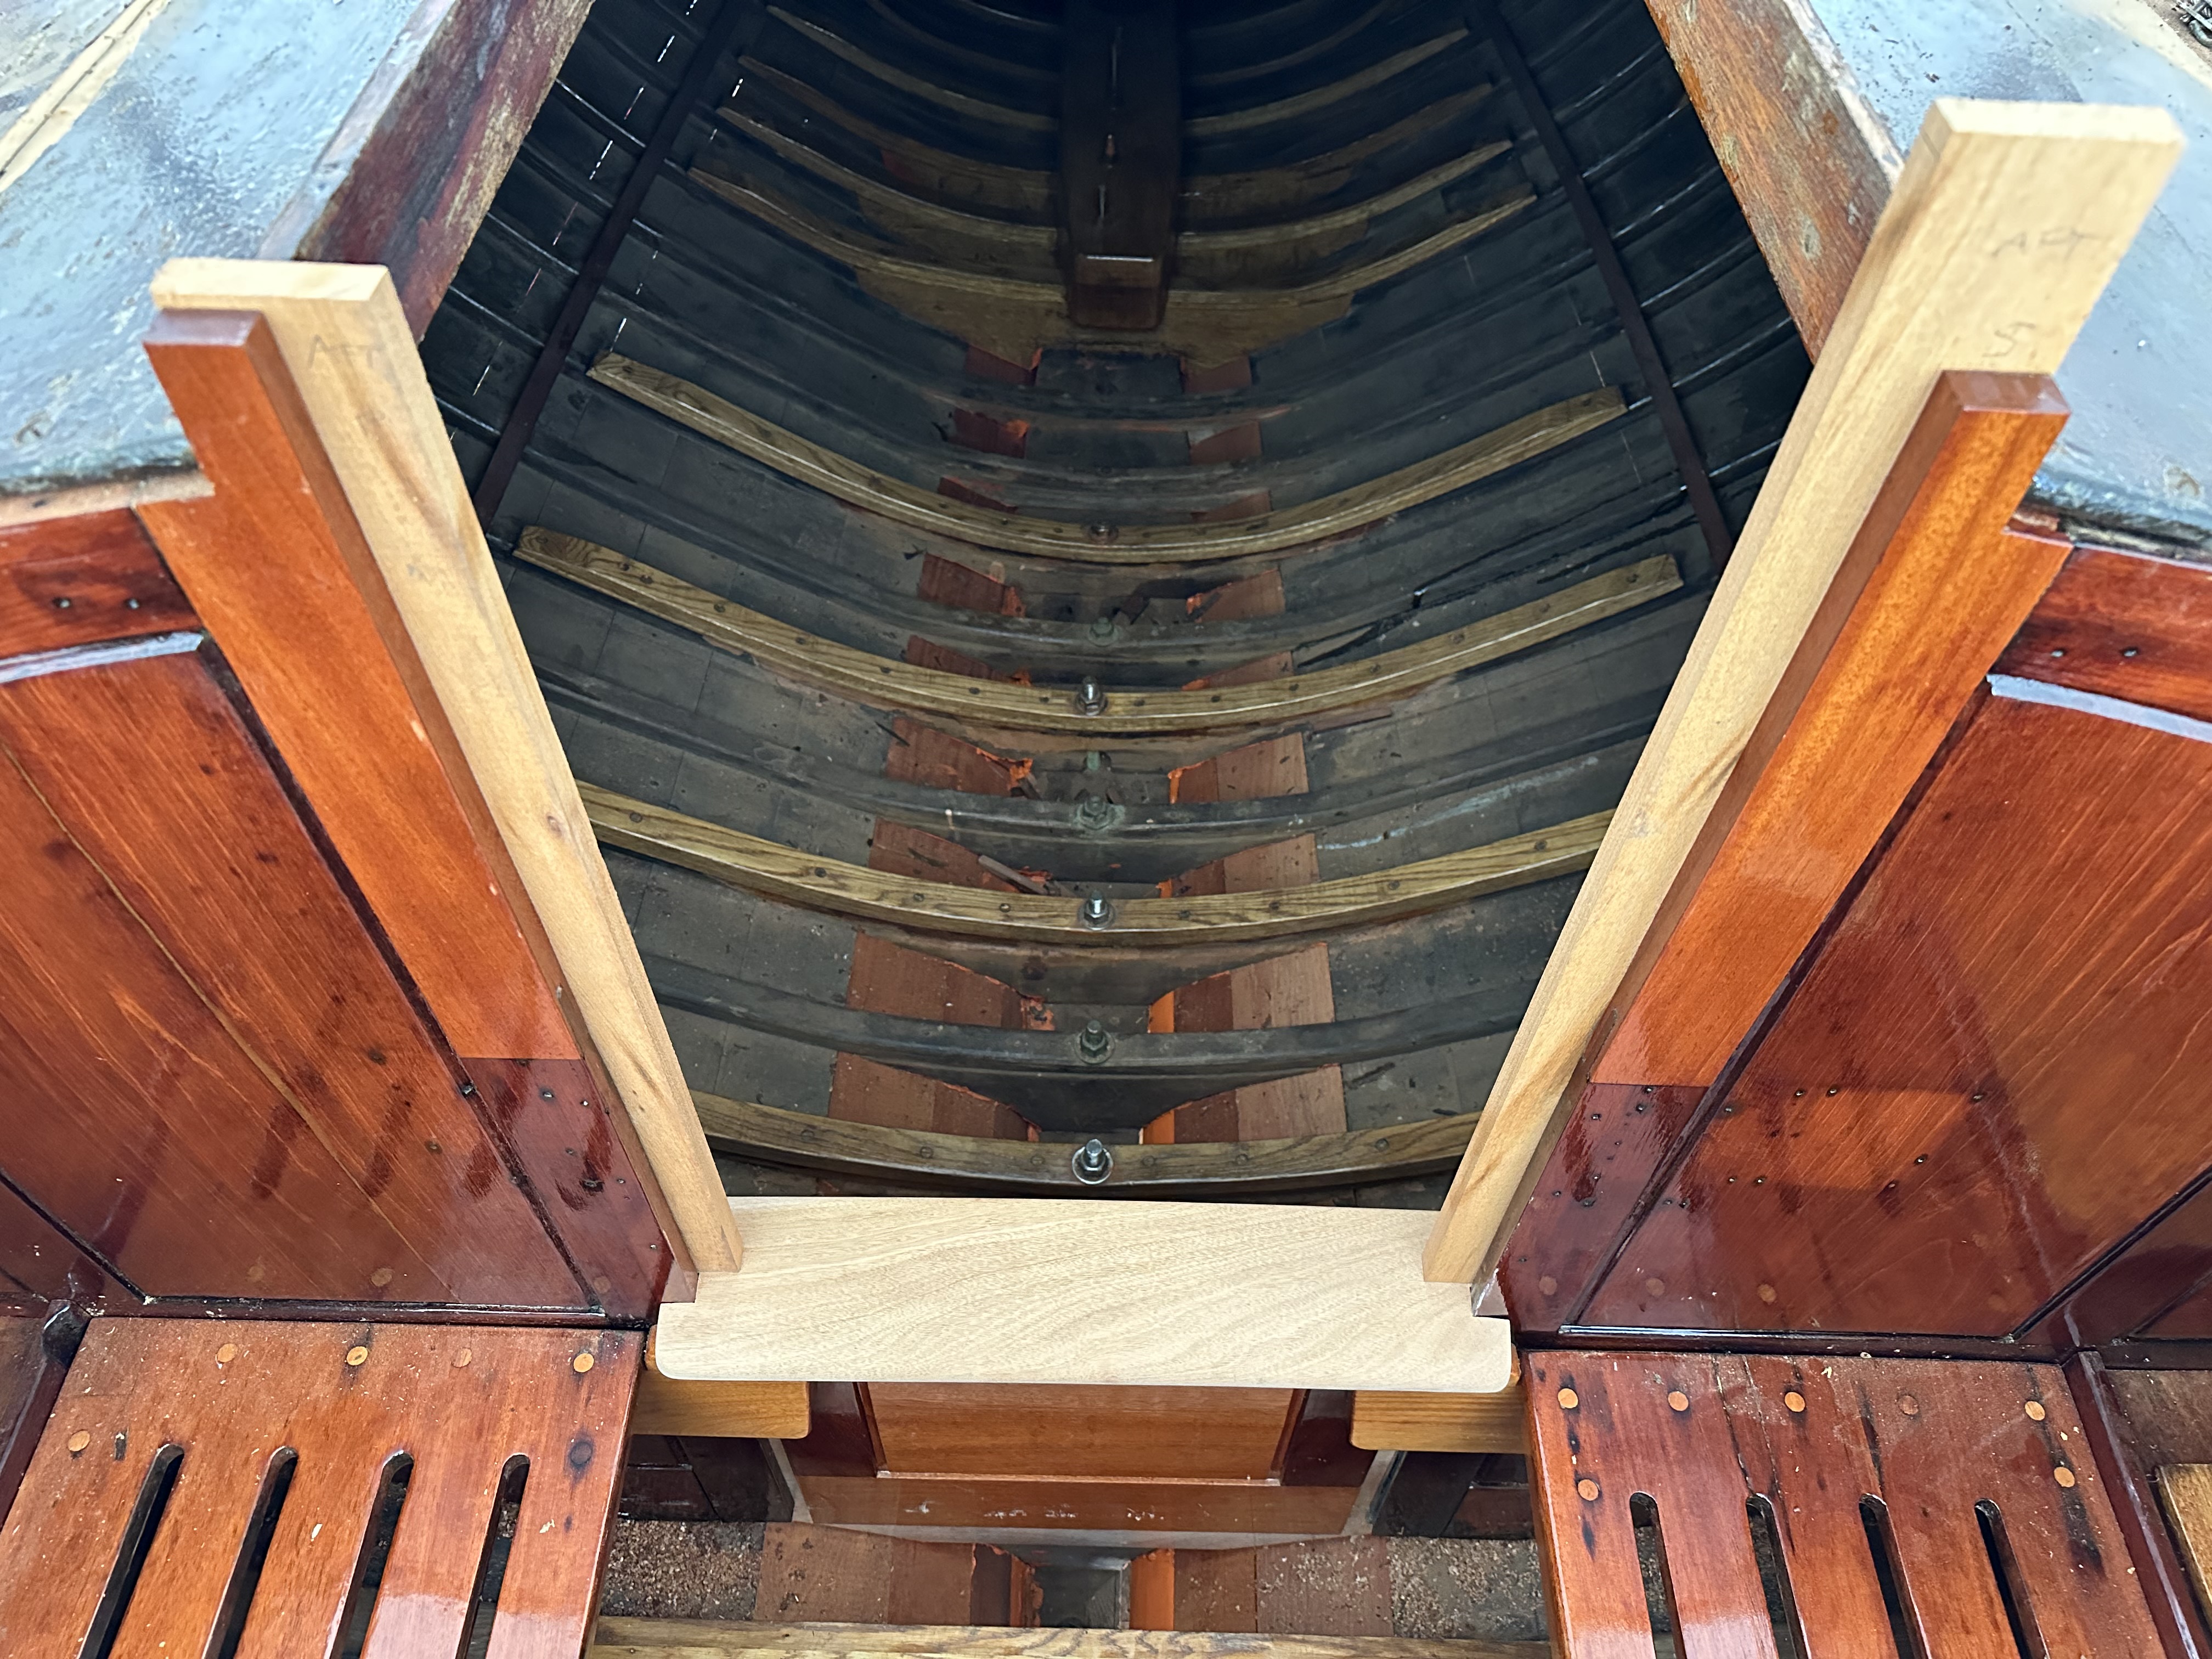
Replacing the thwart

The thwart is the structural crosspiece that spans the cockpit from rail to rail. It carries the mainsheet block and supports the cockpit seats on either side. The original was worn, unattractive, and in the way of our final frame replacement. So we made a new one.

Original thwart close-up
The original thwart and surrounding structure. The wood is darkened and worn, and the old fasteners have left their mark.
Cockpit seat test-fitted
The position of cockpit seats was measured and marked before demolishing the old thwart.

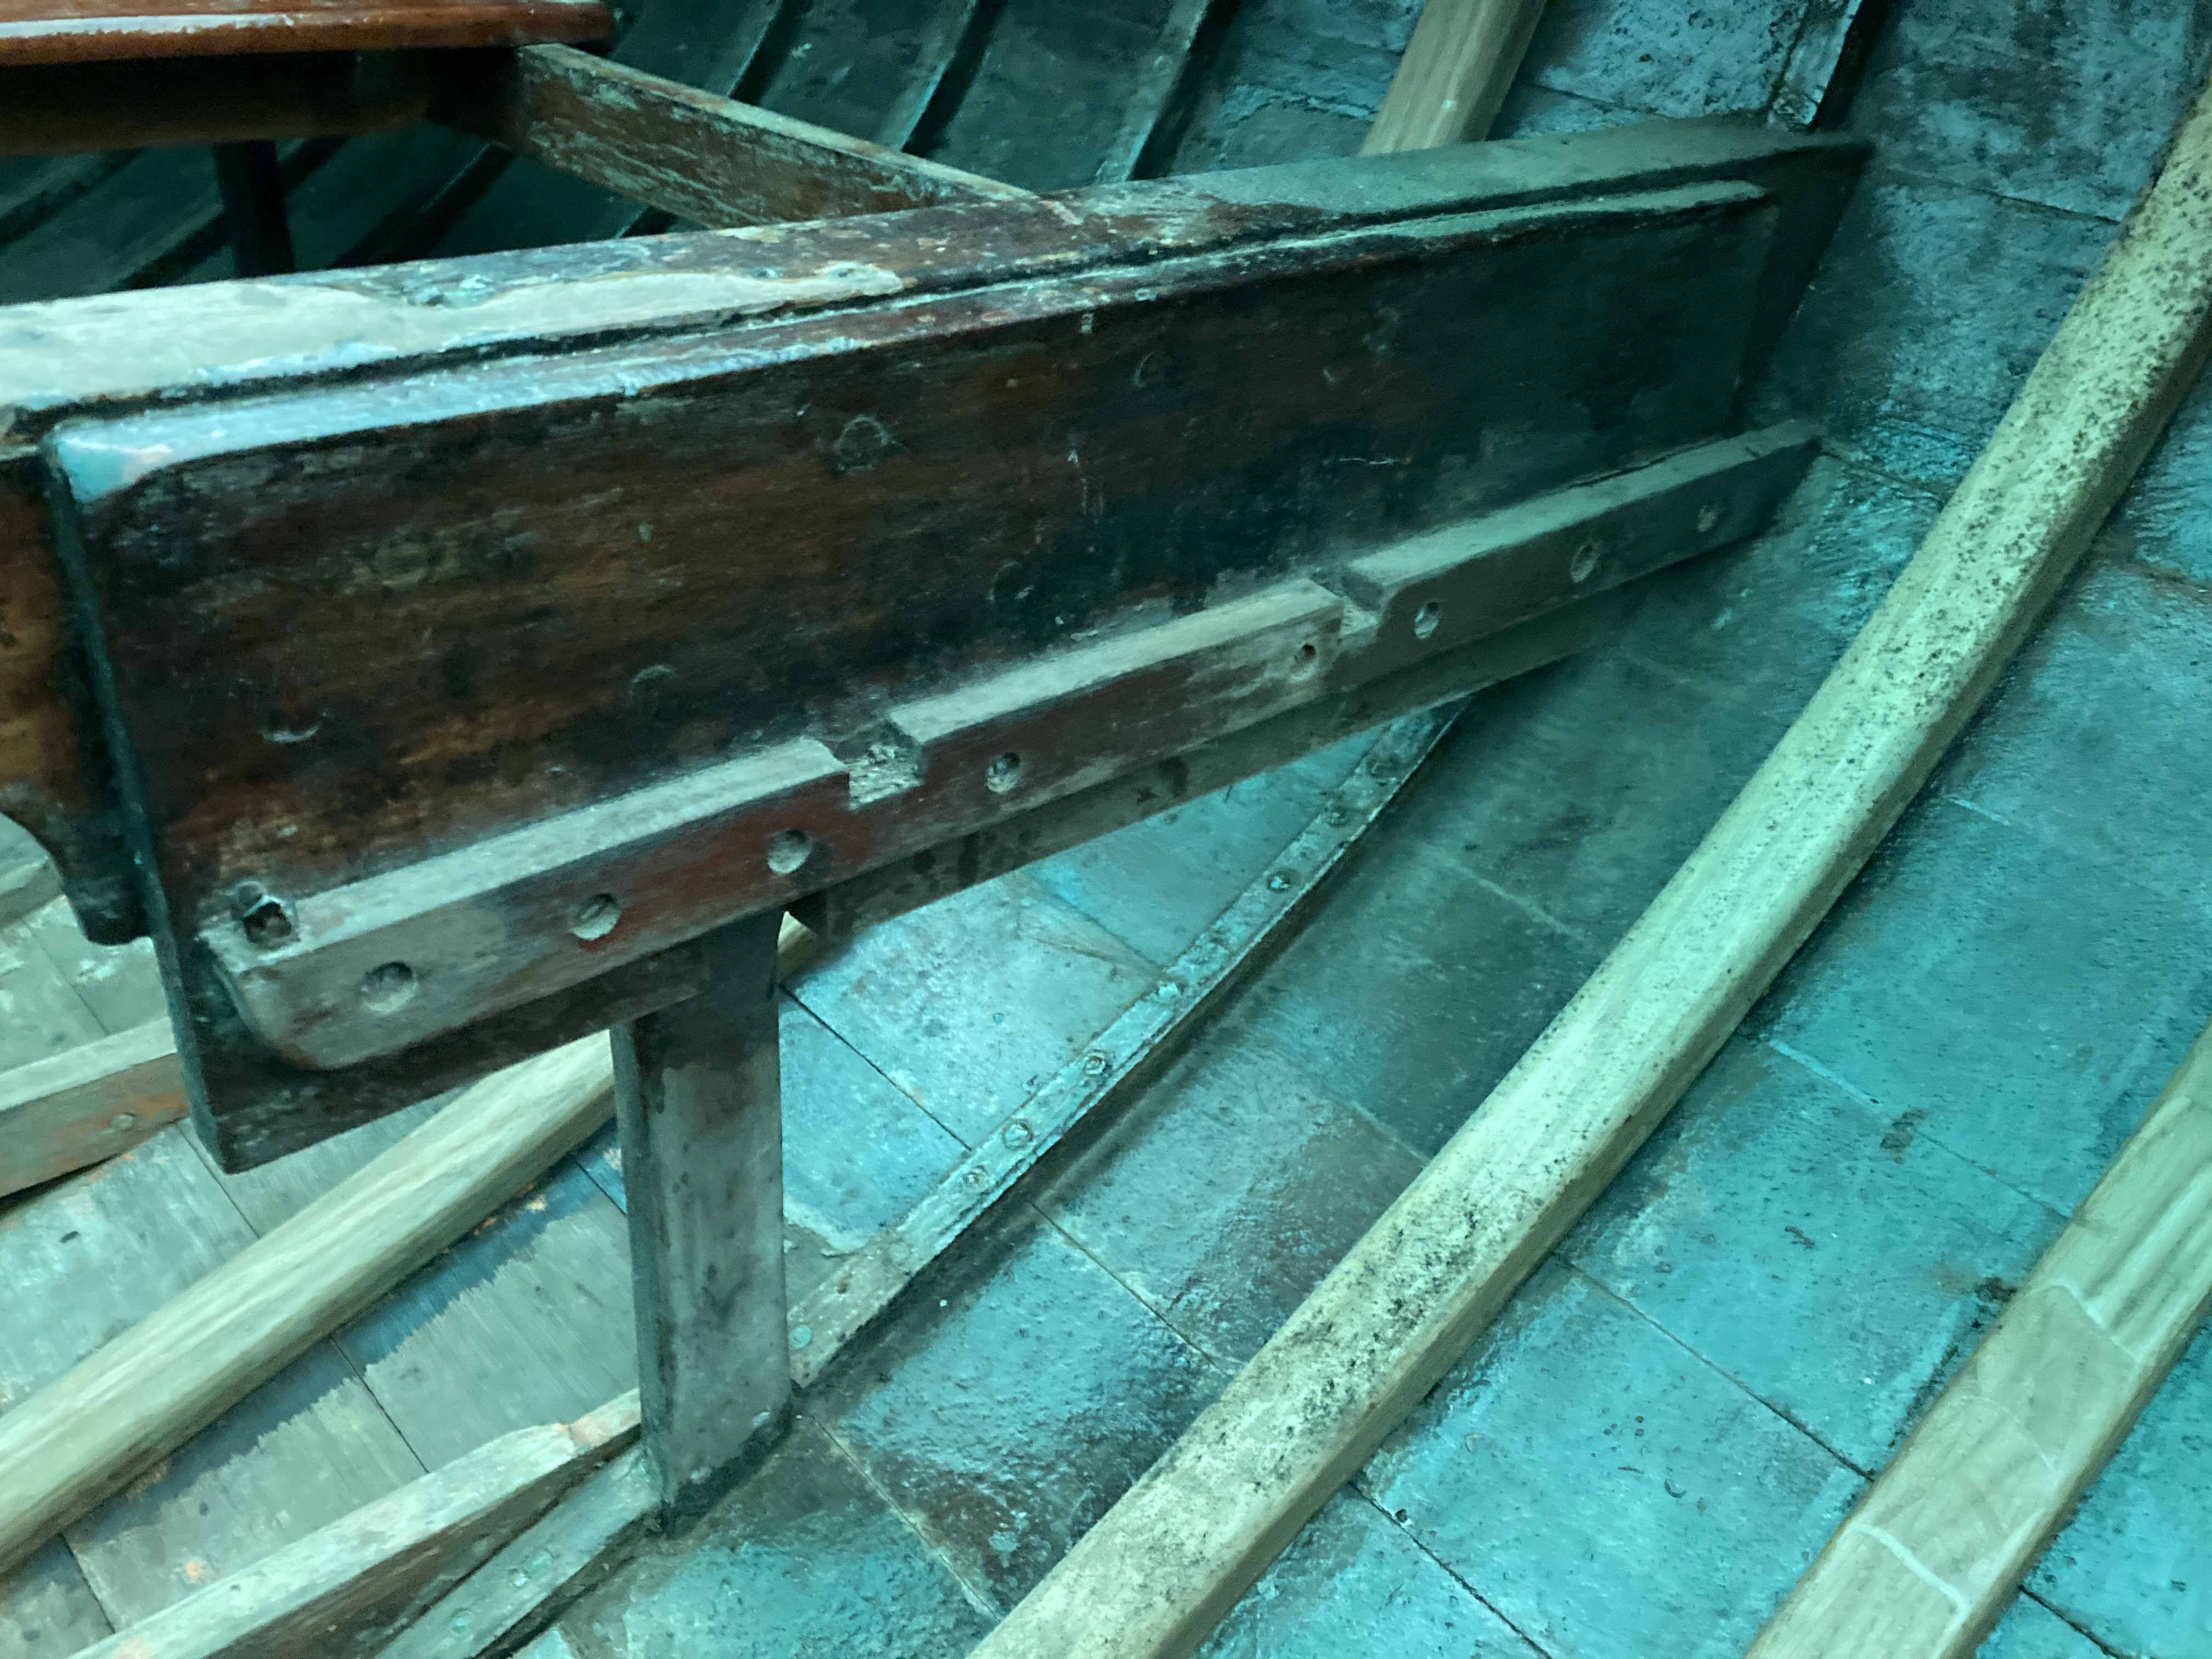
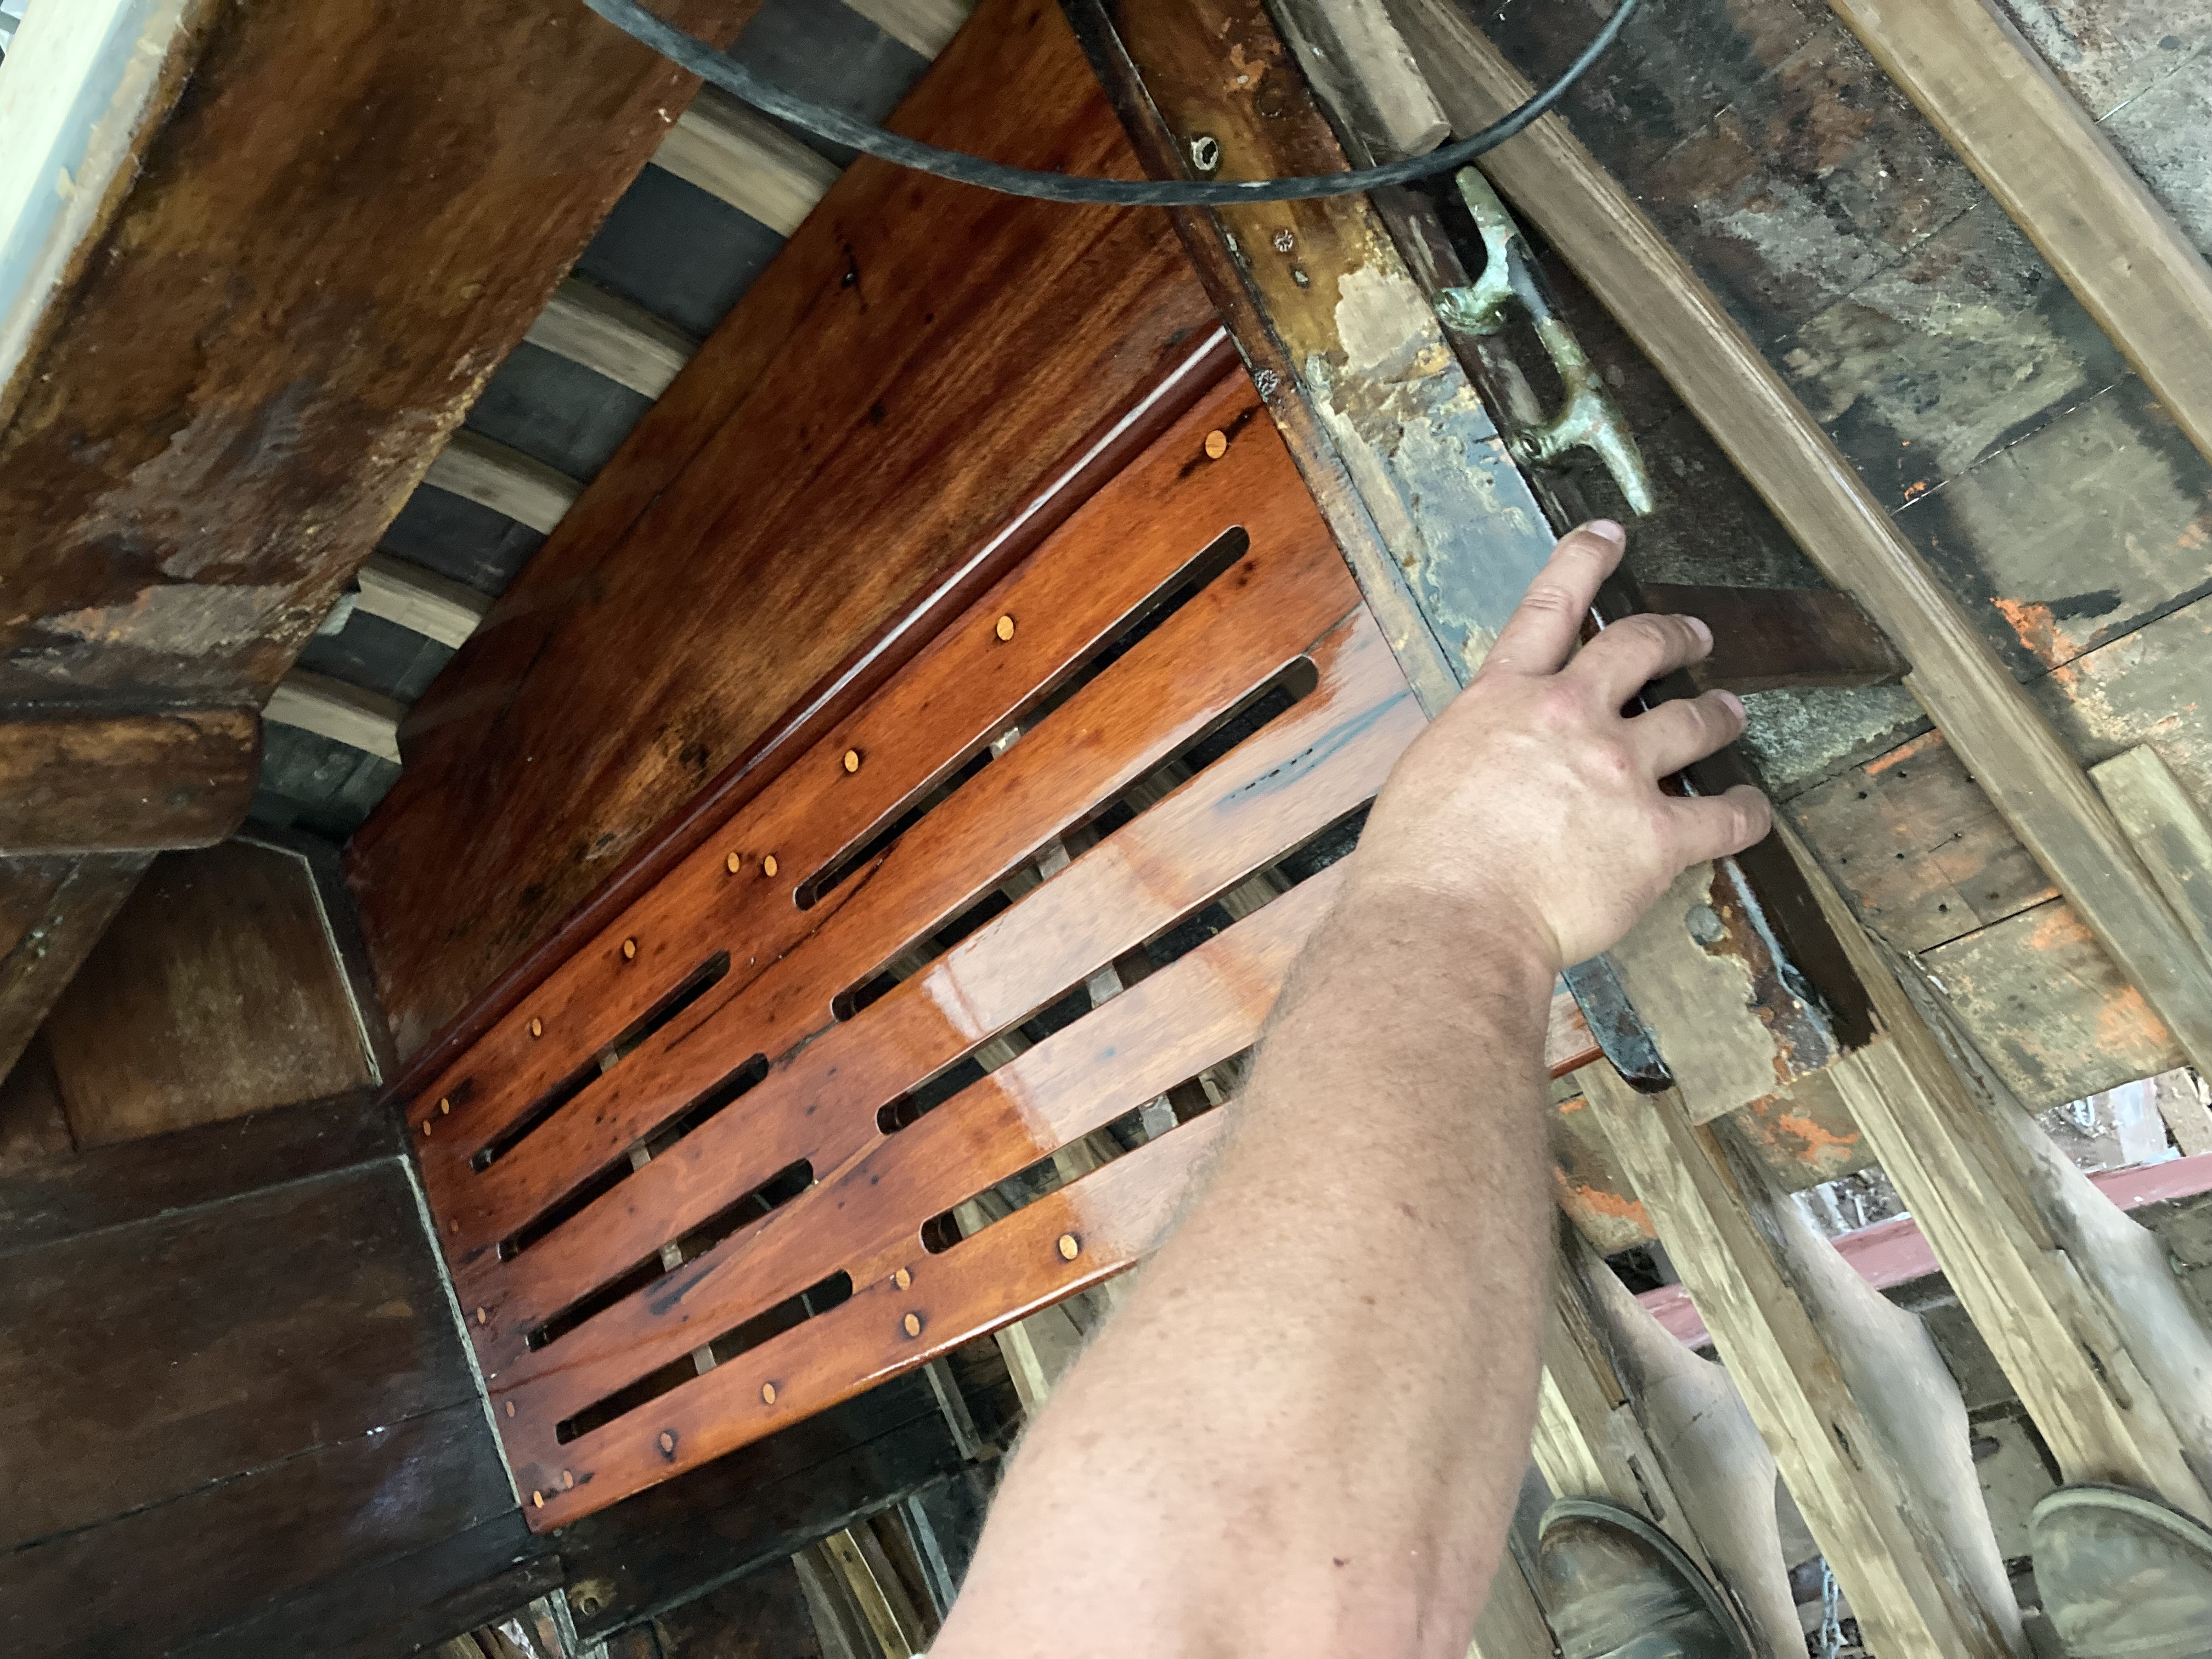
Before we could fit the new thwart, there was some demolition. A previous owner had installed automotive leaf spring steel as floor timber bracing — a creative improvisation, but not one that belonged in a wooden boat. The springs had rusted badly and were doing more harm than good.

Cutting out the last of the automotive leaf spring floor timber bracing. Rusted steel has no business in a wooden boat — this should never have been installed in the first place.

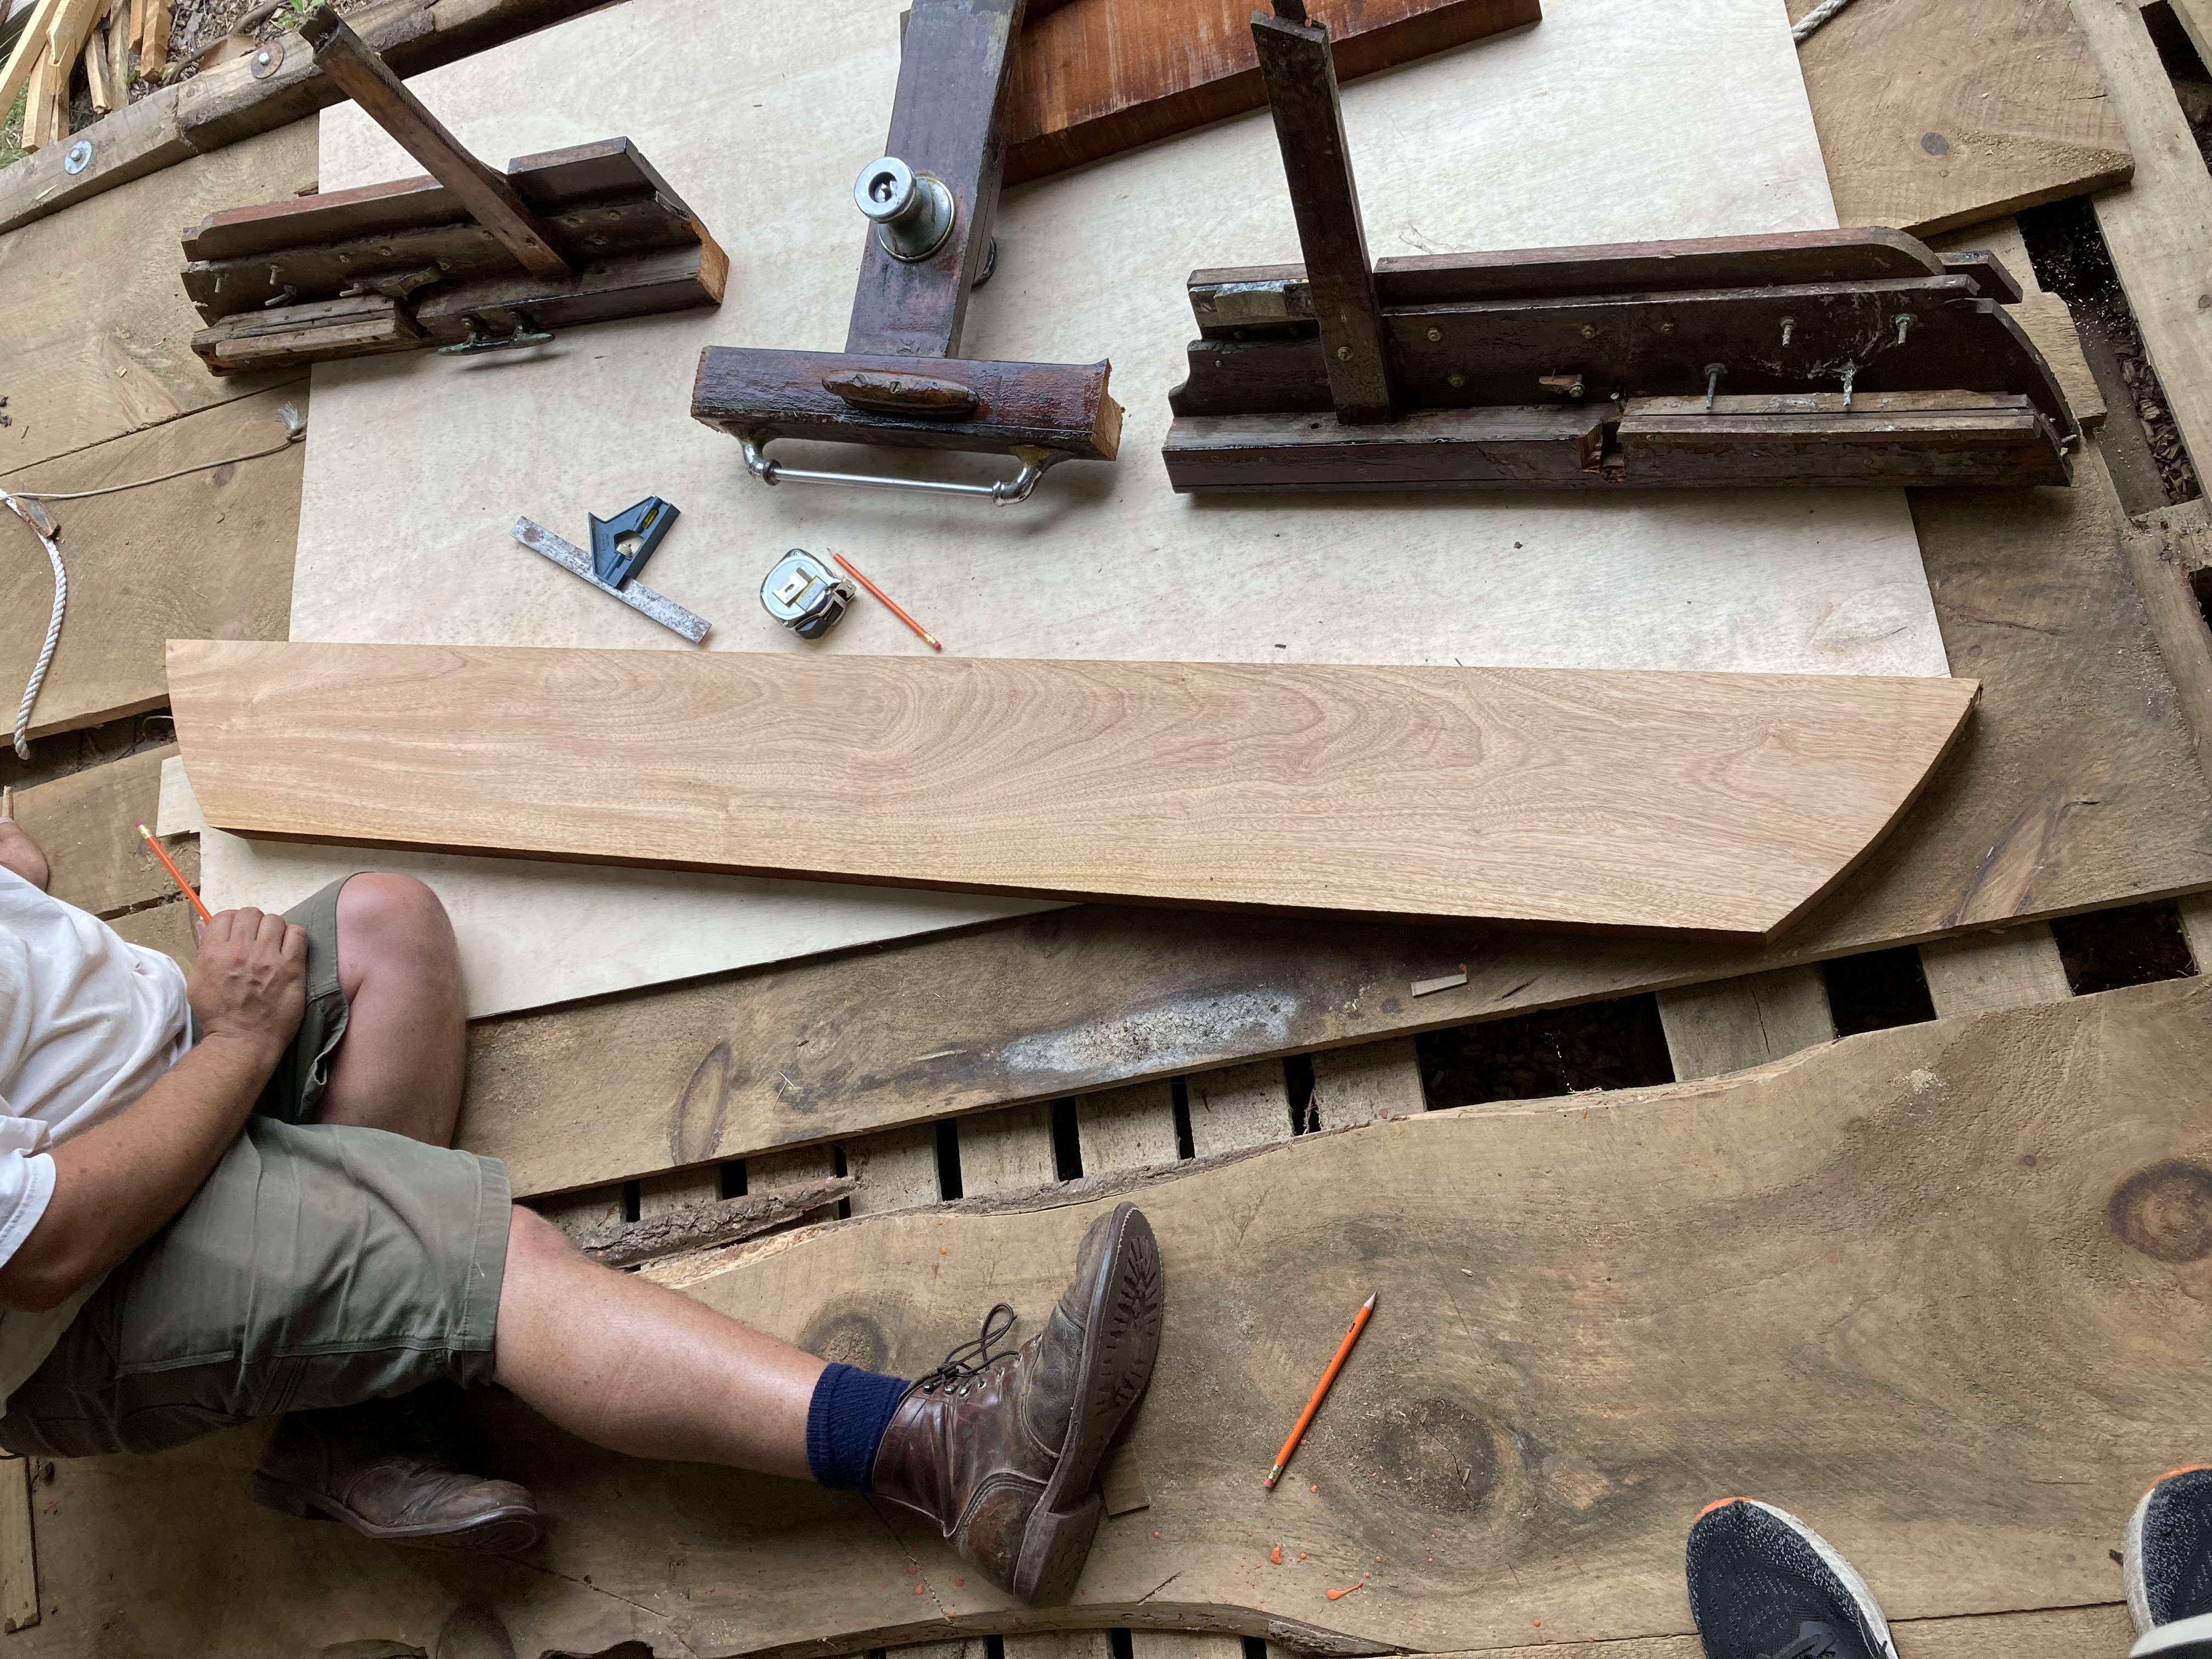
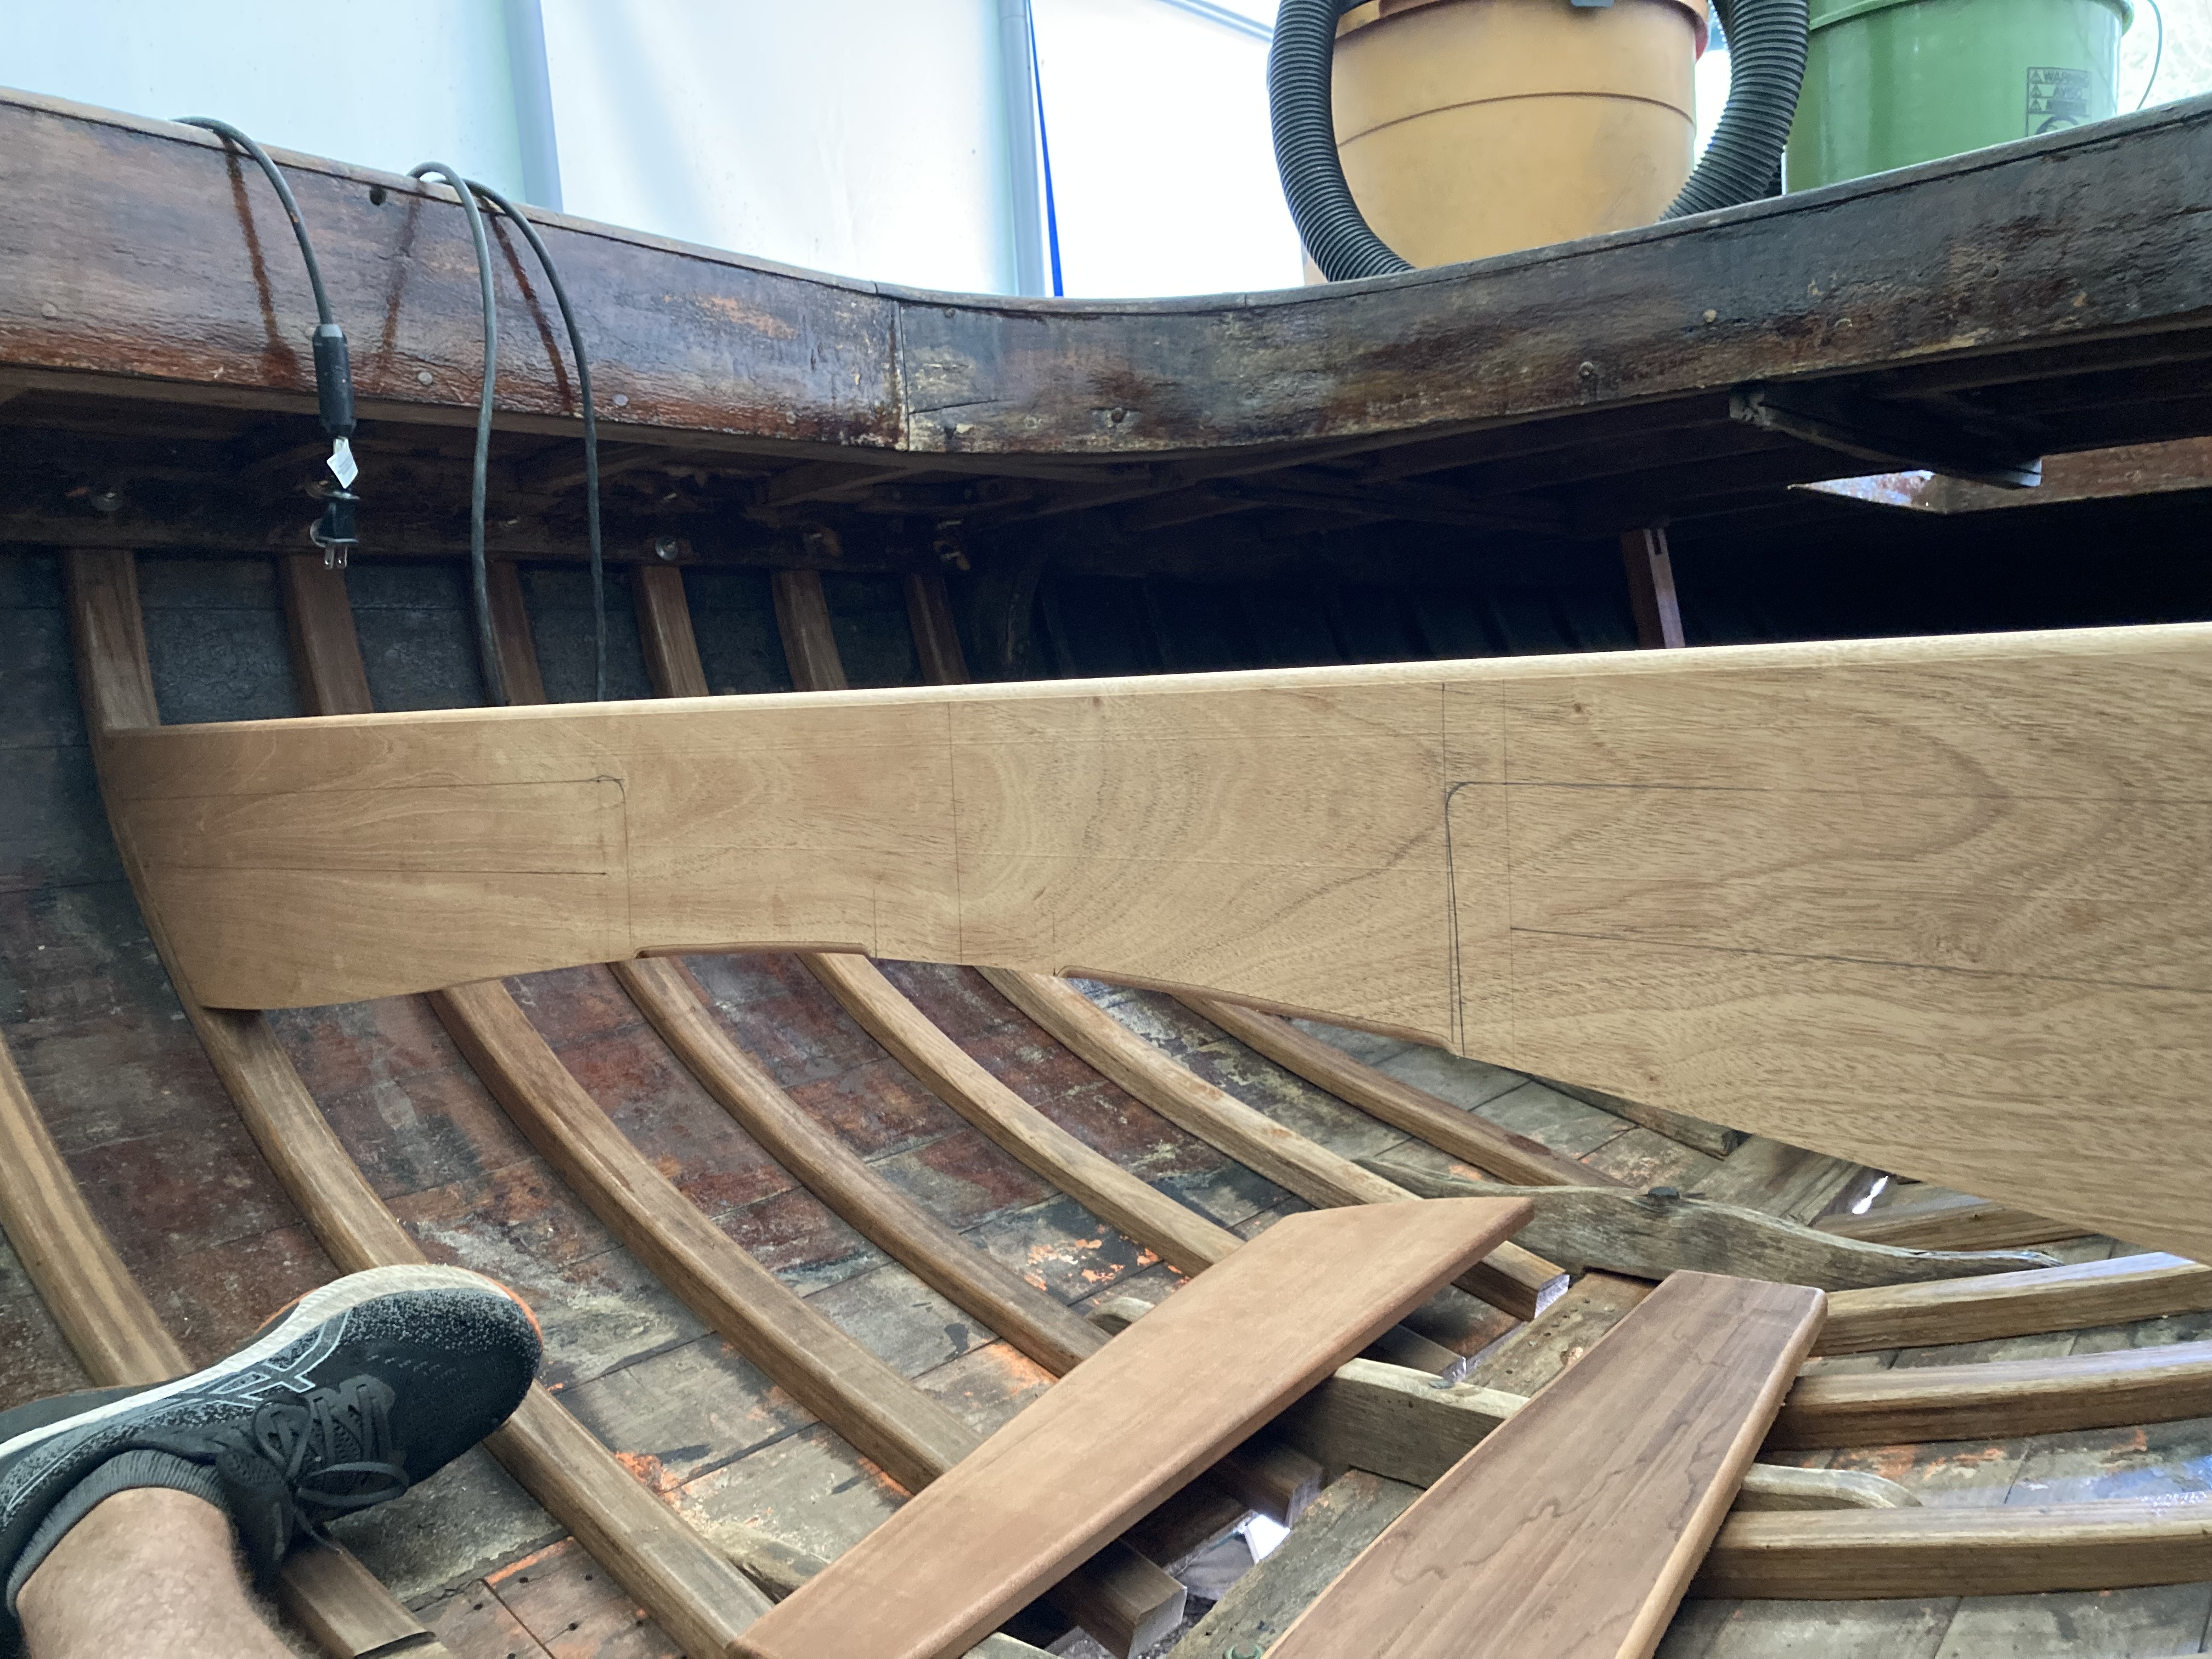
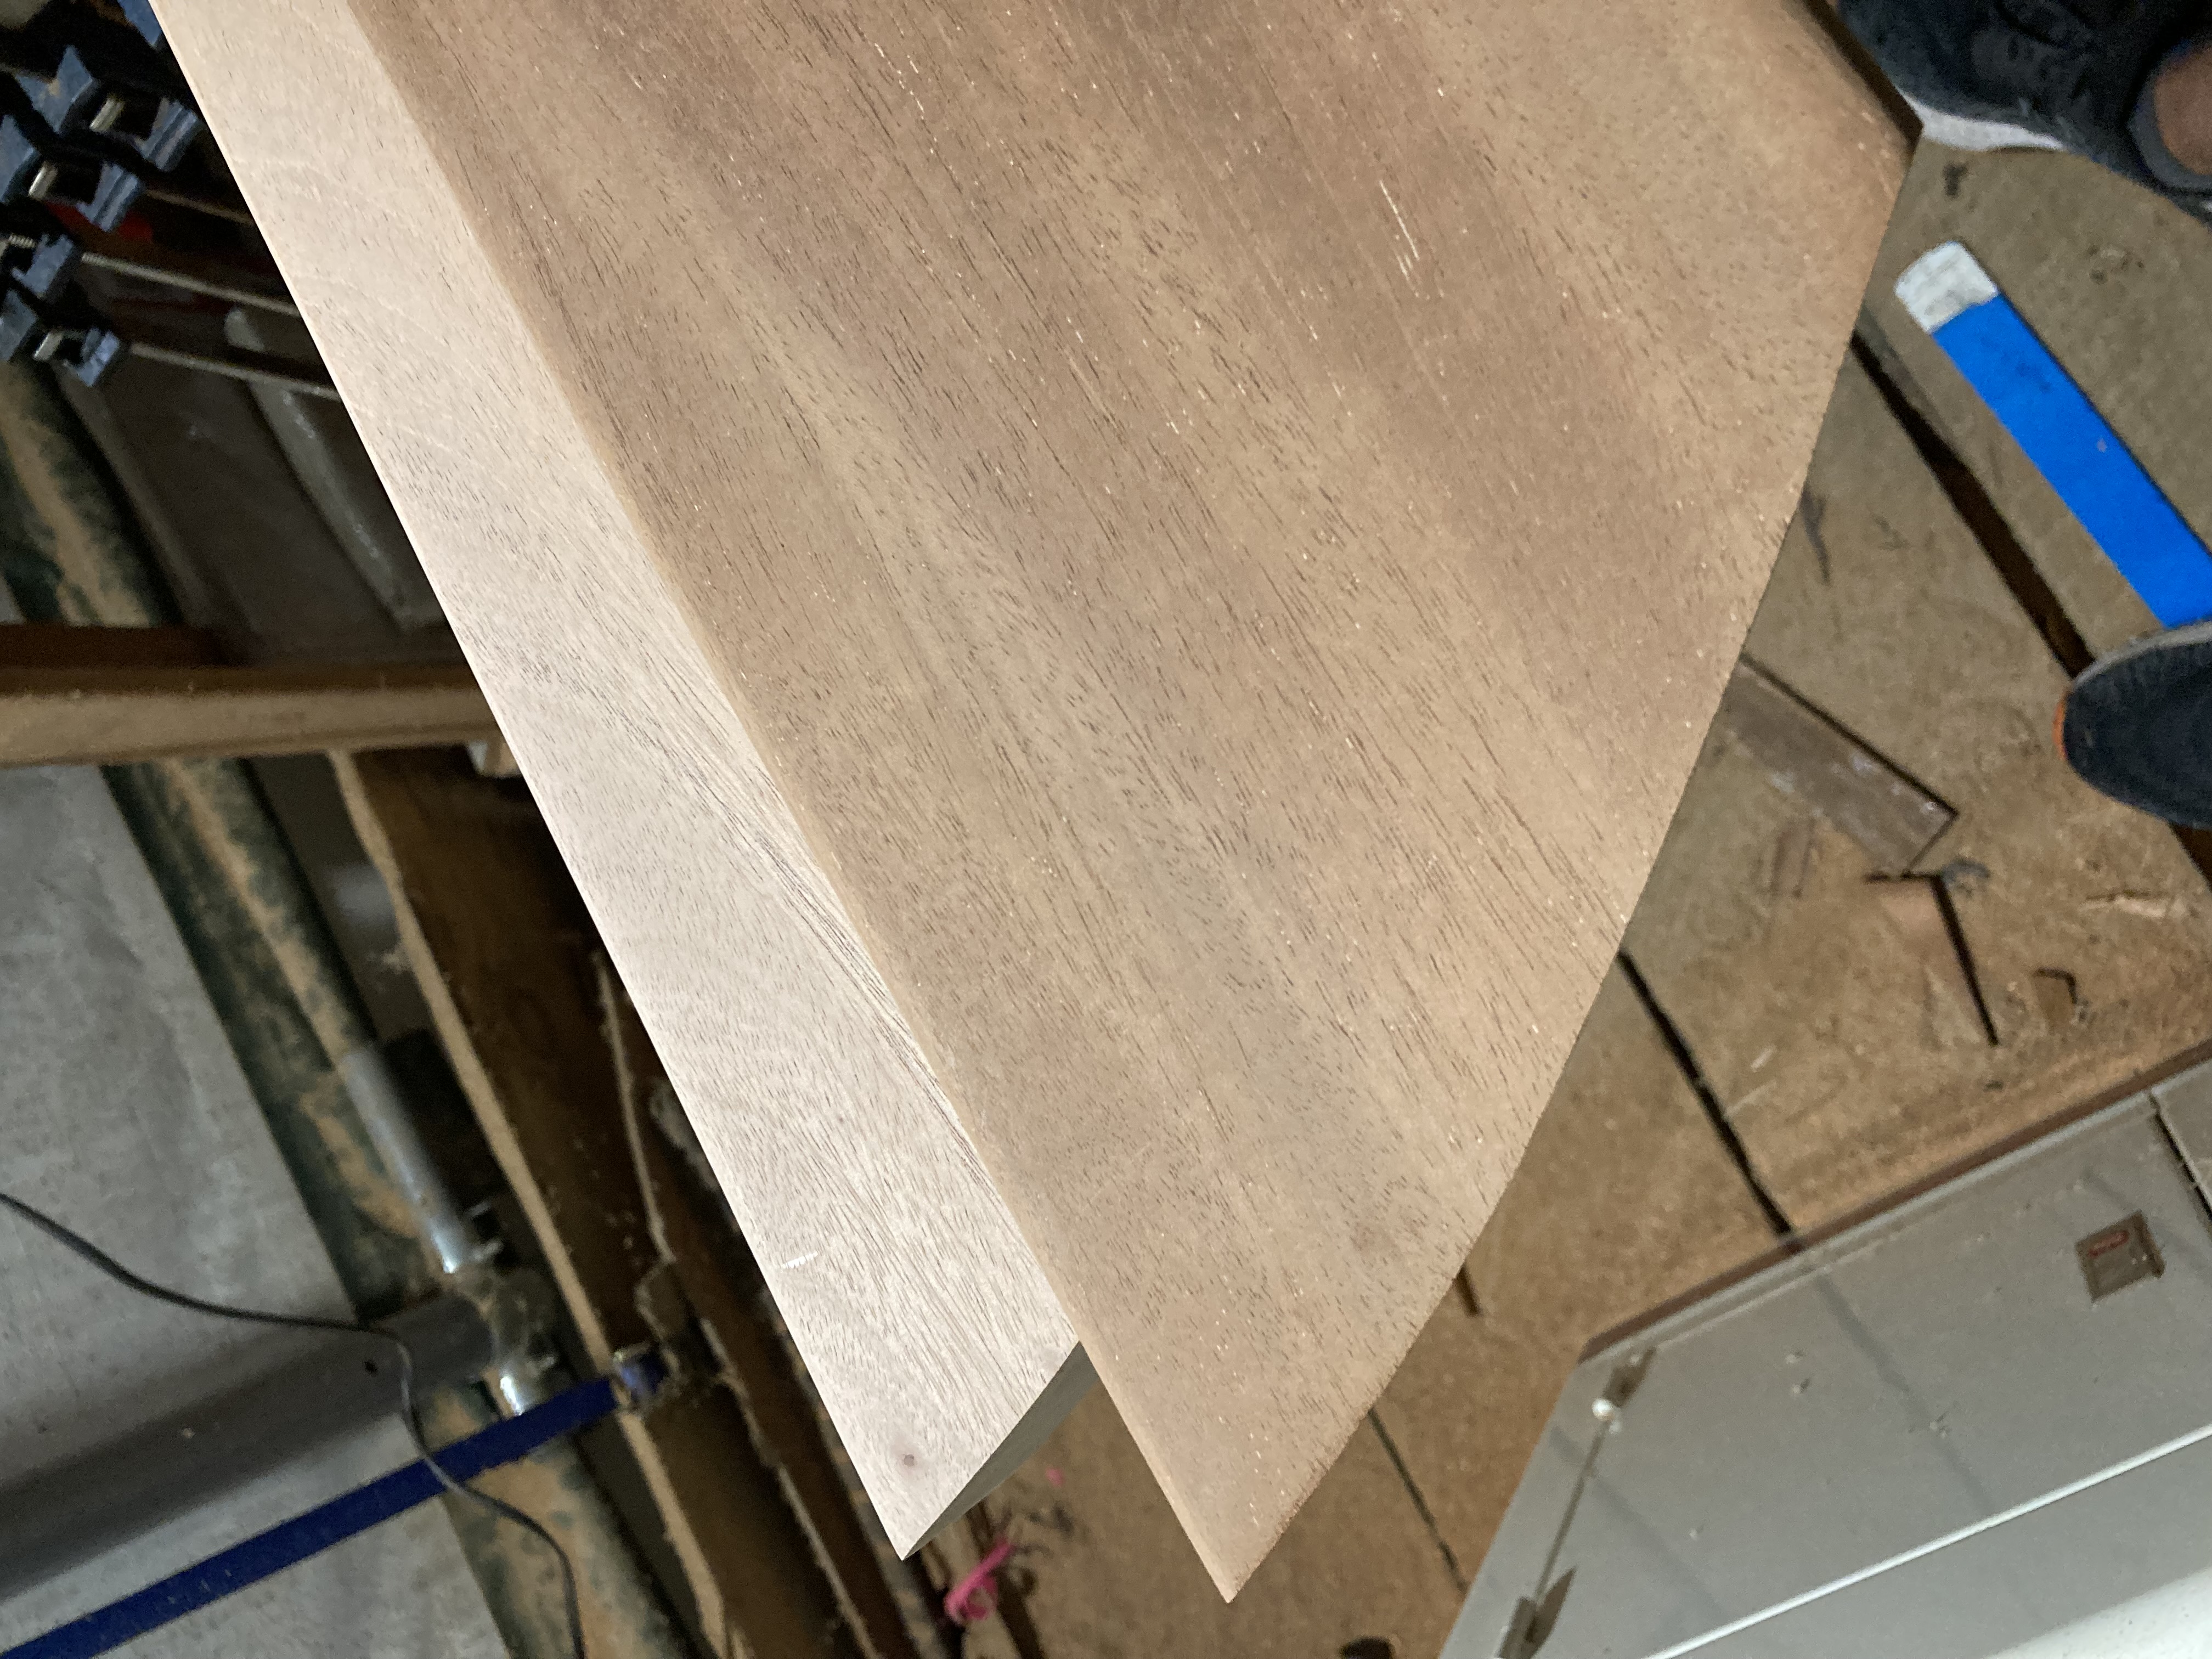
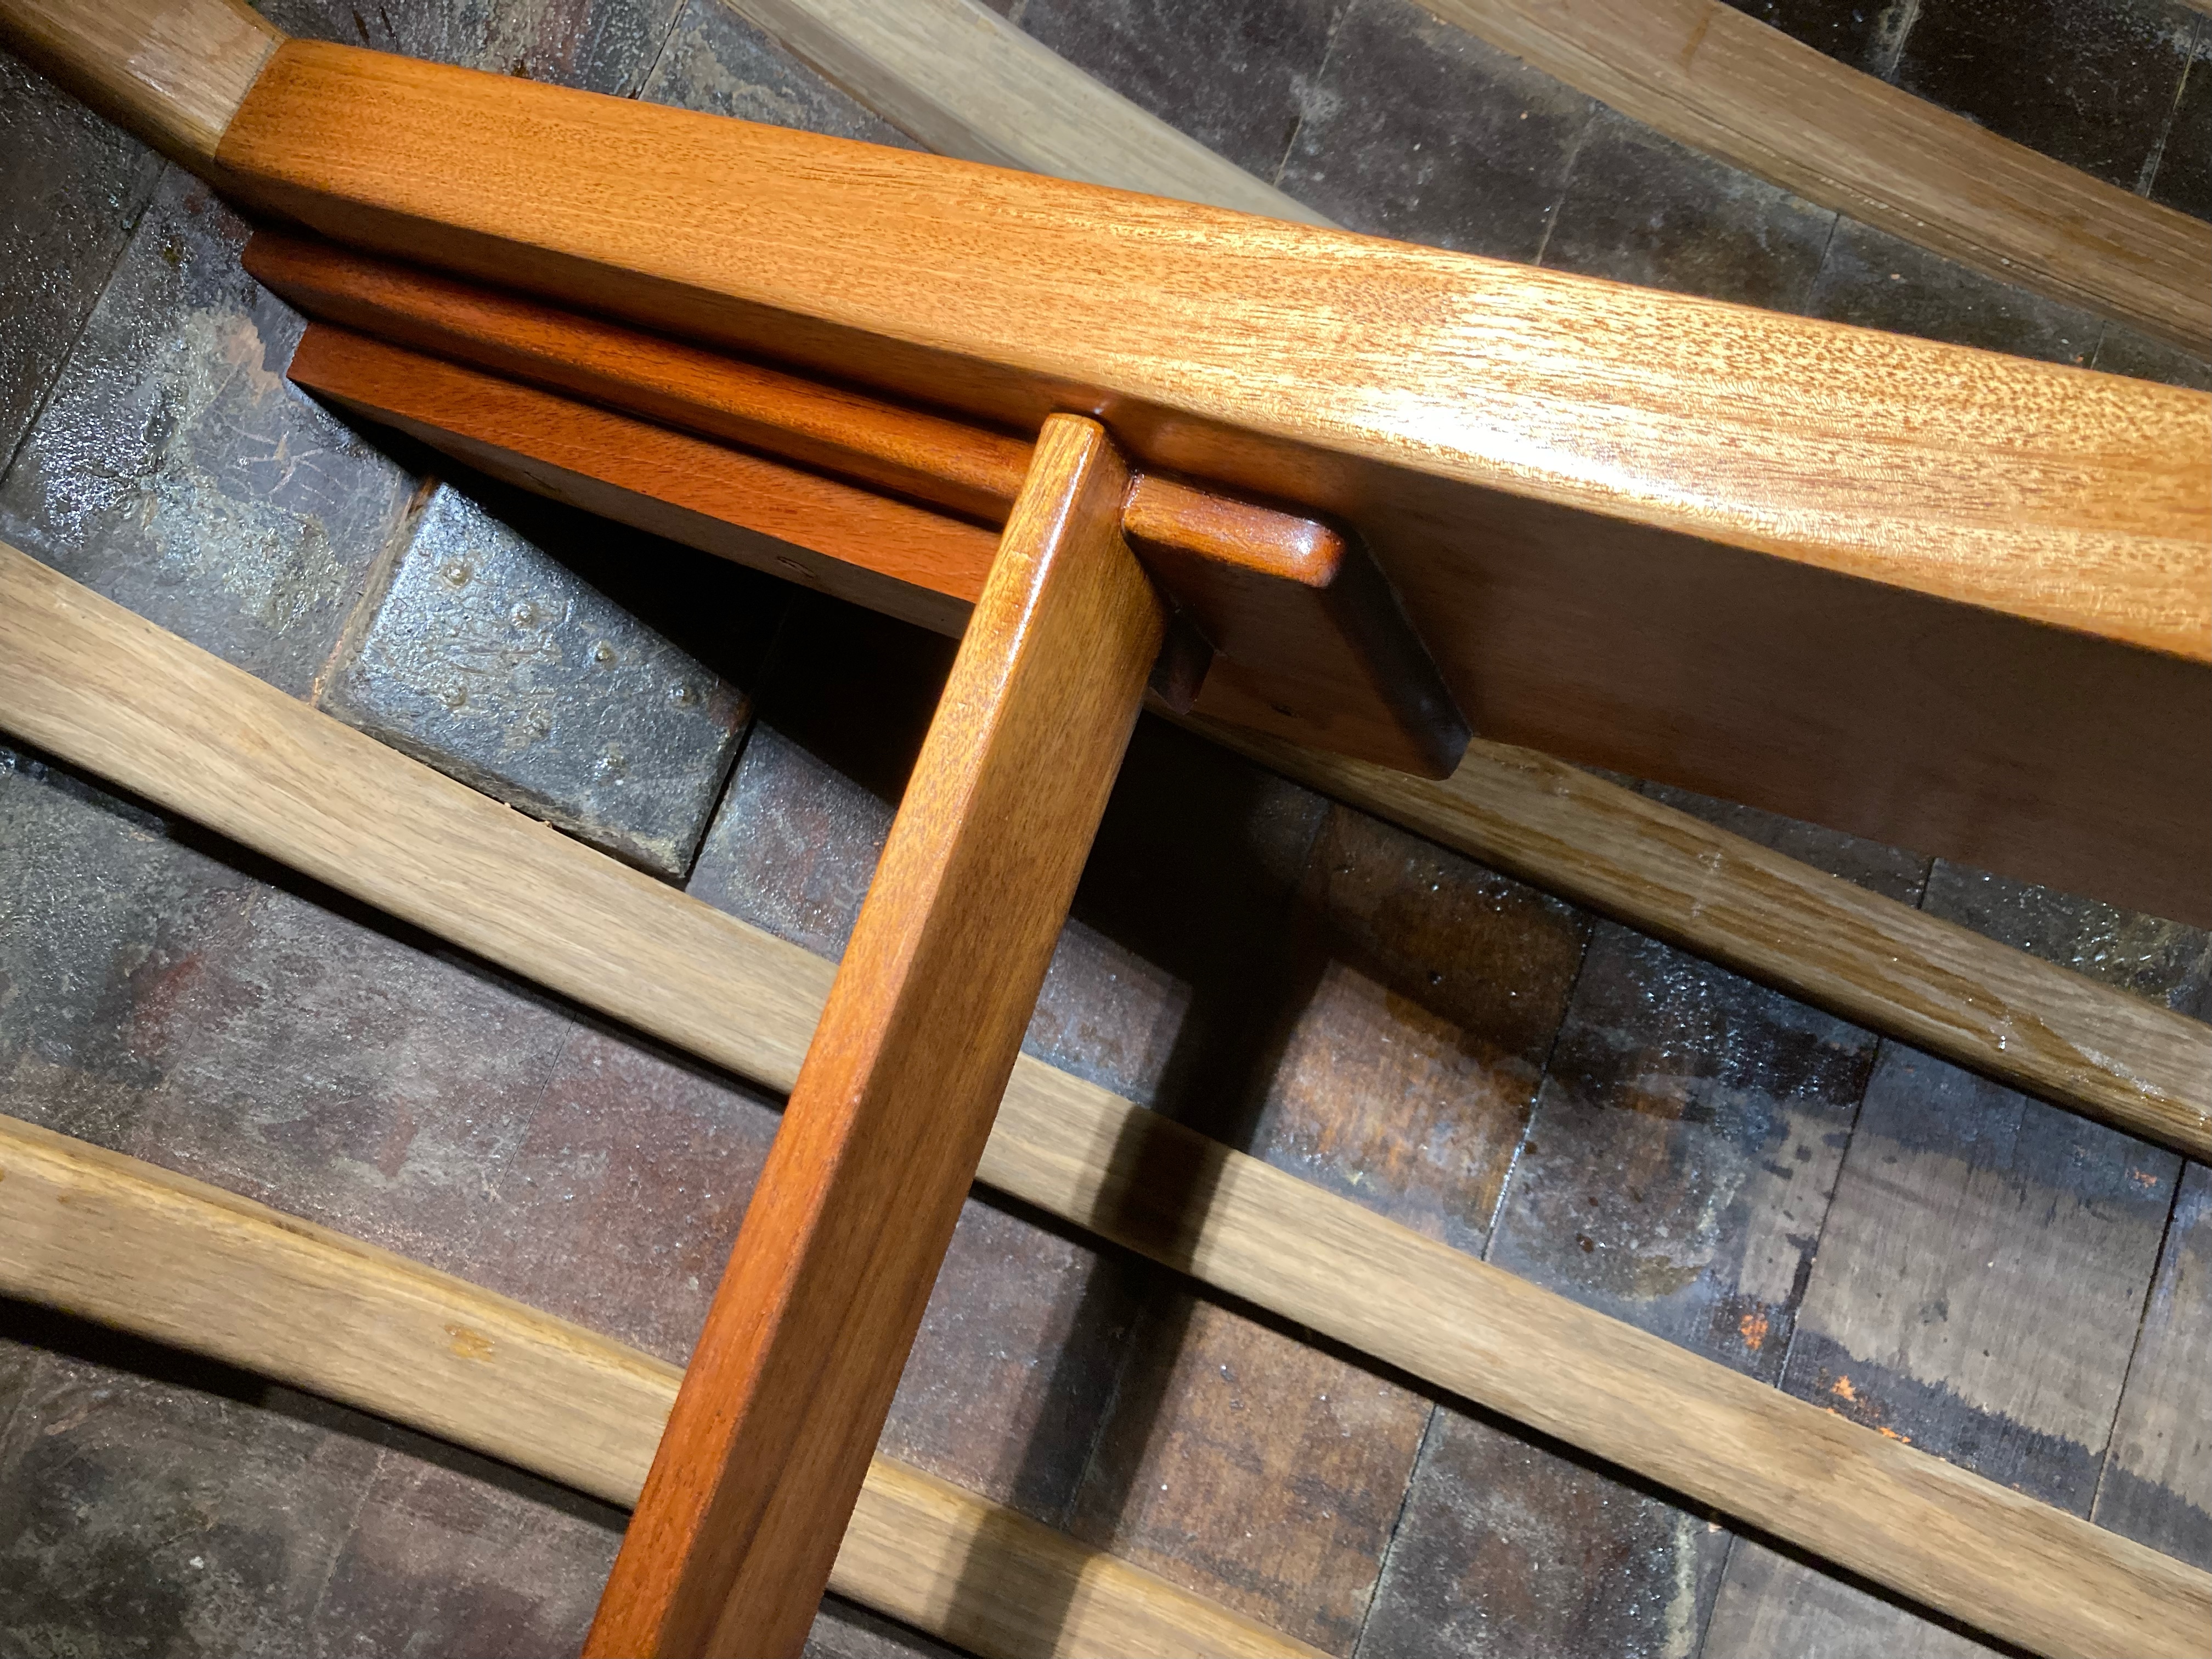
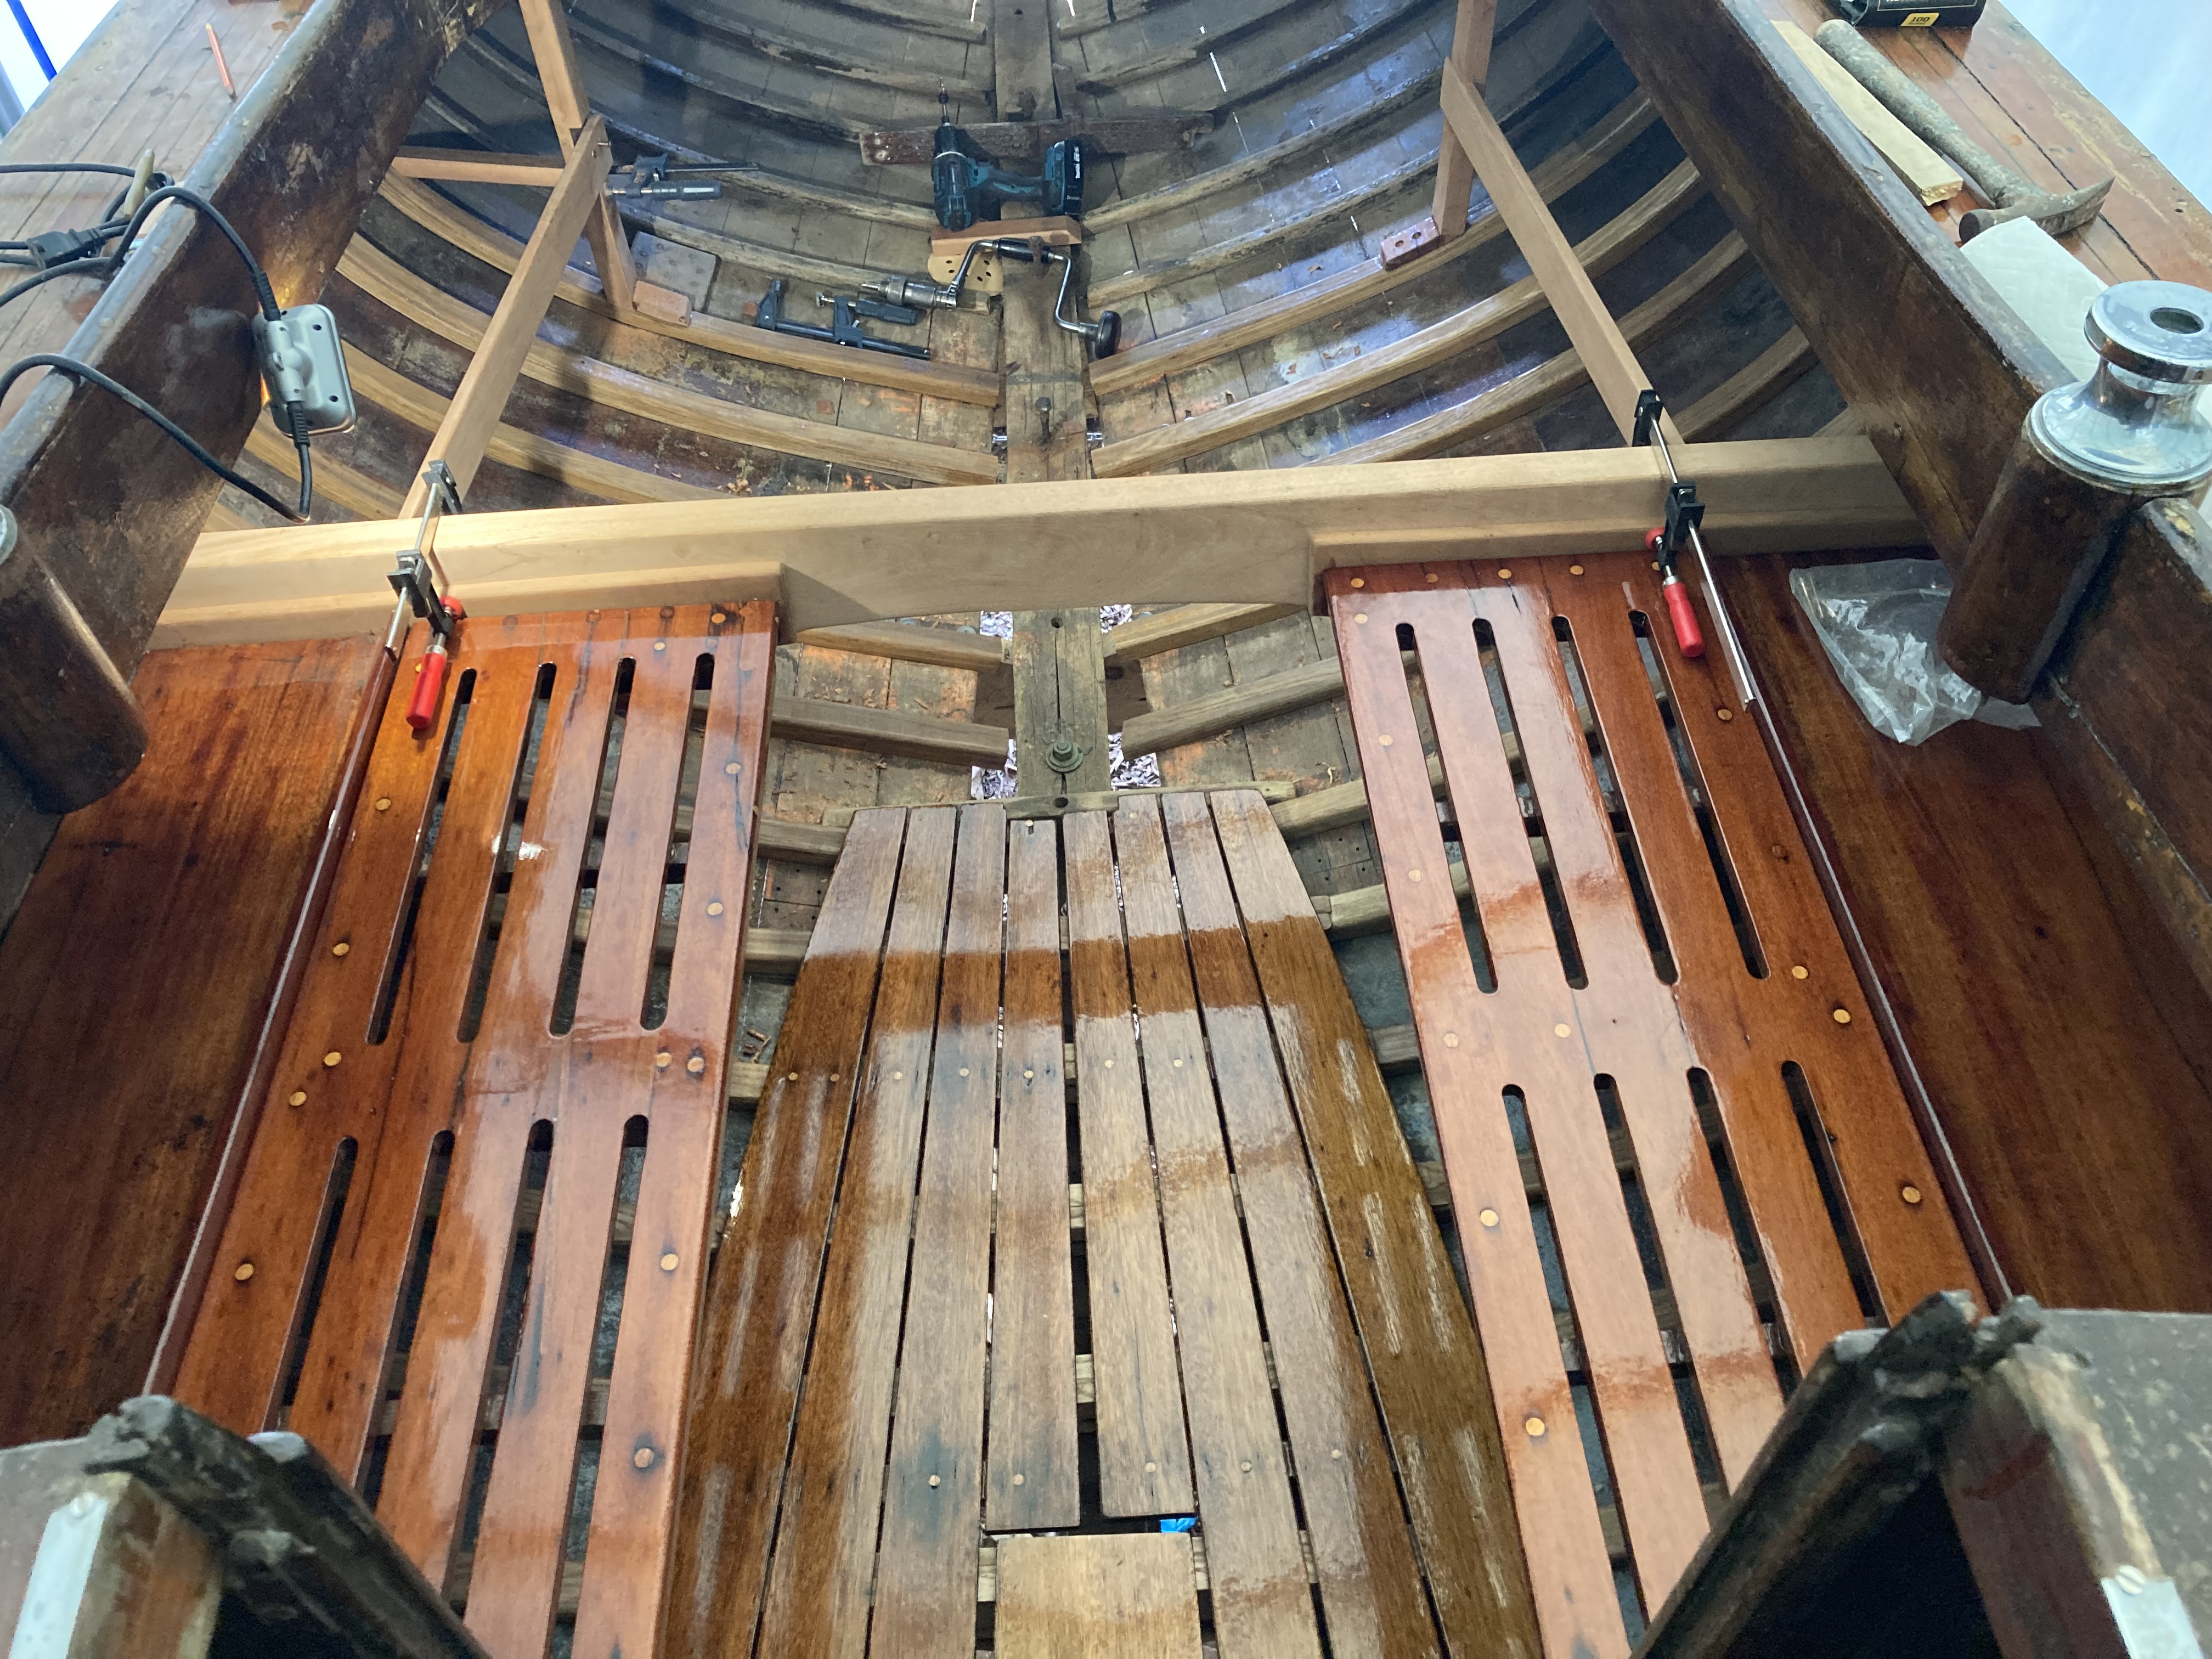
The new thwart is mahogany, milled from a single plank and shaped to fit the curve of the hull at the cockpit. The beam will rest directly on the inside face of new laminated frames, spreading the loads nicely. Adjacent gusset pieces will bracket the beam onto the frames.

New thwart blank being fitted
The new mahogany thwart blank cutout.
Thwart clamped in position
The primary beam installed after some shaping. Very long bronze screws pass through the planking and frame into the thwart at the ends. Pencil marks outline where gussets and seating support structure will go.
Milled mahogany stock
Mockup of one of the gussets.
Thwart end detail
Gussets being epoxied in place.

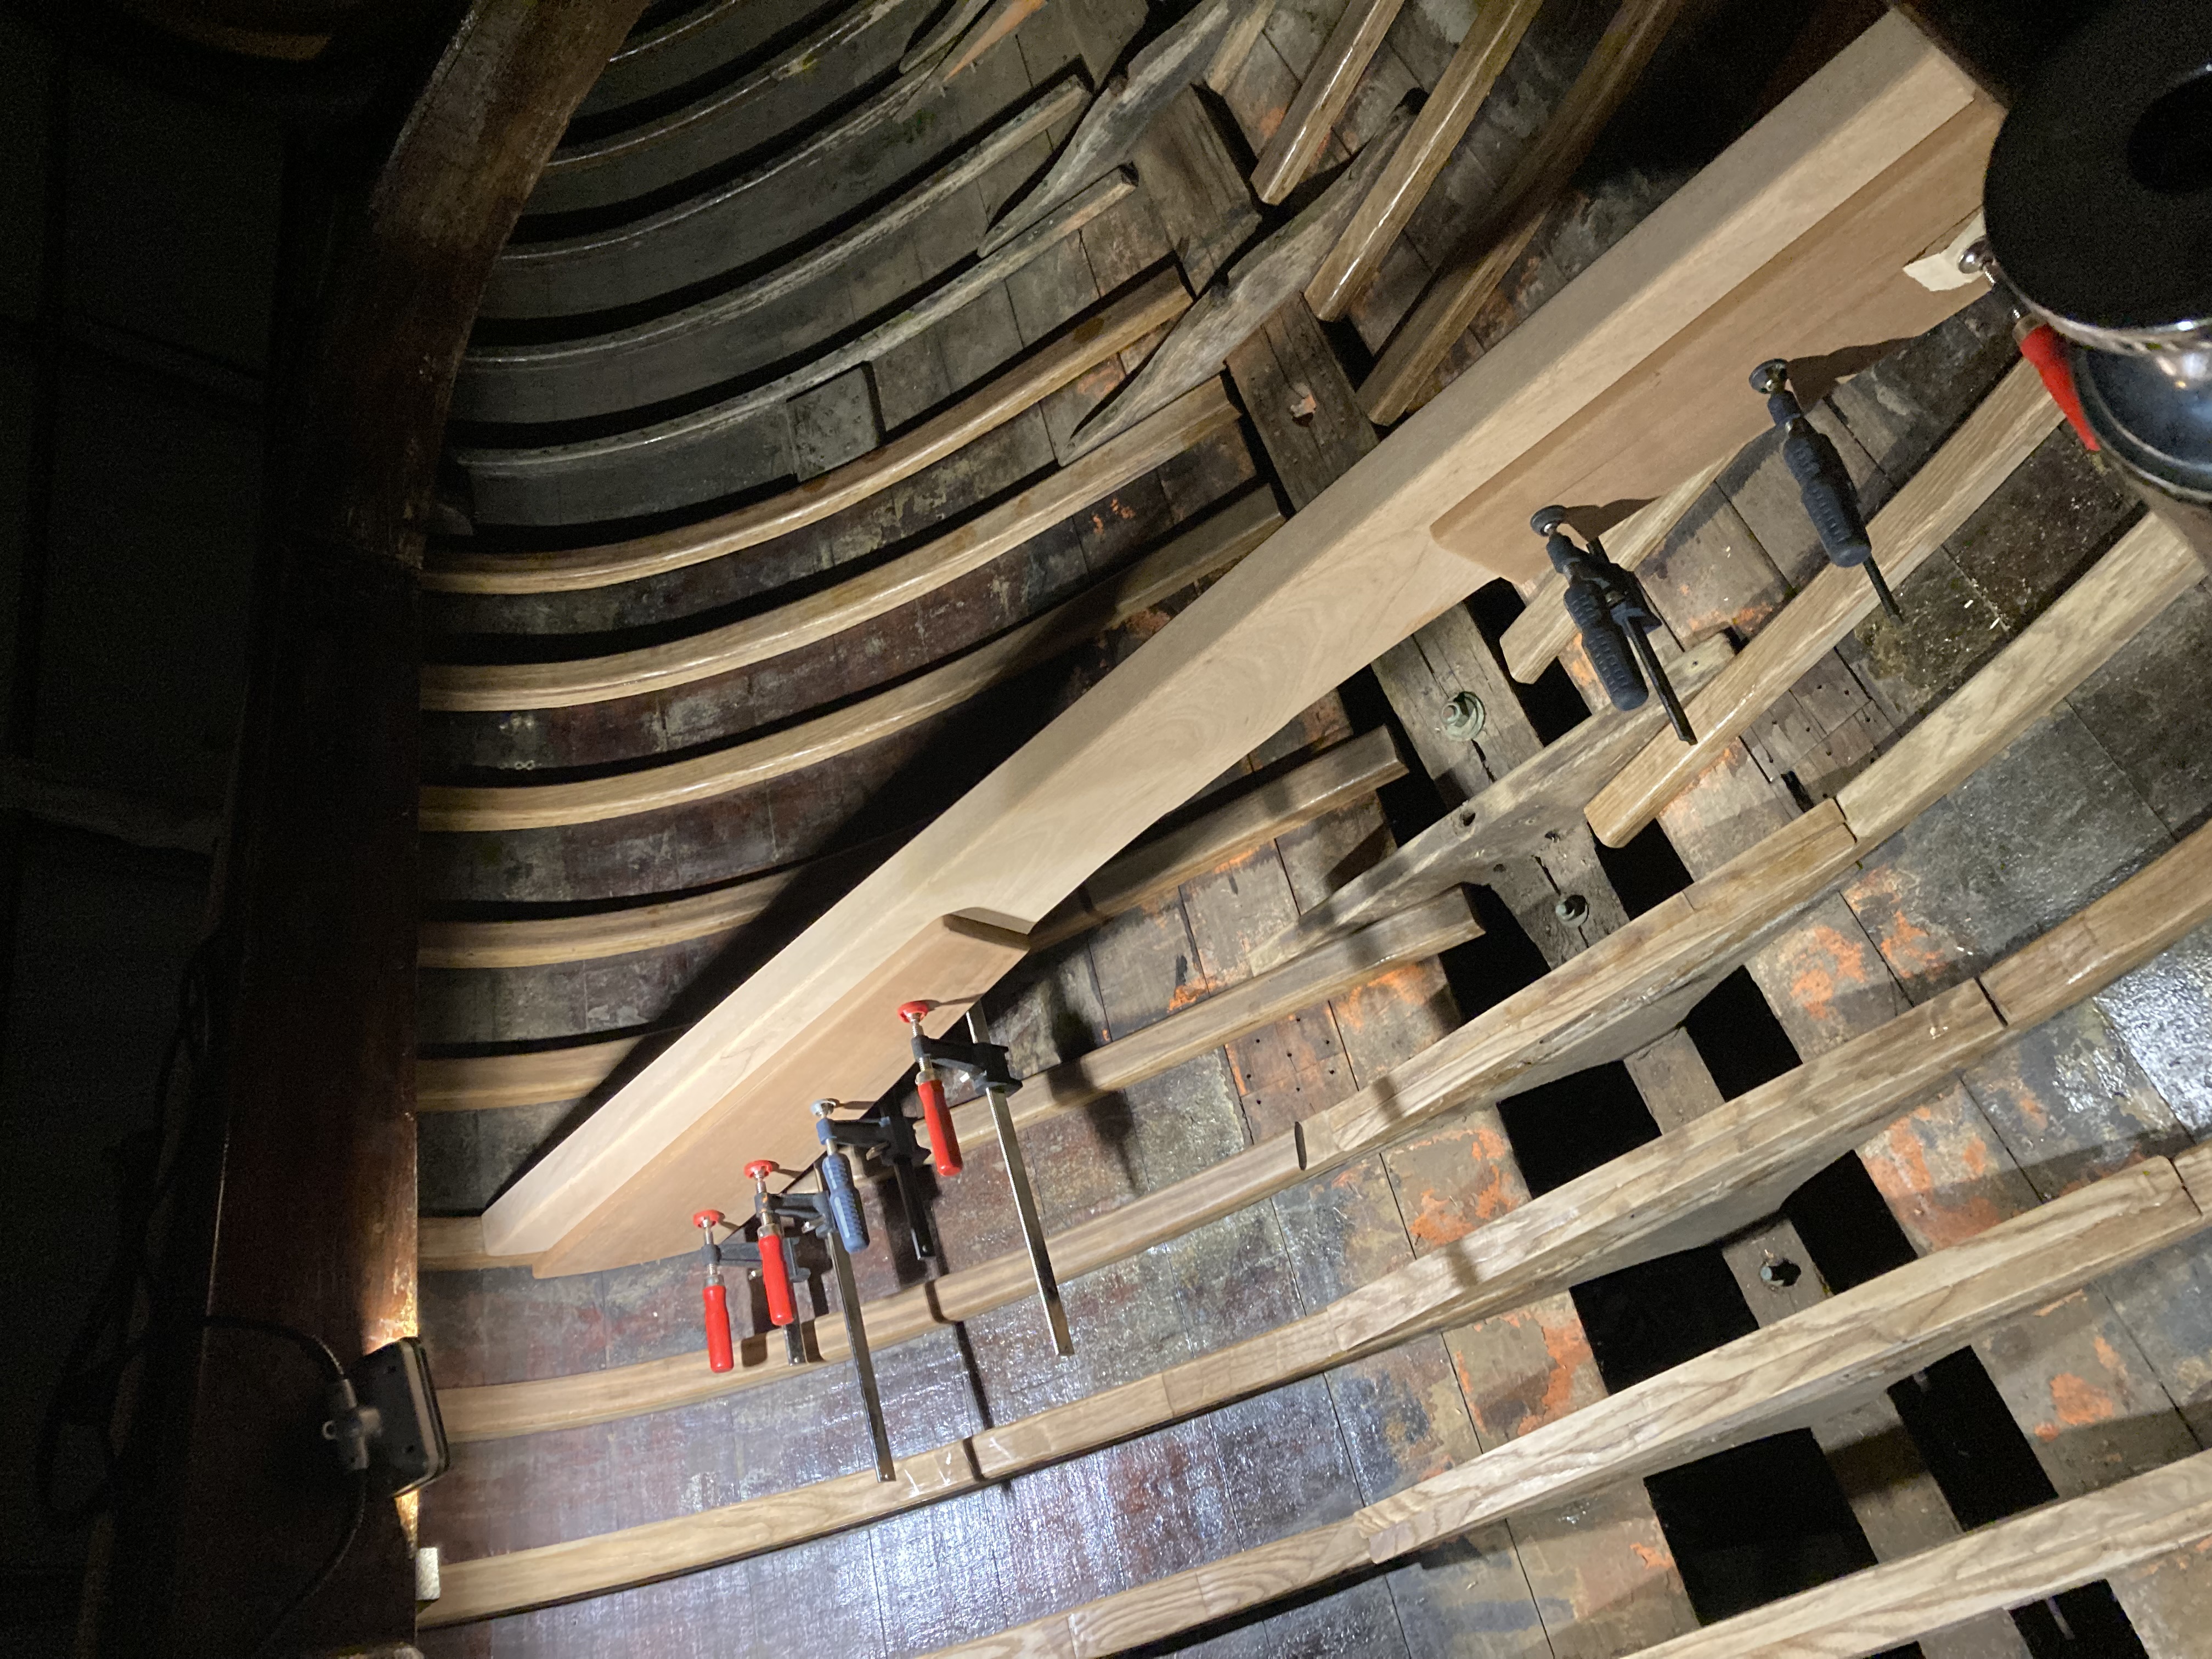
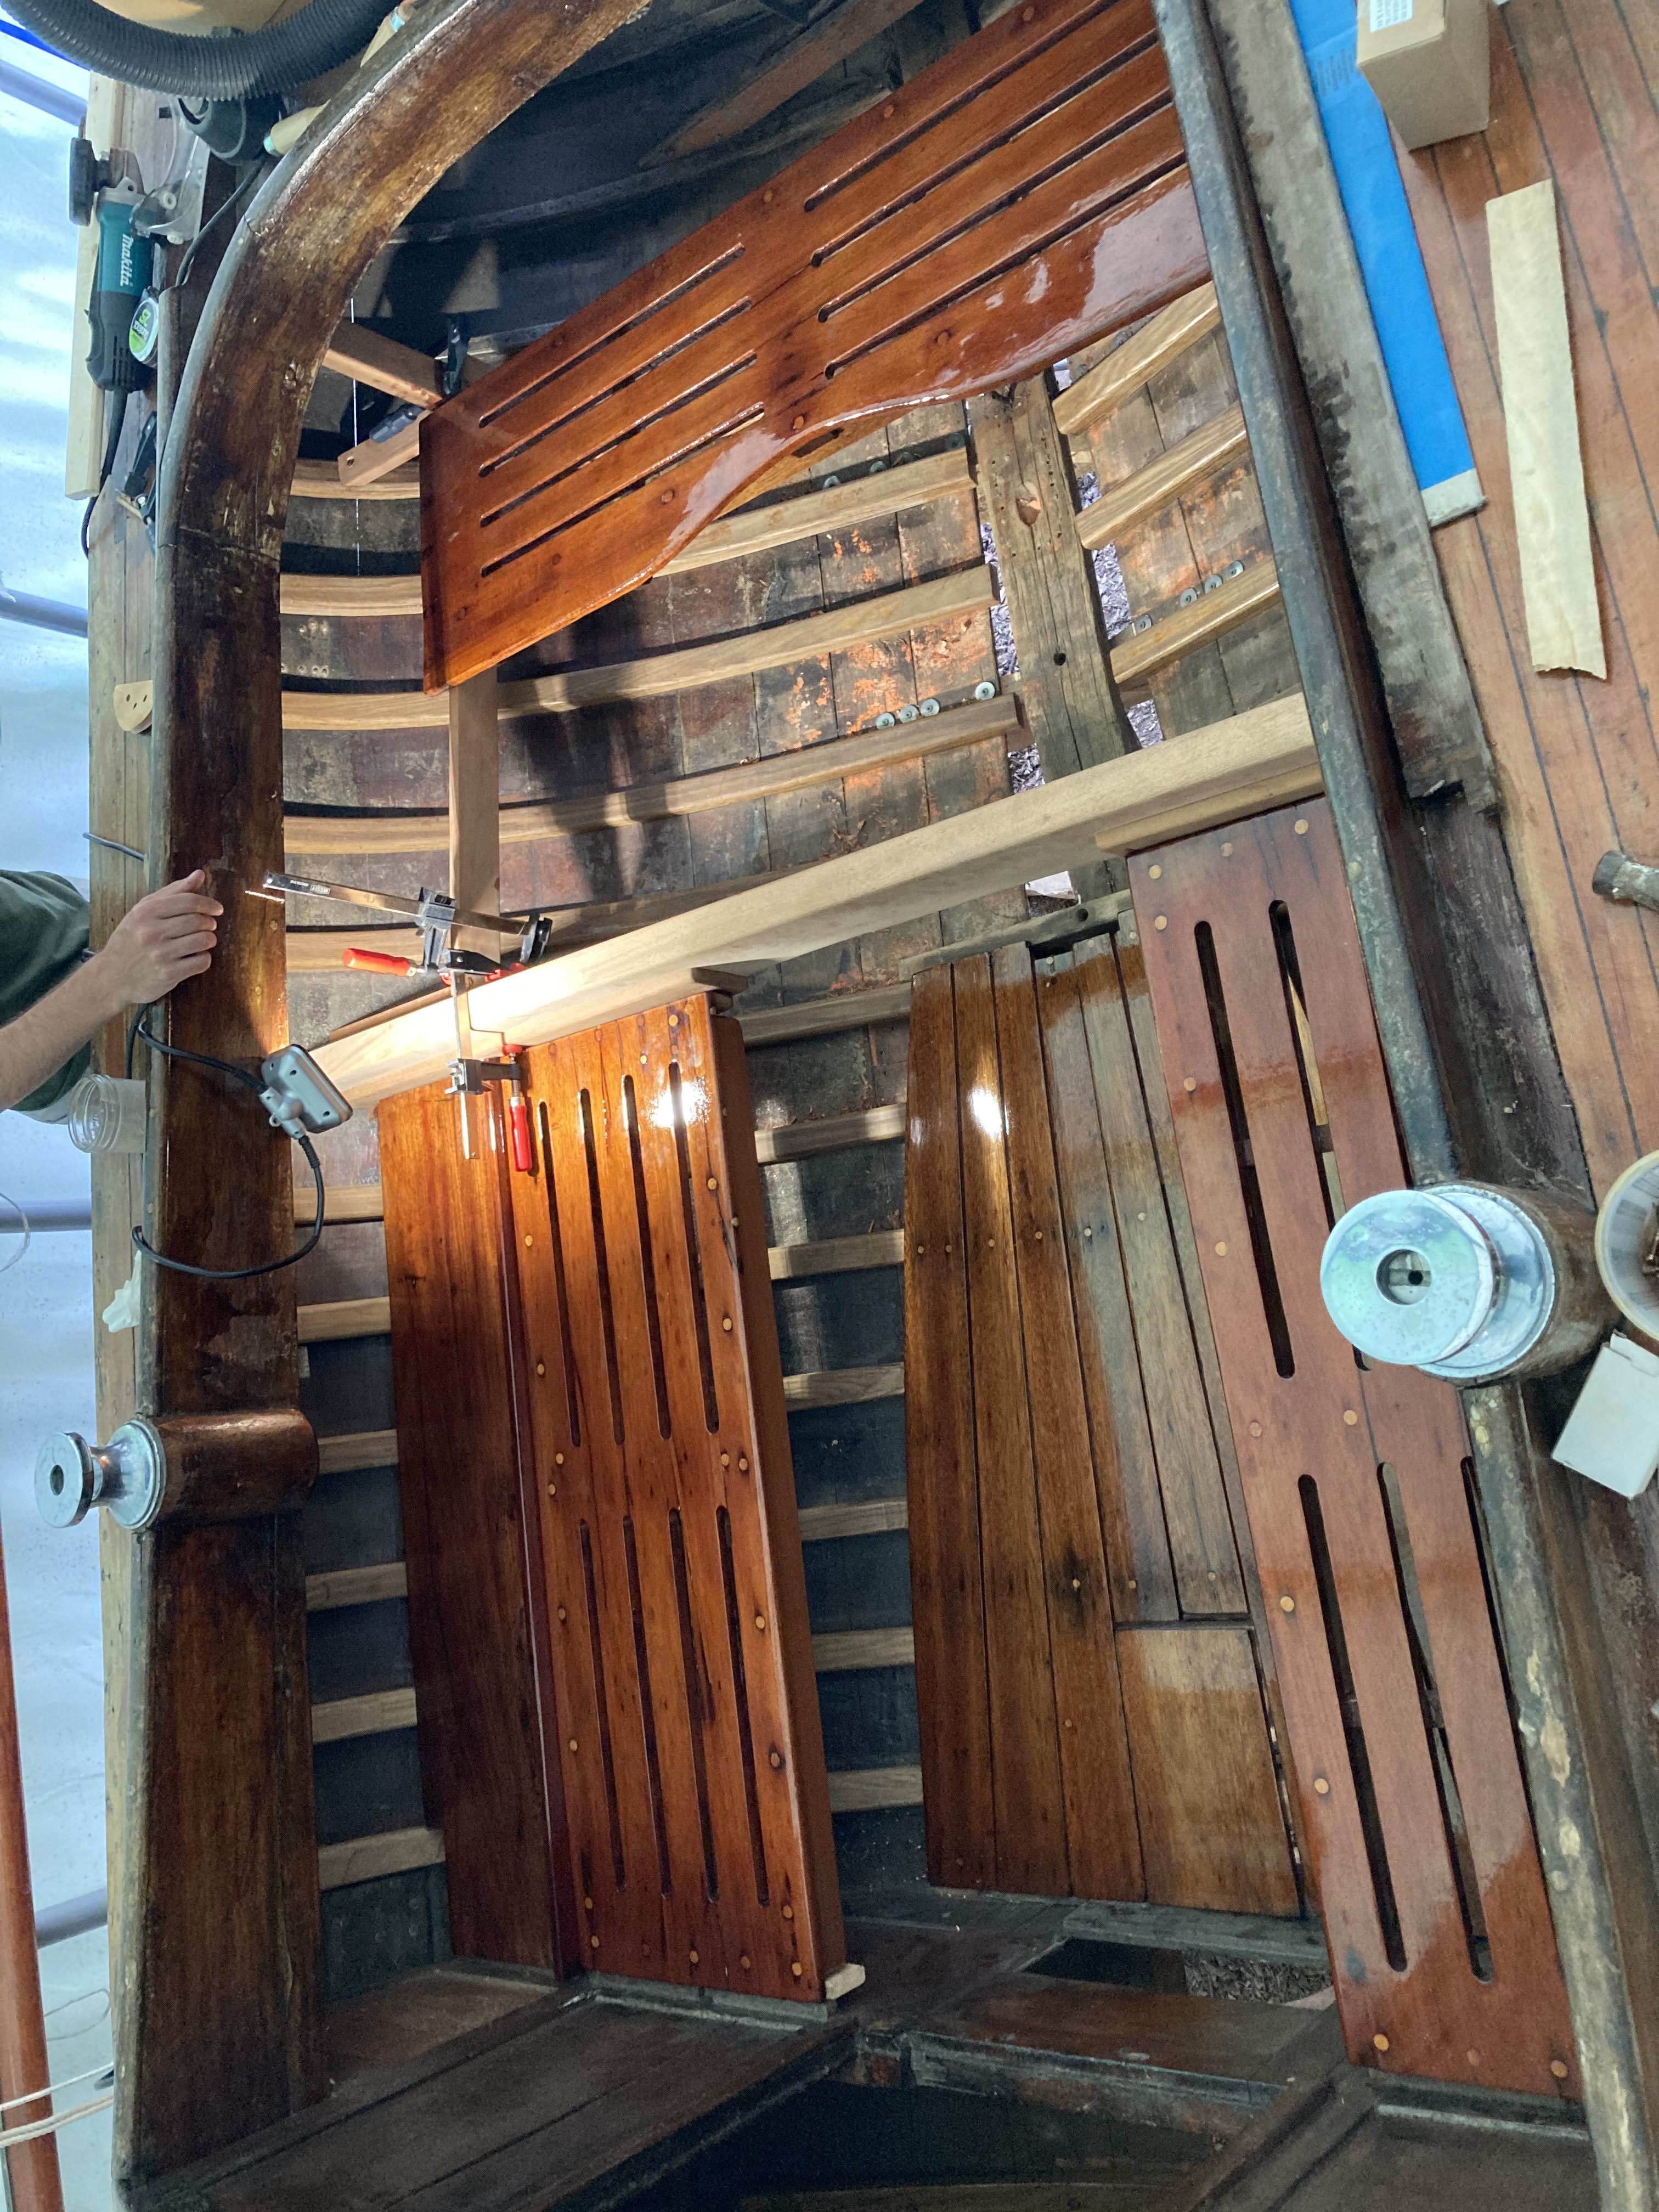
We then installed various small support pieces to tightly fit the seats and lazarettes in the cockpit. Everything gets 8 coats of varnish.

Finished thwart spanning hull
Completed cockpit seat structure after varnish.
Thwart joint detail
Detail of a cockpit seat rail joint with the thwart. This is just a mortise and tenon.
Cockpit from aft before varnish, showing seat support structure and thwart
The cockpit from the companionway before varnish, looking aft. Test-fitting the seats and sole for the forward half of the cockpit.
Finished cockpit from above
Test-fitting the helm seat to the new structure.

Finishing the companionway trim

With the bulkhead rebuilt and the thwart in place, the last step was trimming out the companionway opening — the transition between the cockpit and the cabin interior. This means a step at the base of the opening, trim pieces to hold the cockpit sole, and guides for the drop boards that close the companionway when the boat is underway or at anchor.

Companionway step
The new mahogany companionway step. Hand shaped profile pleasing to the touch and sloped to shed water out into the cockpit. I actually wish we had left this piece unvarnished.
Companionway trim and drop board guides
Looking forward through the companionway opening. The step and interior drop board guides are in place.
View aft through companionway
Original drop boards back where they belong. The previous owner's son had forgotten he had these. When he stopped by to check our progress, he brought them along.

The result

Group photo by the boat
Board meeting in the cockpit.
Full cockpit view from cabin
The full cockpit from the aft deck. Bulkhead, thwart, seats, and trim. All done. There's a lot of boat in front of you from back here!