Planking a hull is one of those jobs that initiall seems straightforward, but really isn’t. It looks like you’re just attaching a rectangular board to the frames behind it! But the reality is that every plank is a unique three-dimensional puzzle. Each one has to be spiled to shape, beveled to match its neighbors, and often twisted or bent to follow the hull’s compound curves. And in the curviest parts of the boat, the geometry gets genuinely wild.

Swell testing
A carvel-planked hull relies on the wood swelling when it hits the water to close up the seams between planks. But how much will it swell? And how tight do the seams need to be on land so they close up properly in the water? How precisely matched do the bevels really need to be? Obviously the correct answer is “do it perfectly, then you don’t need to worry” but we wanted to get a sense of our tolerances before taking on the rest of the planking work.
We built a test rig — a small section of planking with controlled gaps of different widths and types — and sank it in a buddy’s pond to find out.
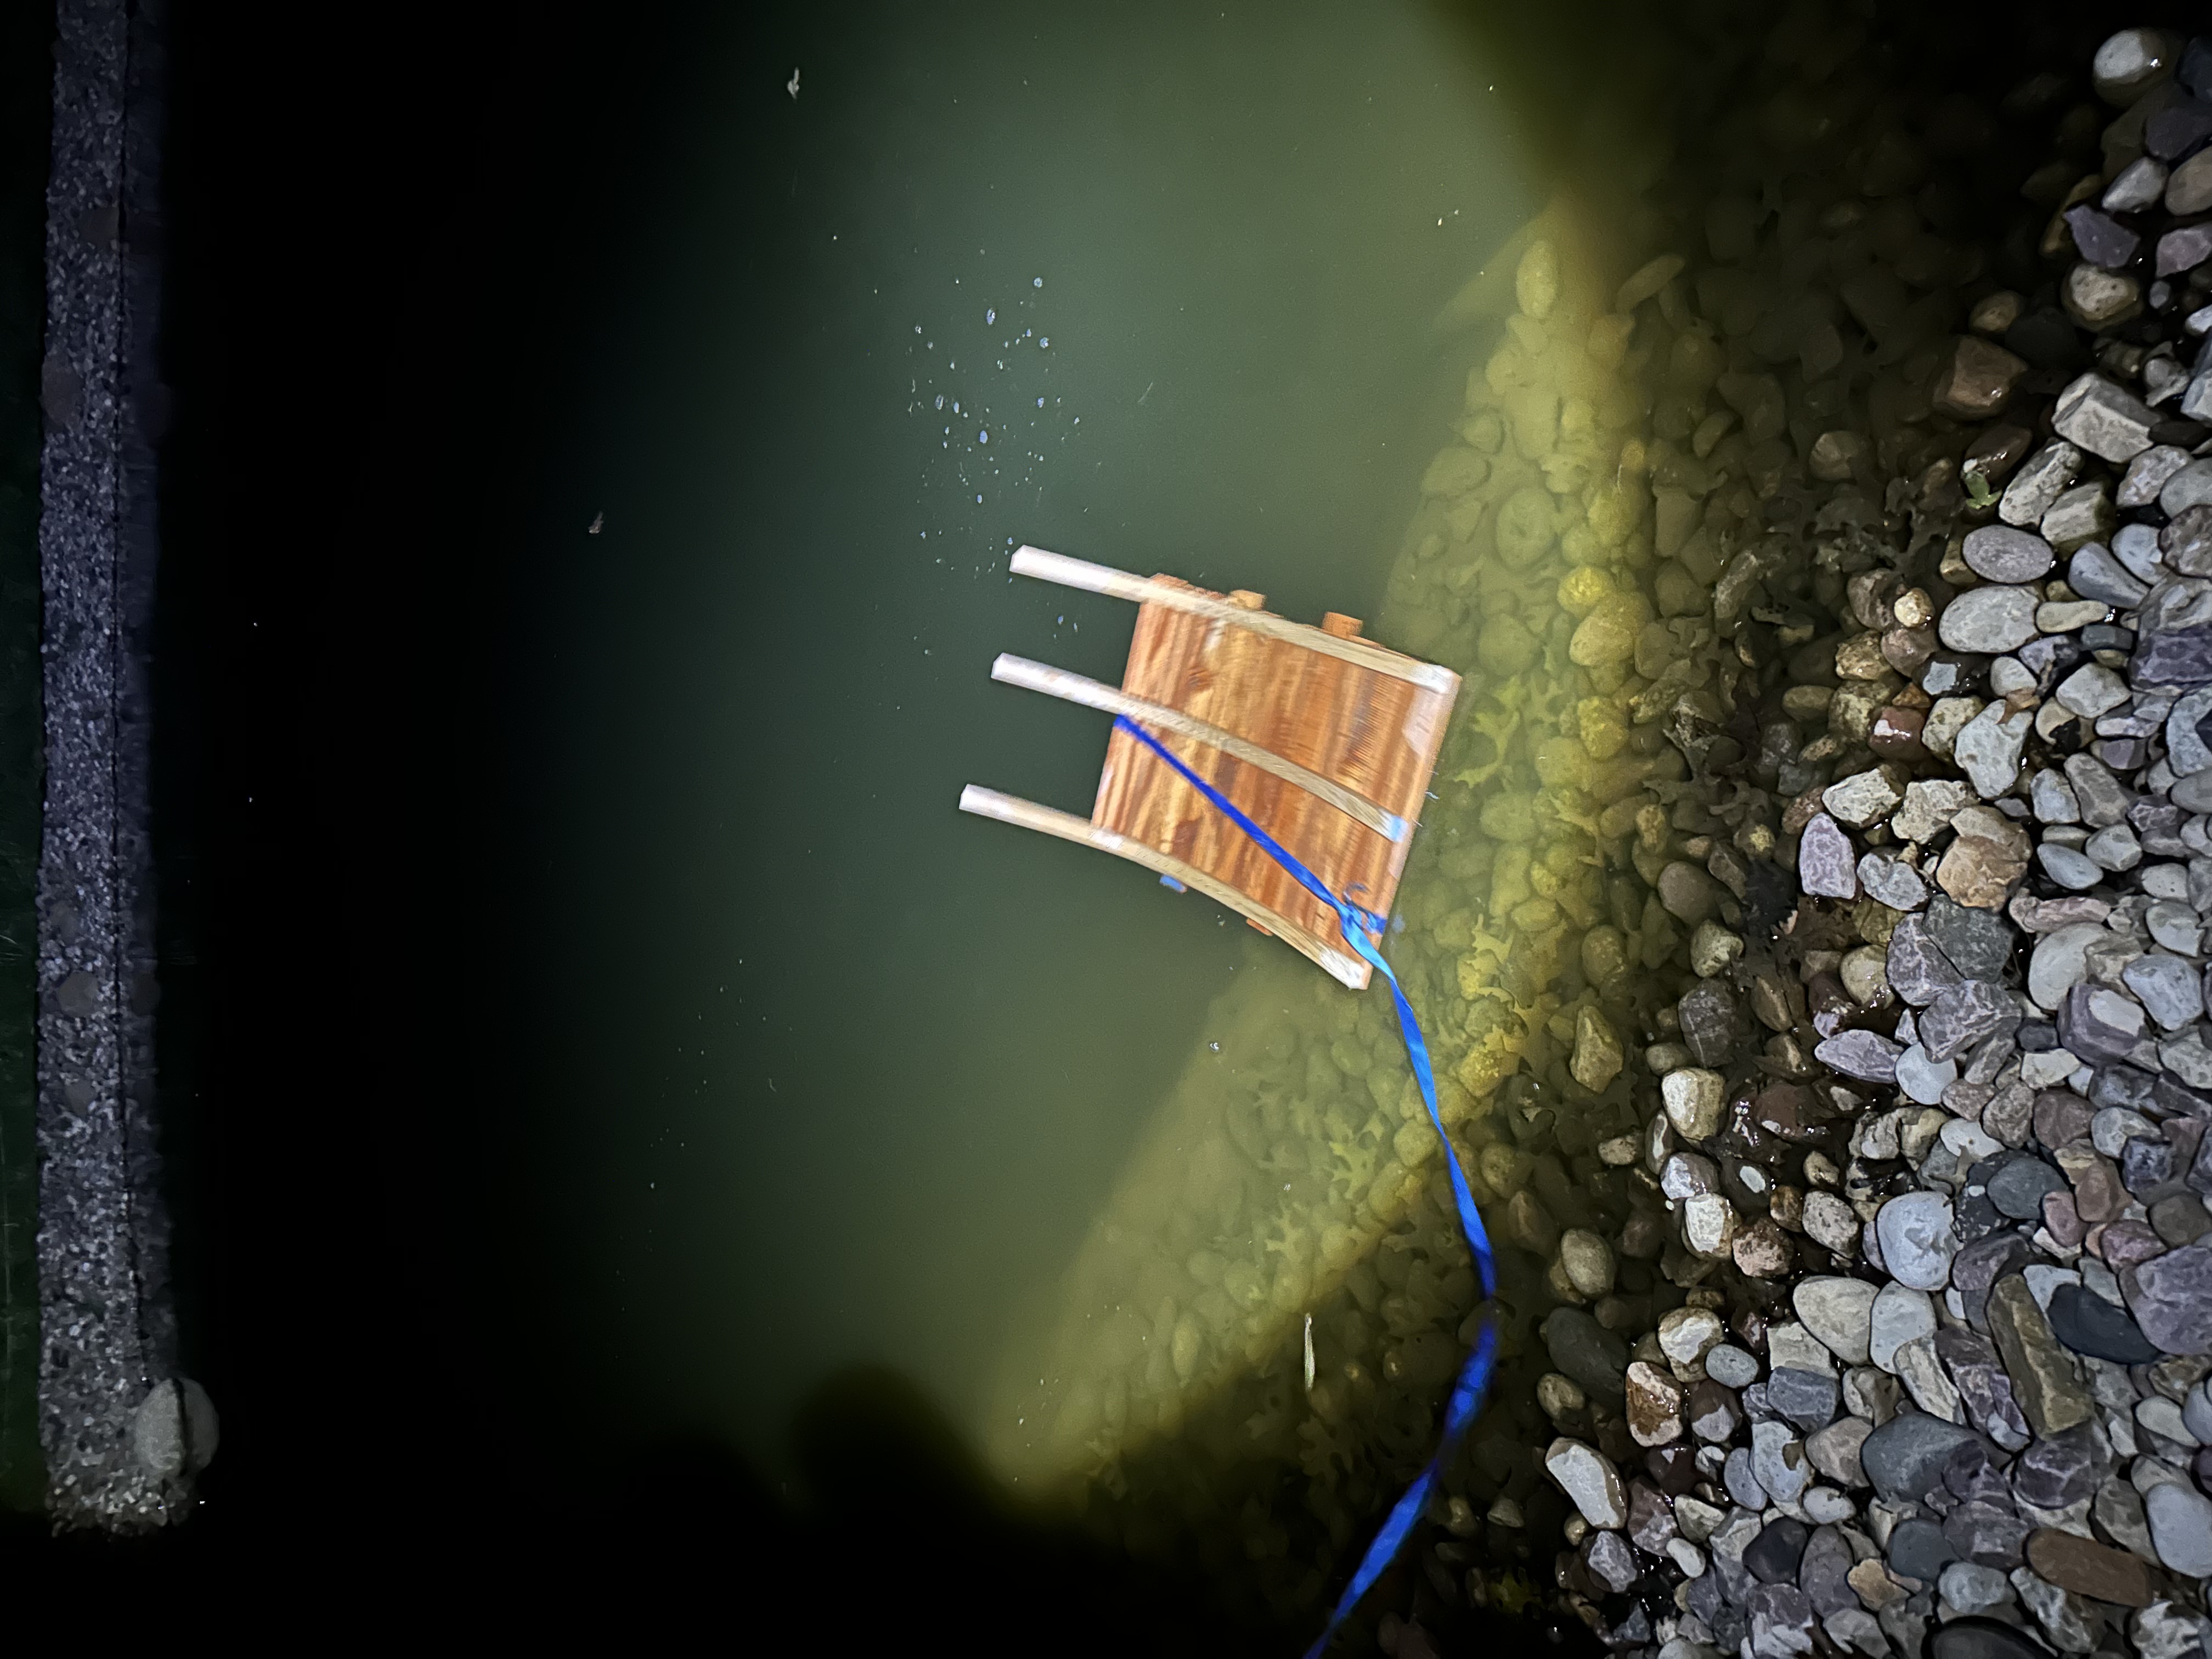
After a few days in the pond, all but the largest offenders had closed up nicely. We’d still shoot for perfect, but this result was encouraging.
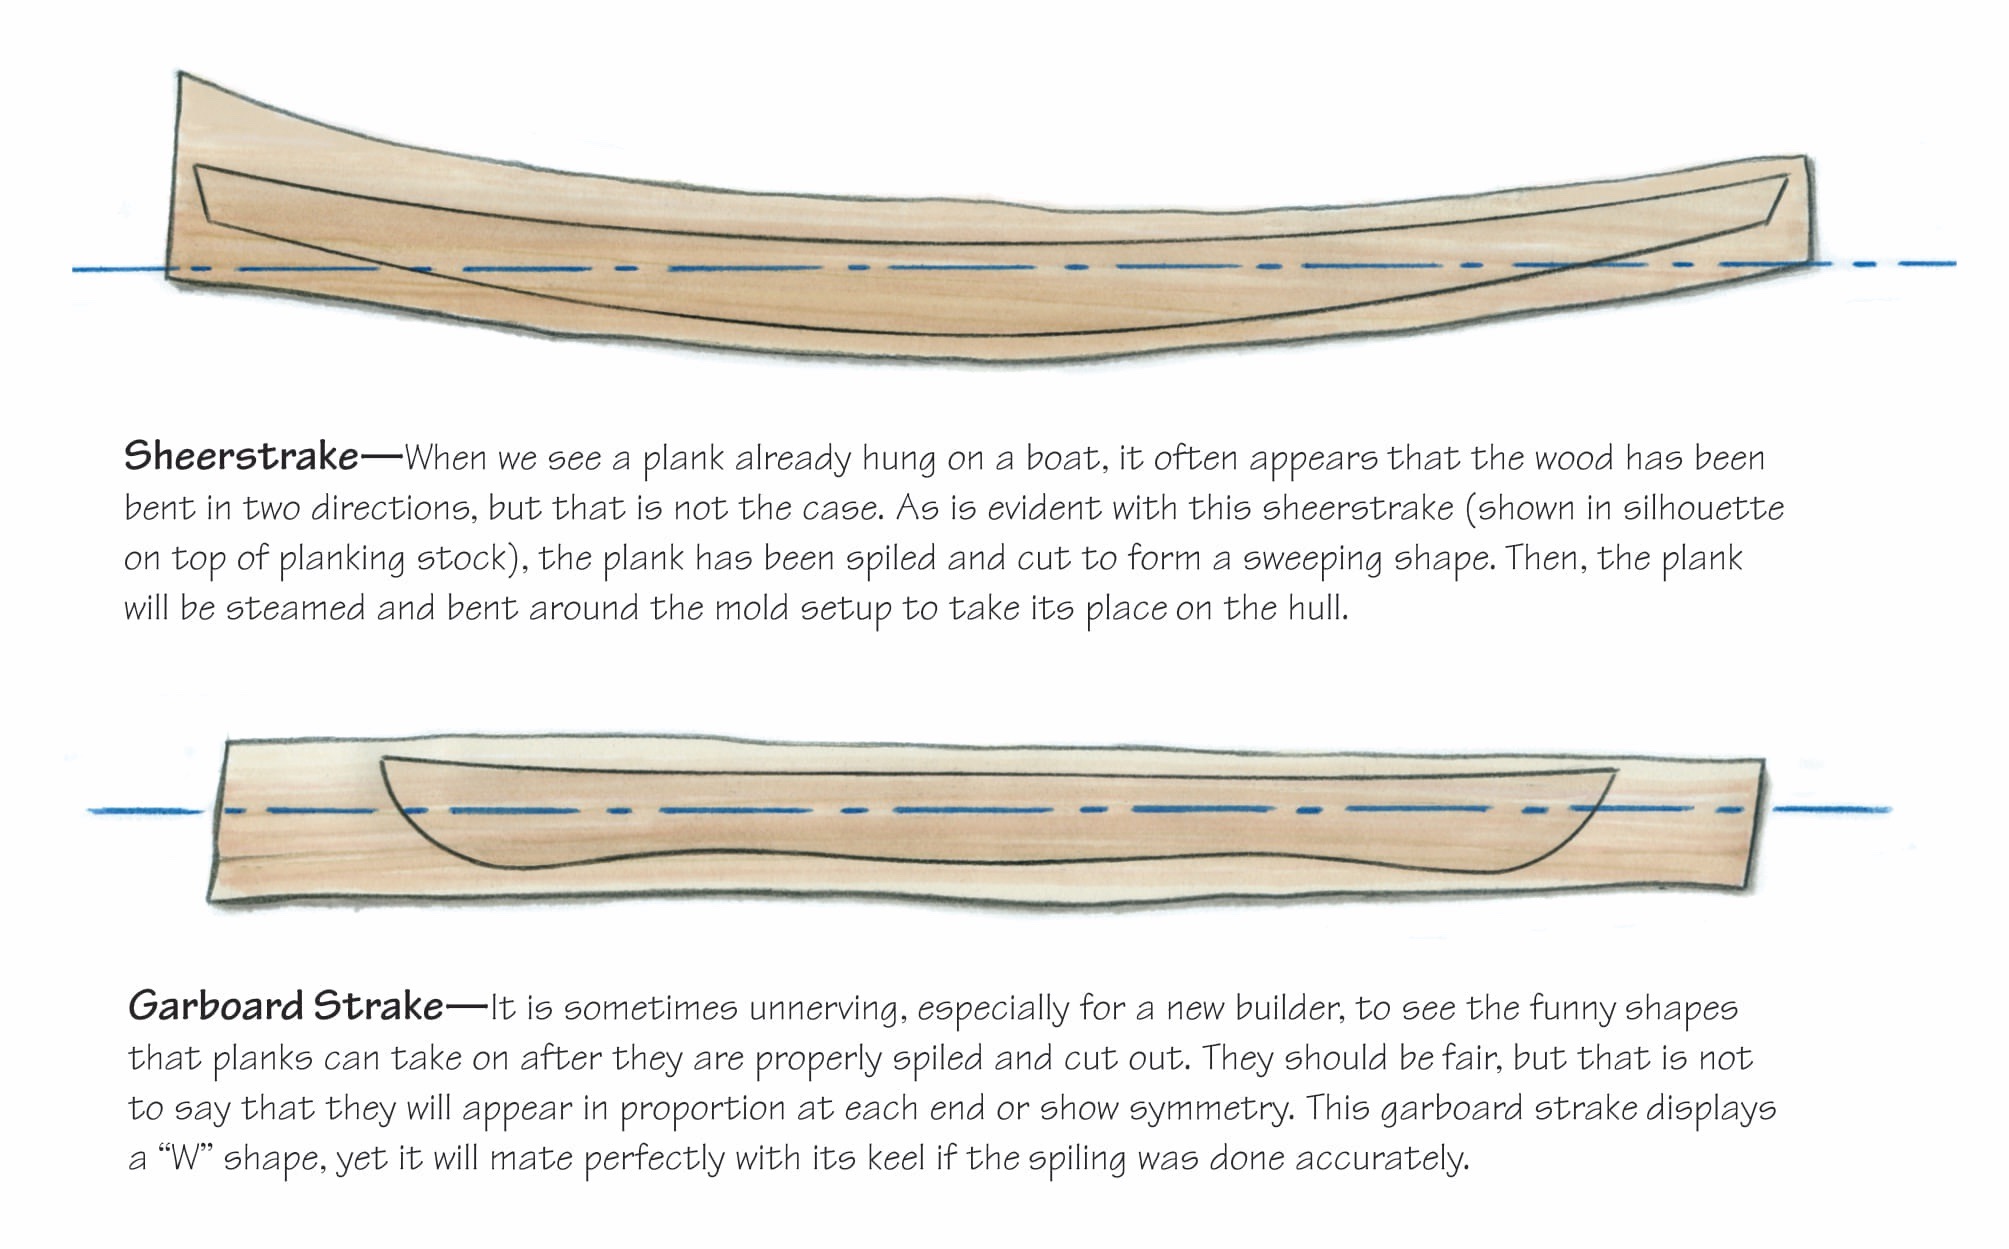
Spiling
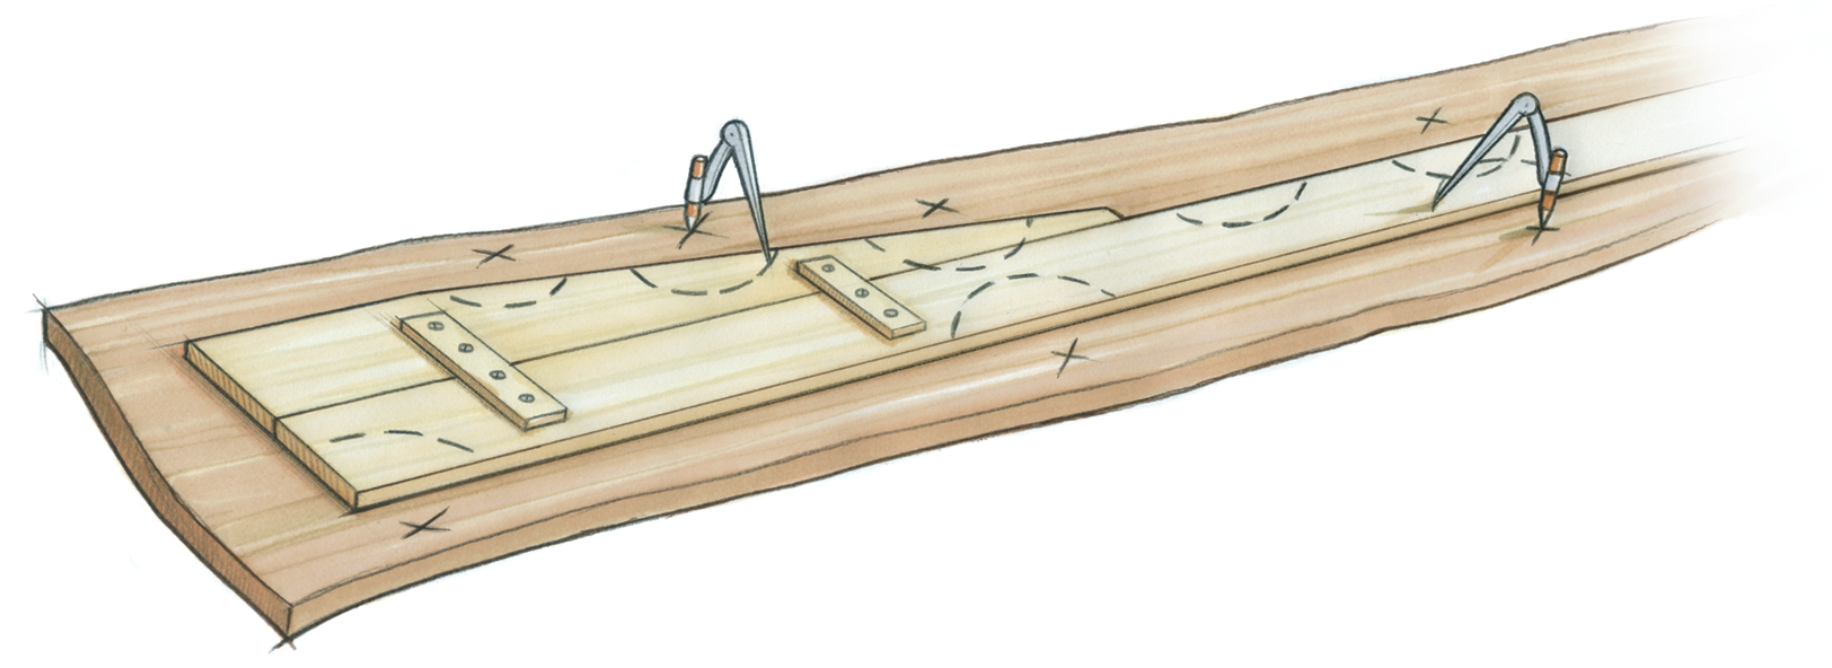
Spiling is how you transfer the shape of a plank from the boat to a flat board to be shaped. You can’t just hold a board up to the hull and trace — the curves are three-dimensional and the plank stock is flat and rigid. Instead, you clamp a thin spiling batten to the frames where the plank will go, then use dividers to transfer a series of reference points from the hull’s edge onto the batten. Back at the bench, you reverse the process to draw the plank’s true shape onto the stock. Easy, right?\
Like many things in boatbuilding, the devil is in the details. You must end up with a plank outline that is EXACTLY correct, or you will have leaks. You need to be mindful of plank thicknesses and bevels, whether you’re templating the inside or outside face of the plank, and many other things. But at the end of the day it’s really just kindergarten skills executed at a high level. Draw a line. Cut to the line.
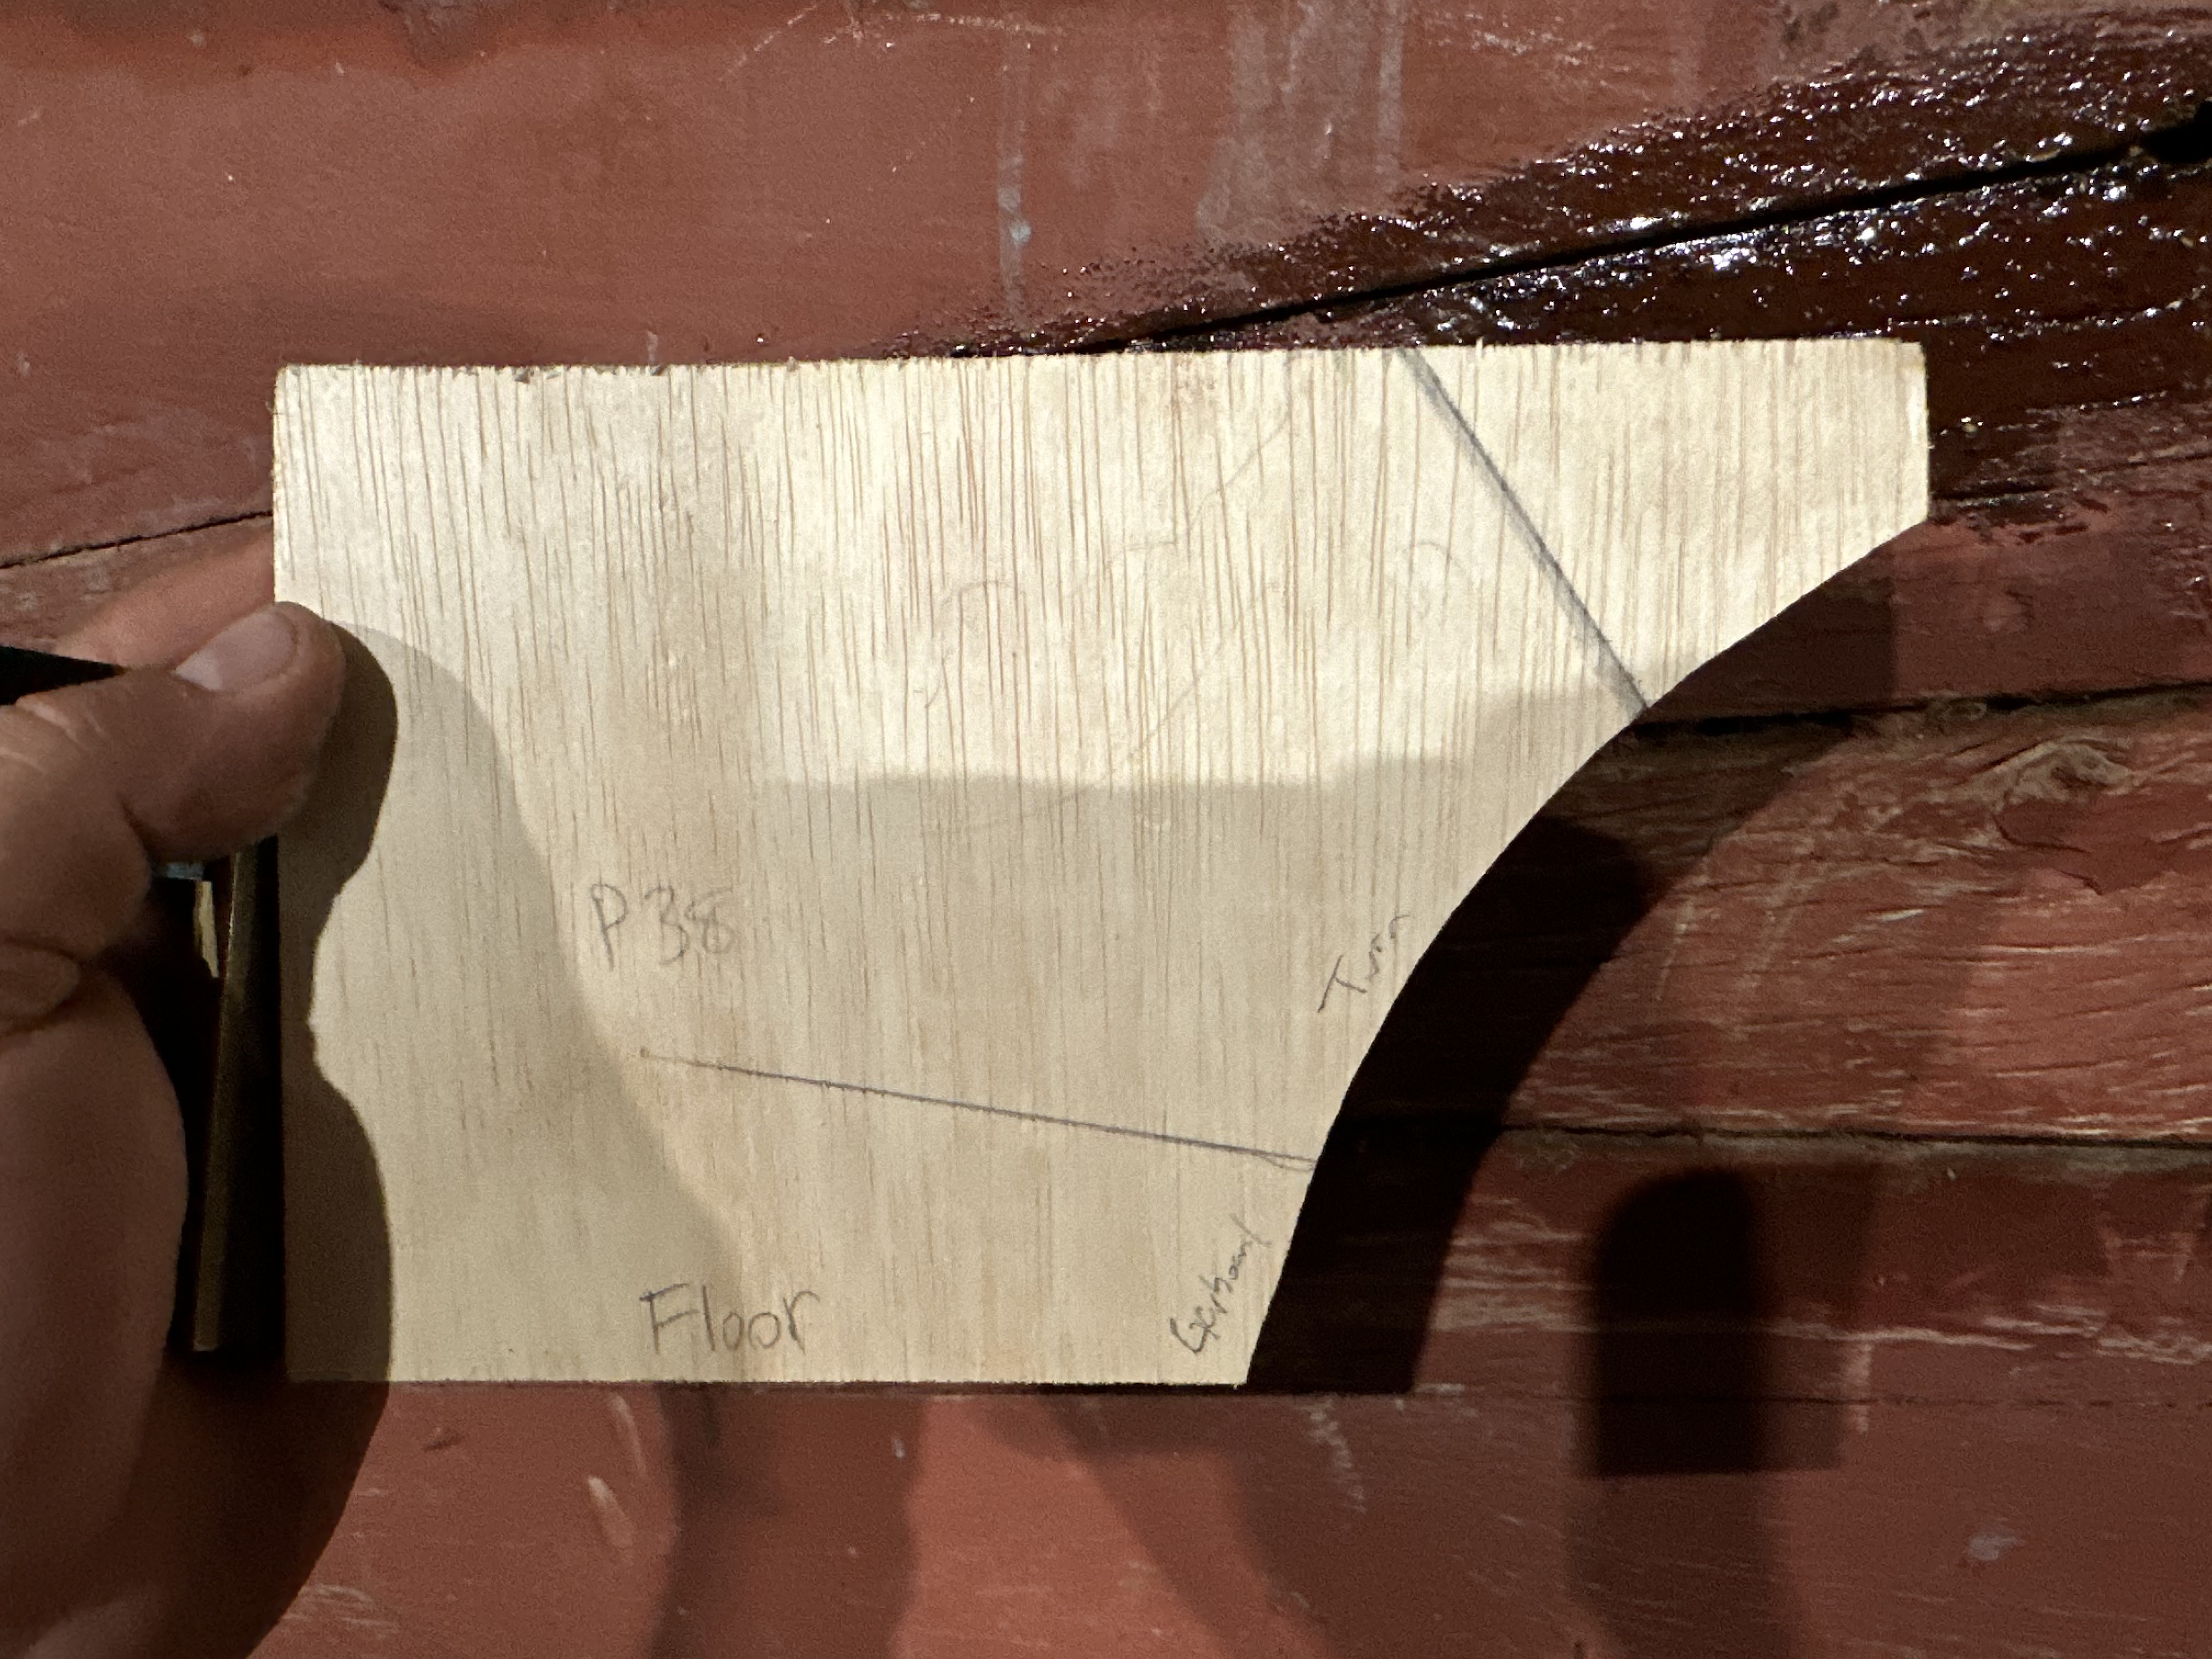
We found that spiling alone wasn’t accurate enough for the hood ends — where the planks land in the centerline timber rabbets. With a long, slender boat such as this, the geometry is too tight and the tolerances too small to spile properly. So we pre-templated the hood ends separately: a full-size template cut from thin plywood, then hot-glued to the end of the spiling board (made from door skin). This gave us the exact shape at the ends.
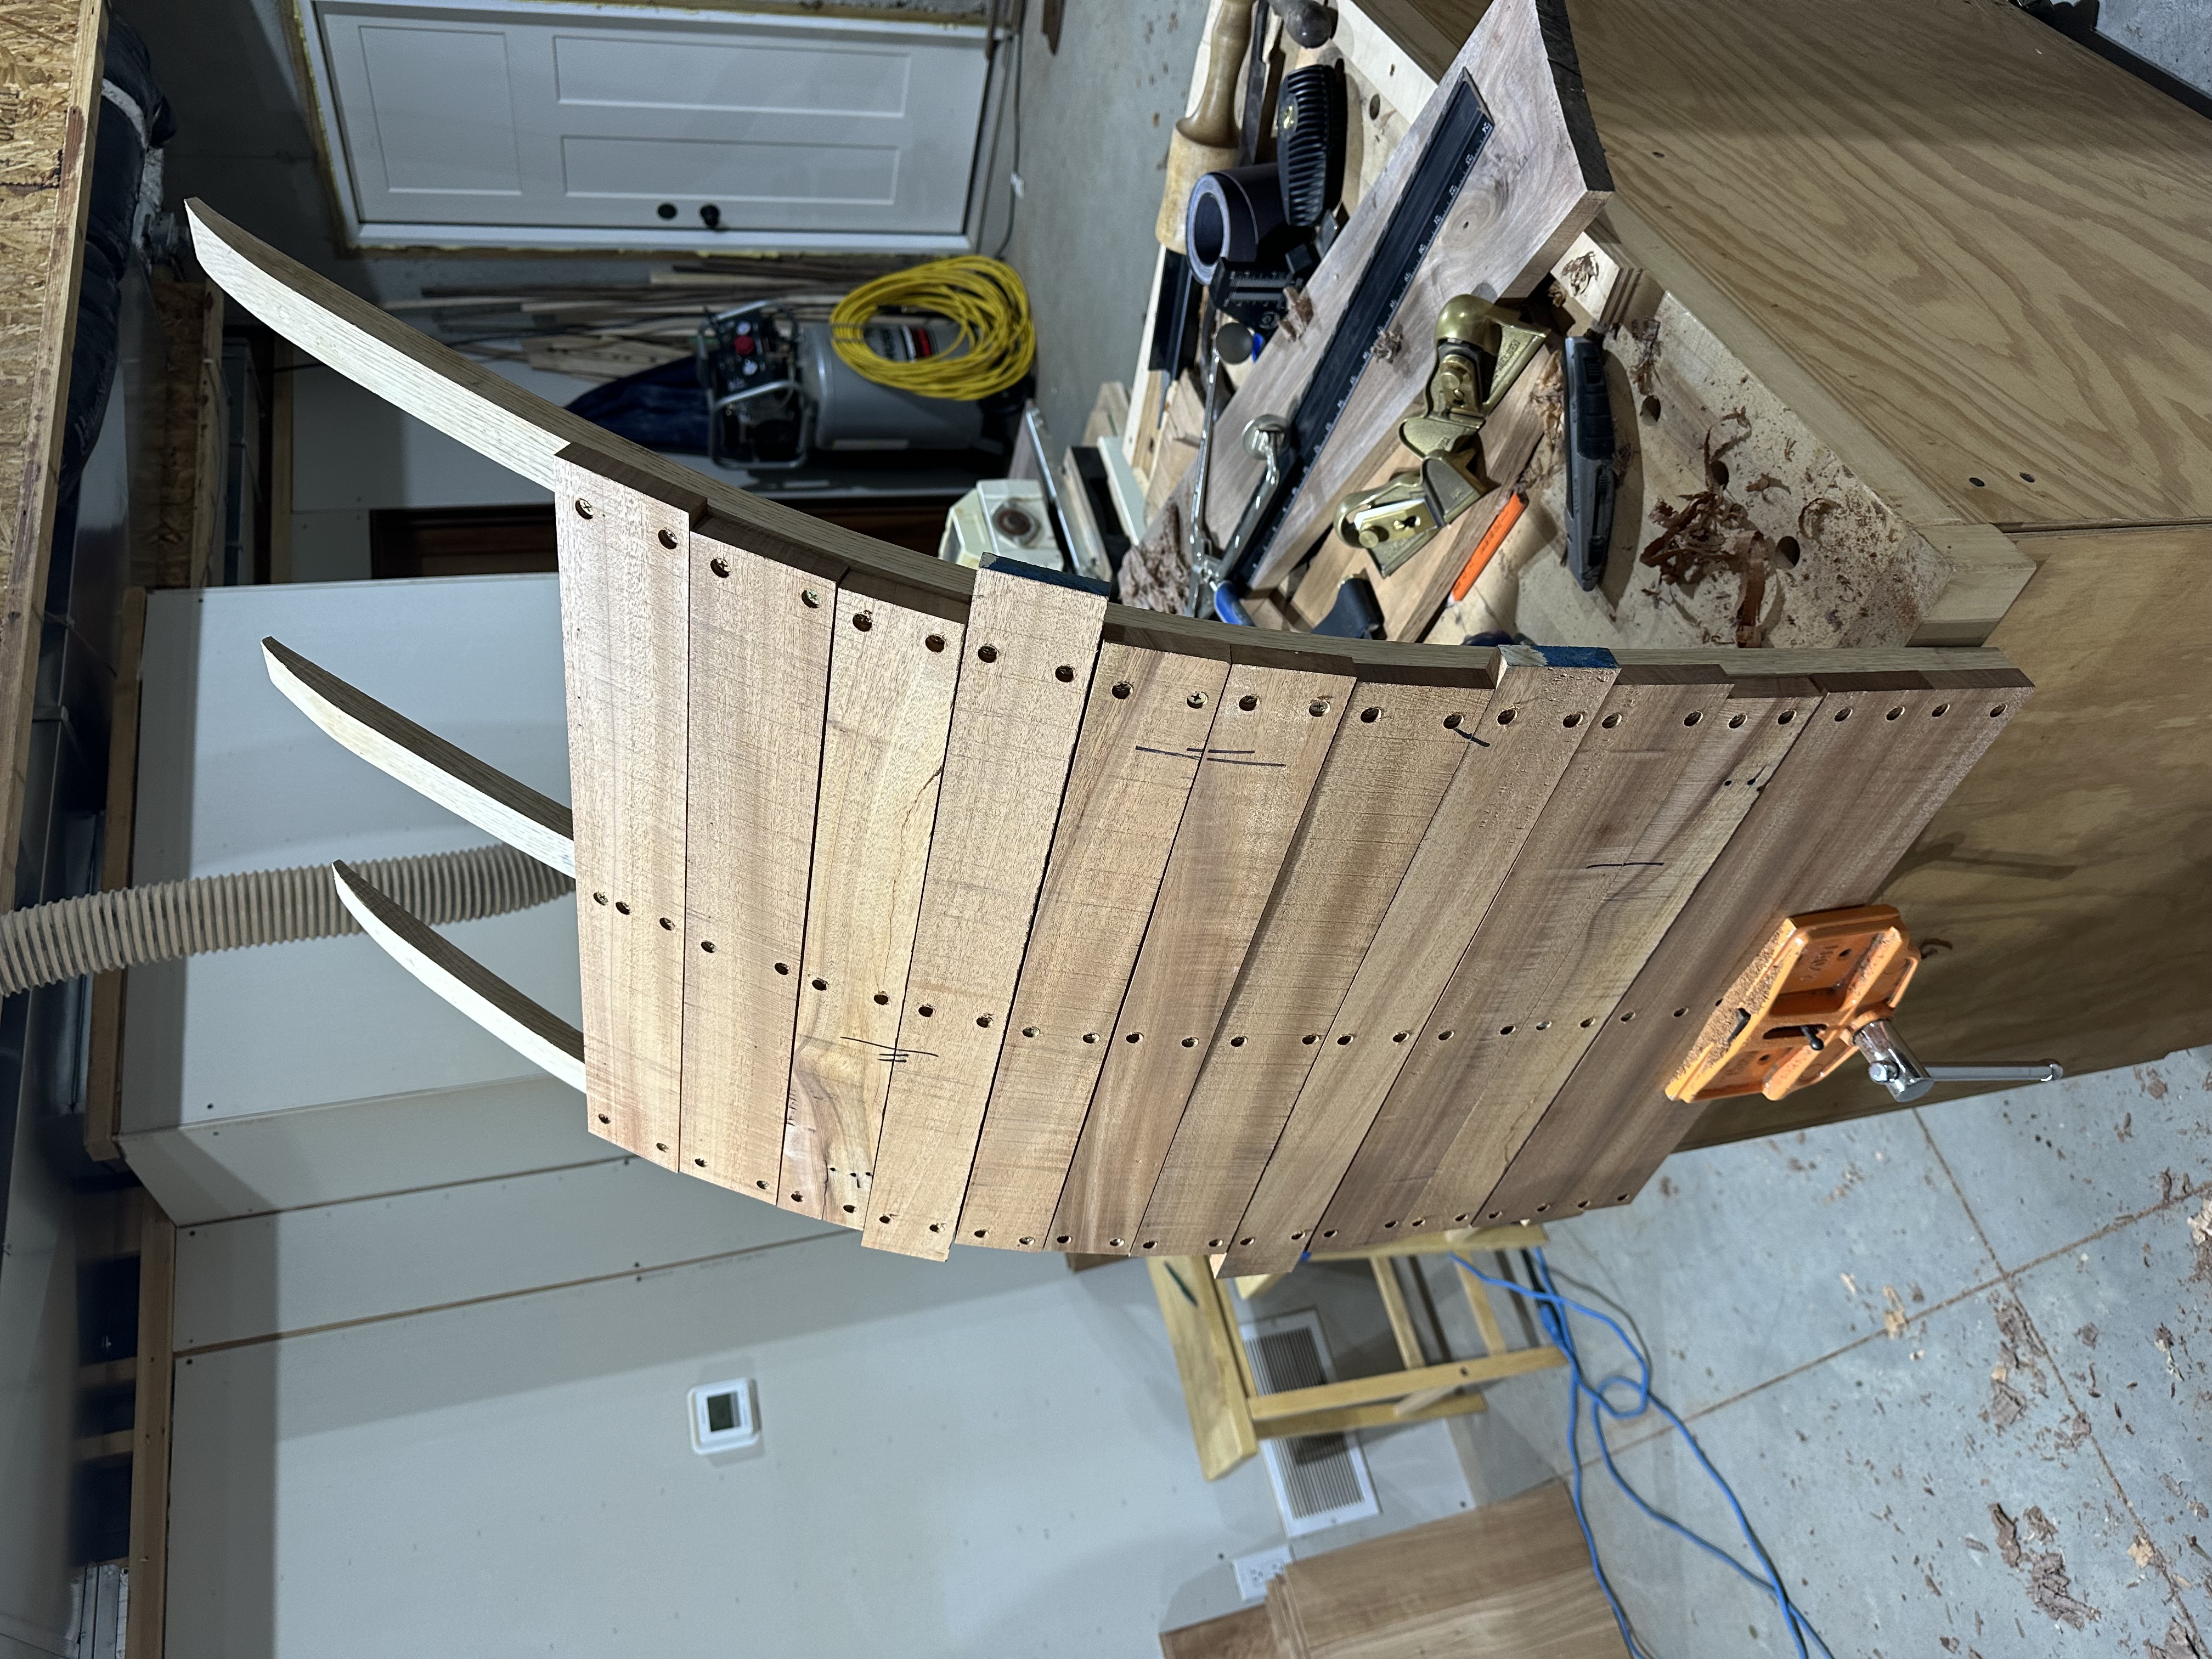
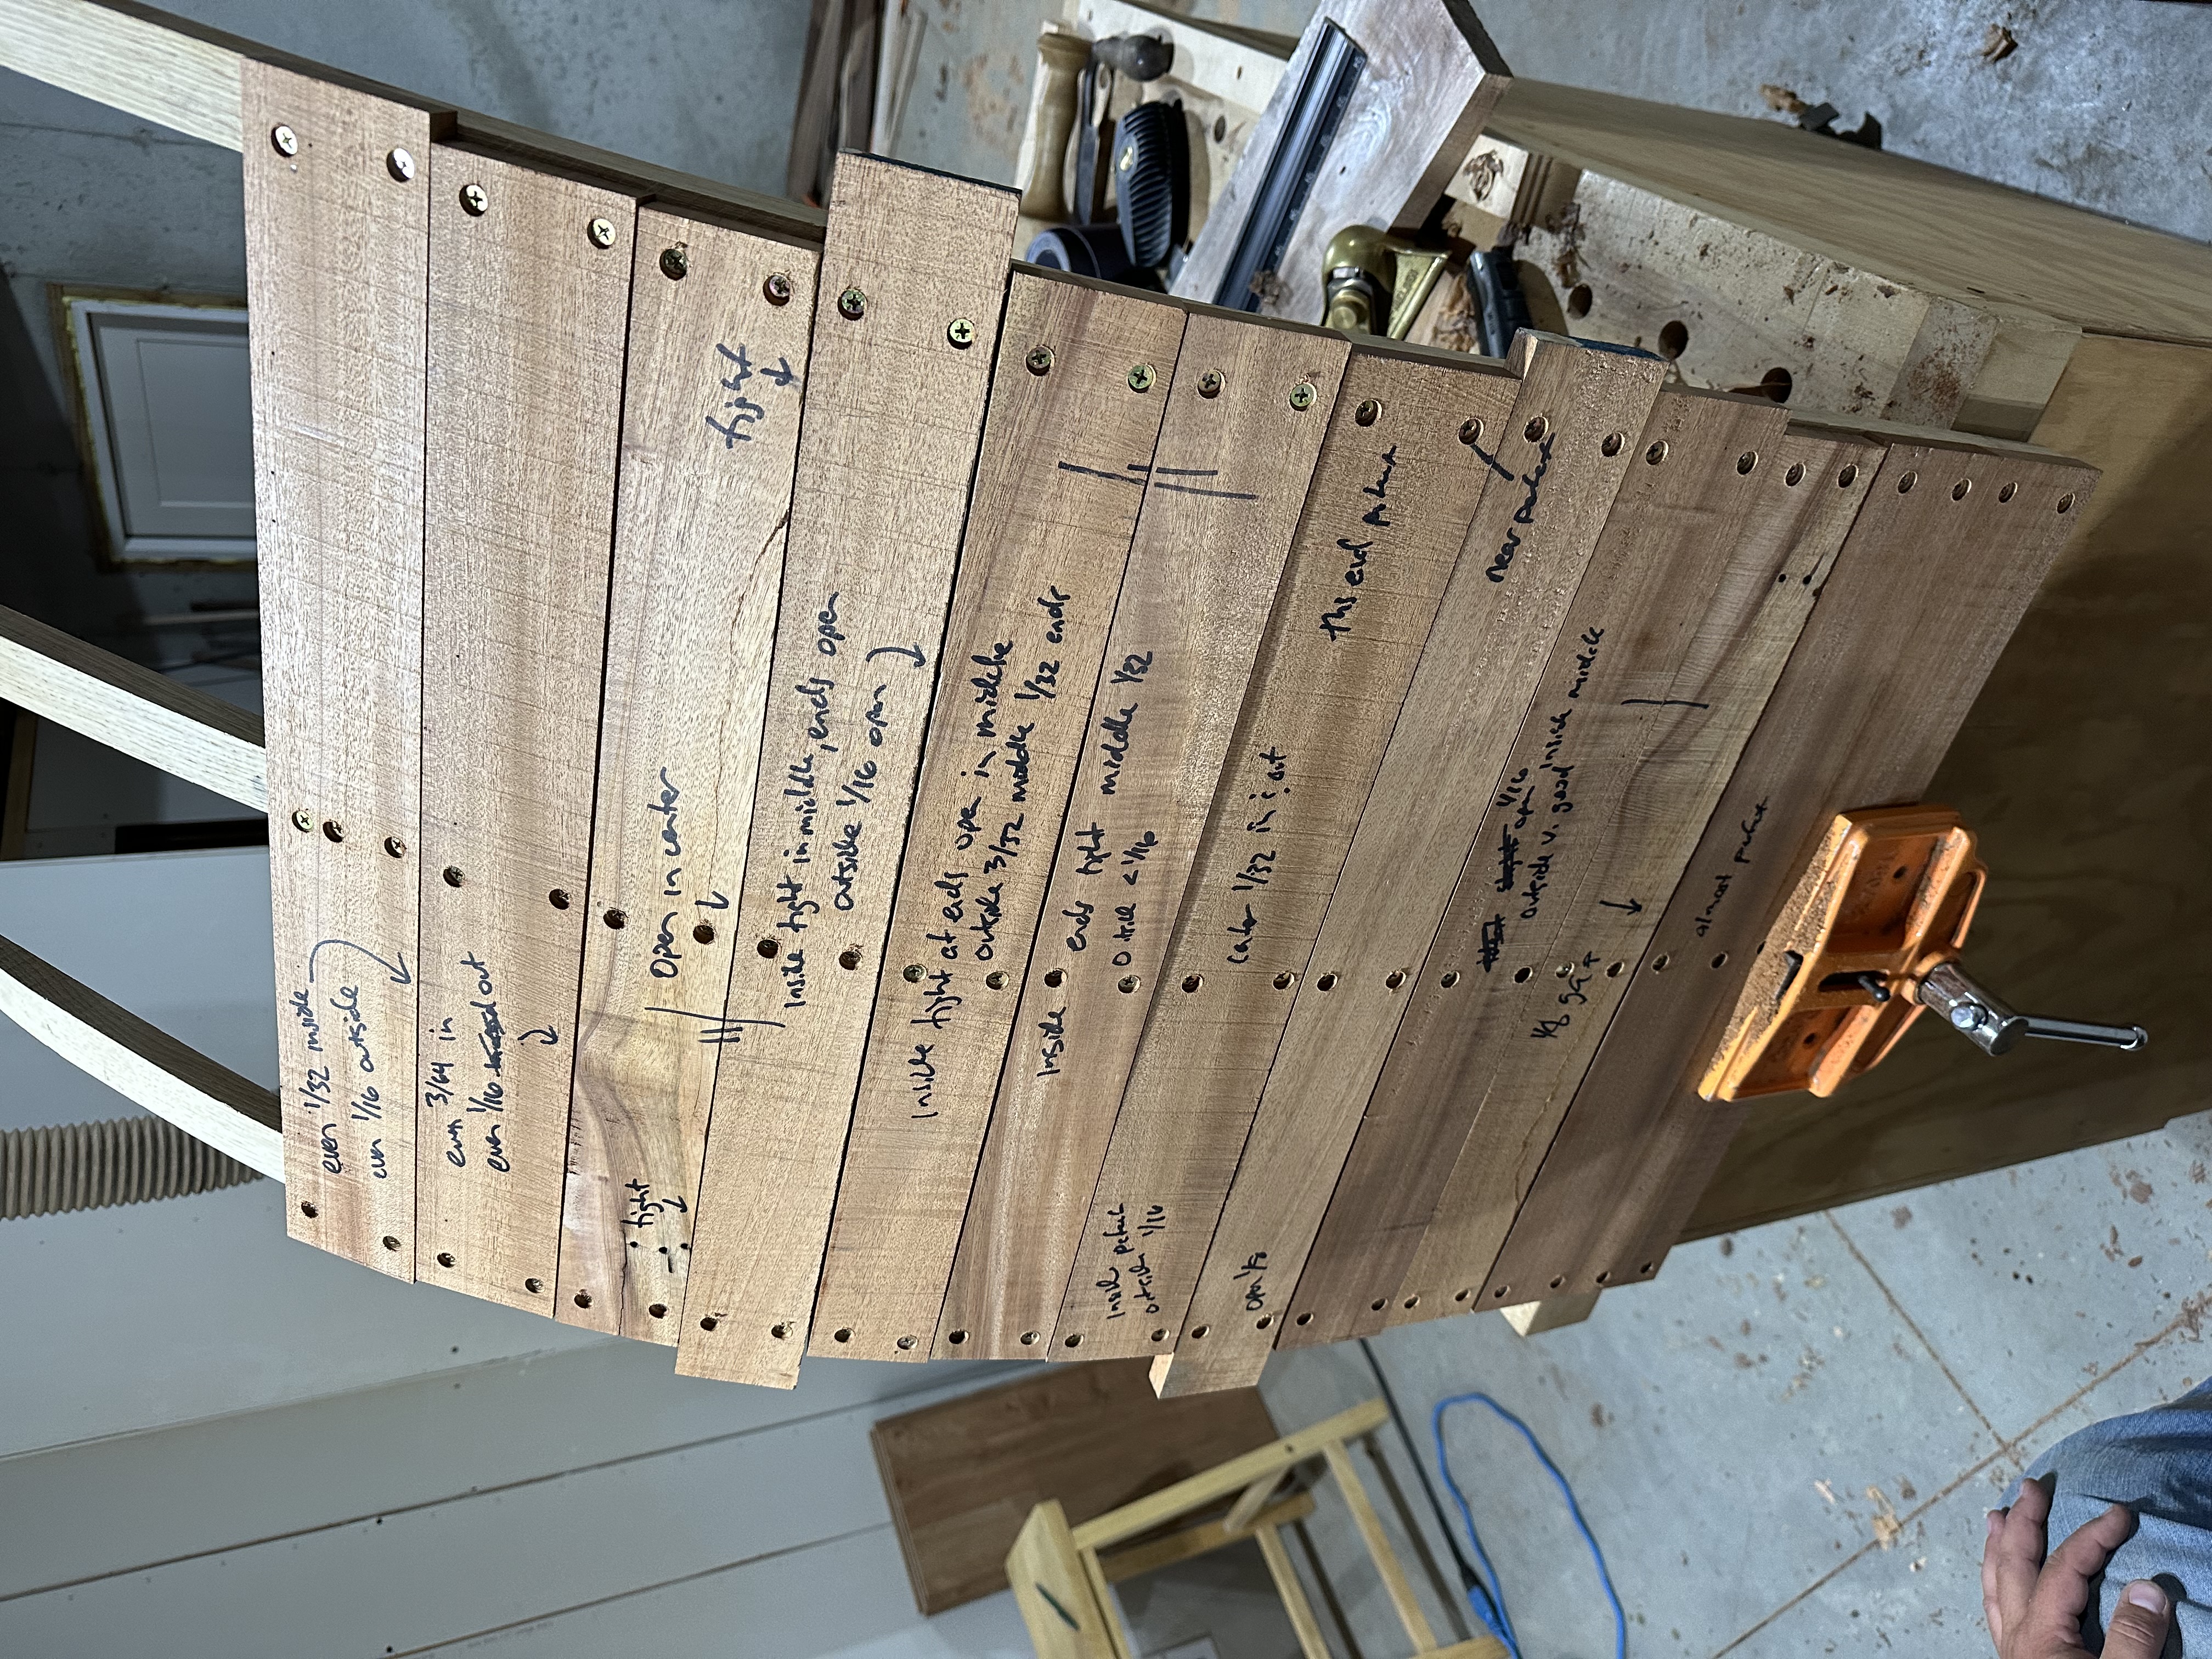
Rolling bevels
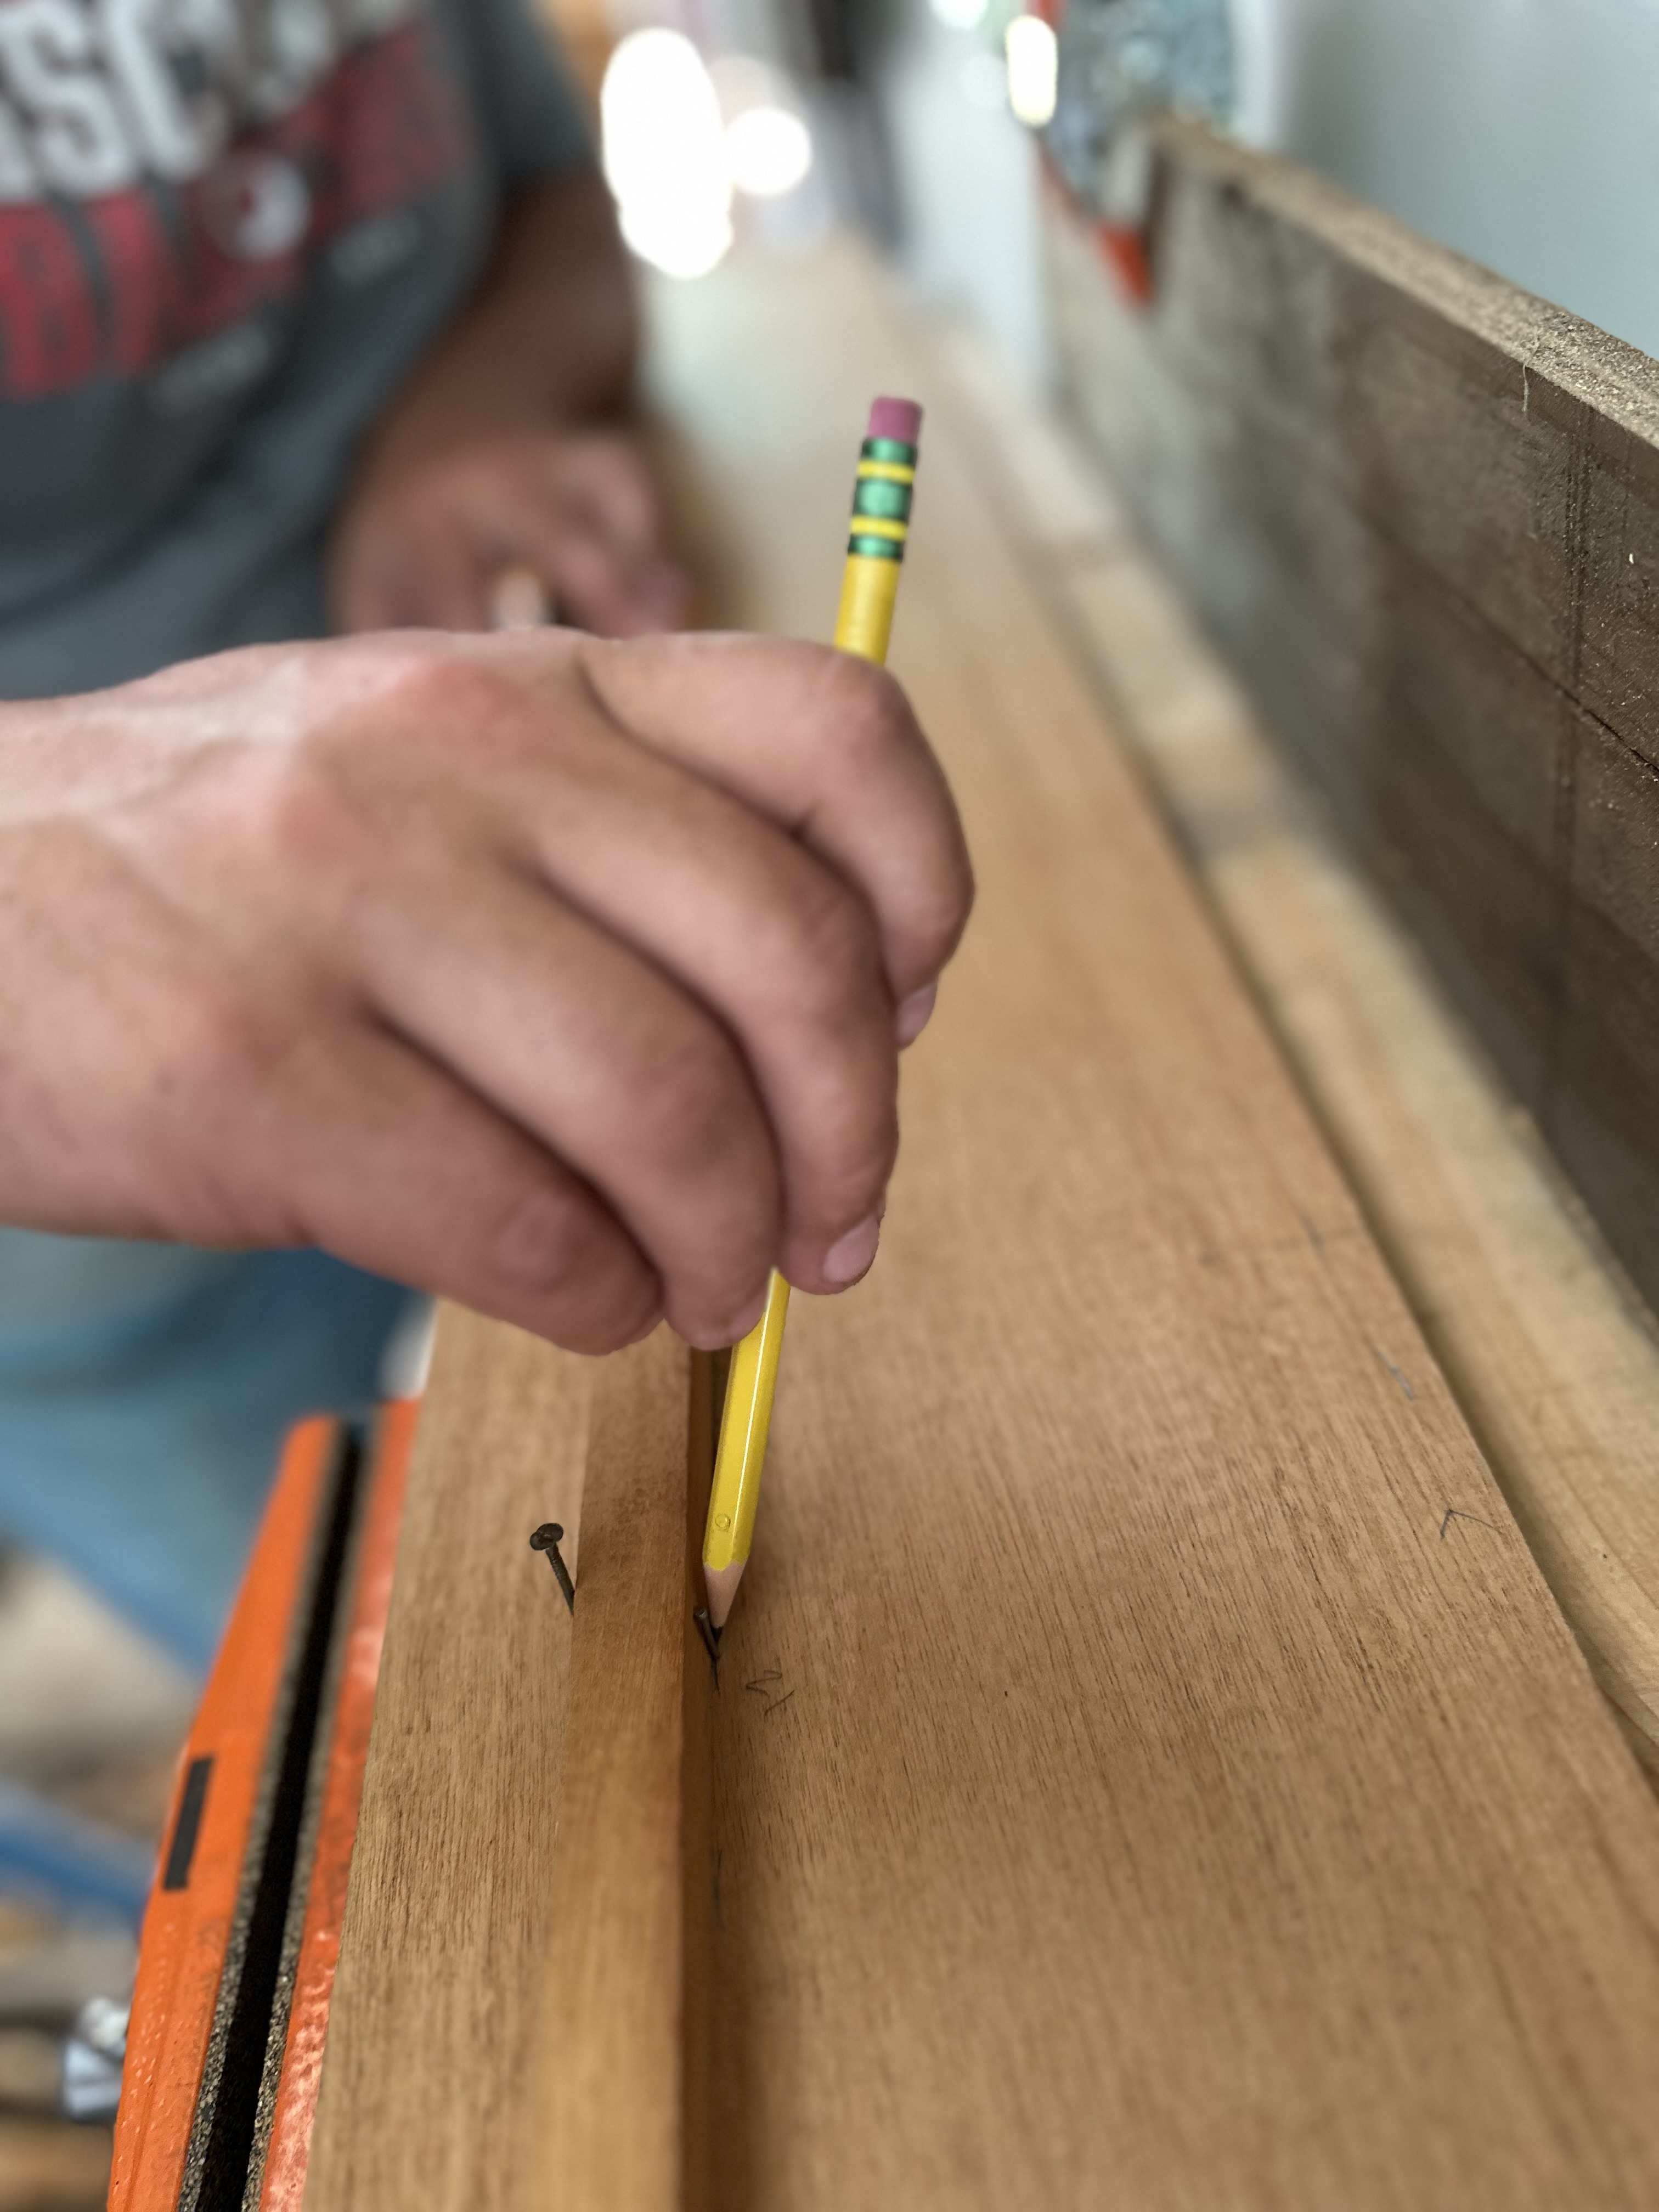
The planks don’t meet their neighbors at a right angle. The bevel changes continuously along the length of the plank as the hull curvature shifts from station to station. This is called a rolling bevel, and if you don’t get it right, the boat looks (are we picking up on a theme?).
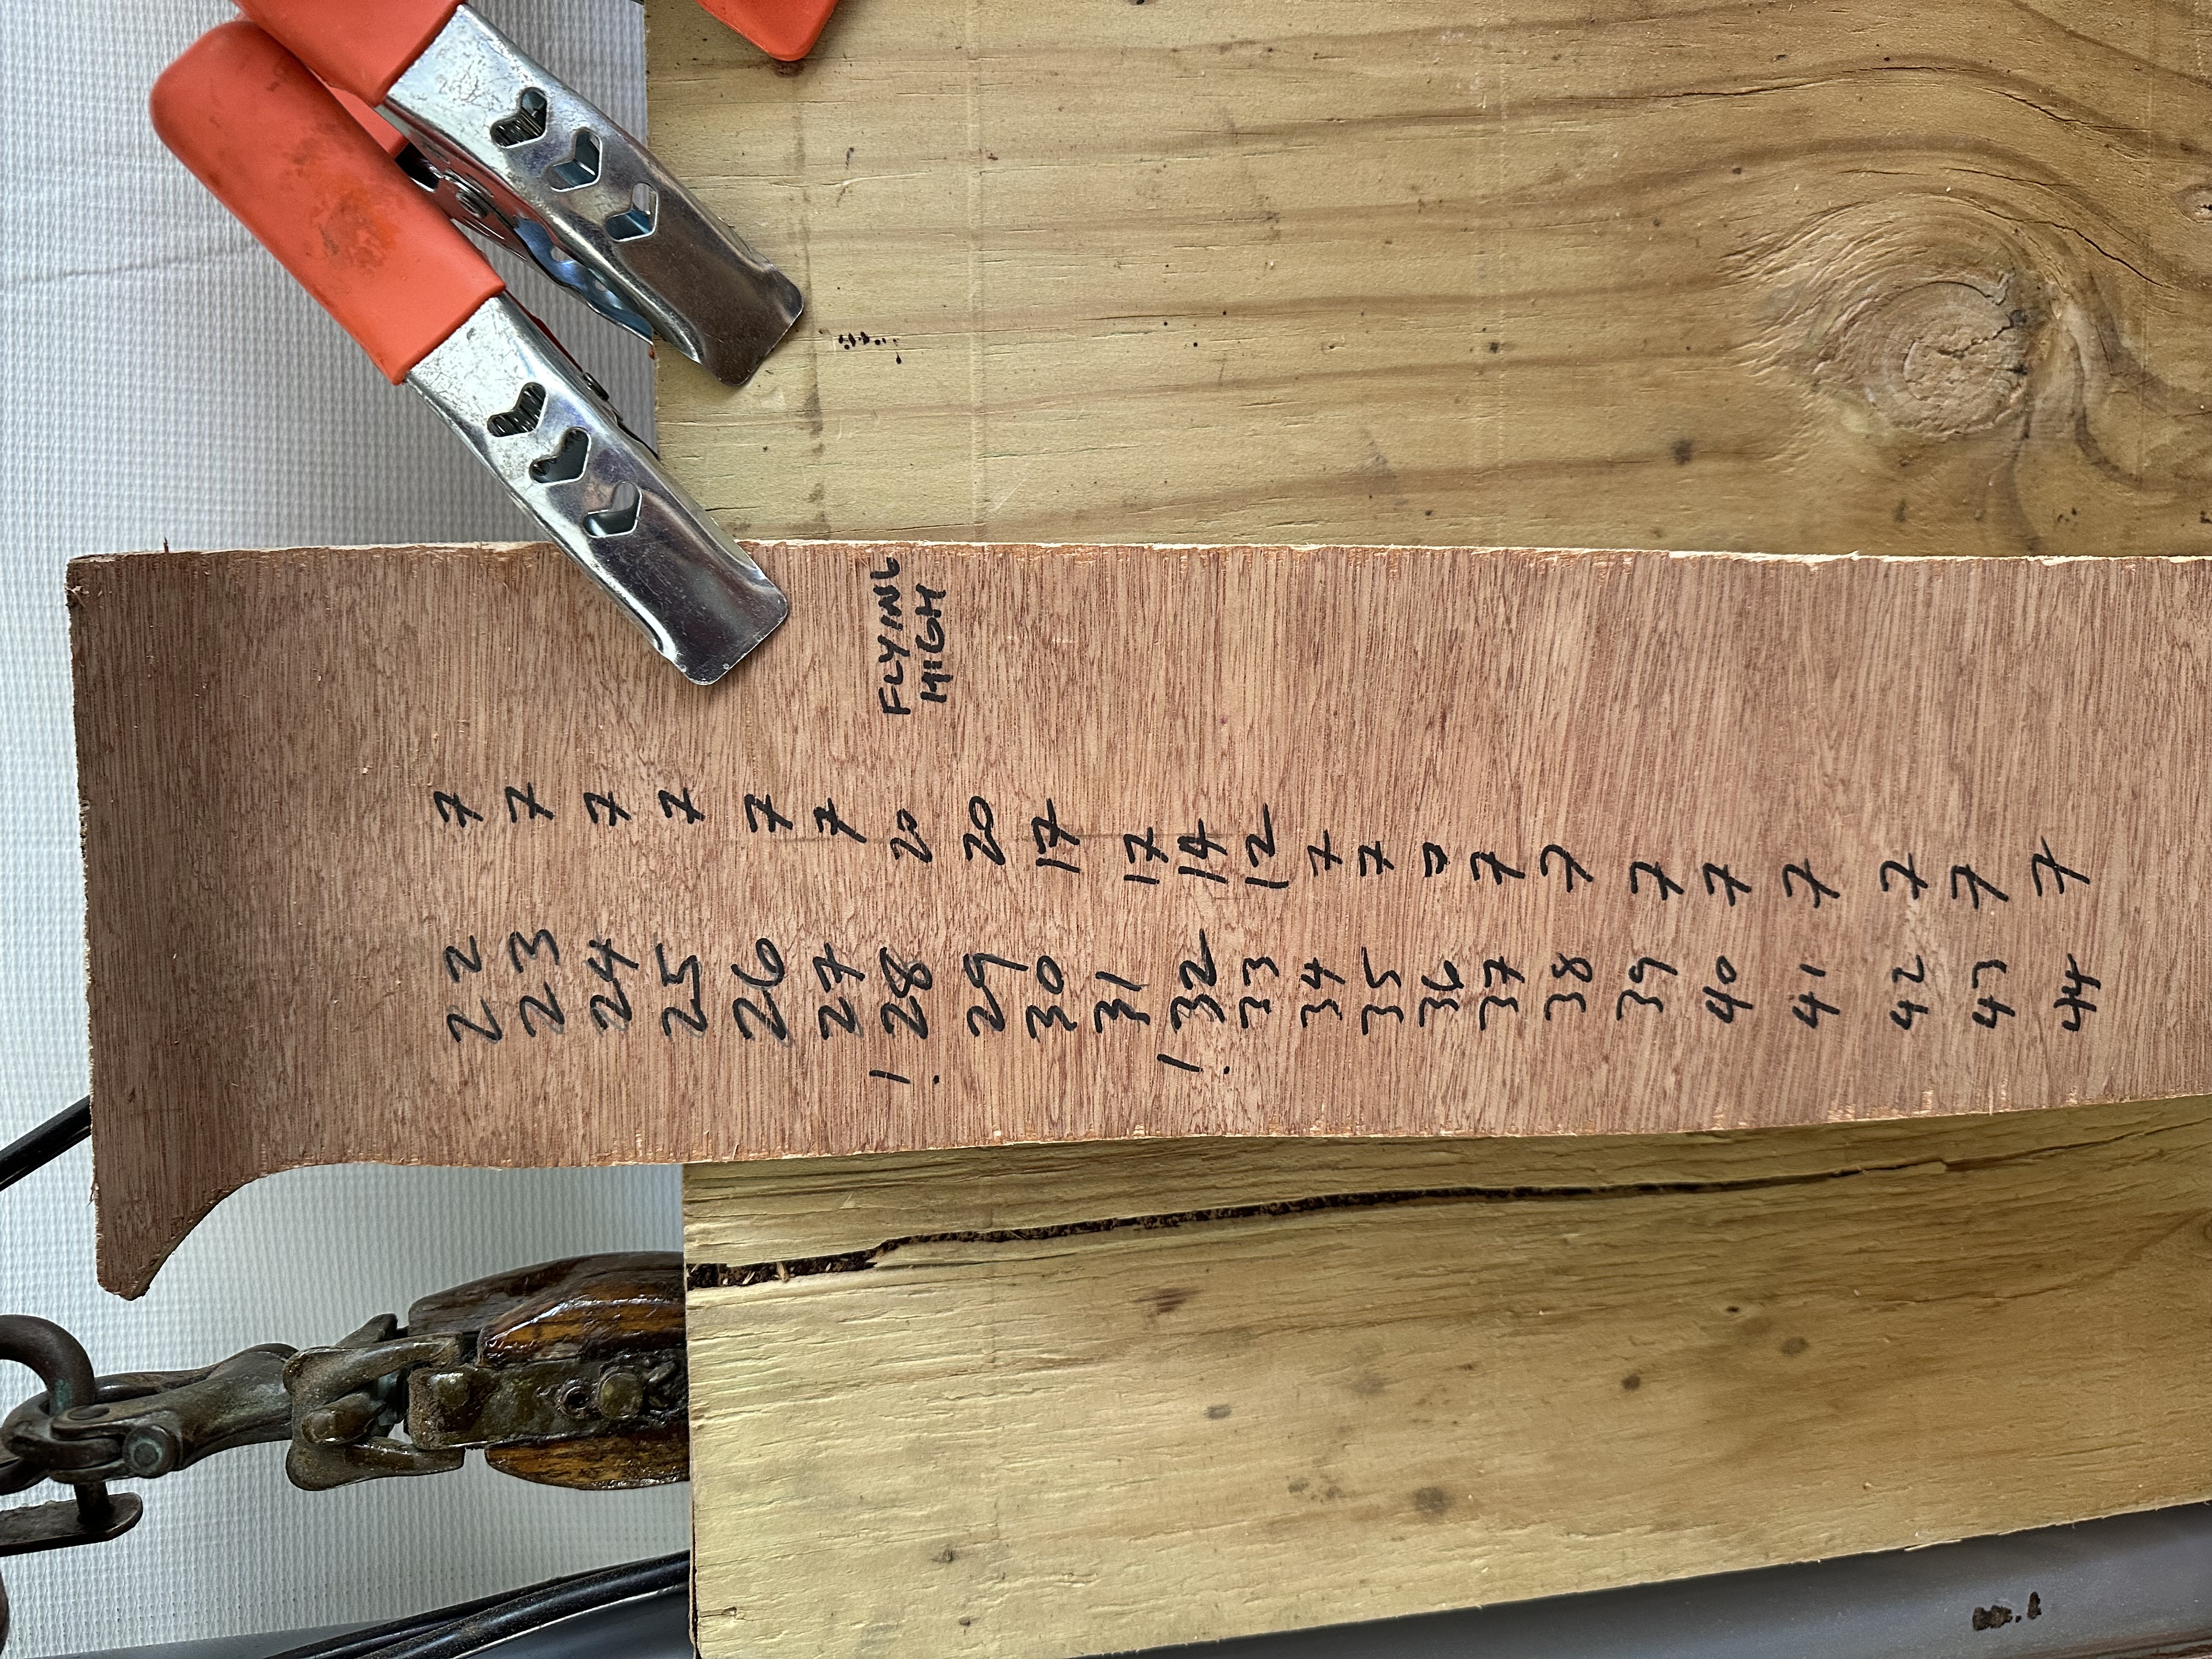
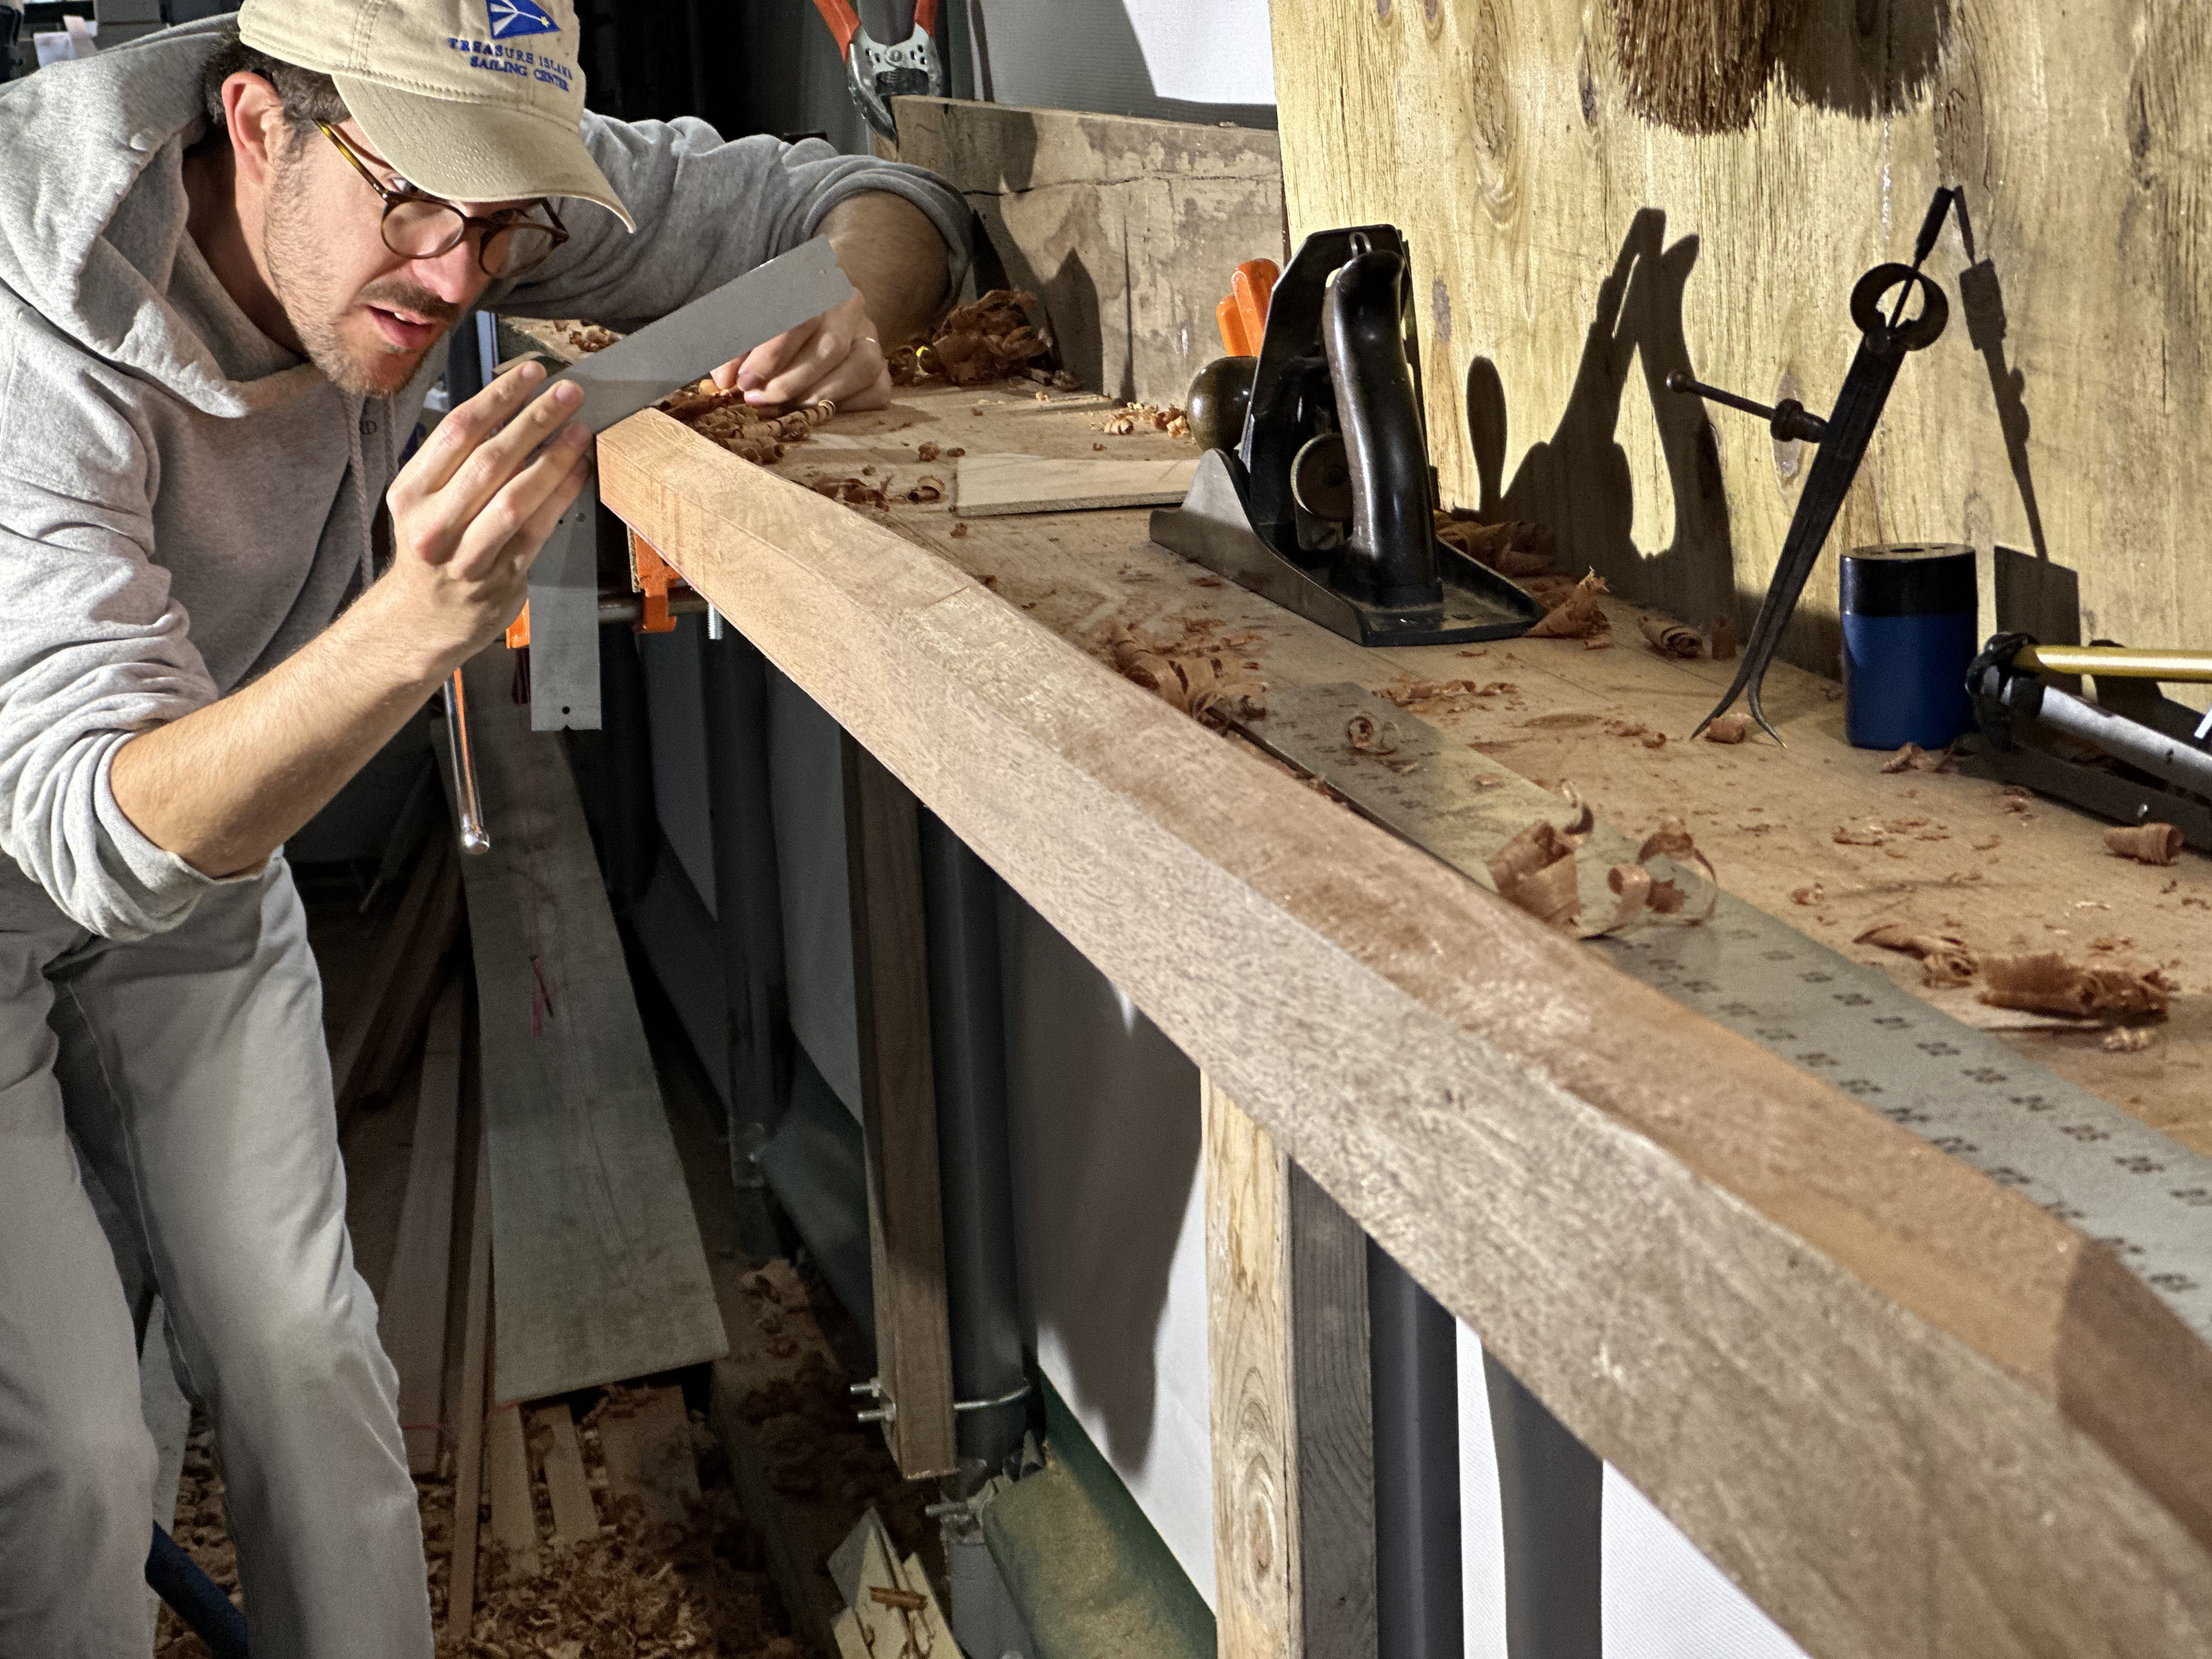
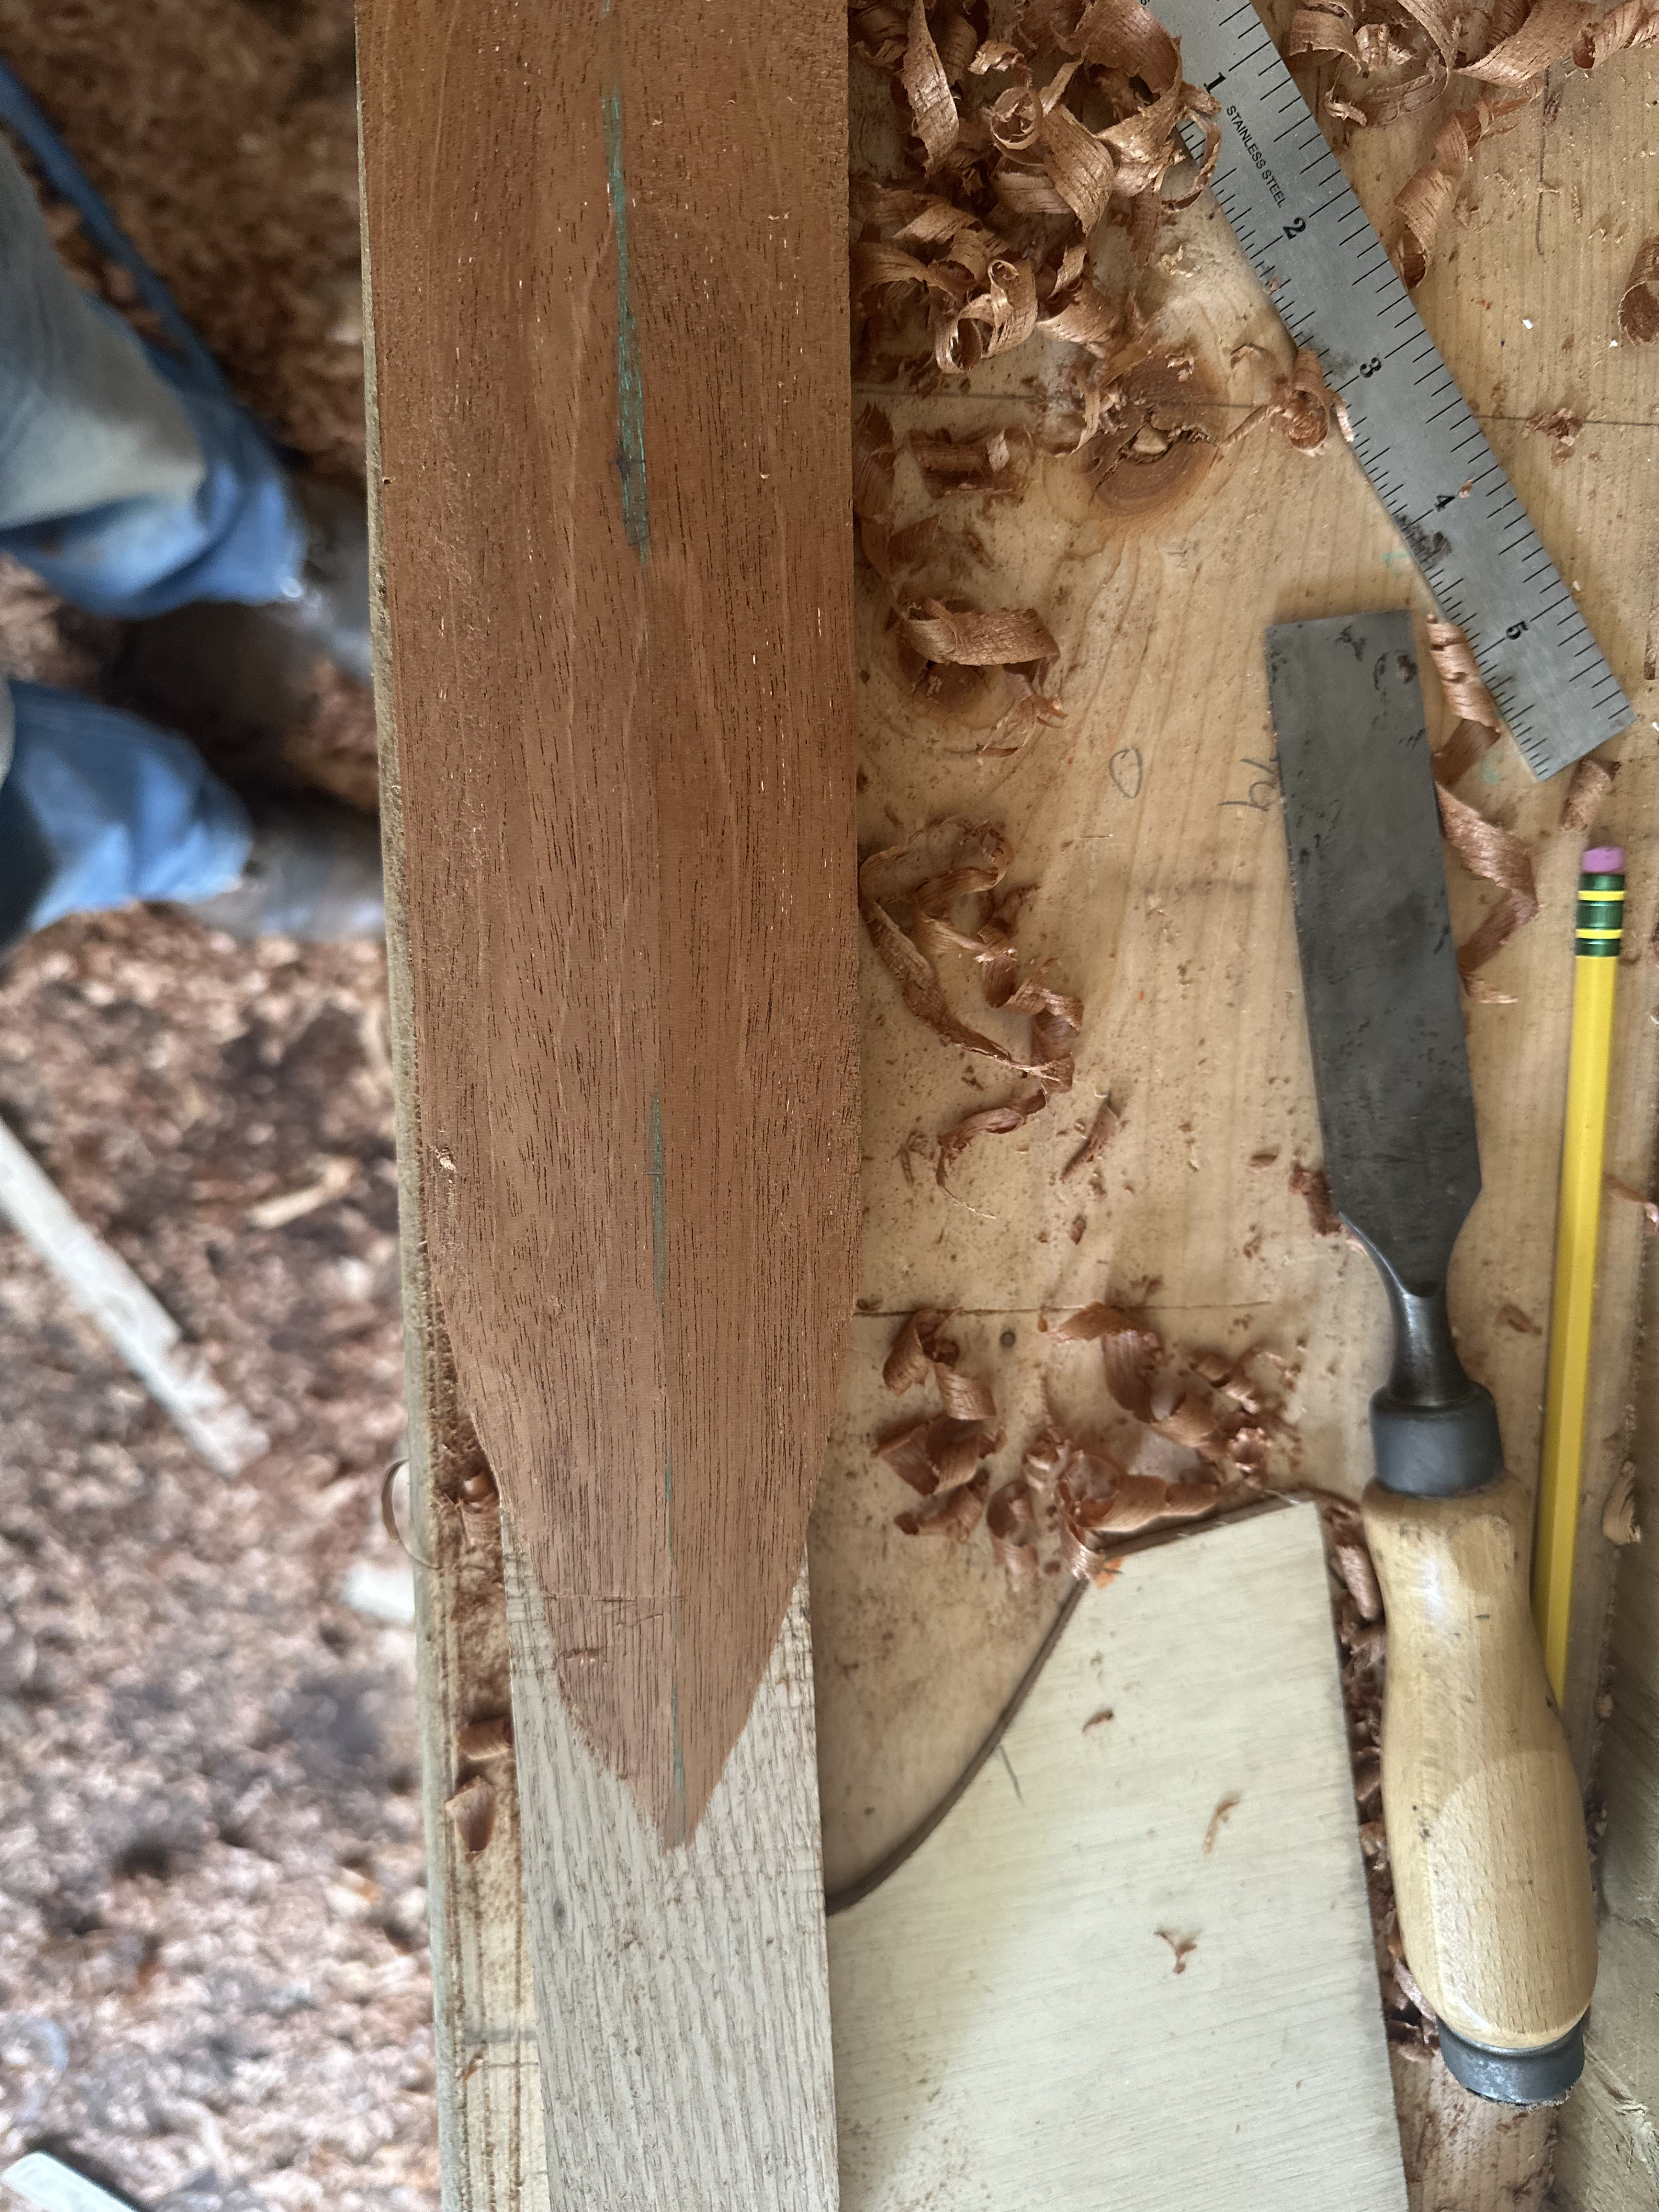
We measured the bevel at each frame station using a bevel gauge, then wrote the readings on a piece of scrap for quick reference. These readings directed our final hand planing of the plank edge: at station 22 the bevel is one angle, at station 30 it’s another, and everything in between has to transition smoothly. The human eye and the tips of the fingers were the final judges of the fairness of these bevel transitions. They are incredibly sensitive instruments.
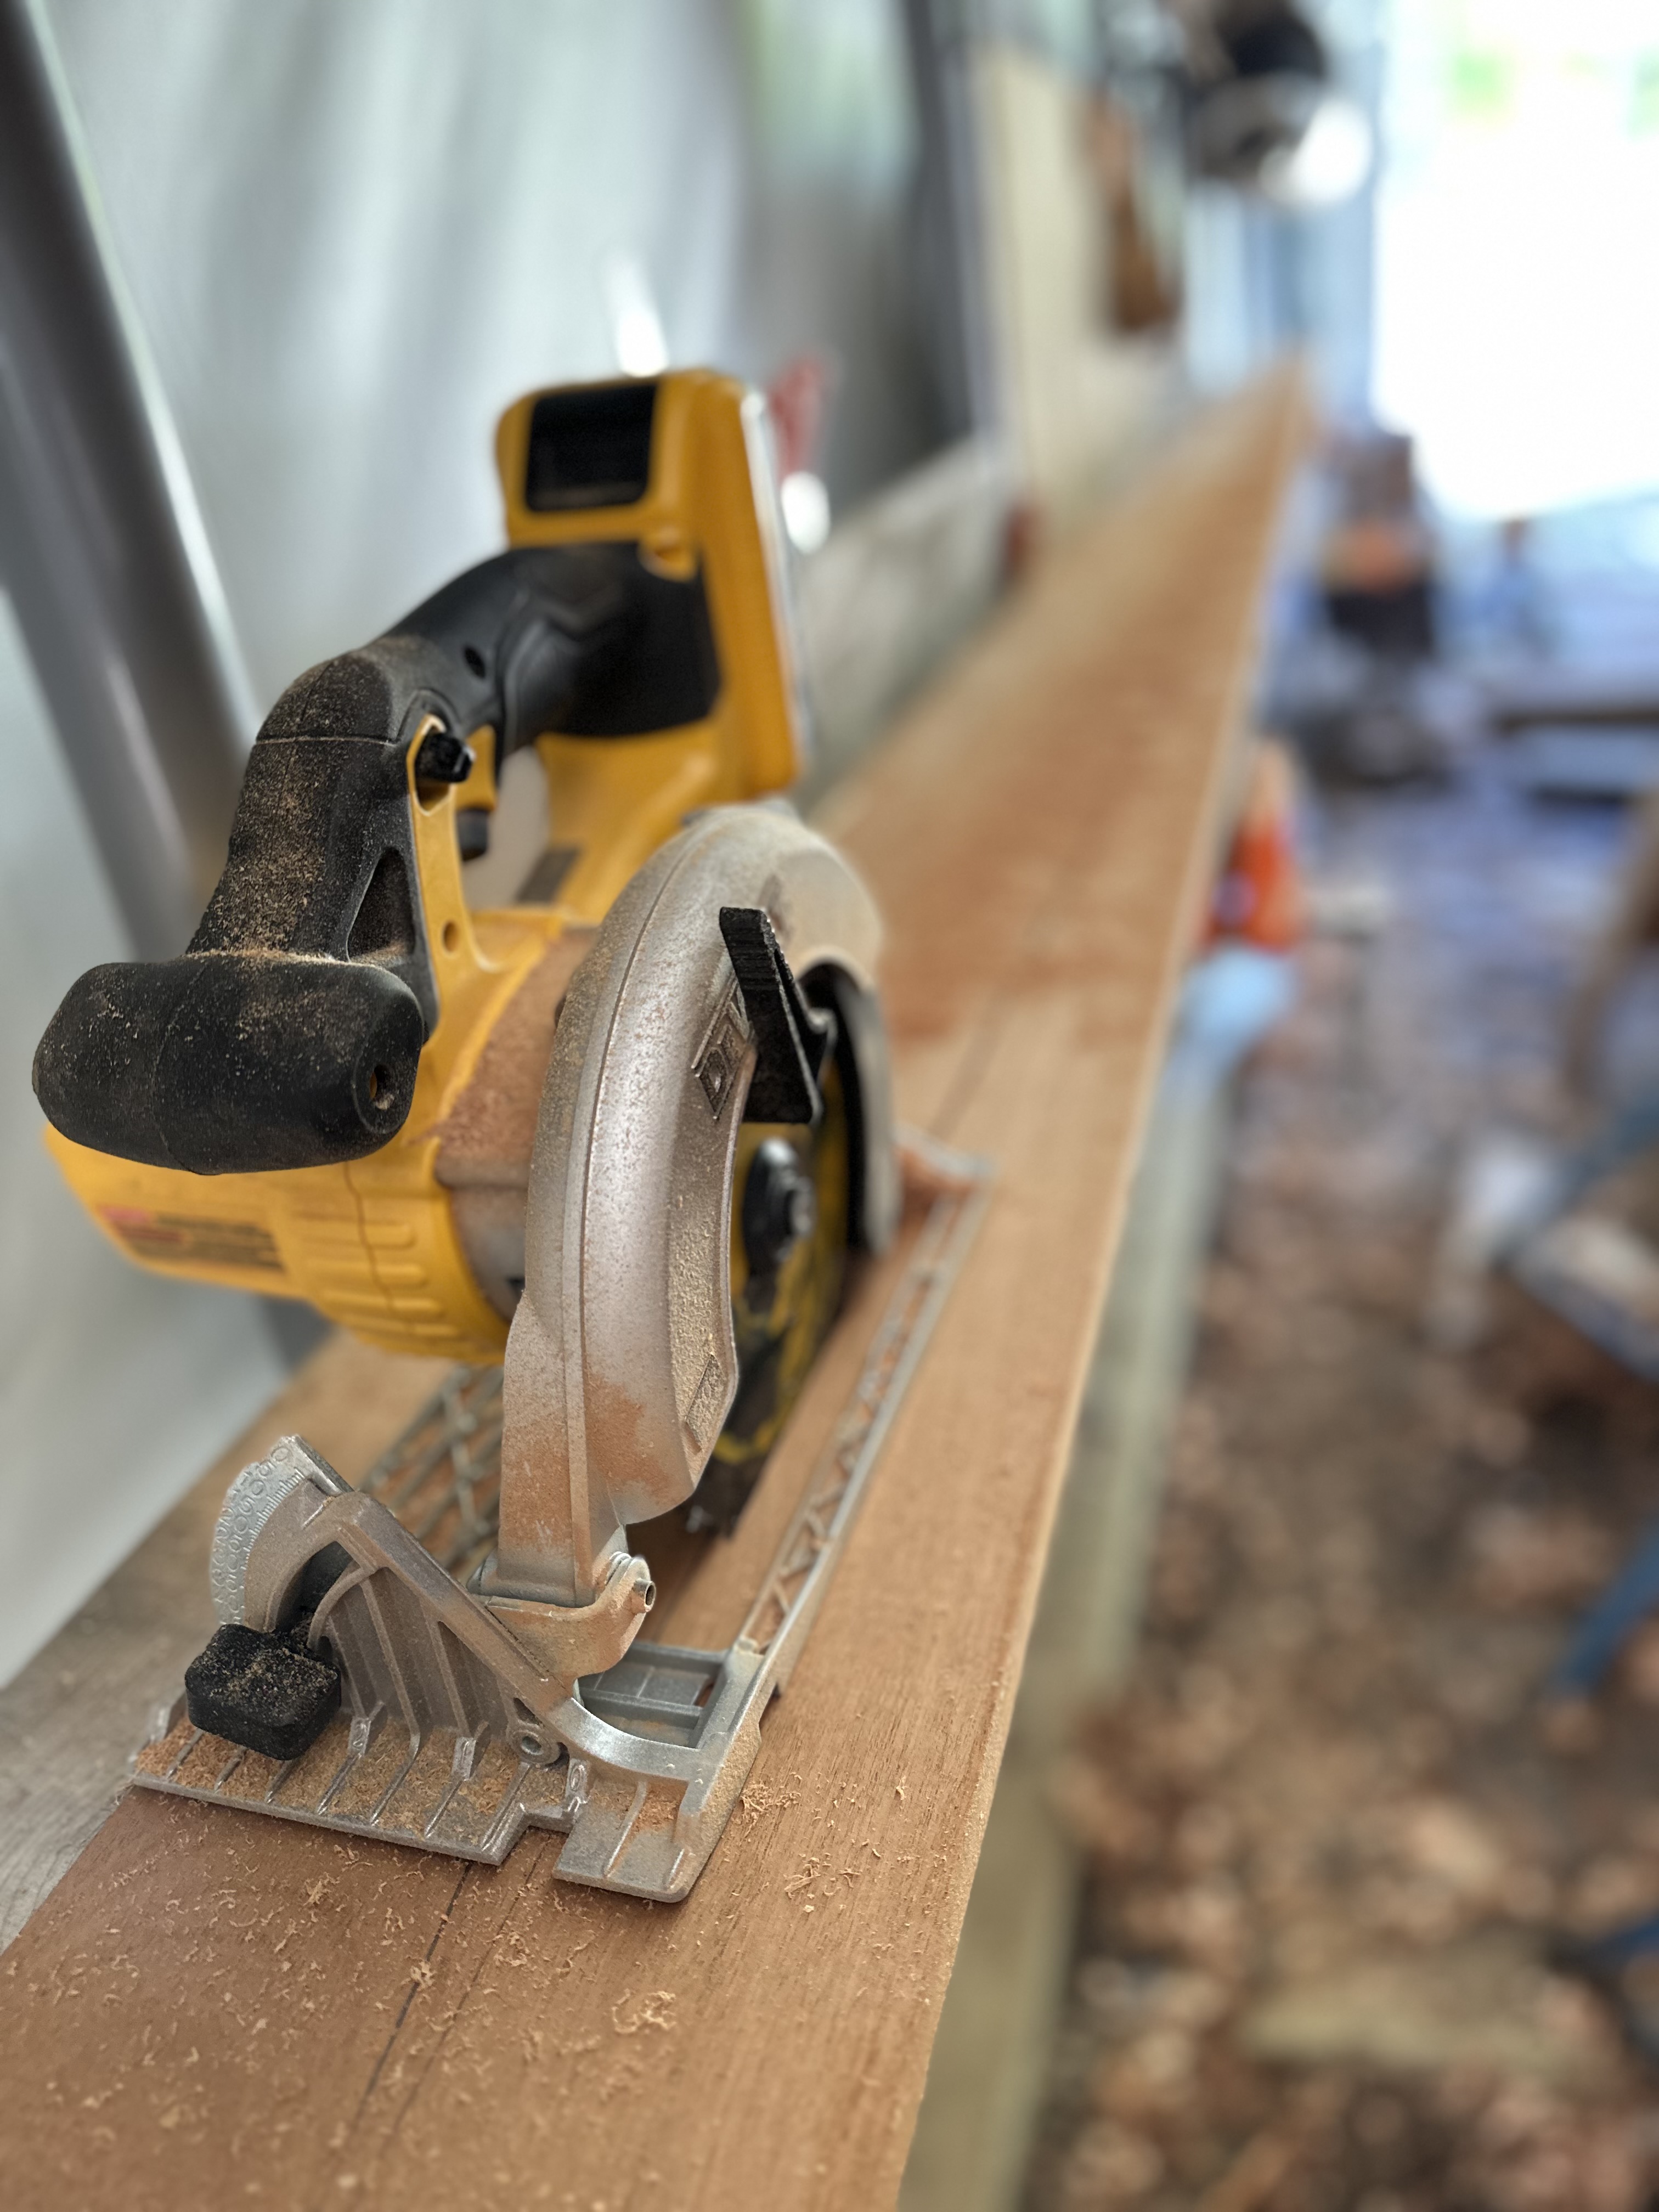
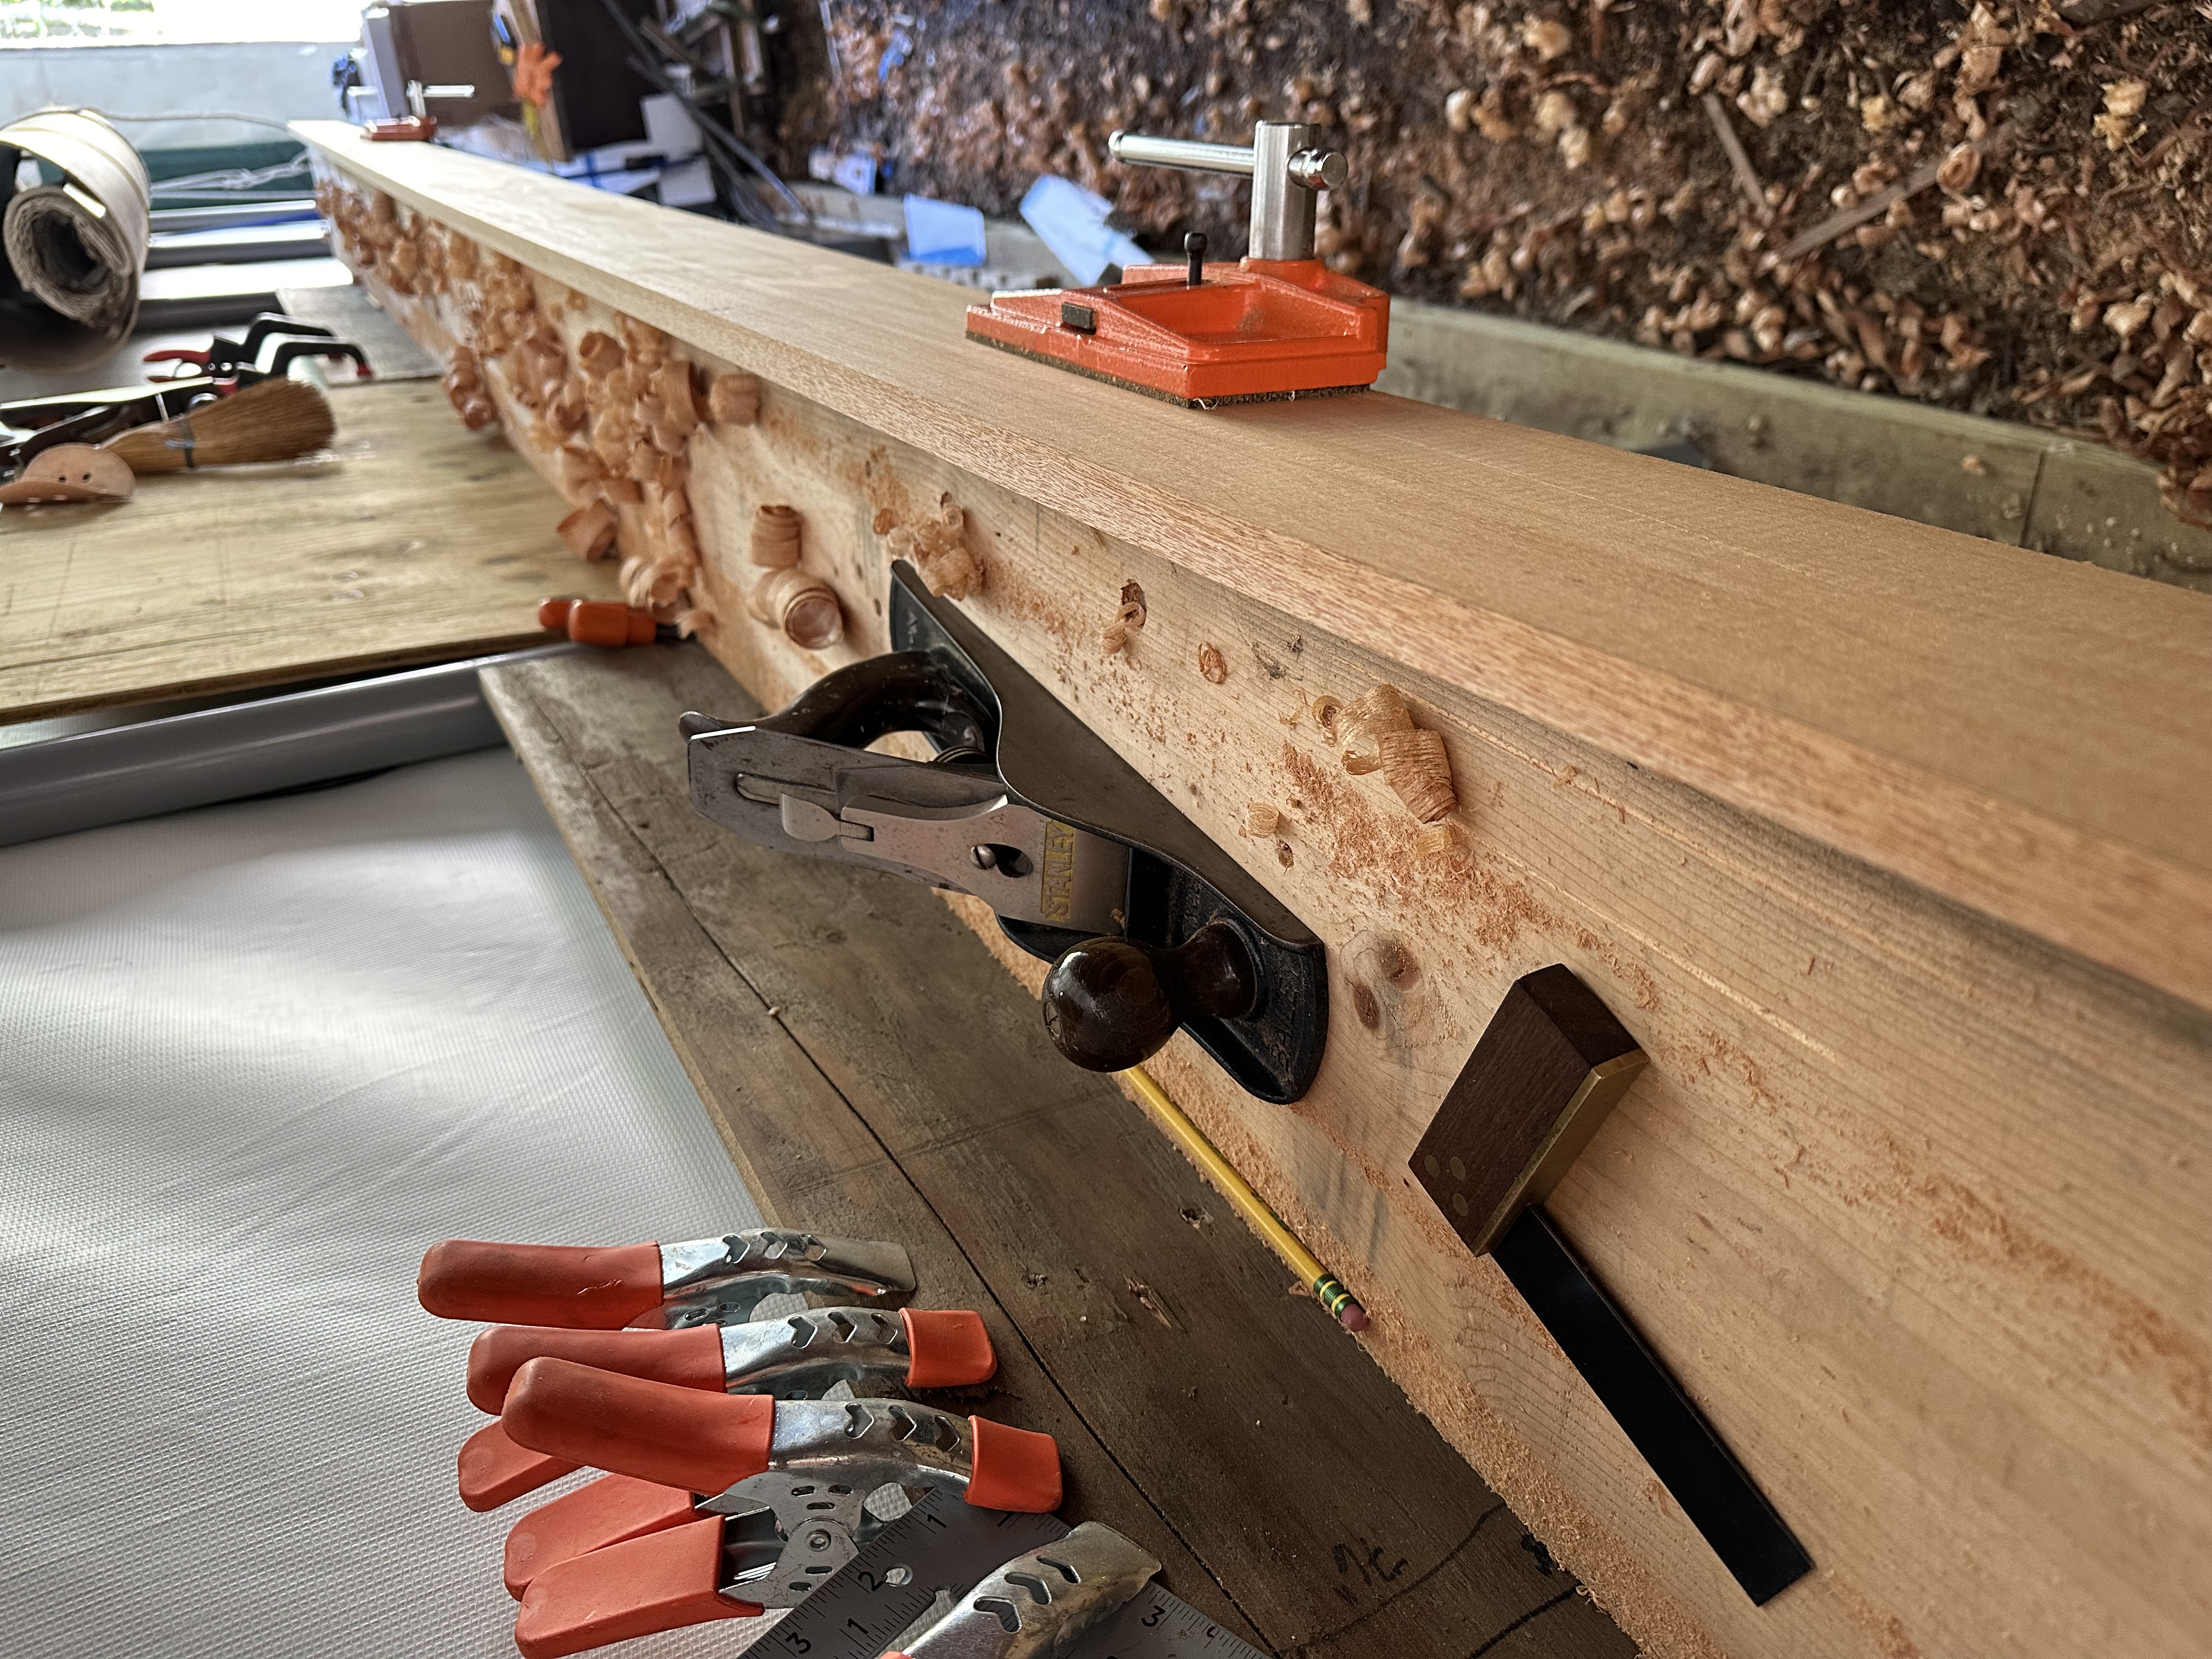
The bevels are cut by hand with planes on a two-vise workbench — the plank is clamped on edge and you work the bevel in progressively, checking against your readings as you go.
Matching camber
There’s another degree of freedom we haven’t talked about yet. The inside face of each plank has to match the outside camber of the floor timbers and frames it lands on. If the plank is flat on the inside and the floor timber is curved, you get a gap — the plank only contacts the timber at the edges, and the fasteners can’t pull it tight. Or the fasteners pull the plank in so hard that it cracks down the middle. So you shape the inside face of the plank to match, either convex or concave. This is done by hand.
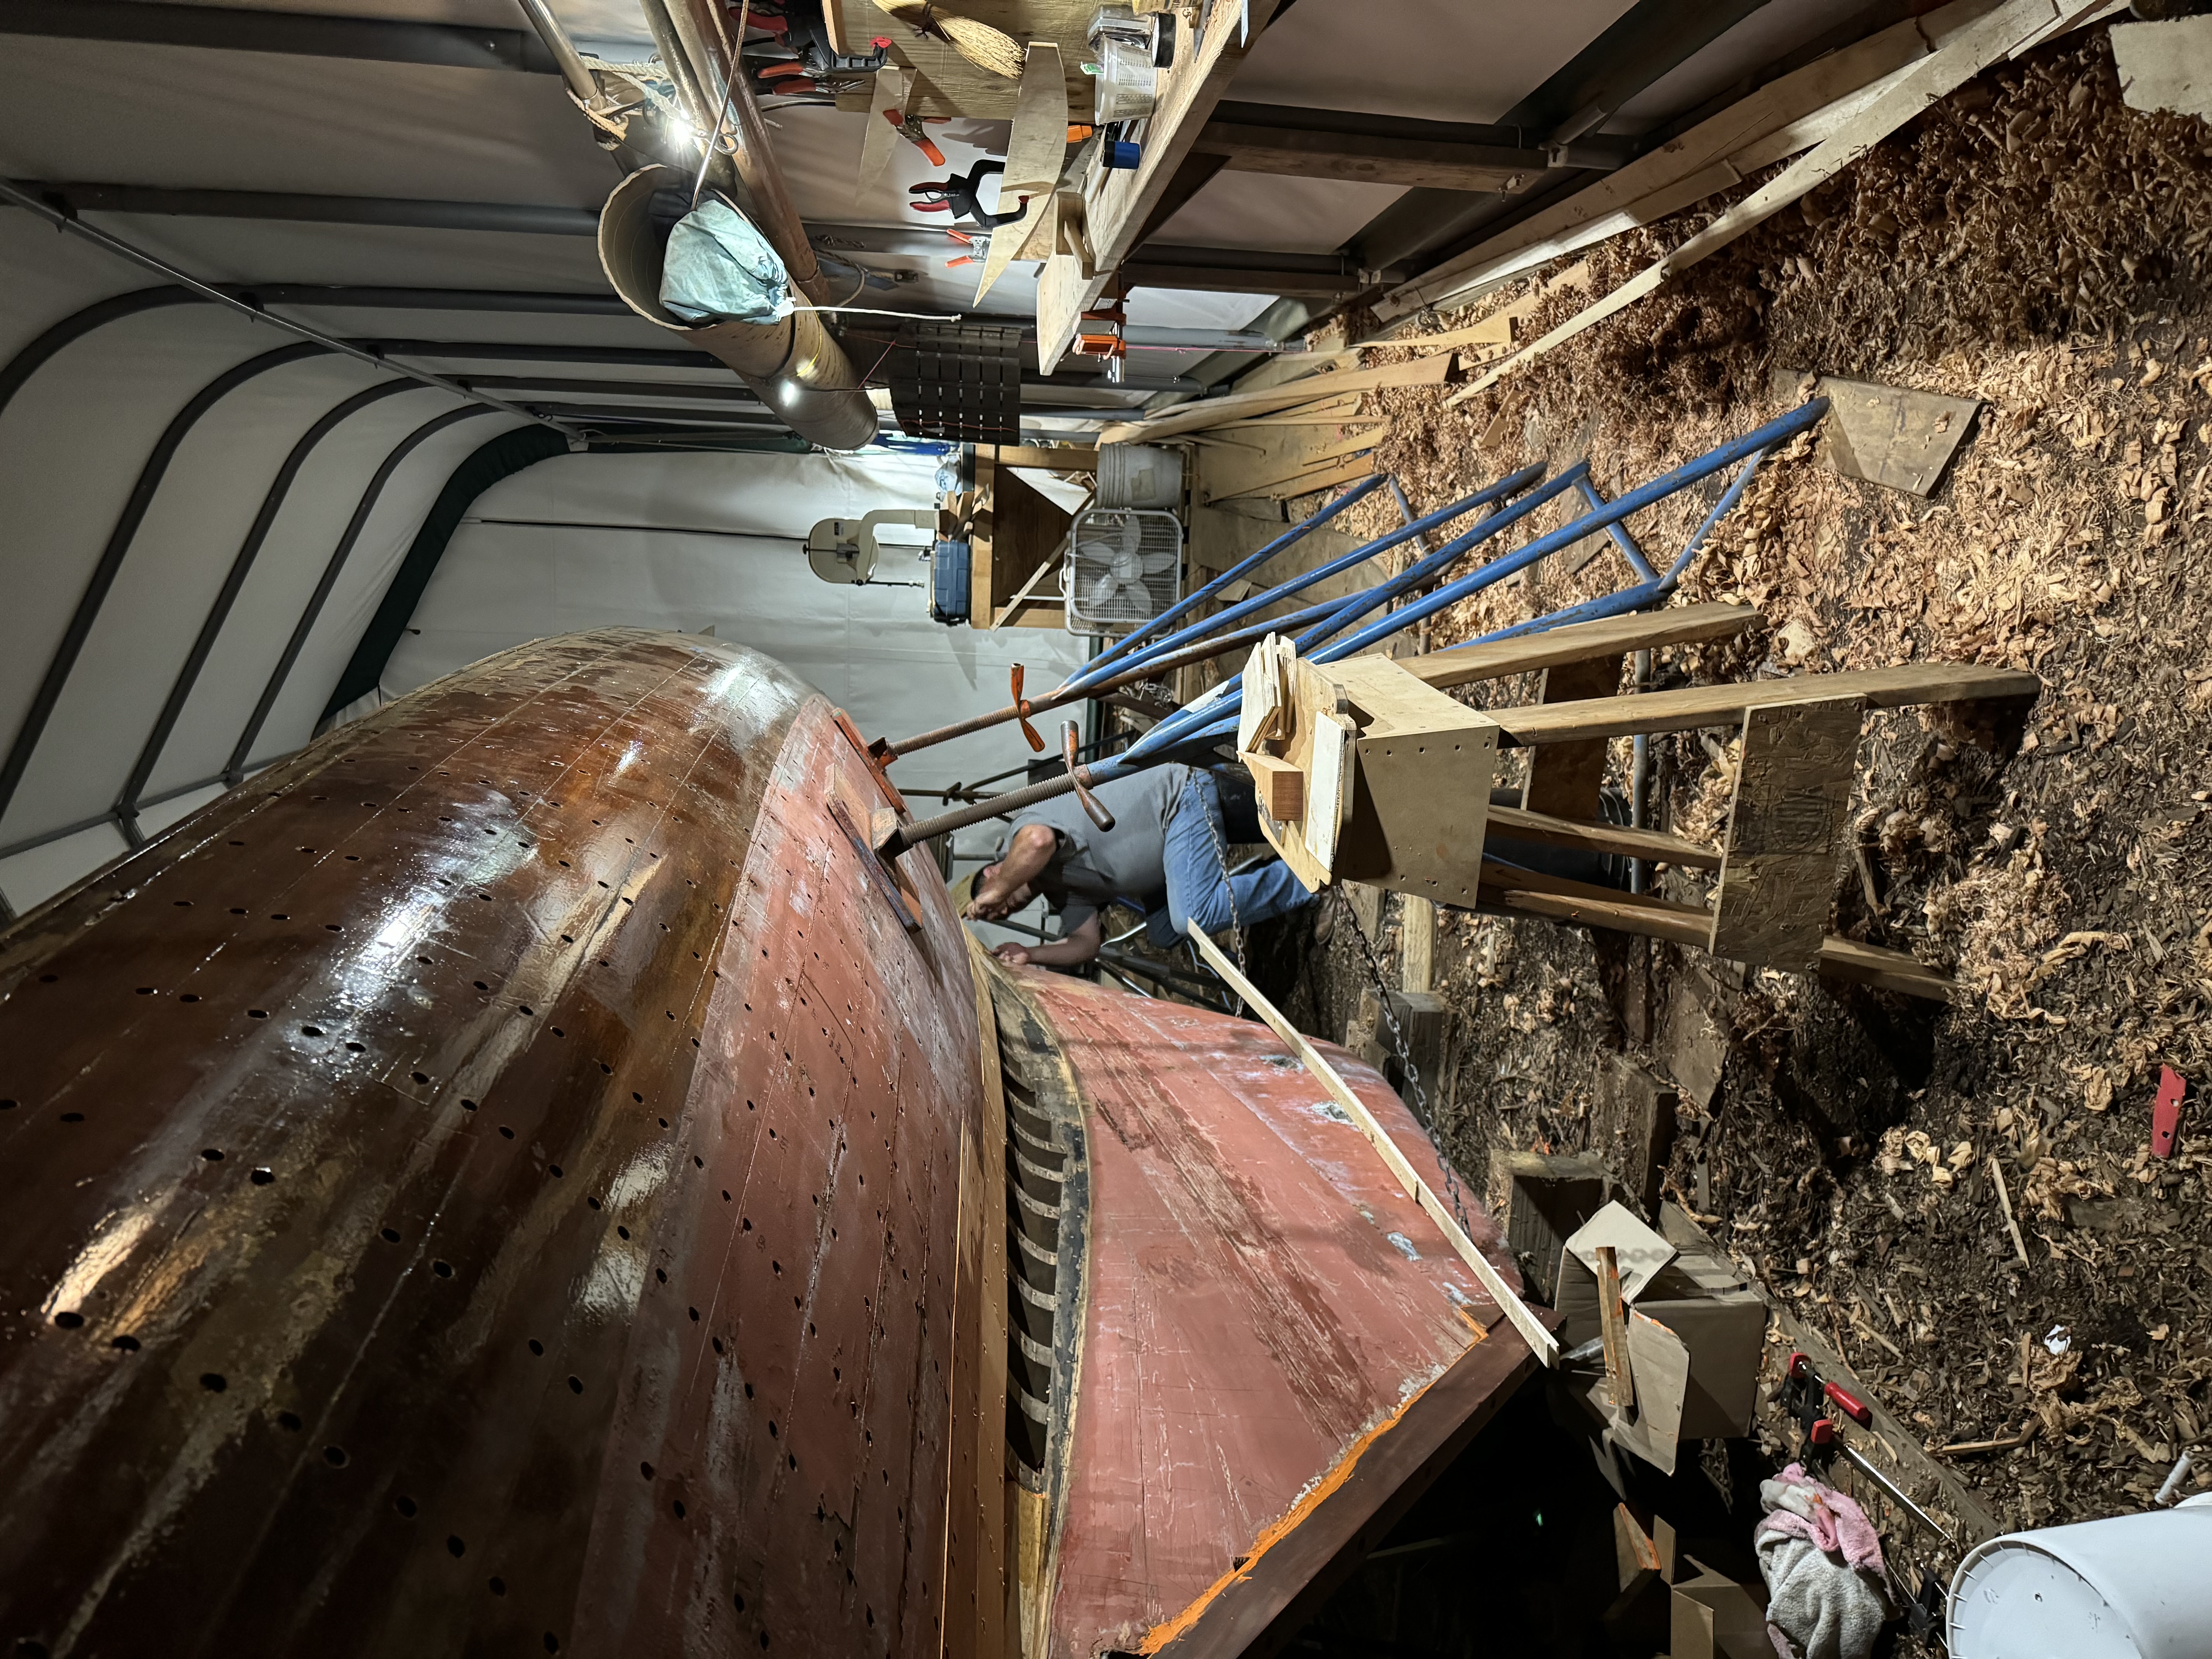
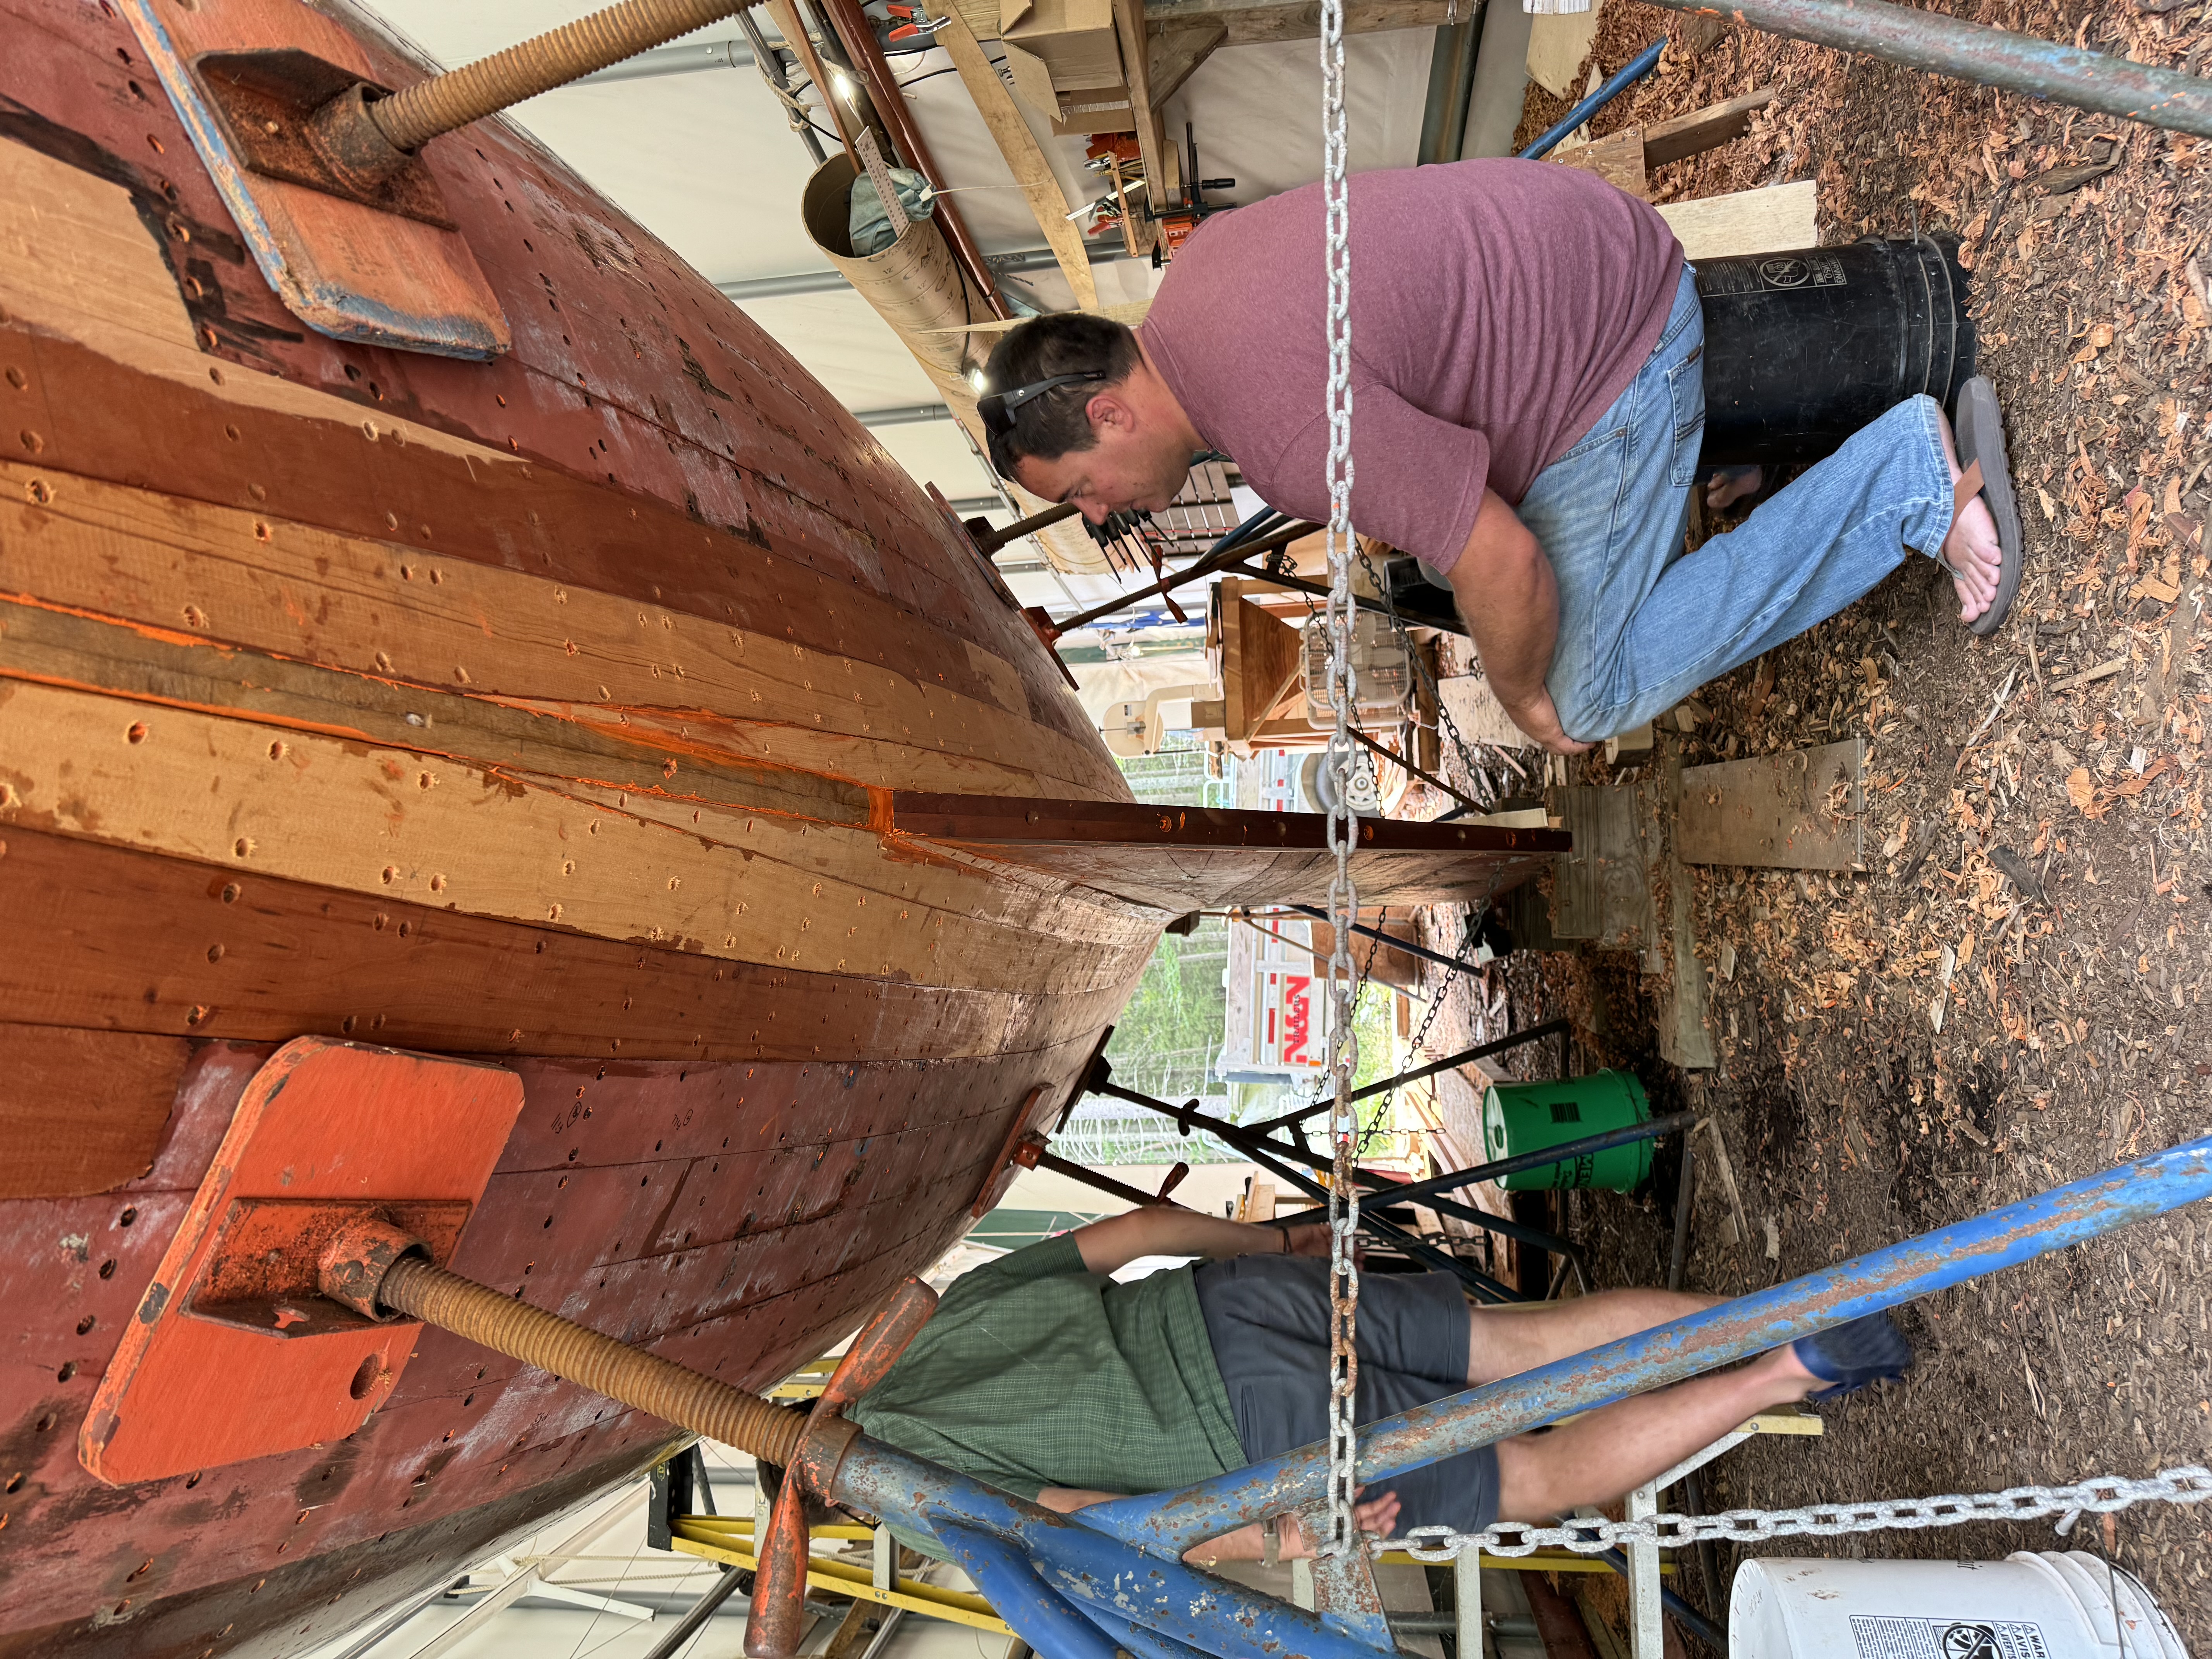
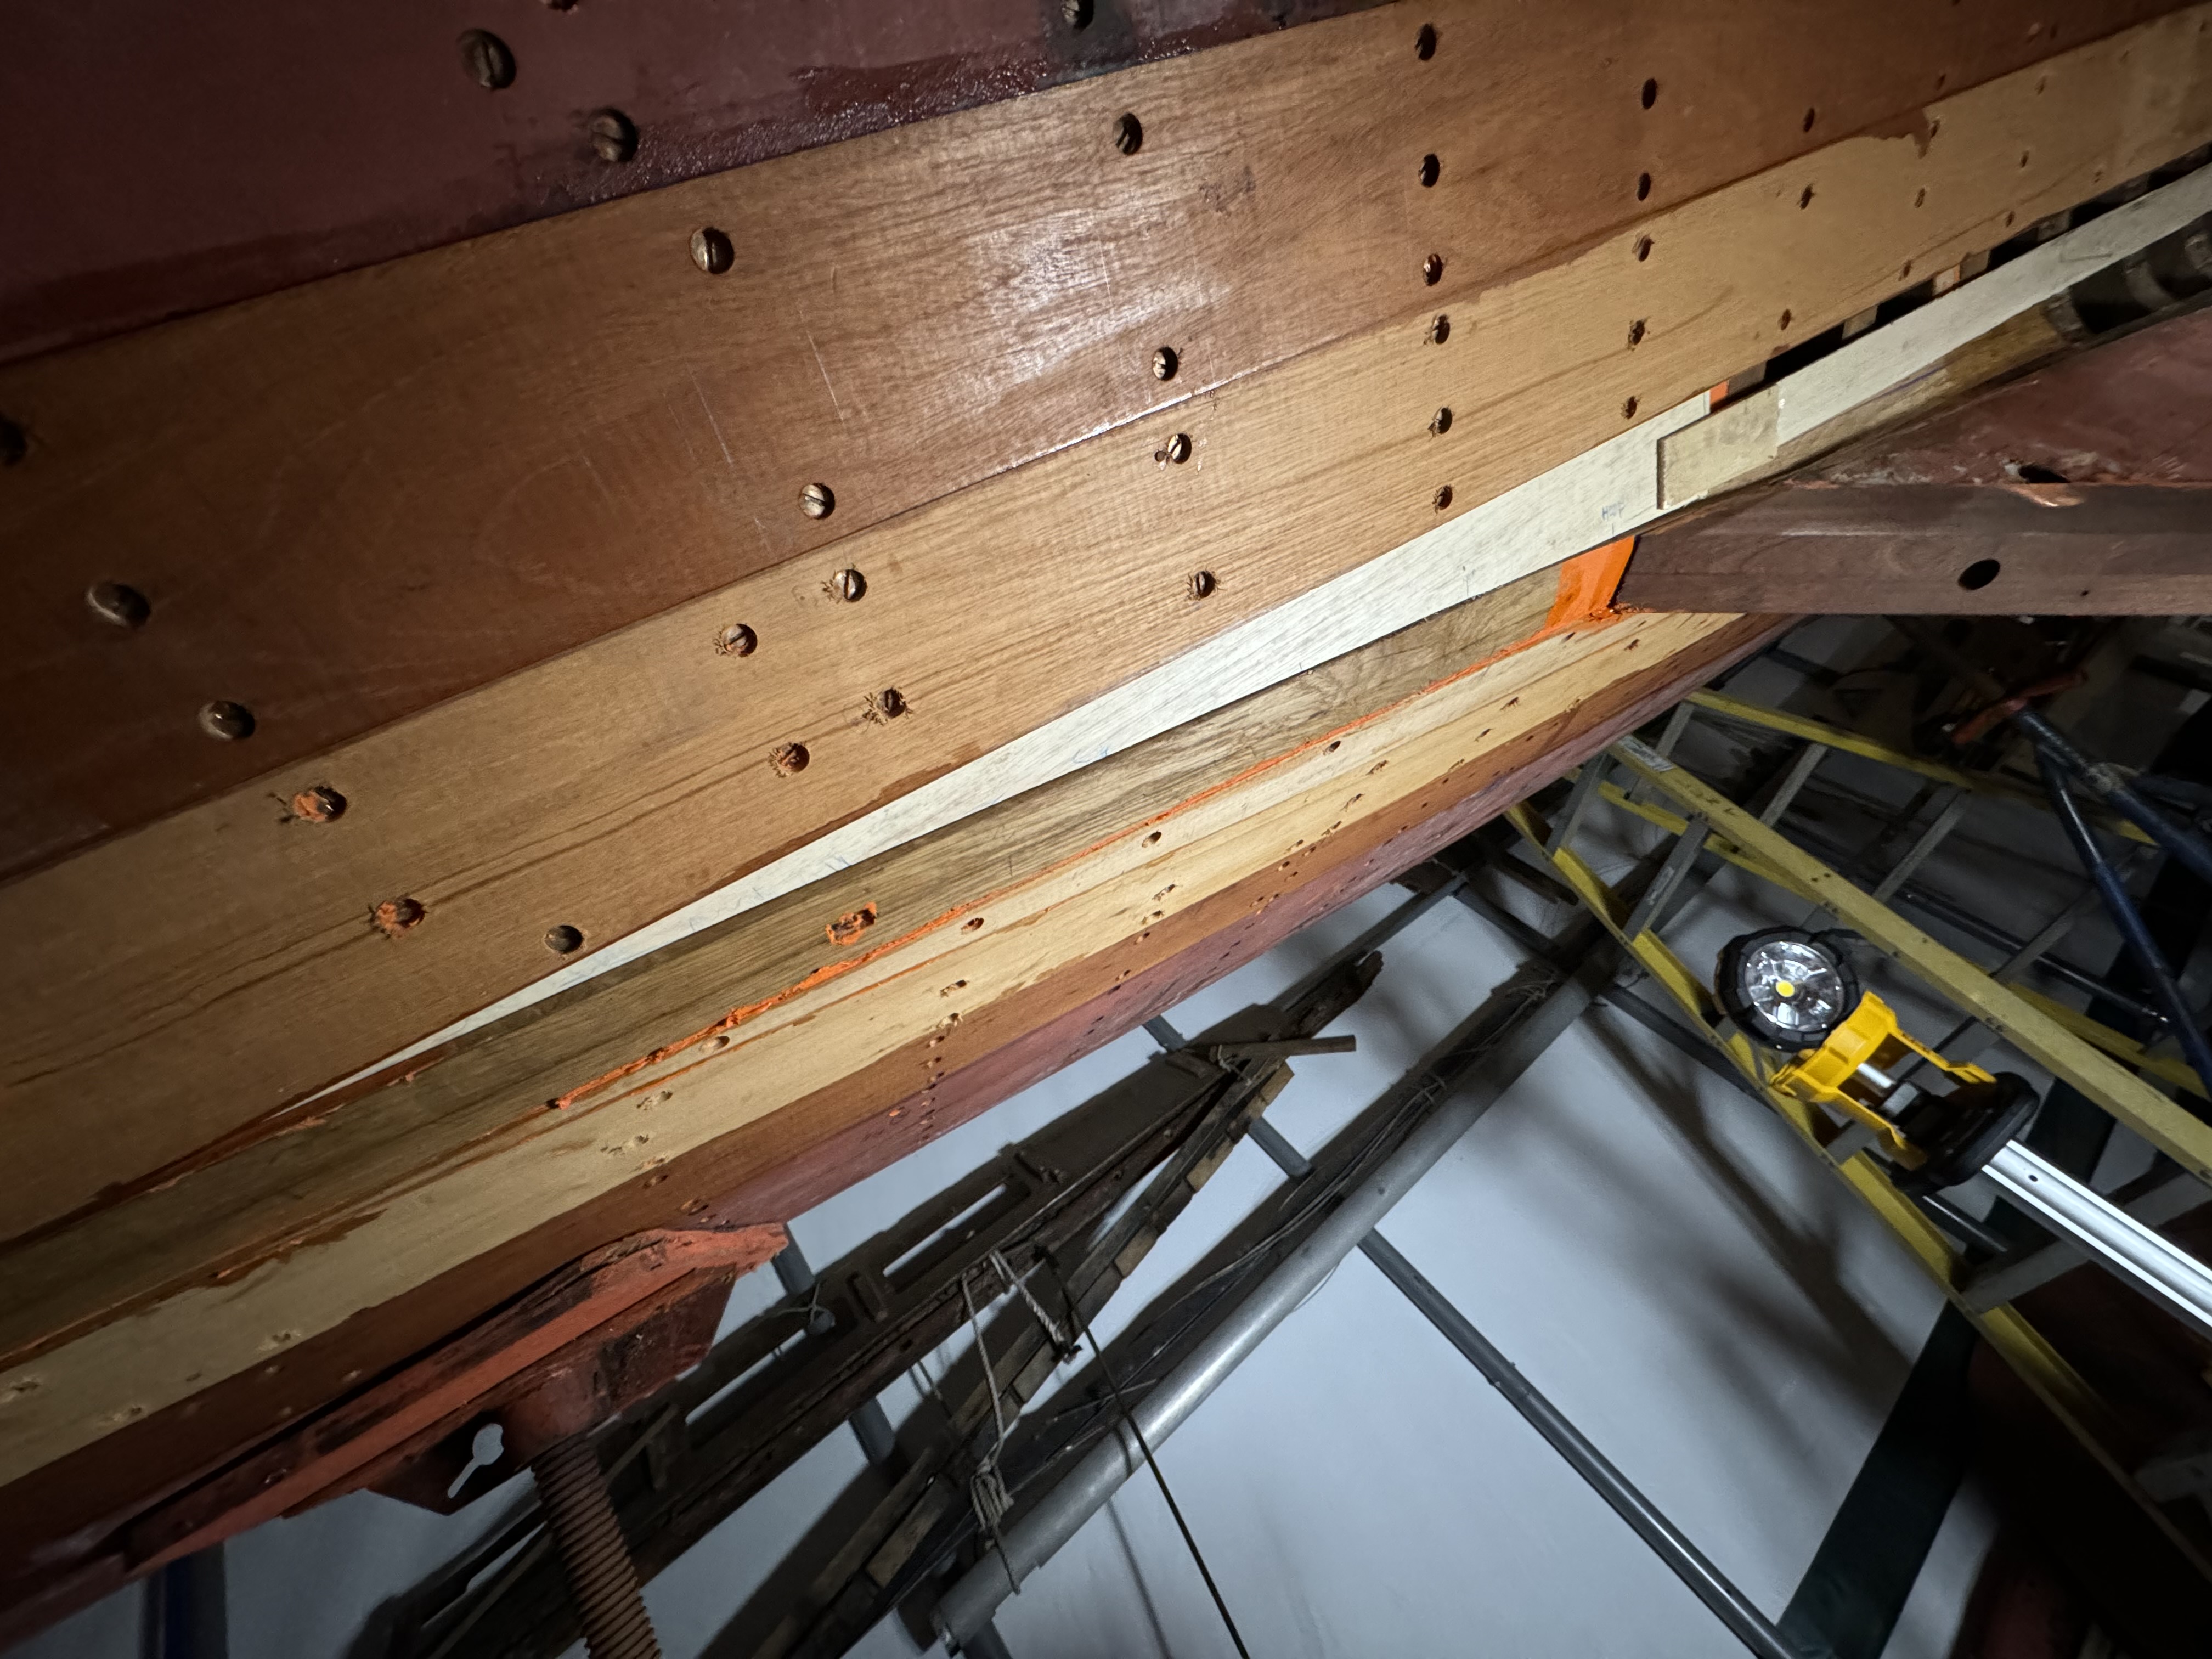
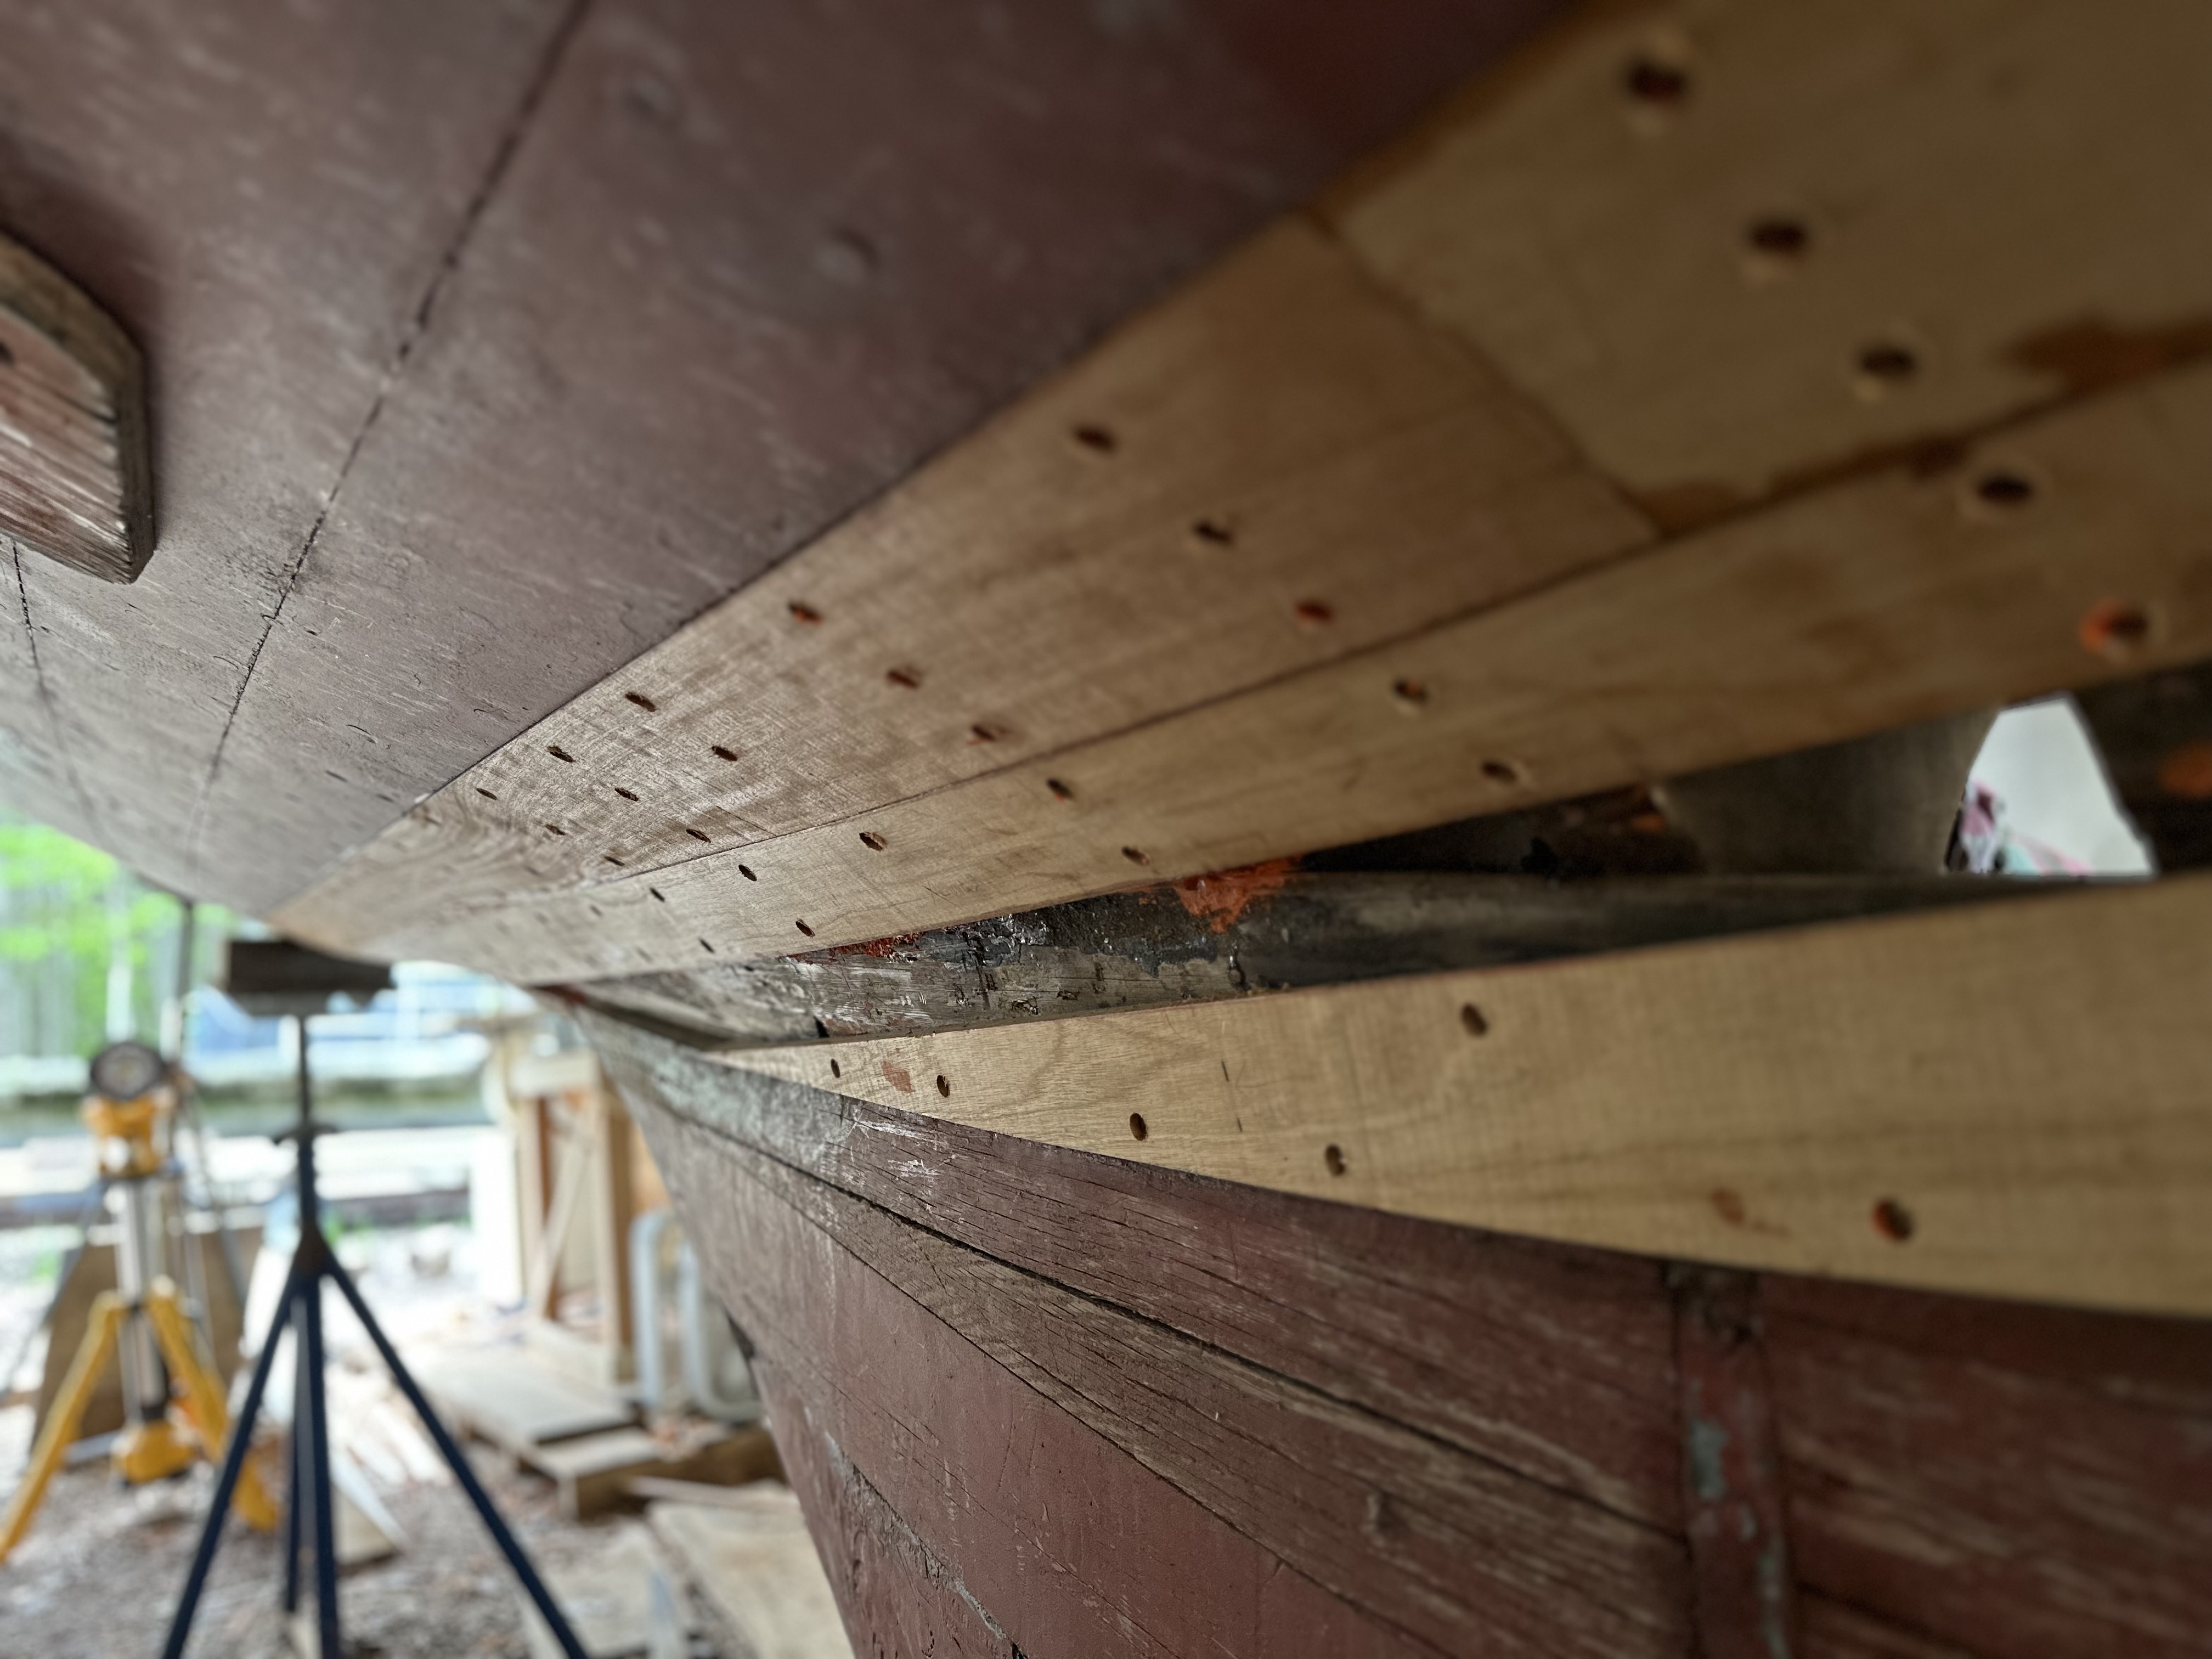
Fitting planks
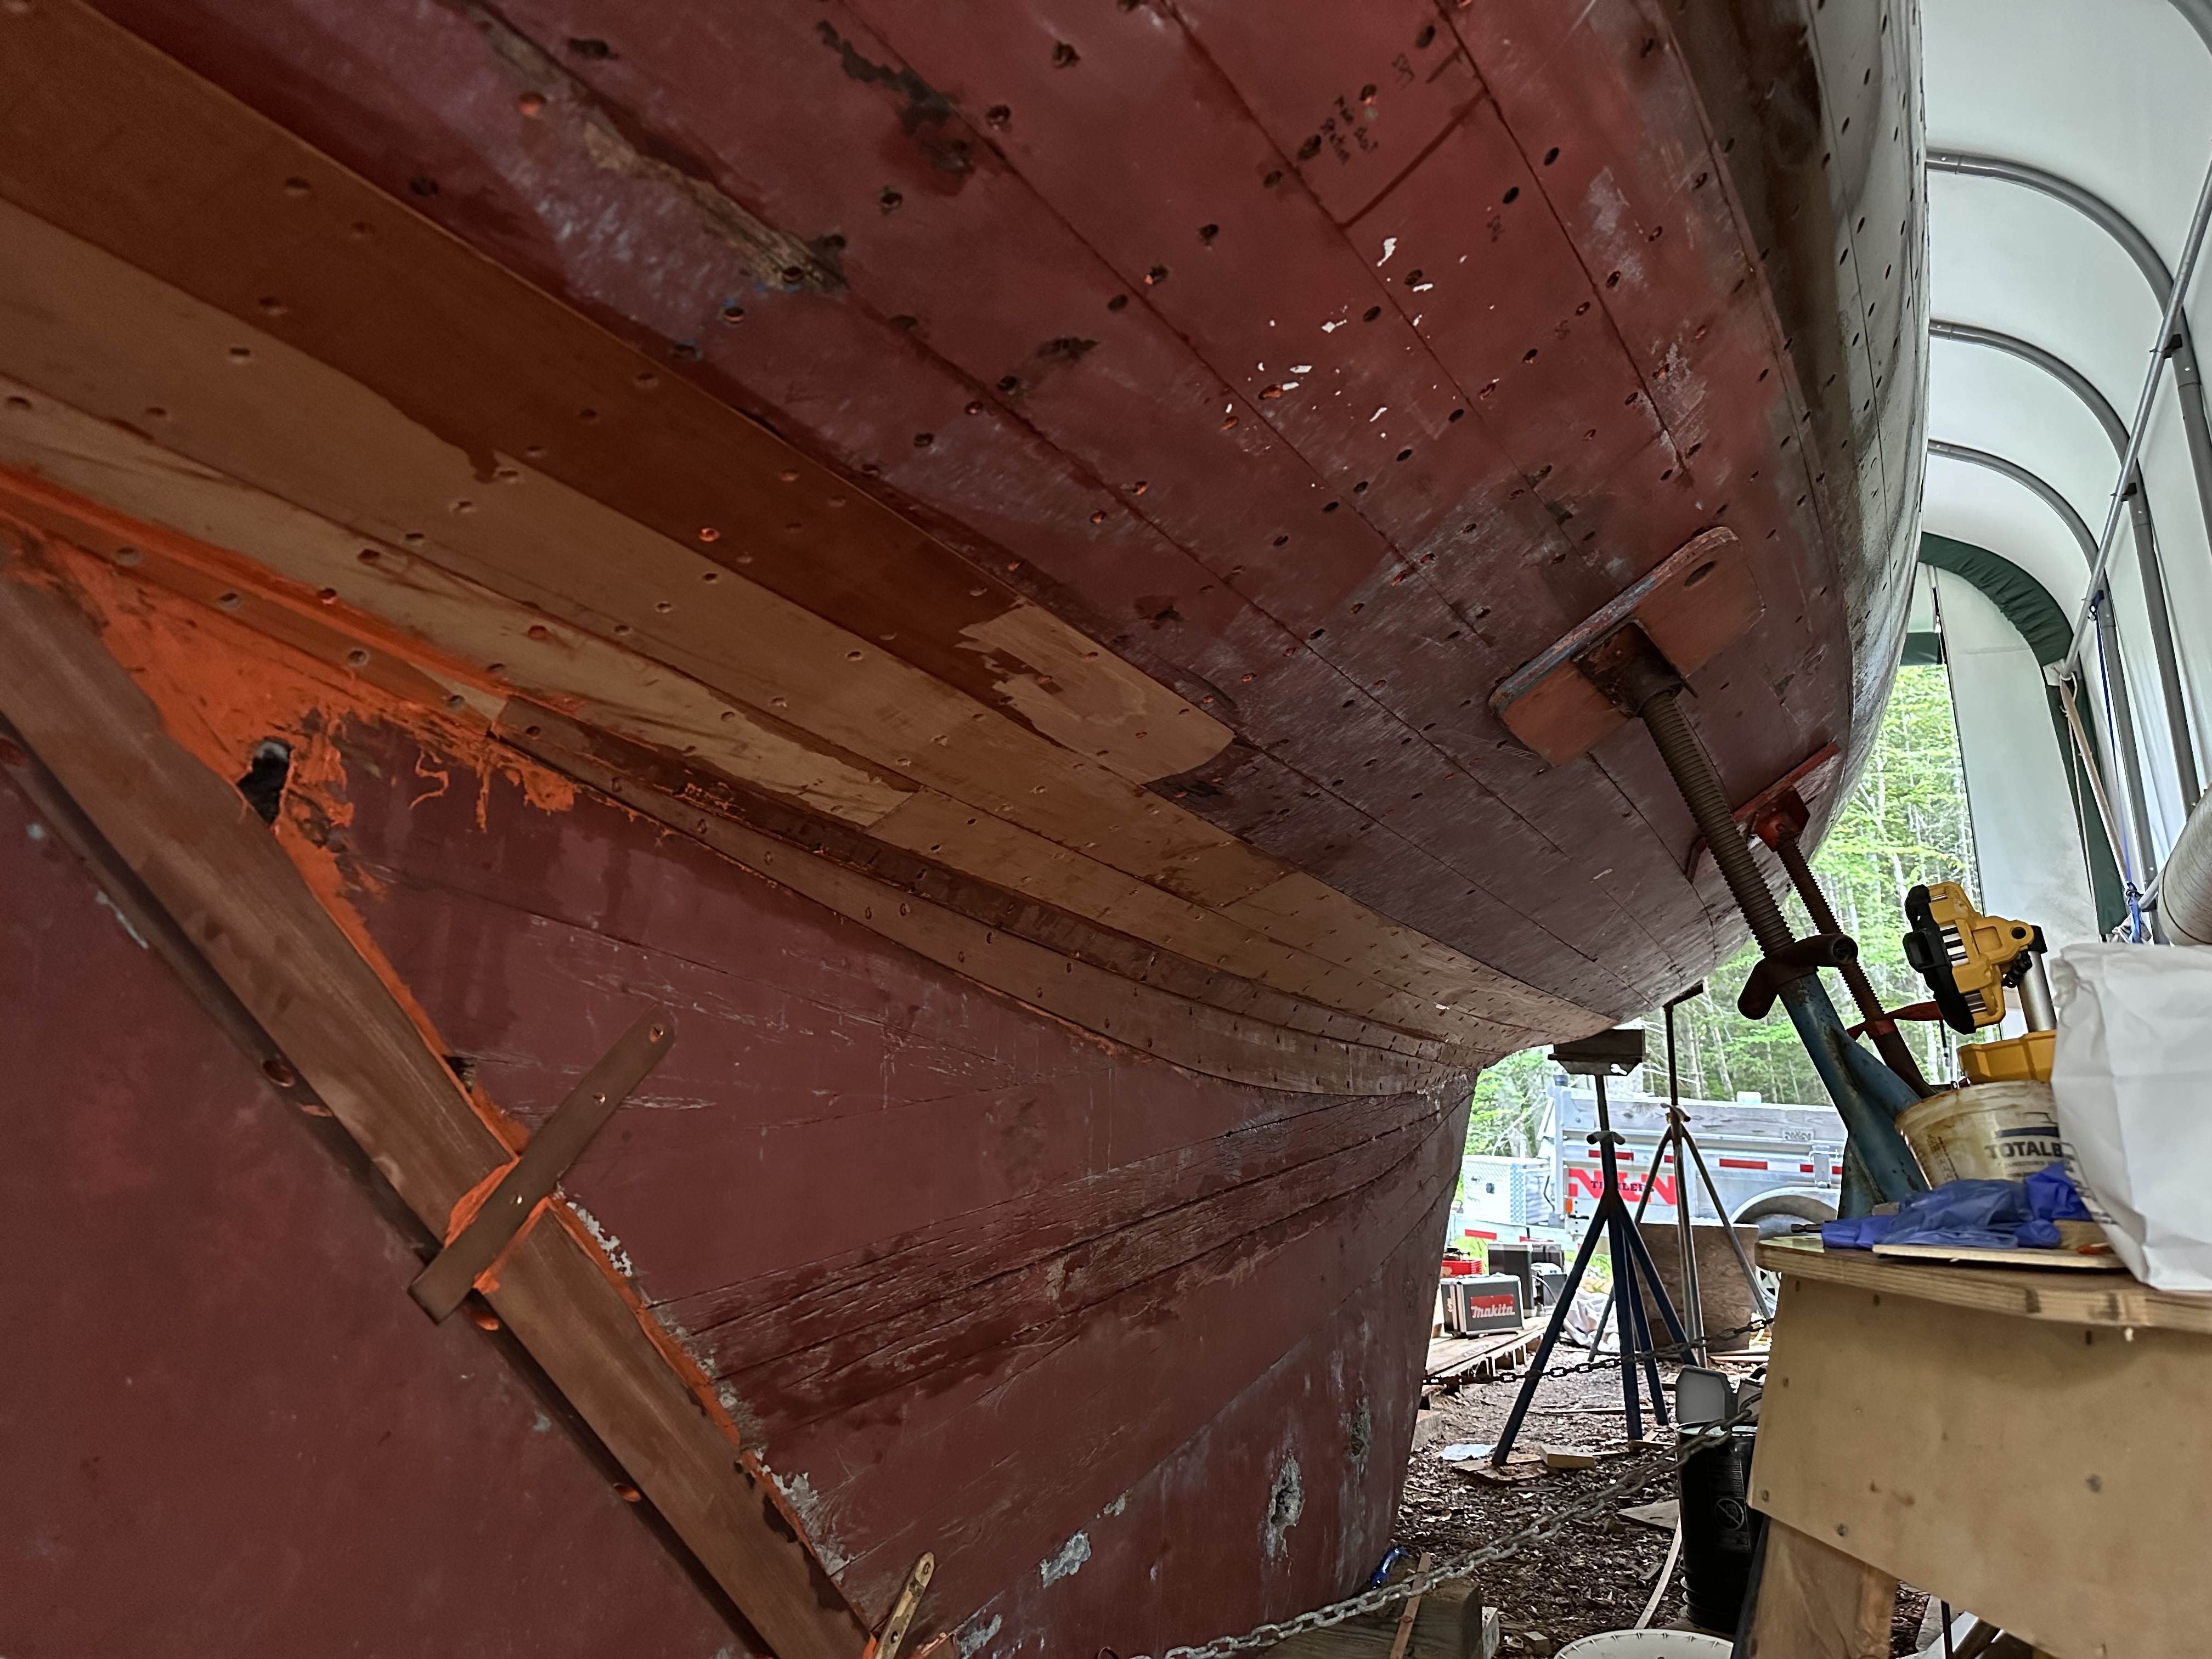
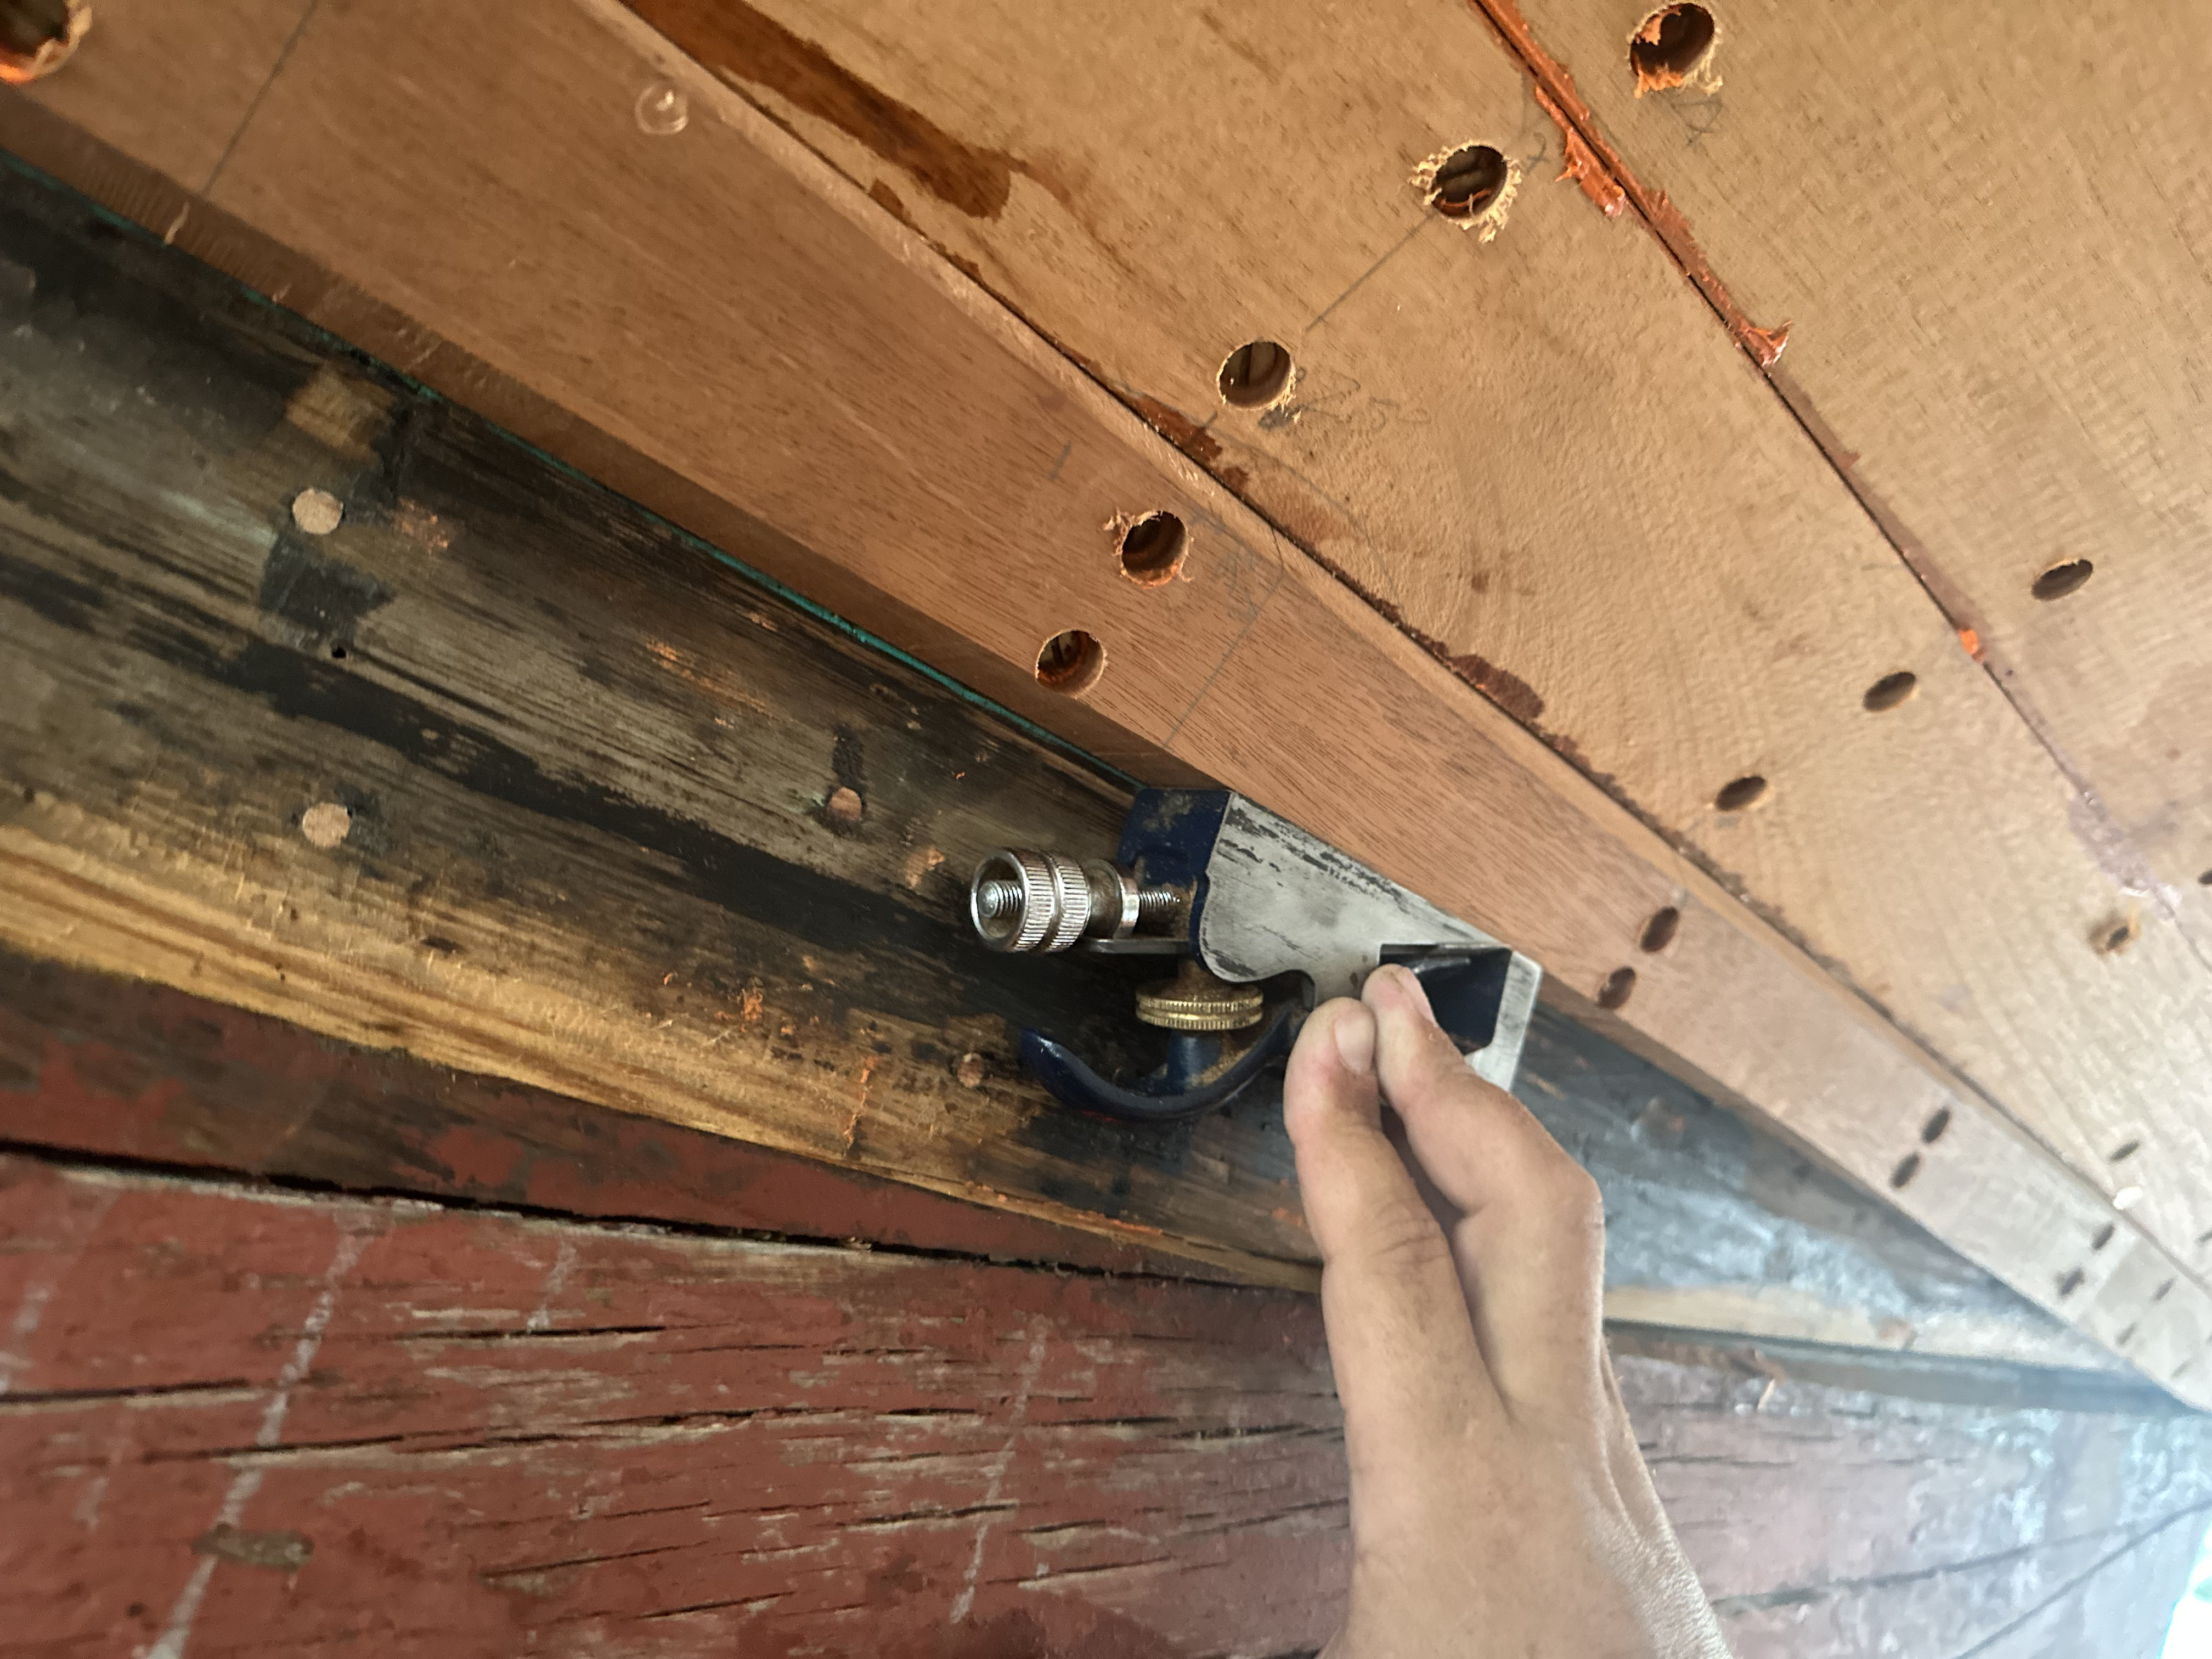
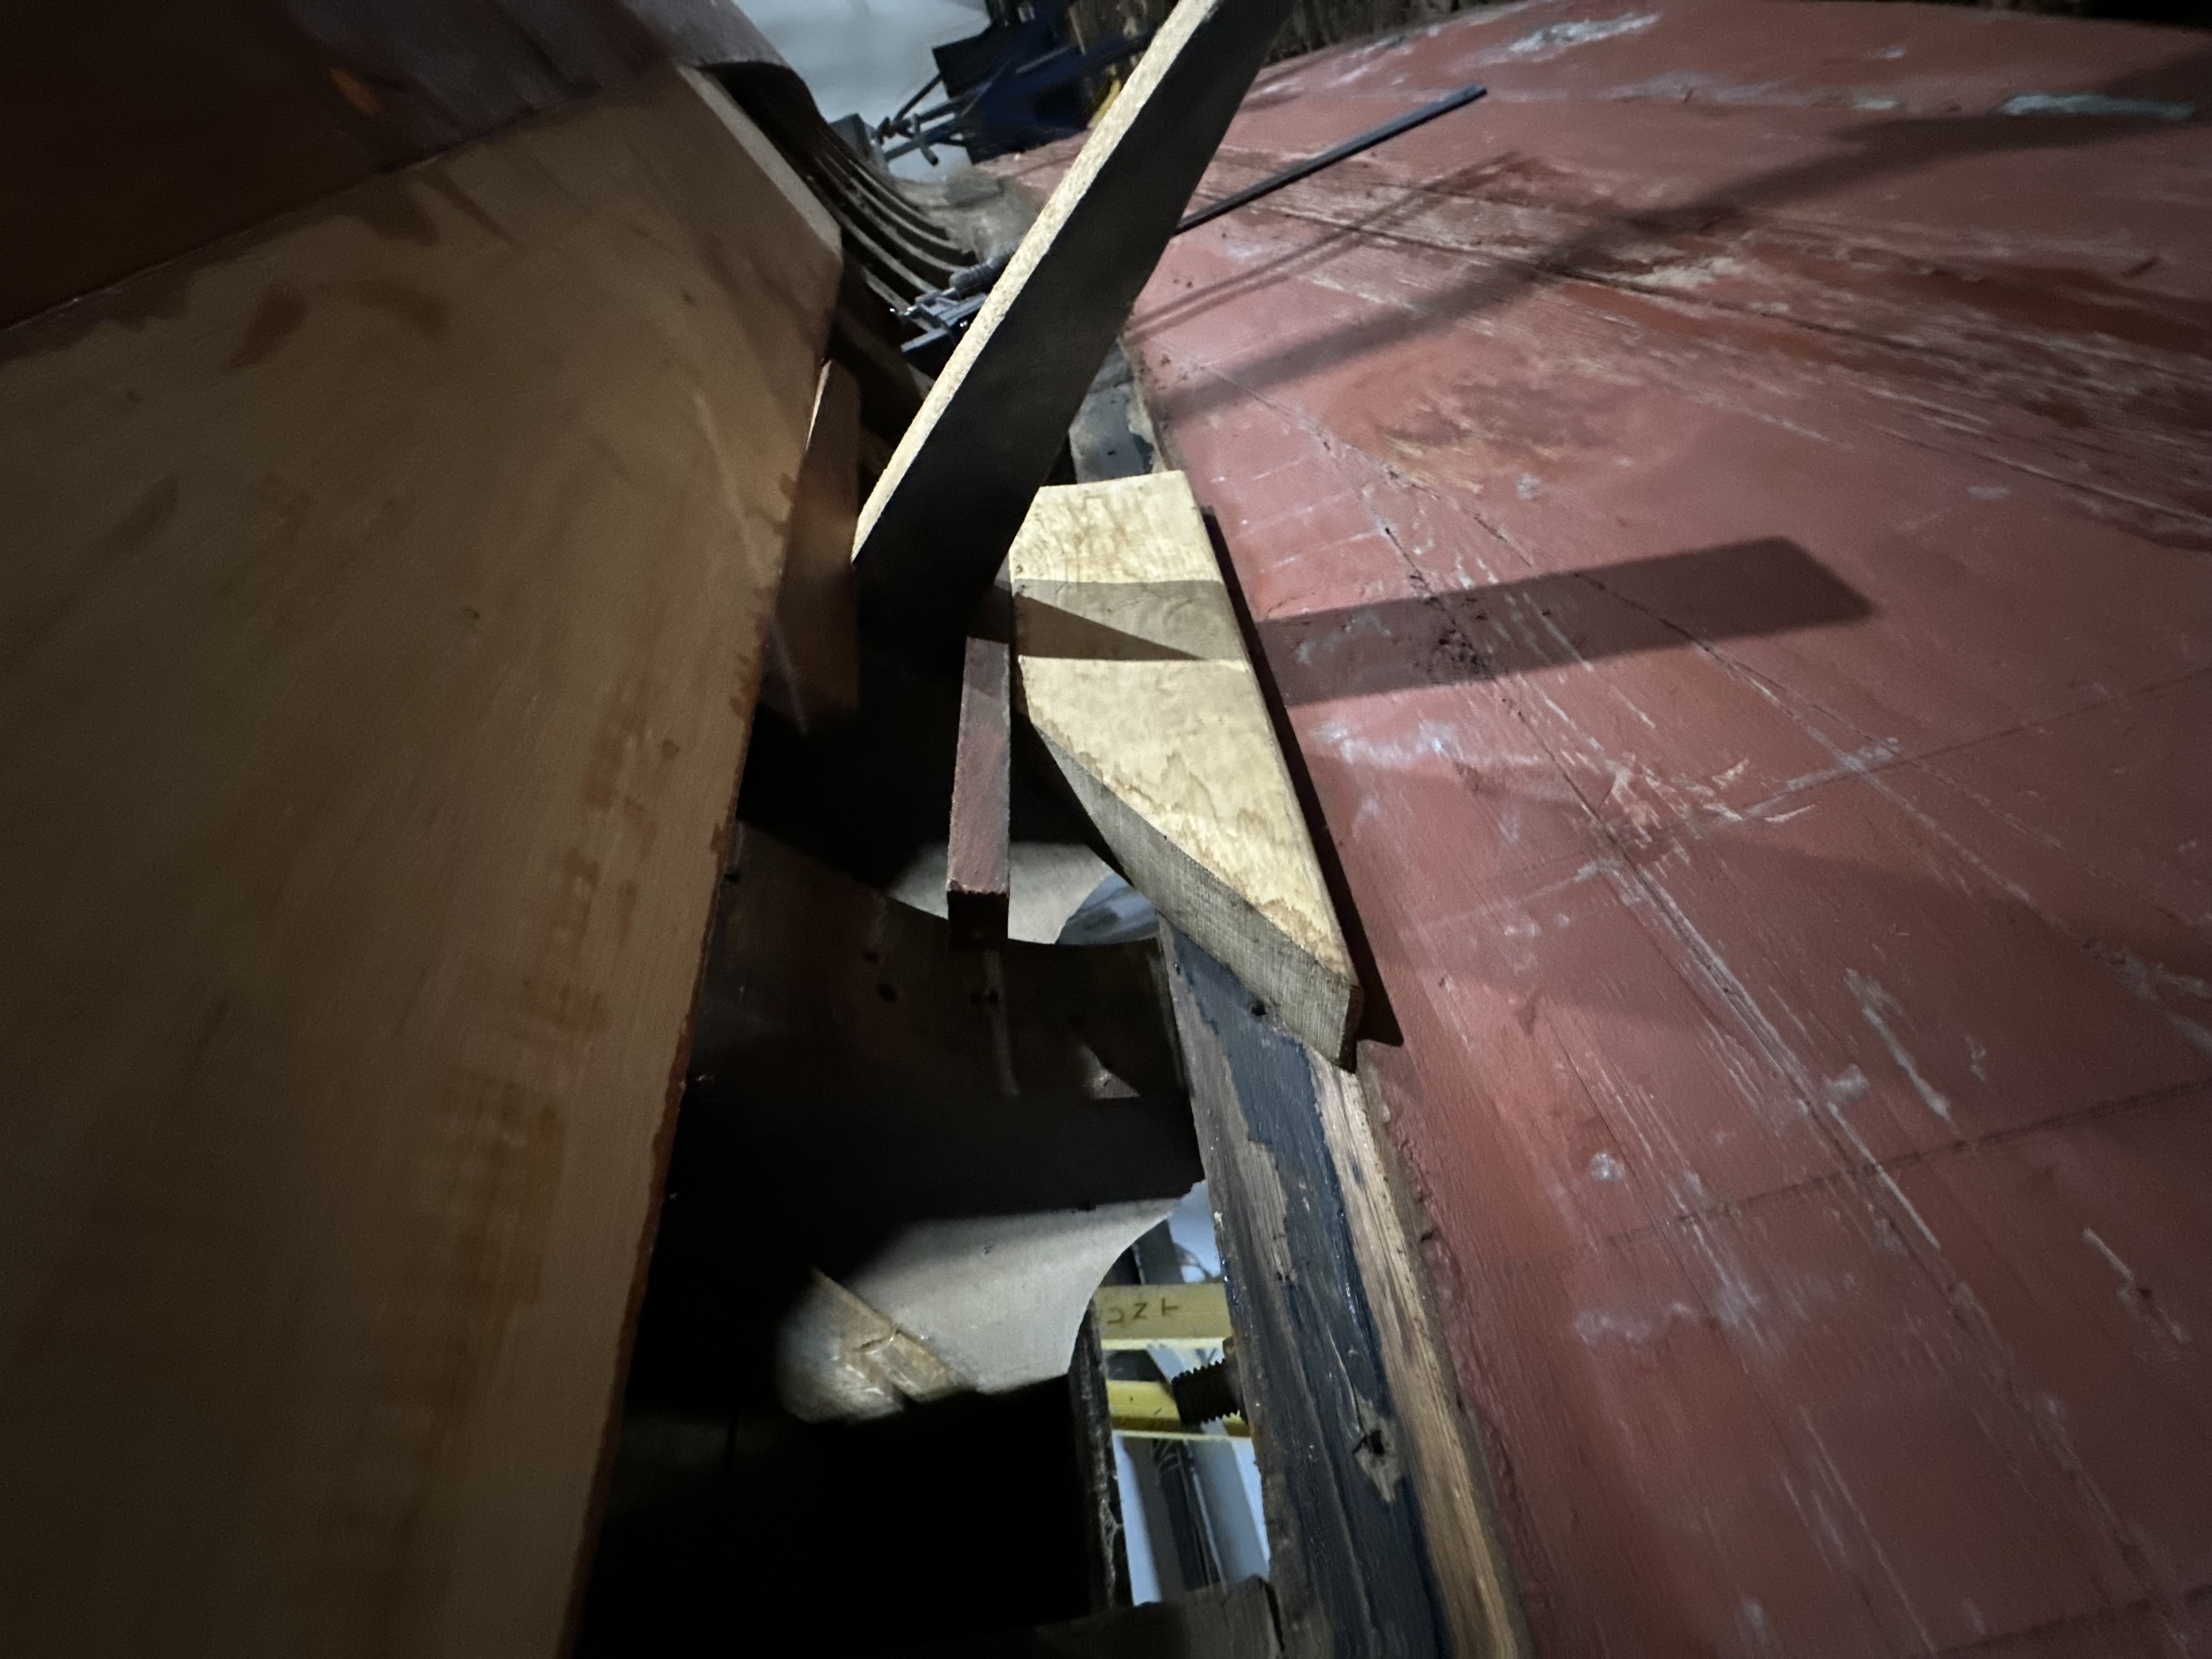
Getting a plank to its final fit is an iterative process: hang it on the hull, check where it bears and where it gaps, take it down, adjust, repeat. Wedges are essential — they force the plank tight against its neighbor and hold it in position while you assess the fit or fasten it down. The bendiest and twistiest planks needed a decent amount of persuasion.
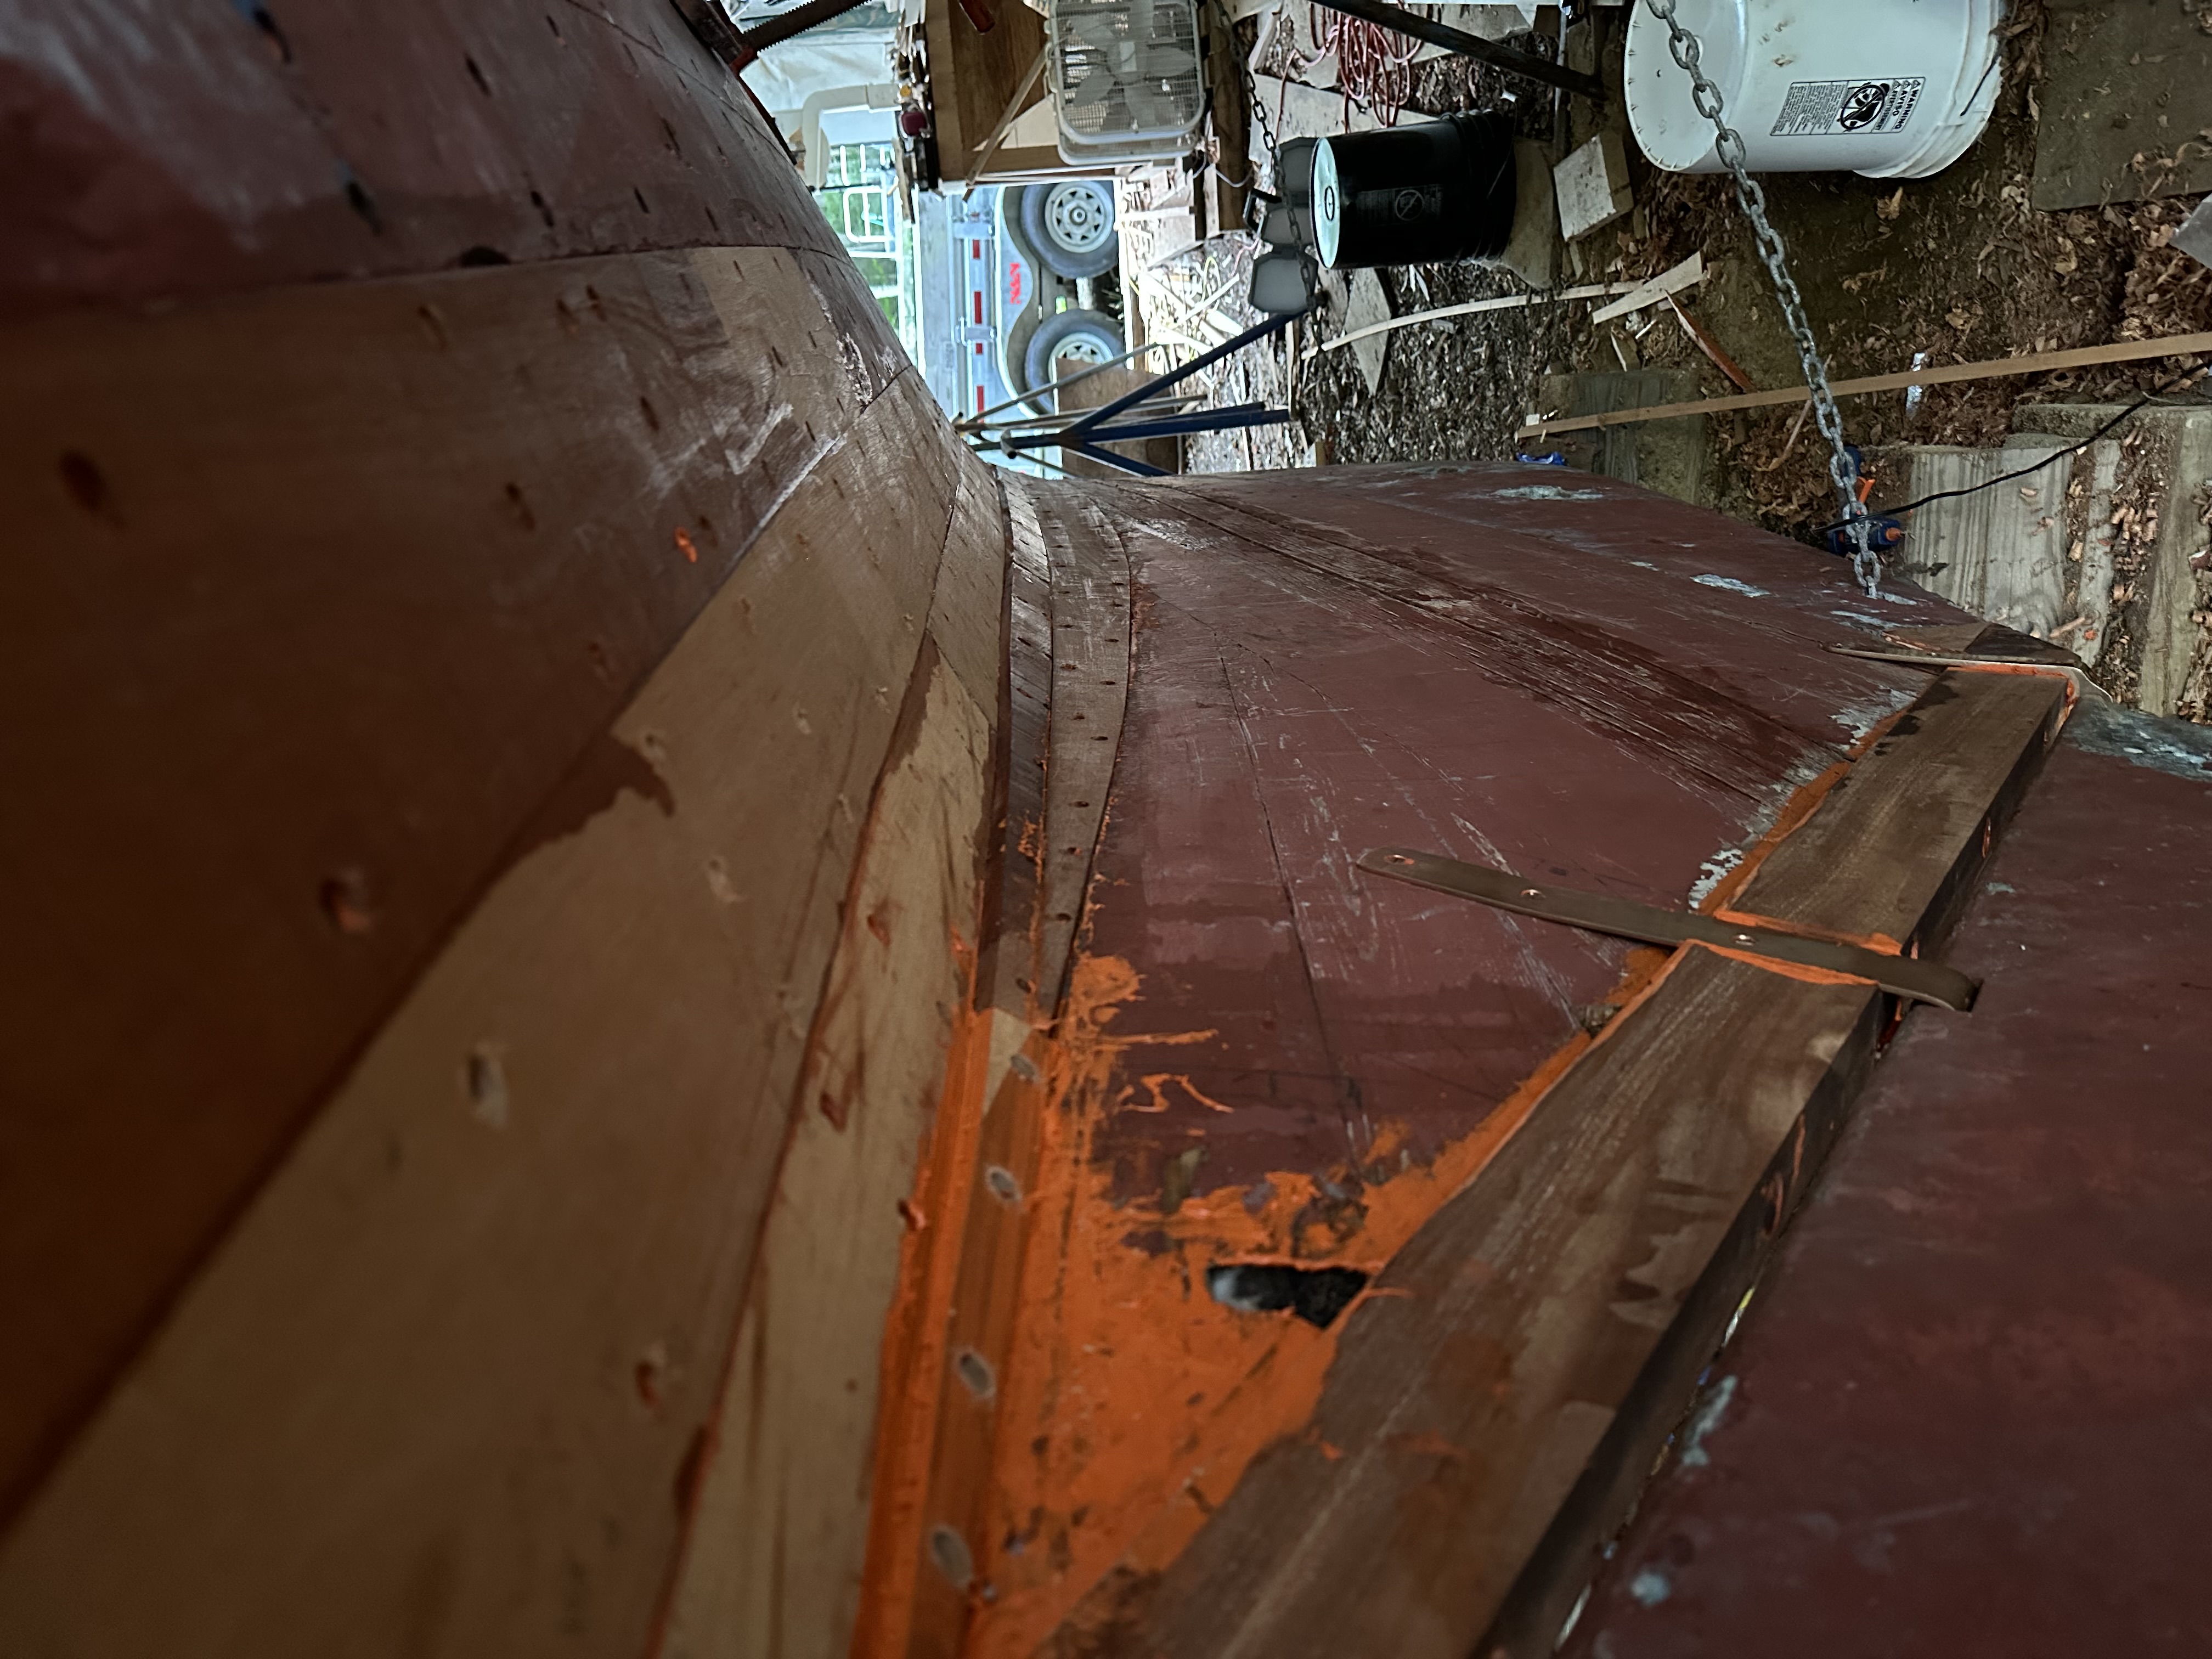
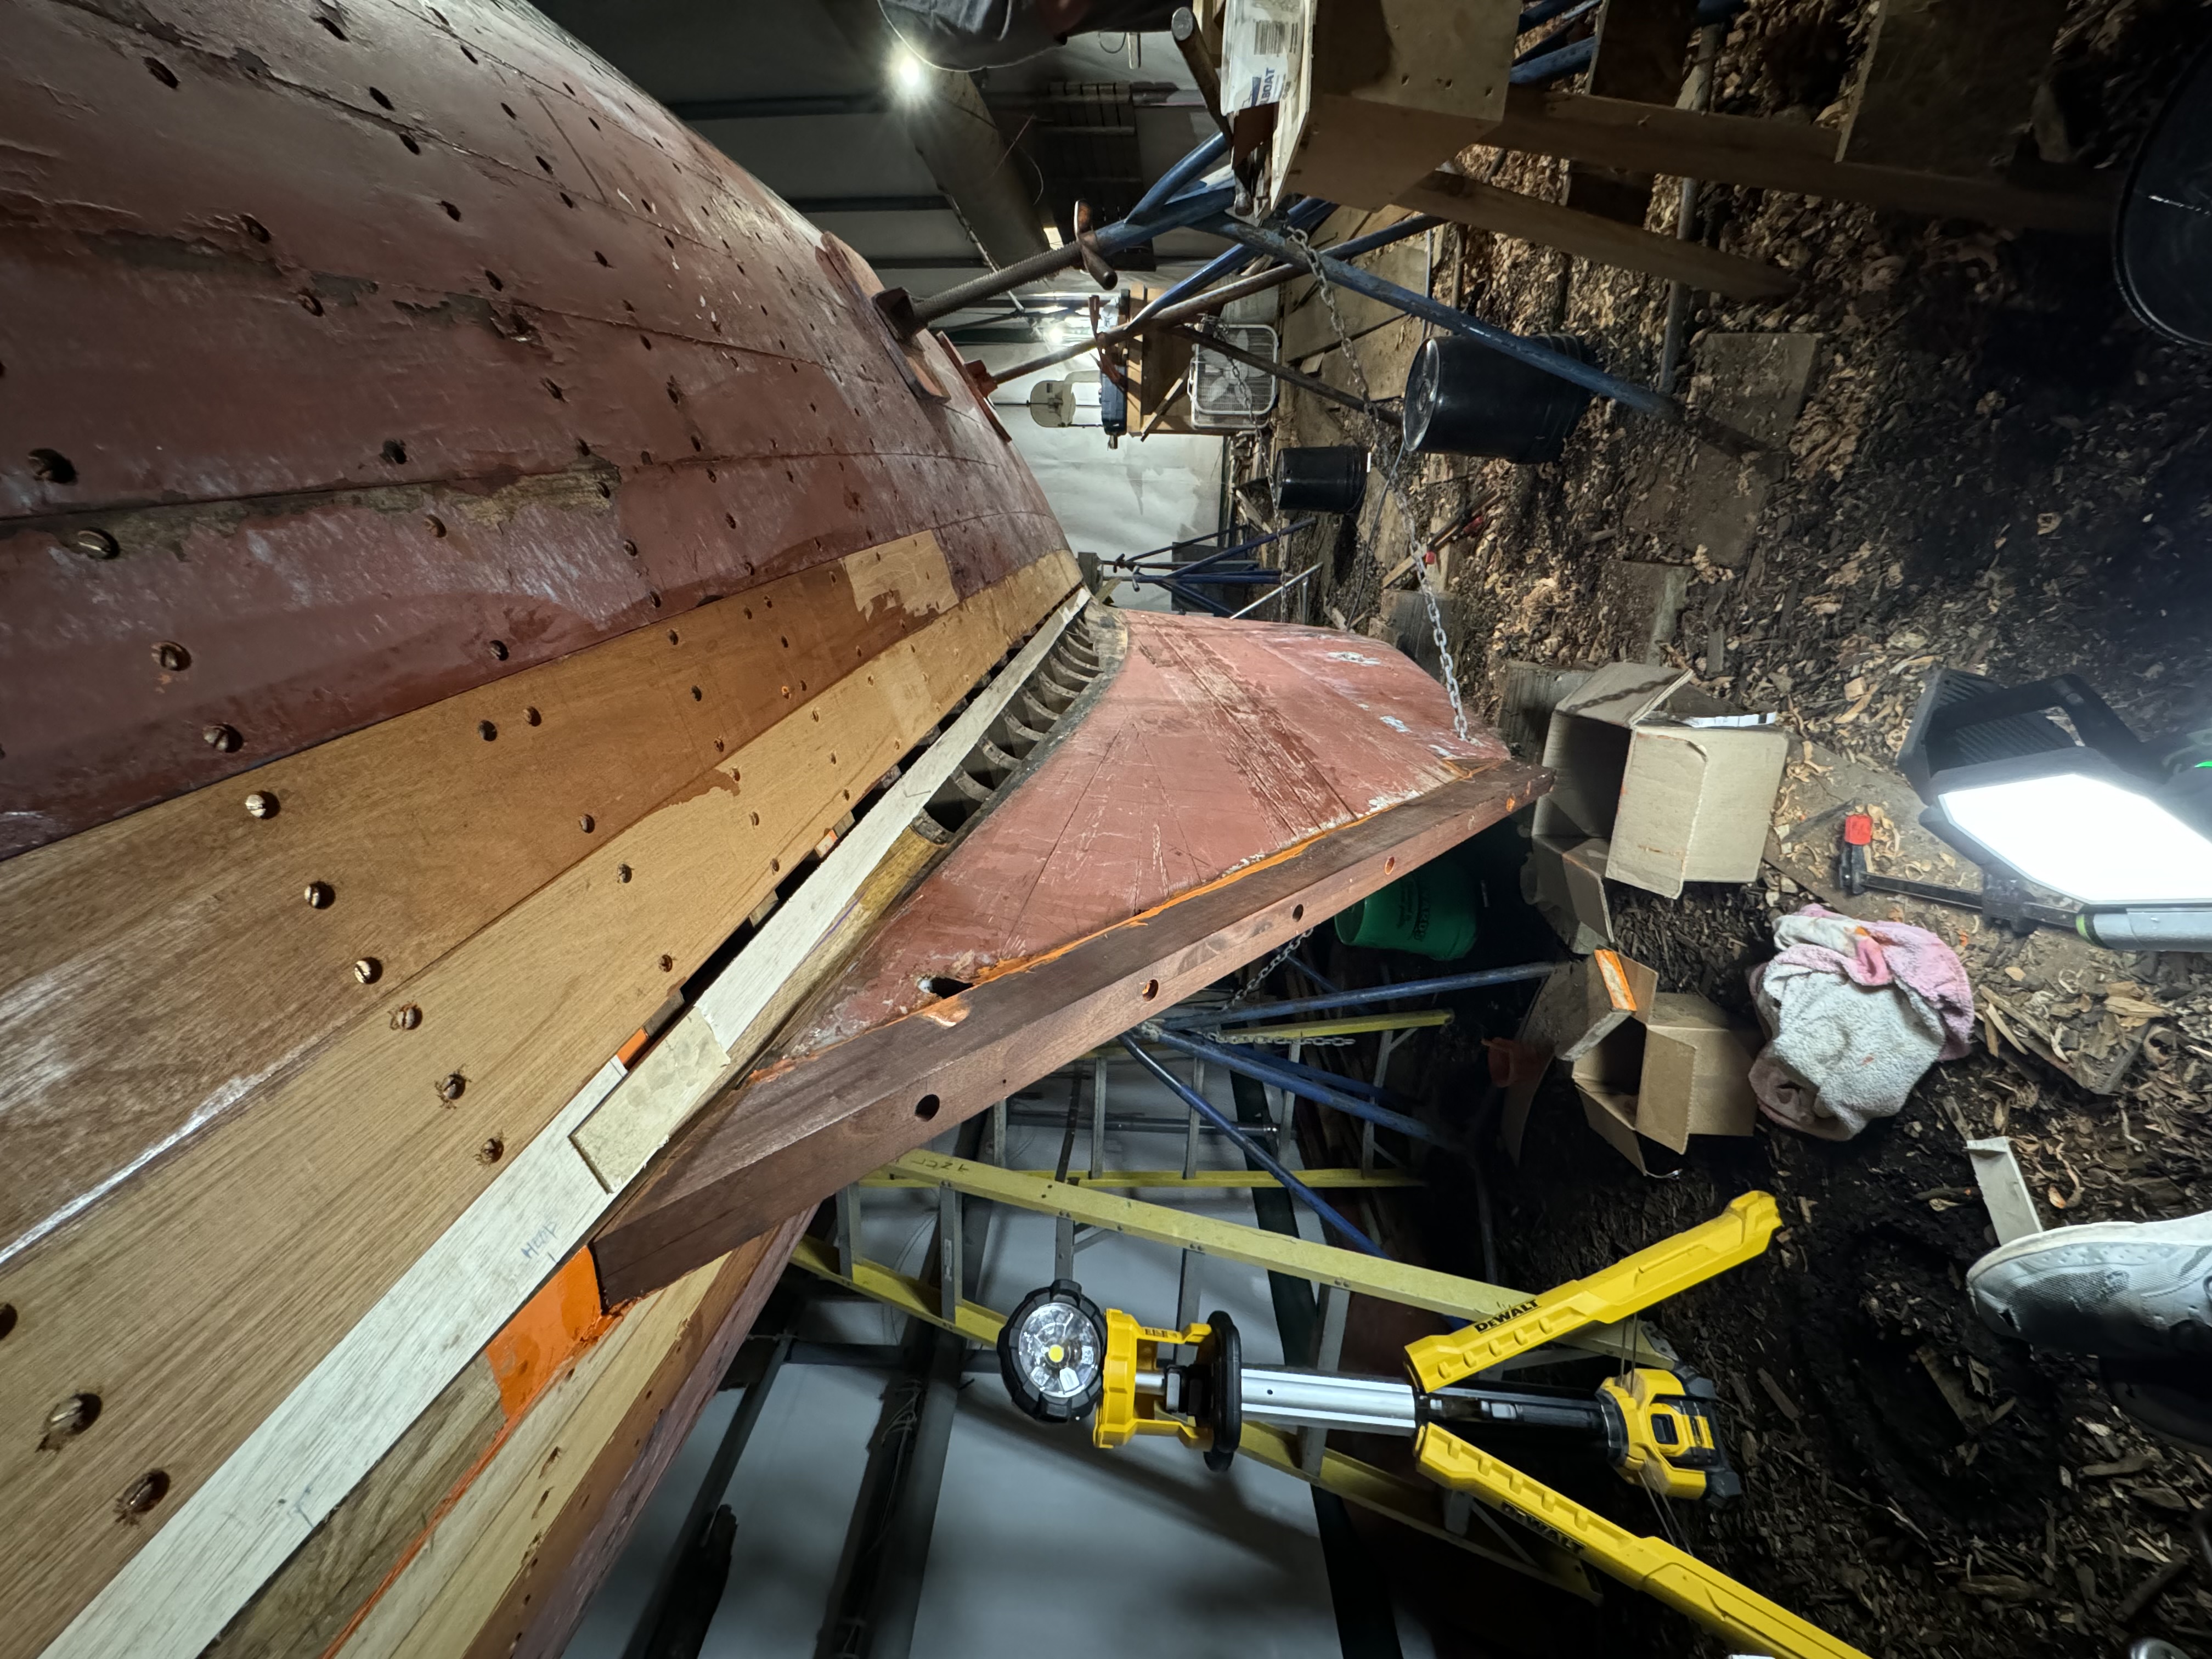
The tuck
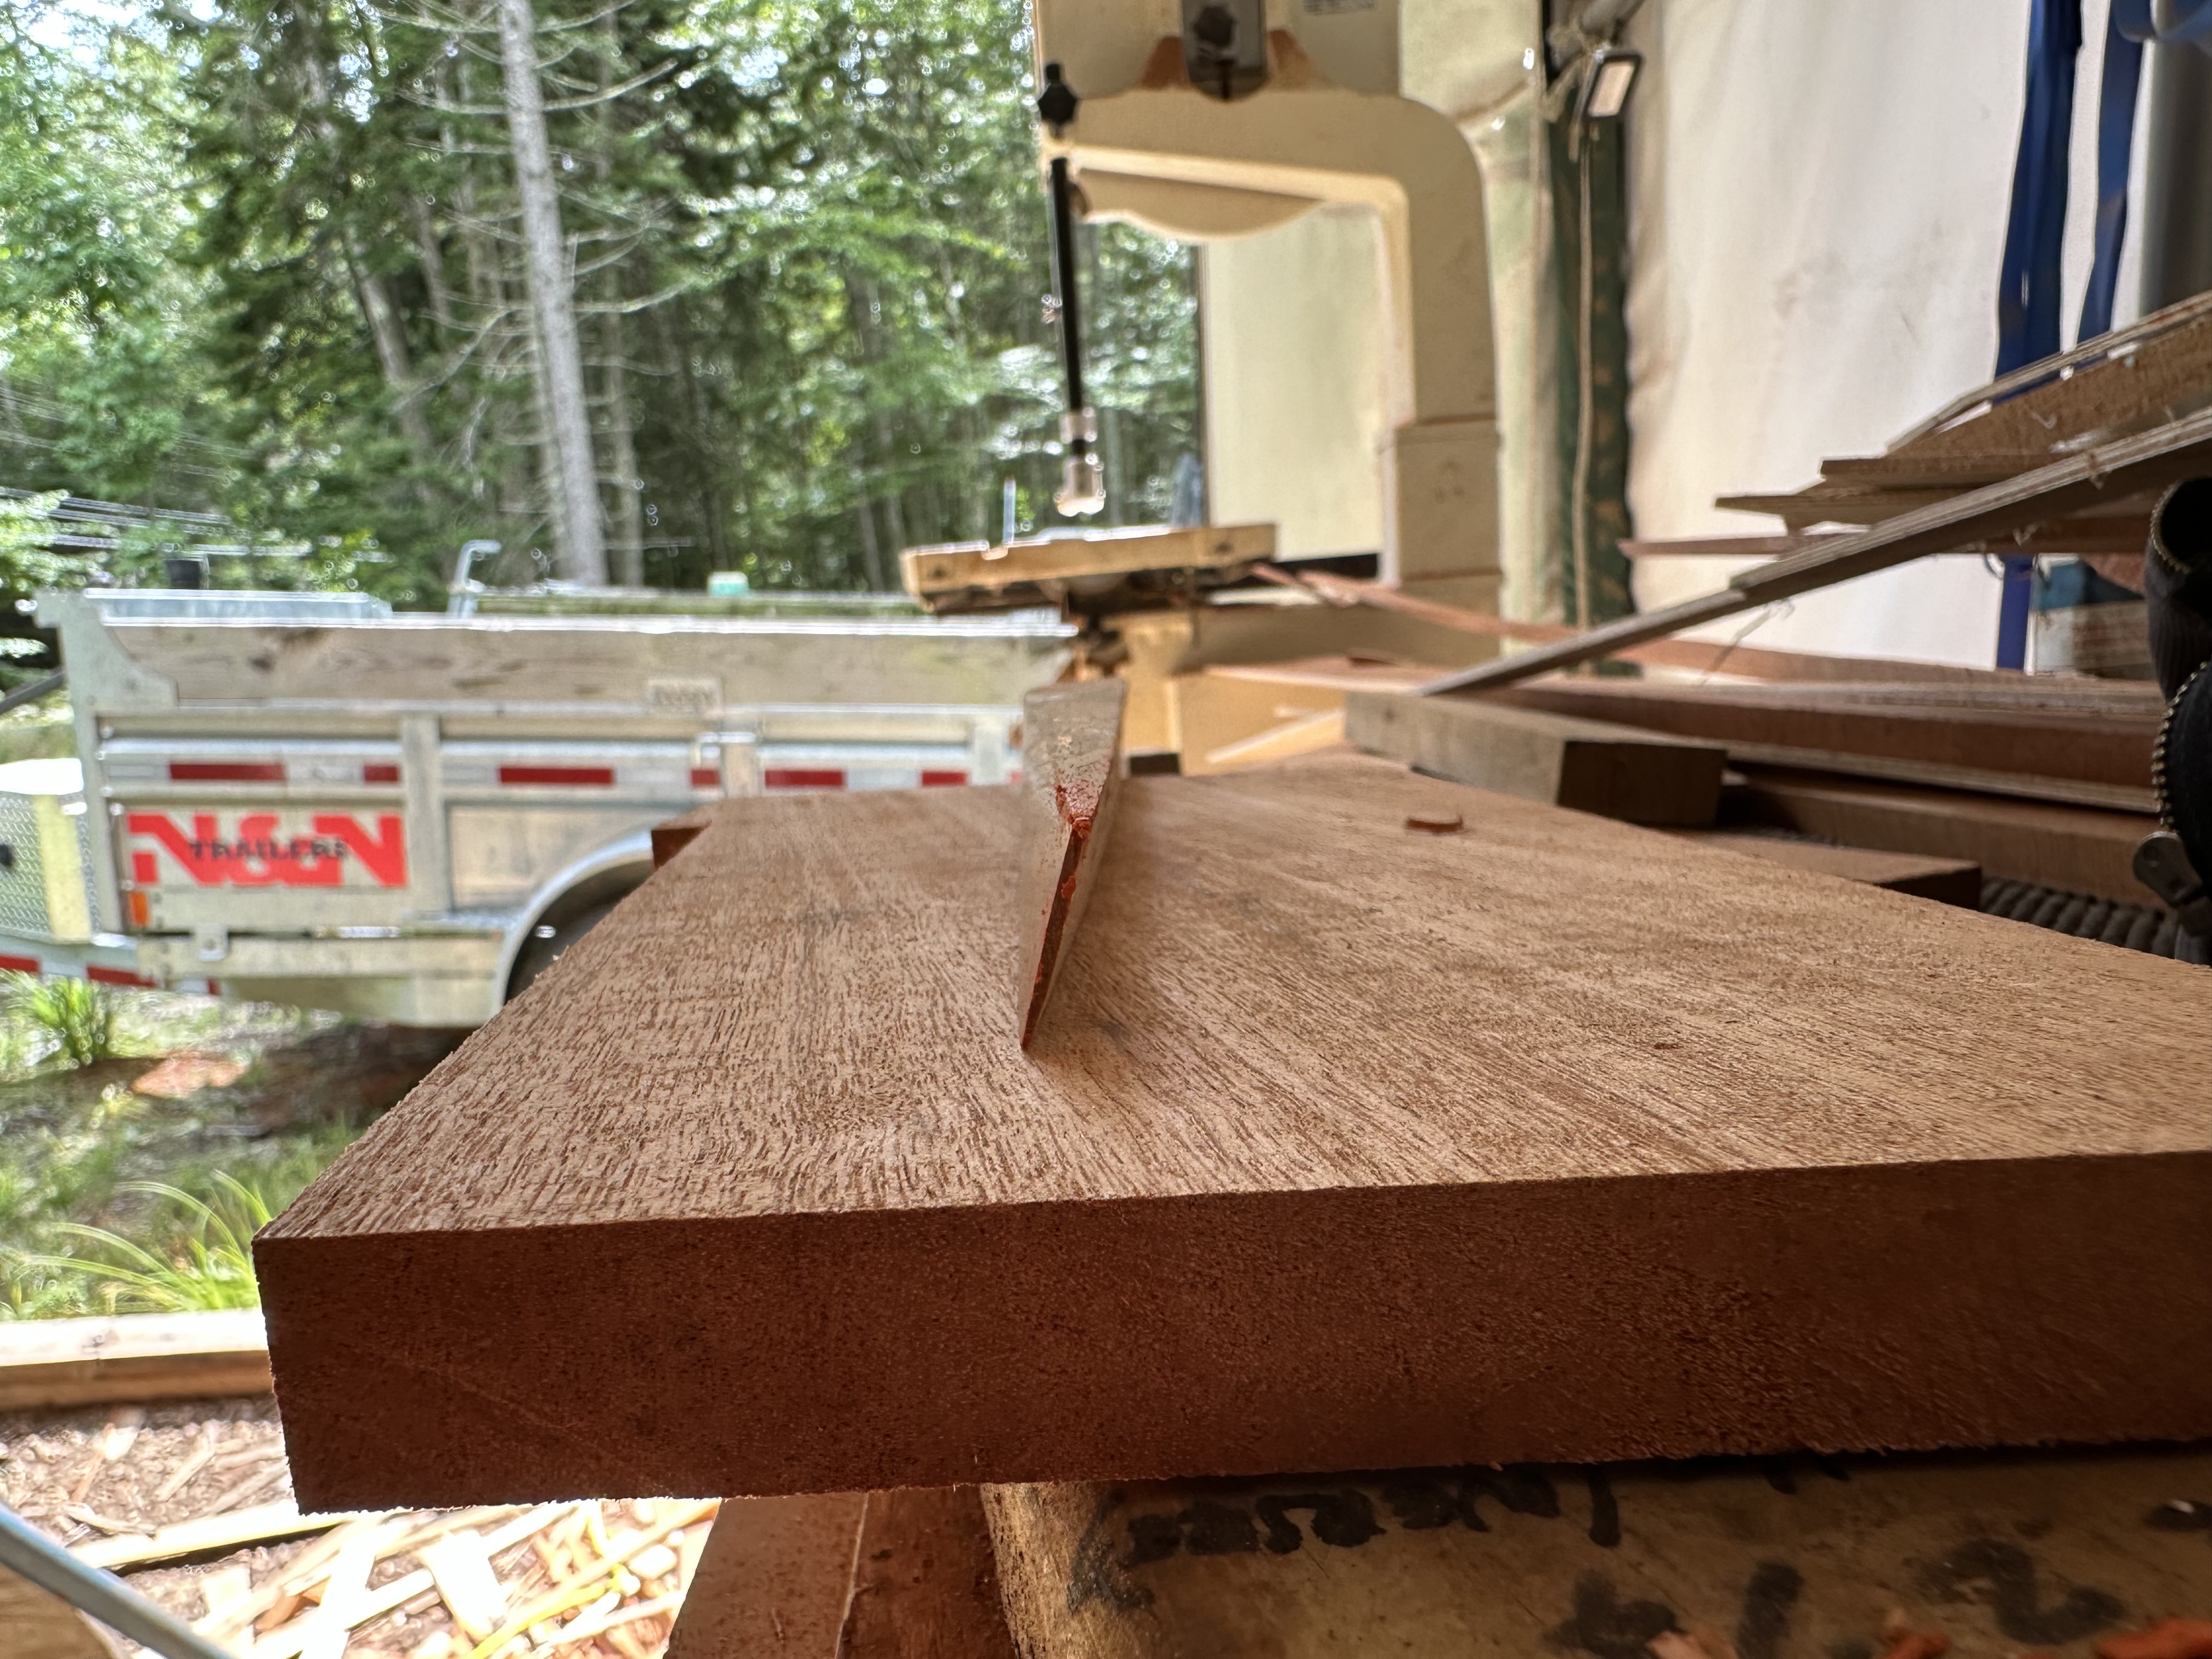
The tuck is where planking gets particularly tough. The planks bend and twist sharply as they wrap around the hull’s wineglass shape. (The tuck is where the stem of the wineglass meets the bowl). Bevels go insane and plank shapes can end up looking unsettlingly strange.
For one plank right in the tuck, we had to cut twist directly into the stock — the plank needed to change its plane of rotation along its length so severely at such a small feather edge that we didn’t think we could get it to twist enough. We cut the twist in with hand planes, then steamed the plank to twist it even further for installation.
Steaming the twisted plank. The steam box softens the wood fibers enough to bend and twist the plank beyond what the dry wood would tolerate. Once it cools and dries in place, it holds its shape.
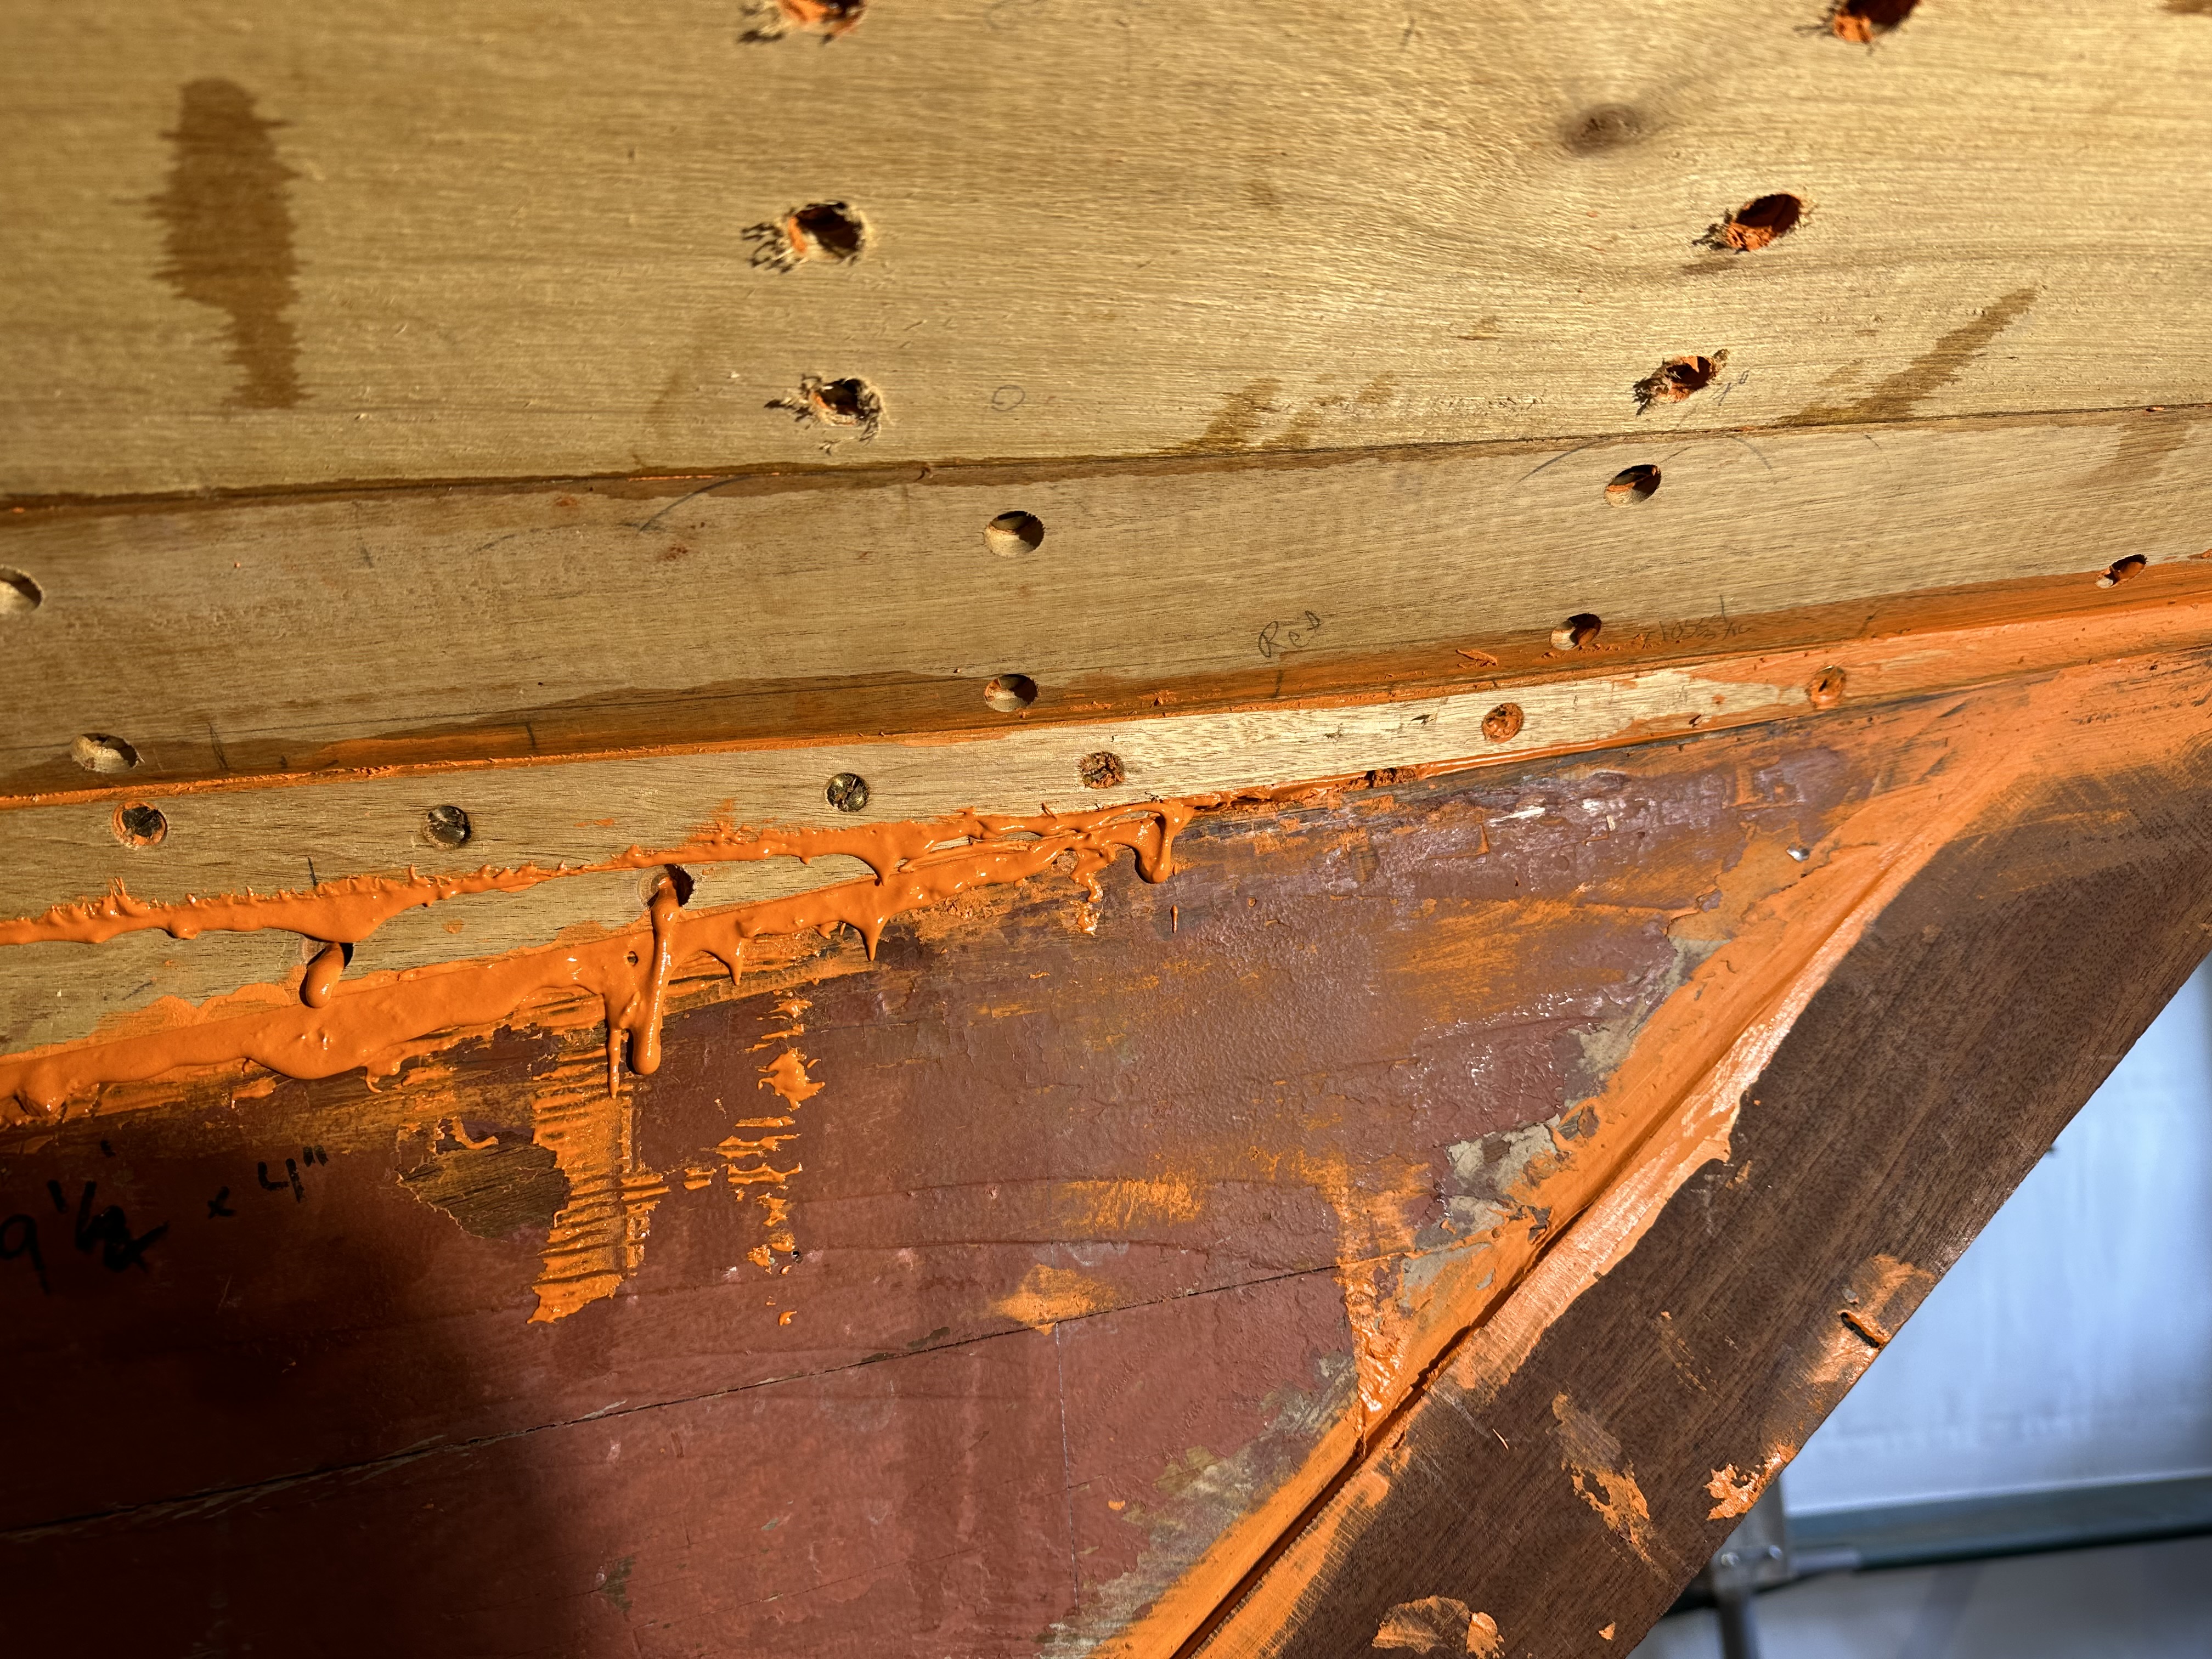
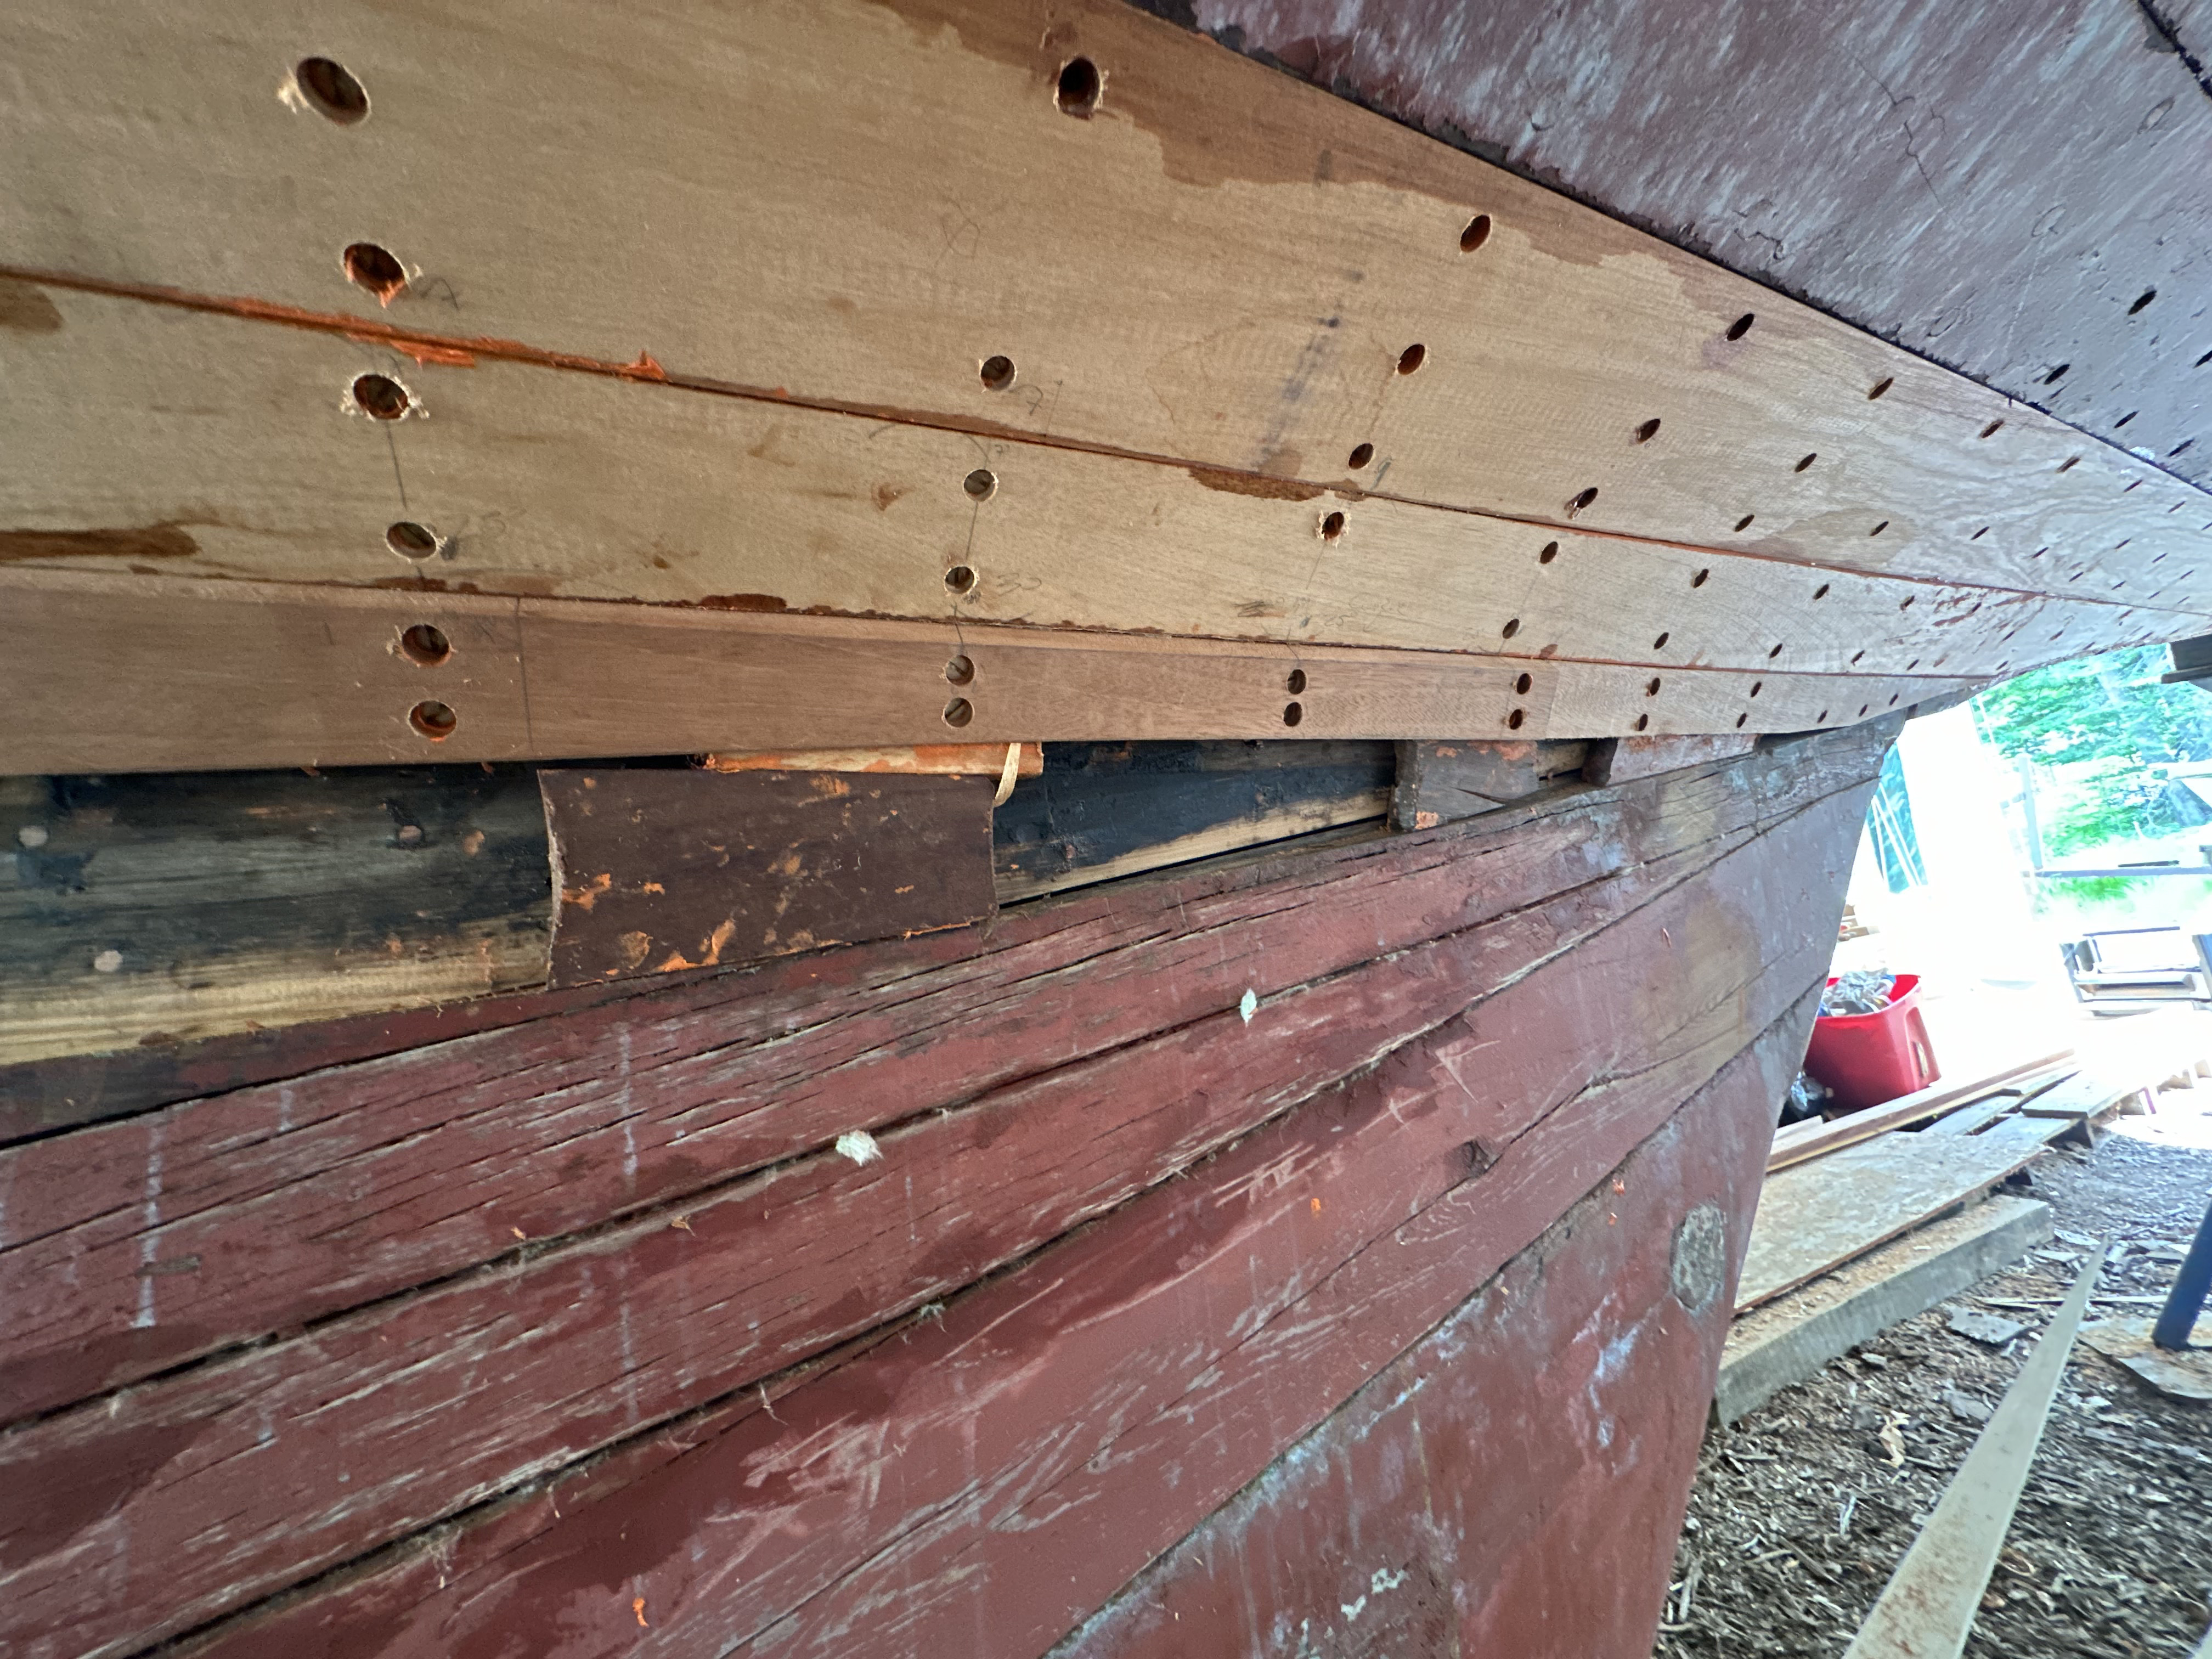
All closed up!